Safe removal of rhinestone nails is achievable with patient, gentle techniques to protect your natural nails from damage.
Love the sparkle of rhinestone nails but dread the removal process? You’re not alone! Those dazzling gems add so much fabulousness to a manicure, but taking them off can feel like a tricky puzzle. We’ve all been there, worried about yanking off a precious stone and taking a chunk of our natural nail with it. But don’t worry, because getting those rhinestones off safely and keeping your nails healthy is totally possible. This guide is your new best friend, walking you through simple, effective steps so you can enjoy your sparkly nails and then remove them with confidence.
Get ready to say goodbye to stubborn rhinestones without the drama. We’ll cover everything you need, from the best gentle tools to the most effective removal methods. Let’s dive in and make nail care as enjoyable as wearing fabulous bling!
Why Safe Rhinestone Removal Matters
Rhinestone nails are undeniably gorgeous! They catch the light, add instant glam, and make any outfit pop. However, the adhesive used to secure these sparkling gems can be quite strong. If you try to rip them off quickly or use harsh methods, you risk more than just losing a few stones. You could be damaging your natural nail bed, causing lifting, tearing, or even breakage. This can lead to weakened nails that are prone to future damage, making your next manicure less enjoyable.
The goal of safe removal is to preserve the health and integrity of your natural nails. It’s about being patient and using the right techniques and products. Think of it as a spa treatment for your nails after they’ve had their moment to shine. By adopting gentle practices, you ensure that your nails remain strong and beautiful, ready for their next sparkling adventure or a simple, elegant polish.
Gathering Your Essential Tools
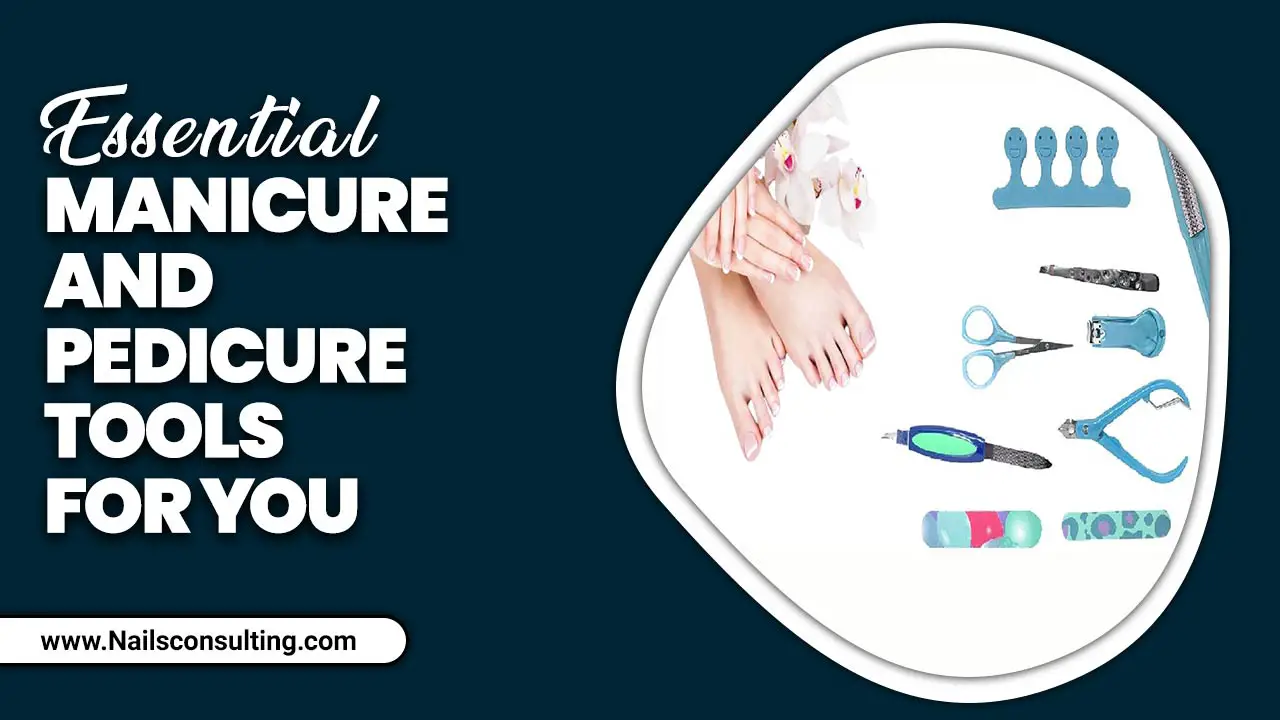
Before you begin, having the right tools on hand will make the entire process smoother and safer. Don’t worry; you probably have most of these items already, or they are easy to find at your local drugstore or beauty supply store. Having a designated kit for rhinestone removal means you’re always prepared!
Here’s what you’ll need:
- Cuticle Oil: This is your secret weapon for softening and nourishing your nails and cuticles. It helps make the removal process gentler.
- Acetone Nail Polish Remover: A good quality acetone is essential for dissolving nail glue and polish. Look for 100% acetone for the most effective results.
- Cotton Balls or Lint-Free Wipes: These will be used to soak off the polish and glue. Lint-free options prevent annoying fluff from sticking to your nails.
- Orange Wood Sticks or Nail Files: These are perfect for gently nudging or lifting the rhinestones and excess glue without scratching your natural nail. A fine-grit nail file is great for touching up any remaining bits.
- Small Bowl or Dish: You’ll need a place to soak your fingertips. A glass bowl is ideal as acetone can degrade plastic over time.
- Aluminum Foil: This is used to wrap your nails, helping to keep the acetone-soaked cotton in place and speed up the dissolving process.
- Towel: To protect your workspace and for any drips.
- Hand Cream: To rehydrate your hands and nails after the removal process.
- Optional: Cuticle Pusher: A metal cuticle pusher can also be useful for gently lifting stubborn rhinestones.
Step-by-Step Guide to Safe Rhinestone Nail Removal
Removing rhinestones requires a touch of patience and a gentle hand. The key is to let the products do the work, not force. Follow these steps carefully, and your natural nails will thank you!
Step 1: Prepare Your Workspace and Nails
First things first, protect your surface! Lay down a towel to catch any spills. Then, apply a generous amount of cuticle oil all around your nail beds and cuticles. This creates a protective barrier, minimizing the harsh effects of acetone on your skin and natural nail. Don’t skip this step – it’s crucial for comfort and nail health!
Step 2: Soaking Off Gel Polish (If Applicable)
If you have gel polish over your rhinestones, you’ll need to remove that first. If you don’t have gel, you can skip this part. For gel, lightly buff the top layer of the polish with a fine-grit nail file. This breaks the seal and allows the acetone to penetrate easier. Do not buff down to your natural nail! Then, soak cotton balls in acetone, place them directly over the polished nail, and secure them with aluminum foil wraps. Let them soak for about 10-15 minutes, or until the gel starts to lift and bubble.
Step 3: Gently Remove Rhinestones
Once the gel is loosened (or if you just have regular polish and rhinestones), it’s time to tackle the gems. Do not try to pry them off forcefully! Instead, use your orange wood stick or the edge of a cuticle pusher to gently wiggle underneath the rhinestone. The goal is to break the bond of the adhesive. Often, the adhesive will start to dissolve with the acetone. If a rhinestone comes off easily, great! If it’s still firmly attached, don’t force it. Re-apply acetone-soaked cotton if needed, or proceed to the next step and let the soaking do more work.
Step 4: Soak Off Remaining Polish and Glue
After you’ve removed as many rhinestones as possible, you might have some stubborn glue orpolish residue left. If you had gel, remove the foil wraps and gently push off the softened gel and polish with your orange wood stick at a 45-degree angle. If you didn’t have gel or there’s still residue, soak your fingertips in a bowl of acetone. This is where the small bowl comes in handy. Place your fingertips into the acetone for about 10-15 minutes. This will dissolve any remaining glue and polish.
For a more targeted soak, you can use that aluminum foil method again with acetone-soaked cotton balls after removing the rhinestones. This method can be particularly effective for stubborn glue.
Step 5: Clean and Buff
Once the polish and glue residue are softened, use your orange wood stick to gently scrape away any remaining bits. Work carefully and avoid digging into your natural nail. If there are still tiny bits of glue, you can use a fine-grit nail file to gently buff them away. Remember, the goal is to remove the residue without thinning your natural nail. If you’re finding it difficult, a bit more soaking might be necessary.
Step 6: Hydrate and Nourish
After all the rhinestones and residue are gone, your nails and skin might feel a little dry. This is the perfect time to treat them! Wash your hands gently with mild soap and water, then pat them dry. Apply a generous amount of hand cream and cuticle oil to rehydrate and nourish. Massage it in, paying attention to your nails and cuticles. A good soak in warm water with a bit of oil can also be very soothing at this stage.
Alternative Methods for Different Adhesives
The adhesive used for rhinestones can vary, which might require slightly different approaches. Most commonly, rhinestones are applied with nail glue or gel builder. Knowing what you’re dealing with can help you choose the best removal method.
Nail Glue:
If your rhinestones were applied with regular nail glue, the acetone soak method described above is usually very effective. Acetone is designed to break down cyanoacrylate (the main ingredient in most nail glues). Patience here is key, as you may need a couple of rounds of soaking to fully dissolve the glue. Always ensure you’re using 100% acetone for maximum effectiveness.
Gel Builder or Hard Gel:
When rhinestones are encapsulated in gel builder or hard gel, the removal process is more involved. Acetone cannot dissolve these strong gel products. In this case, mechanical removal is necessary. This means filing the gel off. For beginners, this can be risky as it’s easy to file into your natural nail. If your rhinestones are under a thick layer of gel, it might be best to seek professional help or gently file down the gel layer until you can access the glue holding the rhinestone. Once the gel is removed, you can then use acetone to dissolve the glue.
Sticky Tabs or Dual-Sided Tape:
Some nail artists use sticky tabs or tape for temporary application of rhinestones. These are the easiest to remove! Often, you can simply gently lift the rhinestone with an orange wood stick. If there’s a bit of residue, a bit of nail polish remover (even non-acetone based if preferred) should do the trick. This is the most beginner-friendly method.
Expert Tips for Extra Protection
Want to make your rhinestone nail removal even more foolproof? Here are a few pro tips to keep your nails in tip-top shape:
- Never force a rhinestone off. If it’s not budging, it’s not ready. More soaking or gentle wiggling is the way to go.
- Avoid picking at your nails. Even small bits of glue can be tempting to pick at, but this is how damage happens.
- Buff gently, if at all. When removing residue, use a very light touch. If you’re unsure, more soaking is better than aggressive filing. A nail buffing tutorial can help you understand the right pressure.
- Hydration is key. After removal, keep your nails and cuticles moisturized. This helps them recover and stay strong.
- Consider a nail strengthener. If your nails feel a bit weaker after removal, a good quality nail strengthener can help rebuild them.
- Take breaks between manicures. Giving your nails a few days (or even a week) to breathe between applying new enhancements or polishes can be very beneficial.
Dealing with Stubborn Glue Residue
Sometimes, even after soaking, a little bit of glue residue can cling stubbornly to your nails. Don’t panic! This is a common occurrence, especially with strong nail glues. The key is to be gentle yet persistent.
Here are the best strategies for tackling stubborn glue:
- Re-soak: The simplest solution is often to go back for another soak. Immerse your fingertips in acetone for another 10-15 minutes. Sometimes, it just needs a little more time to dissolve.
- Gentle Scraping: After soaking, use your orange wood stick or a metal cuticle pusher to gently scrape away the softened glue. Hold the tool at a low angle (around 45 degrees) to avoid digging into your natural nail.
- Fine-Grit File: If scraping isn’t fully removing the residue, use a very fine-grit (240 grit or higher) nail file. Buff the residue away in light, directional strokes. Focus only on the glue, not the entire nail surface. The goal is to remove the glue, not thin your natural nail. You can find information on nail structure and care to understand why gentle handling is so important.
- Buffer Buffing: A multi-sided nail buffer block can also be helpful. Use the finest grit side to gently buff away any last remnants of glue.
- Hydrate Immediately: Once the residue is gone, wash your hands and immediately apply cuticle oil and hand cream. This helps to replenish moisture lost during the soaking and filing process.
Remember, the aim is to remove the glue without compromising the health of your natural nail. If a small amount of residue is left and you’re struggling to remove it without risking damage, it’s often best to leave it and focus on hydrating your nails. It will likely wear down naturally over a day or two.
Comparing Removal Methods: Pros and Cons
Choosing the right method for safe rhinestone nail removal ensures you get the best results with minimal damage. Here’s a look at the benefits and drawbacks of common approaches:
| Method | Pros | Cons | Best For | Beginner Friendliness |
|---|---|---|---|---|
| Acetone Soak | Highly effective for dissolving glue and polish. Widely available. | Can be drying to skin and nails. Requires careful handling. | Nail glue, regular polish, and soaking off gel (with buffing). | Moderate (requires patience and care). |
| Mechanical Filing (for Gel/Hard Gel) | Necessary for non-acetone-dissolvable products. Can be quick if done correctly. | High risk of nail damage if not done by a professional or with extreme care. Can create dust. | Encapsulated rhinestones in gel builder or hard gel. | Low (not recommended for beginners without extensive caution). |
| Oil/Gentle Prying | Extremely gentle on natural nails. Minimal chemicals. | Only effective for very lightly adhered rhinestones or sticky tabs. May not work for strong glue. | Rhinestones applied with tape, temporary adhesive, or very minimal glue. | High (simple and safe). |
| Combination Method (Soak then File/Scrape) | Balances effectiveness with gentleness. Reduces the need for harsh filing. | Takes longer than a single method. Requires multiple tools. | Most common rhinestone applications with nail glue or gel. | High (combines the best of both worlds). |
FAQ: Your Rhinestone Removal Questions Answered
Let’s address some common questions beginners have about removing rhinestone nails safely.
Q1: Can I just pull the rhinestones off?
A1: We strongly advise against this! Pulling can rip off layers of your natural nail, causing significant damage, thinning, and pain. Patience and using the right removal methods are essential.
Q2: How long does it take to remove rhinestone nails?
A2: The time can vary! It might take anywhere from 20 minutes to over an hour, depending on the adhesive used, the type of polish, and how well they were applied. Gel-encapsulated stones will take the longest.
Q3: Will acetone damage my natural nails?
A3: Acetone can be drying, which is why prepping with cuticle oil and following up with intense hydration (hand cream and cuticle oil) is so important. Prolonged or excessive exposure without protection can weaken nails over time, but short, controlled soaks for removal are generally safe when done correctly.
Q4: What if I don’t have acetone? Can I use rubbing alcohol?
A4: Rubbing alcohol (isopropyl alcohol) is not strong enough to effectively dissolve nail glue or gel polish. You need acetone for reliable removal. Non-acetone removers are also not typically strong enough for the glue used on rhinestones.
Q5: My nails feel weak after removing the rhinestones. What can I do?
A5: This is common. Focus on intensive hydration! Apply cuticle oil multiple times a day and use a good hand cream. Consider using a nail strengthener designed to rebuild and fortify nails. Give your nails a break from enhancements for a while to allow them to recover fully.
Q6: Can I reuse the rhinestones after removal?
A6: It’s challenging! Most adhesives will destroy the backing of the rhinestone or leave residue that’s hard to clean without damage. While it’s possible with extreme care for some types, it’s generally not recommended for a fresh, perfect application.
Conclusion
Safely removing rhinestone nails is all about embracing a gentle, patient approach. By gathering your essential tools, following the step-by-step guide, and understanding how to handle different adhesives, you can confidently transform your sparkly manicure into healthy, happy natural nails. Remember, your nails are a canvas for self-expression, and ensuring their well-being is the first step to any fabulous look. Don’t be discouraged if a removal takes a little longer than expected; your natural nails are worth the extra care and attention.
Keep experimenting with your nail art, enjoy the sparkle, and always prioritize the health of your nails. With these techniques, you’re well-equipped to handle rhinestone removal like a pro, keeping your nails strong, beautiful, and ready for your next creative endeavor. Happy polishing, and happy (safe) removing!


