Looking for the perfect quinceañera nail design? Discover stunning, beginner-friendly ideas to make your special day unforgettable. From elegant classics to trendy accents, find inspiration that shines.
Your quinceañera is a magical time! It’s a celebration of you, your journey, and the exciting years ahead. Every detail counts, and that includes your nails! Want them to look absolutely beautiful but not sure where to start? Don’t worry! We’ve got you covered with tons of gorgeous ideas. Let’s get your nails ready to dazzle.
Why Your Quinceañera Nails Matter
Your hands will be in so many photos, holding flowers, dancing, and making toasts. You want them to feel as special as the day itself! Choosing the right nail design adds a touch of glamour that perfectly complements your dress, tiara, and overall look. It’s a way to express your personality and add a little extra sparkle to your celebration.
Getting Started: Nail Prep for a Flawless Finish
Before we dive into the fun designs, let’s talk about making sure your nails are the perfect canvas. Healthy, well-groomed nails will make any design look even better!
Essential Tools for Your Manicure
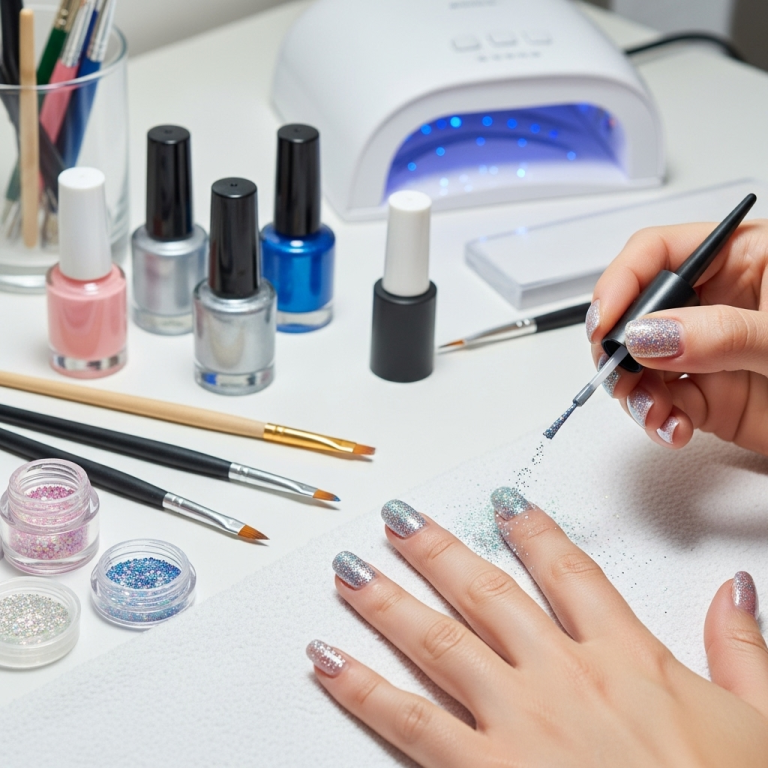
You don’t need a professional salon to get salon-worthy nails. Here are some must-have tools:
- Nail File: To shape your nails.
- Nail Buffer: To smooth and add shine.
- Cuticle Pusher/Orange Stick: To gently push back your cuticles.
- Nail Clippers: For trimming if needed.
- Base Coat: Protects your nails and helps polish adhere.
- Top Coat: Seals your design and adds shine.
- Nail Polish Remover: For mistakes or when you change your color.
Simple Nail Prep Steps
1. Clean Your Nails: Make sure they are free of old polish and any oils.
2. Shape Them: Use a nail file to gently shape your nails. You can go for square, round, or squoval – whatever you like best!
3. Care for Cuticles: Gently push back your cuticles with an orange stick. Avoid cutting them unless absolutely necessary, as this can cause damage.
4. Buff for Smoothness: Lightly buff the surface of your nails to create a smooth base.
5. Apply Base Coat: This thin layer is super important! It prevents staining and creates an even surface for your color.
Stunning Quinceañera Nail Design Ideas
Now for the exciting part! Let’s explore some beautiful and achievable quinceañera nail design ideas that are perfect for beginners and seasoned nail art lovers alike.
1. Classic Elegance: The French Manicure with a Twist
The French manicure is a timeless choice for a reason. It’s sophisticated and pairs beautifully with any dress.
How to Create a Modern French Mani:
- Apply your base coat and let it dry completely.
- Paint your nails a sheer, milky pink or nude color. This is your base.
- Once dry, carefully paint a crisp white line along your natural nail tip. For a cleaner line, you can use a fine brush or even guide yourself with a small piece of tape.
- The Twist: Instead of plain white, try a subtle shimmer or opal color for the tips! Or, consider a very thin glitter stripe where the white meets the pink.
- Finish with a high-shine top coat.
2. Soft Romance: Pastel Perfection
Pastel colors are incredibly popular for quinceañeras, evoking a sense of sweetness and grace. Think blush pink, lavender, mint green, or baby blue.
Palette Inspiration:
- Blush Pink: Soft, feminine, and always in style.
- Lavender/Lilac: Dreamy and a bit unexpected.
- Mint Green: Fresh, delicate, and lovely.
- Sky Blue: Airy and serene.
Monochromatic Pastel Look:
- Choose one pastel shade and paint all your nails with it.
- Add a sheer pearly topcoat over the color for an ethereal glow.
- This look is simple, chic, and lets your dress be the main star.
Pastel Ombre:
- This is easier than it looks!
- Start with a sheer nude or white base.
- Using a makeup sponge, gently dab two complementary pastel shades onto the sponge.
- Press the sponge onto the tip of your nail, blending upwards.
- Repeat until you achieve the desired gradient.
- Seal with a top coat.
3. Glitter & Glam: Sparkle for Your Special Day
No quinceañera is complete without a touch of sparkle! Glitter is a fantastic way to add excitement and festivity to your nails.
Glitter Ombre Nails:
- Apply a base color (nude, pink, or white works well).
- Dip a small brush into fine glitter (silver, gold, or iridescent are great choices).
- Start applying the glitter to the tips of your nails, gradually blending it down towards the cuticle.
- Layer it for more intensity or use just a hint for subtle shimmer.
- Finish with a thick top coat to smooth out any glitter texture.
Glitter Accent Nail:
- Paint all your nails in your chosen base color.
- On one or two nails (often the ring finger), apply a full coat of glitter polish.
- Alternatively, use glitter glue or a clear polish and then pat loose glitter onto the wet polish.
- This is a simple yet impactful way to add glamour.
4. Rose Gold Radiance
Rose gold is a sophisticated metallic that adds warmth and a touch of luxury. It’s a beautiful alternative to traditional gold or silver.
Solid Rose Gold:
- Simply paint all your nails with a beautiful rose gold polish.
- A glittery rose gold polish would be extra festive.
Rose Gold Accents:
- Use rose gold glitter polish to create French tips.
- Apply thin rose gold lines over a nude or pink base using a fine brush or striping tape.
- Add small rose gold studs or rhinestones to an accent nail.
5. Floral Fantasy: Delicate Blooms
If your dress has floral motifs or you love a romantic vibe, floral nail art is perfect. Don’t worry if you’re not an artist; simple flowers are achievable!
Easy Floral Tips:
- Use a dotting tool or the tip of a toothpick to create small dots of color.
- Connect these dots with tiny lines to form petals.
- A tiny dot of a contrasting color in the center can be your flower’s “pistil.”
- Try adding a single delicate flower to an accent nail with a solid color base.
Floral Decals/Stickers:
- For a super easy and perfect result, use nail stickers or water decals.
- After applying your base color and letting it dry, carefully place the floral sticker or decal.
- Seal with a top coat.
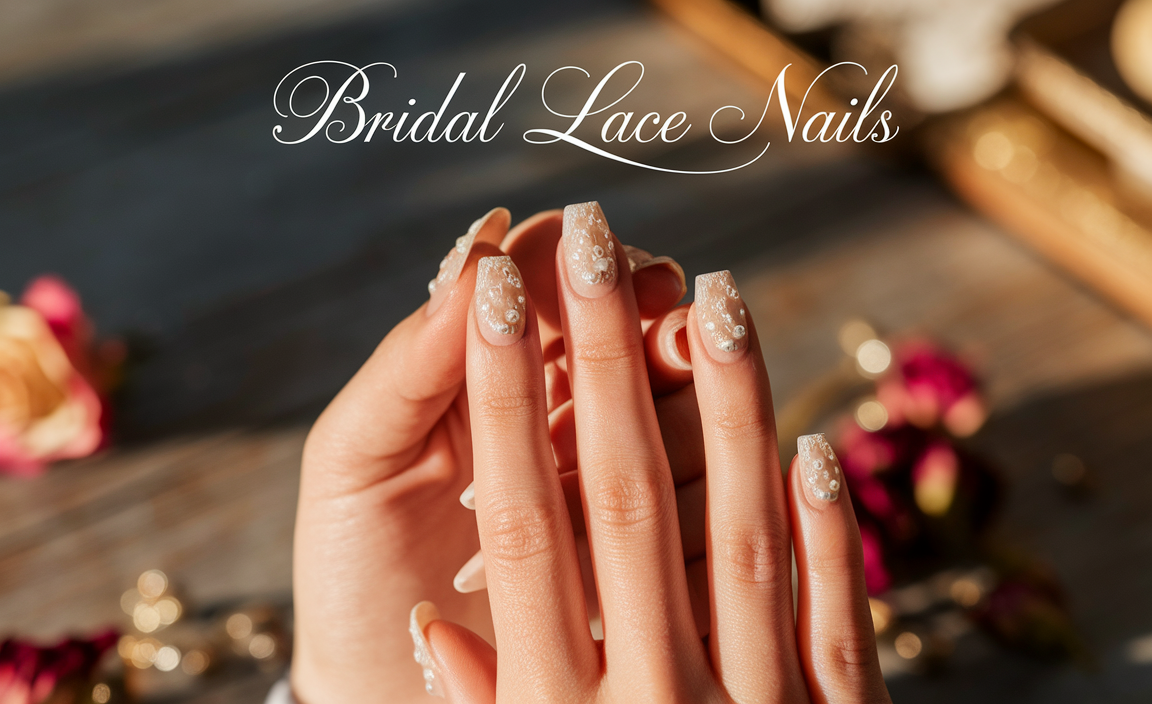
6. Pearl Accents: Timeless Sophistication
Pearls evoke a sense of classic beauty and elegance, making them a wonderful addition to your quinceañera nails.
Pearl Embellishments:
- Apply your chosen base color (a soft pink, nude, or even a classic white).
- Use a strong nail glue or strategically placed top coat to adhere small pearl beads to your nails.
- Focus on the cuticle line or the tip of the nail.
- A single pearl on each nail or a cluster on an accent nail can be stunning.
Pearlized Finish:
- Use a pearlescent top coat over your base color for a subtle, shimmery sheen.
- Some polishes have a natural pearl finish that looks incredibly elegant.
7. Marble Magic: Artistic & Chic
Marble designs look intricate but can be surprisingly simple to achieve with a bit of practice.
Basic Marble Technique:
- Paint your nails with a base color (white or a light pastel).
- On a piece of foil or a palette, put a drop of white polish and a drop of black or dark gray polish.
- Swirl them together lightly with a toothpick or brush – don’t overmix! You want distinct veins.
- Dab the polish-laden brush onto your nail, creating a marbled effect.
- Repeat with different color combinations if desired.
- Seal with a top coat once dry.
8. Gradient of Dreams: Subtle Color Transition
A gradient, or ombre, effect can be done with more than just pastels. Try a soft fade from a light shade to a slightly darker one, or even blend two complementary colors.
How to Achieve a Smooth Gradient:
- Apply a base coat and let it dry.
- Paint all nails with your lightest color.
- On a makeup sponge, paint two thin stripes of your desired colors side-by-side.
- Gently dab the sponge onto the tip of your nail, blending downwards.
- For a more seamless look, apply a thin layer of latex or liquid tape around your cuticles to catch excess polish.
- Repeat dabbing to build color intensity and smoothness.
- Apply a generous top coat to meld the colors and smooth the texture.
For detailed guidance on nail art sponges and techniques, reputable beauty resources like Cosmopolitan’s nail art guides offer excellent visual tips.
Trendy Shapes for Your Quinceañera Nails
The shape of your nail can really enhance the design you choose!
| Shape | Description | Best For |
|---|---|---|
| Square | Straight sides with sharp, 90-degree corners. | Short to medium nails; bold designs. |
| Squoval | A softer version of square with rounded edges. | Most nail lengths; versatile for any design. |
| Round | Follows the natural curve of the fingertip. | Short nails; elegant and low-maintenance. |
| Almond | Tapered sides with a rounded, pointed tip. | Longer nails; elegant and graceful designs, can make fingers look longer. |
| Stiletto | Long and sharply pointed like a stiletto heel. | Very long nails; dramatic designs, requires careful wear. |
Nail Care Tips for a Lasting Manicure
Want your beautiful quinceañera nails to last throughout the celebration and beyond? Here are some tips:
- Always use a top coat: Reapply every 2-3 days to refresh the shine and protect your design.
- Wear gloves: When doing chores, cooking, or anything involving water, wear rubber gloves to protect your polish.
- Moisturize cuticles: Apply cuticle oil daily to keep the skin around your nails soft and healthy. This also helps prevent your polish from chipping at the edges.
- Avoid using nails as tools: Don’t try to pry, scrape, or open things with your nails.
- Carry a mini clear polish: For quick touch-ups if a small chip occurs.
Choosing the Best Nail Polish Brands
While personal preference plays a big role, some brands are consistently praised for their formulas, color selection, and longevity. For your special day, consider these reliable options:
| Brand | Why We Love It | Ideal For |
|---|---|---|
| OPI | Vast color range, long-wearing formulas, iconic names. | Classic elegant shades, trendy colors, and everything in between. |
| Essie | Smooth application, sophisticated color palettes, quick-drying. | Chic pastels, refined neutrals, and fashion-forward hues. |
| China Glaze | Innovative finishes, bright and vibrant colors, good value. | Funerals, glitter, and bold statement colors. |
| Sally Hansen | Affordable, widely available, many “miracle gel” or strengthening lines. | Beginners, budget-conscious shoppers, long-lasting gel-like finishes. |
Your Quinceañera Nail Design FAQ
Q: How do I prevent my nail polish from chipping during my quinceañera?
A: Start with clean, dry nails, apply a good base coat, use thin layers of color, and seal with a robust top coat. Reapply top coat daily. Avoid wearing gloves when doing chores before the event to keep your nails in perfect condition.
Q: Can I do elaborate nail art myself, or should I go to a salon?
A: For beginner-friendly designs like gentle gradients, simple glitter accents, or pearl embellishments, DIY is totally doable! If you dream of intricate 3D art or complex hand-painted designs, a professional salon might be best. Many salons also offer simpler services like gel manicures which are very durable.
Q: What if I have short nails? Can I still have beautiful quinceañera nails?
A: Absolutely! Short nails can look incredibly elegant. Focus on neat shaping, clean cuticles, and polished colors. Shorter nails can showcase French tips, solid elegant colors, subtle glitter accents, or delicate floral decals wonderfully. The key is neatness and a great color choice.
Q: How long before my quinceañera should I get my nails done?
A: For a standard polish manicure, 1-2 days before is ideal so the polish has time to set and any minor imperfections can be fixed. If you’re opting for gel or acrylics, 2-3 days before is usually recommended as these can be more complex and might require slight adjustments.
Q: Should my nail color match my dress or my tiara perfectly?
A: It doesn’t have to be an exact match! Your nails should complement your overall look. Think coordinating colors (e.g., a soft pink dress with a rose gold nail) or a classic neutral that goes with everything. Sometimes, a sparkle or metallic accent can tie all your elements together without being matchy-matchy.
Q: What’s the difference between regular polish and gel polish for my quinceañera?
A: Regular polish air-dries and can chip more easily but is easier to remove at home. Gel polish is cured under a UV/LED lamp, lasts much longer (2-3 weeks), is chip-resistant, and has a high-gloss finish. However, it requires professional removal or special at-home kits.
Conclusion
Your quinceañera is a once-in-a-lifetime event, and your nails should feel just as special and celebratory as you do! Whether you prefer the timeless grace of a French manicure with a twist, the sweet charm of pastel shades, or the dazzling allure of glitter and rose gold, there’s a perfect design waiting for you. Remember, the most important thing is that your nails make you feel beautiful, confident, and ready to embrace your new chapter. Take these ideas, have fun experimenting, and get ready to shine! Your perfect quinceañera nails are just a polish away.


