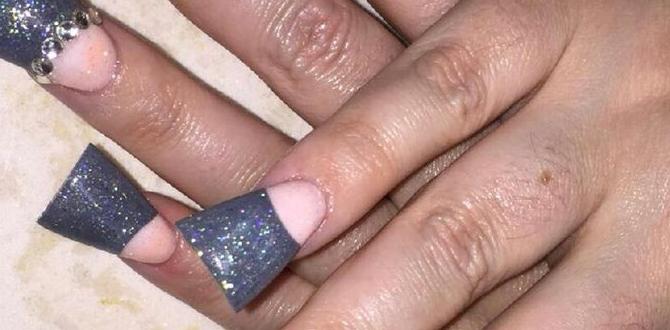
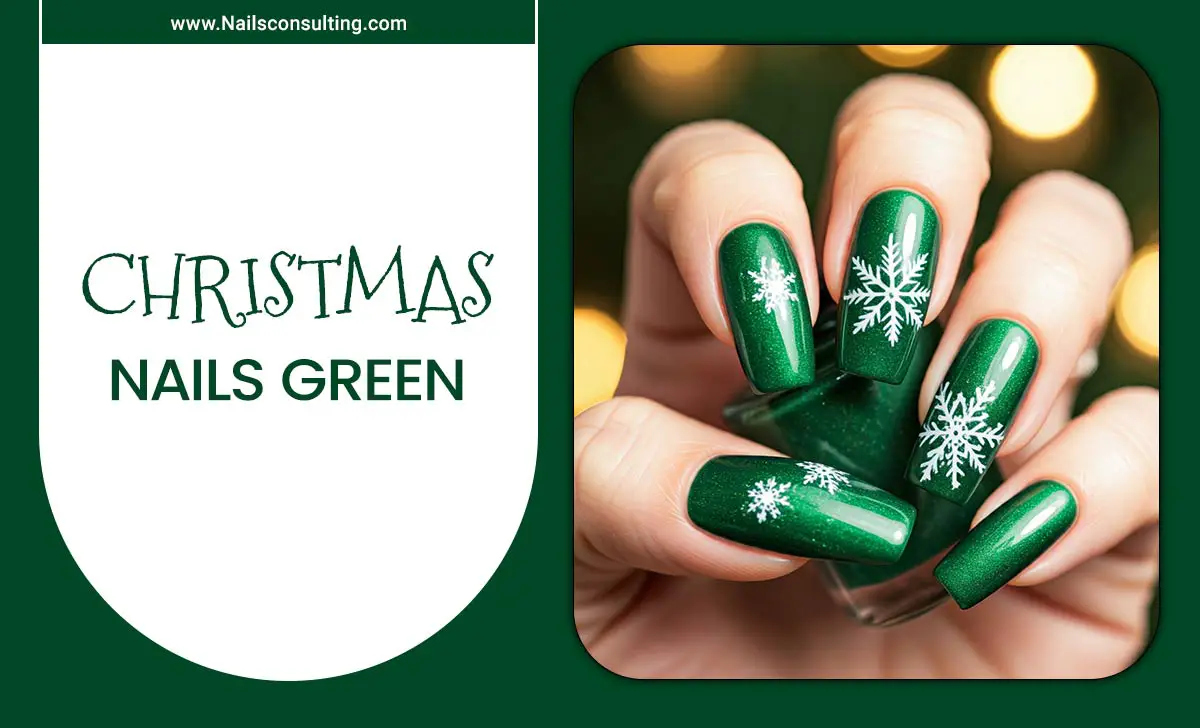
Glitter cuticle nail designs are a dazzling, easy way to elevate your manicure! Perfect for adding sparkle to any occasion, they require minimal skill and can be customized to your heart’s content. Learn how to create these stunning looks at home with simple steps and essential tips.
Ever looked at a manicure with a touch of shimmer around the cuticle and thought, “That looks amazing, but I could never do that”? You’re not alone! Many of us admire those sparkly accents and feel intimidated, thinking it requires a professional touch. But guess what? Glitter cuticle nail designs are actually super beginner-friendly and incredibly fun to master. They’re the perfect way to add a little oomph to your nails without a lot of fuss. We’re going to break down exactly how to achieve these gorgeous looks, making it simple and stress-free.
Get ready to discover just how easy it is to bring runway-ready sparkle to your fingertips. We’ll cover everything you need to know, from the best glitter types to simple application techniques. So, let’s dive in and make your nails shine!
Why Glitter Cuticle Nail Designs Are Essential for Your Manicure Repertoire
Glitter cuticle nail designs aren’t just a fleeting trend; they’re a versatile and impactful way to express your style. They offer a sophisticated yet playful touch that can transform a simple polish into a statement piece. Think of them as the perfect accessory for your nails, adding a pop of glamour without being over the top. Whether you’re dressing up for a special event or just want to add a little sparkle to your everyday life, this design is your go-to.
- Instant Glamour: Glitter instantly elevates any nail color, adding a touch of luxury and festivity.
- Versatility: They can be adapted to any outfit, occasion, or personal style, from subtle shimmer to bold statement.
- Easy Application: Unlike intricate nail art, glitter cuticle designs are remarkably simple to achieve, even for beginners.
- Durability: When applied correctly with a good top coat, they can last longer than some other delicate nail art.
- Creativity Unleashed: The possibilities for color, glitter type, and placement are endless, allowing for unique self-expression.
- Budget-Friendly: You can achieve a salon-worthy look at a fraction of the cost by doing it yourself.
Essential Tools and Materials for Glitter Cuticle Nail Designs
Before we get our hands sparkly, let’s gather our toolkit! Having the right supplies makes the process smooth and ensures a professional-looking finish. Don’t worry if you don’t have everything right away; many of these are staples for any nail enthusiast.
The Glitter
This is where the magic happens! There are various types of glitter you can use, each offering a different effect:
- Fine Glitter: This is the most versatile and easiest to control. It creates a smooth, shimmery effect that blends well. Perfect for beginners.
- Chunky Glitter: Larger particles offer a bolder look with more dimension. Can be trickier to apply evenly but makes a statement.
- Iridescent Glitter: Shifts color depending on the light, adding a magical, holographic effect.
- Holographic Glitter: Reflects a rainbow of colors, creating a dazzling, eye-catching finish.
- Glitter Powders vs. Loose Glitter: Glitter powders are very fine and can be buffed on for a smooth, chrome-like effect. Loose glitter often comes in larger particles and is applied with a brush or directly. Many beginners find glitter pots or small jars of loose glitter easiest to manage.
Application Tools
- Small Nail Art Brush: A thin, precise brush is essential for placing glitter exactly where you want it, especially around the cuticle area.
- Tweezers: For picking up larger pieces of chunky glitter to place them strategically.
- Wooden Cuticle Pusher or Orange Stick: To gently clean up any stray glitter or polish around the edges.
- Cotton Swabs/Q-tips: Fantastic for precise cleanup of polish or glitter spills.
- Paper Towel or Palette: A clean surface to dispense your glitter onto for easy brush access.
Base and Top Coats
- Base Coat: Protects your natural nails and provides a smooth canvas for your polish and glitter.
- Nail Polish: The color you’ll use as your base for the glitter, or you can apply glitter directly to a clear base.
- Clear Top Coat: Crucial for sealing in the glitter, adding shine, and ensuring longevity. A gel top coat can offer extra durability if you use gel polish.
Optional Additions
- Liquid Latex or Barrier Cream: For a super clean application, these protect the skin around your nail from glitter and polish.
- Nail Glue: If you want to embed larger gems or 3D elements along with your glitter.
Step-by-Step Guide: Creating a Stunning Glitter Cuticle Nail Design
Ready to sparkle? Follow these simple steps to achieve a flawless glitter cuticle nail design. We’ll focus on a classic and easy-to-manage technique.
Step 1: Prep Your Nails
Clean nails are happy nails! Ensure your nails are clean, dry, and free of any old polish. Push back your cuticles gently using a cuticle pusher. If you have any rough edges, a light buffing can create a smooth surface. A good base coat is essential to protect your nails and help your polish adhere better.
Step 2: Apply Your Base Polish (Optional but Recommended)
Choose a nail polish color that complements your glitter. Apply one or two thin coats, depending on opacity. Let each coat dry completely. This step is optional; you can apply glitter directly over a clear base coat for a more subtle look.
Step 3: Position Your Glitter
This is where the magic happens! There are a few ways to apply glitter to the cuticle area:
Method A: Using a Nail Art Brush
- Dispense a small amount of fine glitter onto a clean surface or palette.
- Dip your dry nail art brush into the glitter.
- Gently tap or brush the glitter onto the very edge of your cuticle area, where the nail meets the skin. You can create a clean line or a soft, blended gradient.
- Work in small sections, adding glitter little by little until you achieve your desired look.
Method B: Applying Glitter Over Wet Polish (for a blended look)
- Apply a thin layer of clear nail polish (or your base color) to the cuticle area where you want the glitter to adhere.
- Immediately, using your glitter brush or even just tapping from the glitter pot, apply the glitter over the wet polish.
- Gently press the glitter down with your brush or finger to secure it.
Method C: Using Glitter Gel Polish
- Apply a thin layer of glitter gel polish directly to the cuticle area.
- Carefully shape the glitter with your brush to create the desired design.
- Cure according to the gel polish instructions. This method offers excellent longevity and vibrancy.
Step 4: Clean Up Fussy Bits
This is a crucial step for a polished finish! Use a small brush or a cotton swab dipped in nail polish remover to gently clean up any glitter or polish that landed on your skin, as seen in many professional nail art tutorials. If you’re using liquid latex, peel it away carefully now.
Step 5: Seal Your Design with a Top Coat
Once your glitter is in place and any cleanup is done, the final and most important step is to apply a generous, smooth layer of clear top coat. Make sure to cap the free edge of your nails (the tip) to prevent chipping. This will seal in the glitter, add incredible shine, and protect your masterpiece. For loose glitters, especially chunkier ones, you might need two top coats to ensure a perfectly smooth surface.
Step 6: Let It Dry Completely
Patience is key! Allow your nails to dry thoroughly. For regular polish, this might take 10-15 minutes. If you used gel products, cure under a UV/LED lamp as directed. Applying a top coat too soon can smudge your design.
Tips for Achieving the Best Glitter Cuticle Nail Design
Want to elevate your glitter game even further? Here are some expert tips to ensure your sparkle stays put and looks fabulous:
- Start Small: If you’re completely new to nail art, begin with fine glitter. It’s forgiving and creates a beautiful, diffused effect.
- Work in Thin Layers: Whether it’s your base polish or top coat, thin layers are always best. They dry faster and prevent bulkiness.
- Use a Dedicated Glitter Brush: A clean, dry brush will help you control the placement of glitter much better than fumbling with pots.
- Don’t Forget the Cleanup: A clean cuticle line makes a huge difference between a DIY look and a professional one.
- Cap Your Edges: Essential for longevity! Sealing the free edge with your top coat protects against lifting and chipping.
- Consider a Glitter Base: Some brands offer specific glitter bases designed to help glitter adhere better and provide a good surface for building.
- Experiment with Placement: Glitter doesn’t just have to be at the very edge. Try a half-moon at the cuticle, a scattered effect, or a bold line.
- Clean Up Your Tools: Keep your nail art brushes clean so they’re ready for your next sparkly creation.
Glitter Cuticle Nail Design: Pros and Cons
Like any beauty trend, glitter cuticle nail designs have their advantages and disadvantages. Understanding these can help you decide if it’s the right choice for you and how to best manage it.
Here’s a quick breakdown:
| Pros | Cons |
|---|---|
| Stunning Visual Appeal: Adds instant glamour and sparkle. | Can Be Messy: Glitter can get everywhere during application if not careful. |
| Easy for Beginners: Simpler to execute than complex nail art. | Cleanup Required: Precise cleanup is needed for a professional look. |
| Versatile: Suits various occasions, styles, and nail lengths. | Potential for Roughness: Chunky glitters can feel uneven without enough top coat. |
| Customizable: Endless options for color, size, and placement. | Removal Can Be Tricky: Glitter can sometimes be stubborn to remove, especially fine glitters. |
| Affordable DIY Option: Saves money compared to salon nail art. | Requires Specific Tools: A good brush and top coat are essential. |
| Long-Lasting (with proper application): A good top coat ensures durability. | Can Clog Brushes: Fine glitters can sometimes get into the bristles of your top coat brush if not careful. |
Exploring Different Glitter Cuticle Nail Design Variations
The beauty of glitter cuticle designs lies in their adaptability! Once you’ve mastered the basic application, don’t be afraid to play around. Here are some popular variations to inspire you:
The Classic Glitter Line
A simple, clean, thin line of fine glitter placed just at the cuticle’s edge. This is subtle, chic, and incredibly effective. It works with any polish color and is perfect for everyday wear or a professional setting.
The Gradient Sparkle
Start with a dense application of glitter directly at the cuticle and gradually fade it out towards the center or tip of the nail. This creates a beautiful ombre effect using glitter, adding depth and dimension.
Full Glitter Cuticle Bed
Cover the entire cuticle area with a solid block of glitter. This is a bolder look that makes a statement. You can use a single color or mix glitters for a unique effect. This is fantastic for parties and special events.
Dual-Tone Glitter
Use two different glitter colors, one placed right at the cuticle and another slightly above it, or use one color to define the edge and another to fill in a small section. This adds complexity and visual interest.
Accent Nail Fun
If a full set feels like too much, try glitter cuticle designs on just one or two accent nails. Often, the ring finger is a popular choice for this. It’s a great way to experiment without committing to a full look.
3D Glitter Accents
For the adventurous, mix larger glitter particles or even small gems with glitter glue and strategically place them along the cuticle line for a textured, eye-catching design.
How to Remove Glitter Nail Polish and Designs Safely
Removing stubborn glitter can sometimes feel like a chore, but with the right technique, it’s manageable. The key is to let the remover do the work!
- Soak It Off: The most effective method is the foil soak. Grab cotton balls, cut them into small pieces just big enough to fit on your nails. Saturate them with a good quality nail polish remover (acetone-based removers work best for glitter).
- Wrap It Up: Place a soaked cotton ball piece on each nail and then wrap your fingertips tightly with aluminum foil. This traps the remover and helps break down the polish and glitter.
- Wait Patiently: Let it soak for about 10-15 minutes. The longer you wait, the easier the removal will be.
- Gently Wipe: Unwrap one finger at a time. The polish and glitter should be softened and easy to wipe off with the cotton ball. If some glitter remains, gently rub it away. Avoid aggressive scrubbing, which can damage your nails.
- Clean and Moisturize: Once all the glitter and polish are removed, wash your hands and apply a nourishing cuticle oil or hand cream. Glitter removal can be drying, so moisturizing is essential for nail health.
For gel glitter polish, you’ll follow a similar soak-off process, but it might take a bit longer. You can also gently buff the gel top coat with a coarse nail file before soaking to help the remover penetrate better.
Maintaining Your Glitter Cuticle Nail Design
To keep your glitter cuticle design looking fresh and fabulous:
- Avoid Harsh Chemicals: Wear gloves when doing chores, especially when using cleaning supplies, as they can degrade your top coat and loosen the glitter.
- Be Gentle: Try not to pick at your nails or cuticles, as this can lift the edges of the glitter.
- Reapply Top Coat: If you notice any dullness or lifting after a few days, carefully apply another thin layer of top coat to refresh the shine and seal everything in.
Frequently Asked Questions (FAQ) about Glitter Cuticle Nail Designs
Q1: Can I use craft glitter on my nails?
A1: While tempting, it’s best to stick to cosmetic-grade glitter designed for nail art. Craft glitter particles can be sharper and may not be safe for skin application. Cosmetic glitter is finely milled and adheres better. You can find great cosmetic glitters at beauty supply stores or online retailers specializing in nail art.
Q2: How do I make the glitter line sharp and clean?
A2: A clean, dry nail art brush is your best friend here! Apply glitter to the very edge of the cuticle. For a super sharp line, you can also use a fine art brush dipped in a bit of nail polish remover to ‘draw’ a clean edge after the glitter is applied but before the top coat. Alternatively, using liquid latex around your cuticle before application provides a guaranteed clean border.
Q3: My glitter looks clumpy. How can I fix this?
A3: Clumpiness usually happens with too much loose glitter or not enough top coat. For loose glitter, apply it sparingly and tap off the excess. When applying your top coat, ensure you use a generous, smooth layer, and gently press down any raised glitter particles with your brush before they fully dry. A second top coat can also help smooth out the surface.
Q4: How long do glitter cuticle nail designs typically last?
A4: With proper application and a good quality top coat, a glitter cuticle design can last anywhere from 5 to 10 days. Using gel polish and a gel top coat can extend this significantly, often to 2-3 weeks, similar to a regular gel manicure.
Q5: Can I put glitter cuticle designs on short nails too?
A5: Absolutely! Glitter cuticle designs are fantastic for short nails as they draw attention to the nail bed and cuticle area, elongating the look of the nail. A fine glitter line or a subtle gradient works wonderfully on shorter lengths.
Q6


