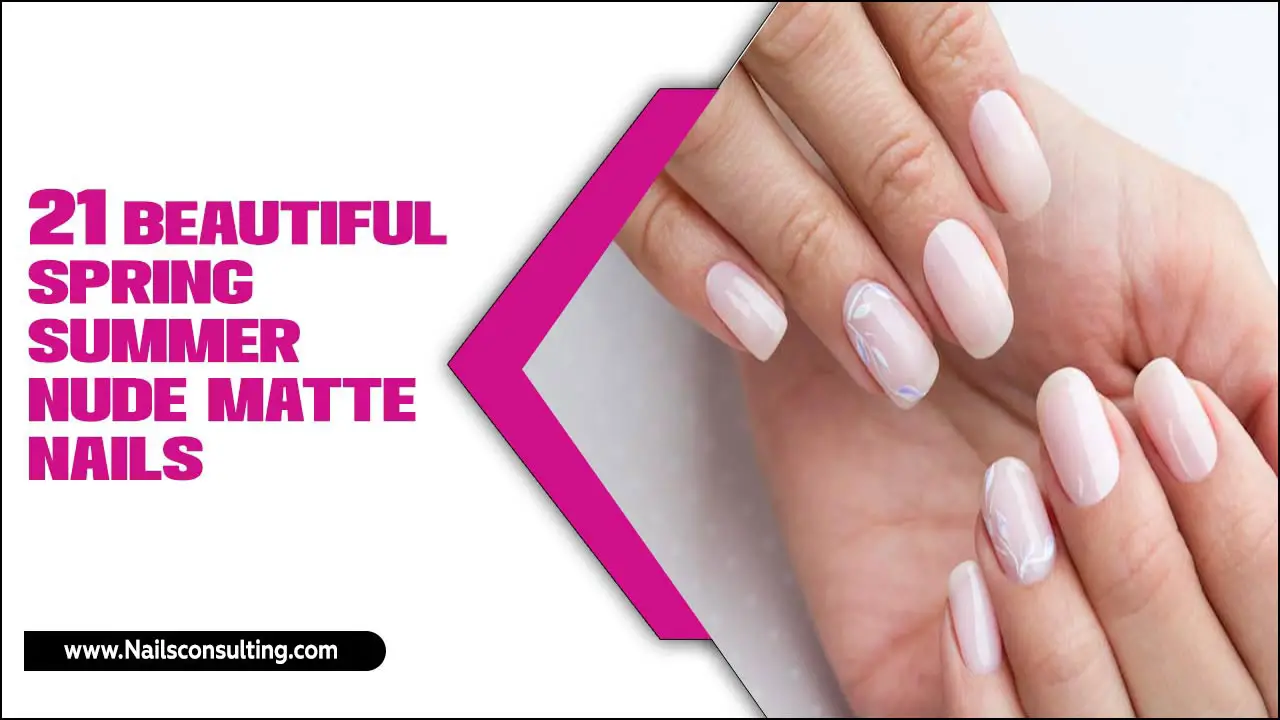
Geometric modern nail designs offer a chic, minimalist, and totally achievable way to elevate your manicure. Master simple shapes and lines for a sophisticated look that’s perfect for beginners and busy bees alike.
Looking to add a little modern flair to your fingertips? Sometimes, a simple change can make a big impact, and geometric nail designs are just the ticket! They’re sleek, stylish, and surprisingly easy to create yourself. If you’ve ever felt intimidated by nail art, you’ll be happy to know that geometric patterns are a fantastic starting point. We’ll break down everything you need to know to get these stunning looks on your nails, making your manicure routine a fun and creative experience. Get ready to impress yourself and everyone around you with these fabulous designs!
Why Geometric Modern Nails Are Perfect for You
Geometric modern nail designs are a breath of fresh air in the nail art world. They’re all about clean lines, sharp angles, and minimalist aesthetics. Think of bold stripes, precise triangles, chic squares, and elegant chevrons. What makes them so popular, especially for beginners? They’re incredibly versatile! They can be as subtle or as statement-making as you like, fitting seamlessly into any style. Plus, they don’t require a super steady hand or years of practice to achieve a professional look. It’s all about precision and a little bit of clever technique.
The Appeal of Geometric Nails
Simplicity: Geometric designs often rely on basic shapes, making them easy to visualize and execute.
Chic & Modern: They exude a sophisticated, contemporary vibe that’s always on-trend.
Versatility: From subtle accents to full-nail art, they can be adapted to any occasion.
Beginner-Friendly: Many geometric patterns are forgiving and don’t require intricate detailing.
Customizable: You can play with colors, patterns, and placements to make them uniquely yours.
Essential Tools for Geometric Nail Art
Before we dive into the designs, let’s gather your toolkit. You don’t need a professional salon setup to create amazing geometric nails. A few key items will make all the difference. Having the right tools makes the process smoother and the results much cleaner and more professional. Think of these as your trusty sidekicks for creating geometric masterpieces!
Your Geometric Nail Art Toolkit
Base Coat: This protects your natural nails and helps your polish adhere better. Essential for a long-lasting manicure!
Top Coat: Seals your design, adds shine, and prevents chipping. A must-have for durability.
Nail Polish: Choose your favorite colors! Contrasting colors often pop beautifully in geometric designs.
Thin Nail Art Brushes: These are your magic wands for drawing lines and details. Look for liner brushes with extra-fine tips.
Dotting Tools: Perfect for creating small dots that can be part of geometric patterns or used as accents.
Striping Tape or Nail Vinyls: These sticky tapes are game-changers for creating perfectly straight lines and sharp angles. They’re available online and at most beauty supply stores. The measurement provided by these tools ensures precision in your designs.
Tweezers: For precise placement and removal of striping tape or nail vinyls.
Nail Polish Remover & Cotton Swabs: For cleaning up any mistakes. Don’t worry; we all make them!
Clean-up Brush: An old, small, flat makeup brush is perfect for dipping into nail polish remover and cleaning up edges.
Beginner-Friendly Geometric Nail Designs
Ready to get your hands on some easy yet stunning geometric nail art? These designs are perfect for starting out. They require minimal steps and deliver maximum impact. Let’s get creative!
1. The Minimalist Stripe Mani
This is perhaps the easiest and most classic geometric design. It’s elegant and works on any nail length.
What You’ll Need:
Base coat
Two nail polish colors (e.g., nude and black, or white and gold)
Thin nail art brush or striping tape
Top coat
How to Do It:
- Apply your base coat and let it dry completely.
- Paint all your nails with your first color (this will be your base color). Let it dry thoroughly. A good rule of thumb is to wait at least 5 minutes.
- Using Nail Art Brush: Dip your fine-tipped brush into your second color. Gently draw a single, straight line vertically, horizontally, or diagonally across one or two accent nails. You can also create multiple thin parallel lines.
- Using Striping Tape: Carefully apply a strip of nail striping tape onto your dried base color. Paint over the tape with your second color. Immediately after painting, gently peel off the tape while the polish is still wet. This creates a super crisp line.
- Let your design dry completely.
- Apply a top coat to seal and add shine.
2. The Chic Color Block
Color blocking is a fantastic way to use bold colors or subtle tones to create exciting shapes.
What You’ll Need:
Base coat
Two to three nail polish colors
Striping tape or nail vinyls
Tweezers
Top coat
How to Do It:
- Apply base coat and let it dry.
- Paint all nails with your primary color. Let it dry completely.
- Apply striping tape or nail vinyls to create the sections you want to color block. For example, place a strip diagonally across the nail, leaving a triangle shape exposed.
- Paint the exposed section with your second color.
- While the second color is still wet, carefully remove the striping tape or vinyls using tweezers.
- Let it dry. If you’re using a third color, repeat steps 3-5 on a different section of the nail or on another accent nail.
- Once completely dry, apply a top coat.
3. The Simple Triangle Accent
A single triangle on the accent nail adds a touch of modern geometry without being overwhelming.
What You’ll Need:
Base coat
Two nail polish colors
Striping tape or a fine-tipped brush
Top coat
How to Do It:
- Apply base coat and let it dry.
- Paint one or two accent nails with your first color. Let it dry fully.
- Using Striping Tape: Cut small pieces of striping tape and arrange them in a triangle shape on your accent nail, leaving a triangular area uncovered. Press the tape down firmly.
- Paint the exposed triangle with your second color.
- Carefully peel off the tape while the polish is wet.
- Using a Brush: Paint a triangular shape freehand with a fine-tipped brush using your second color. This takes a little practice but is very rewarding!
- Let it dry.
- Apply a top coat.
4. The Half-Moon Modern Twist
This design plays with negative space and clean curves, offering a sophisticated look.
What You’ll Need:
Base coat
One or two nail polish colors
Round stickers or small circular stencils (or even the opening of a tape dispenser!)
Fine-tipped brush (optional, for cleanup)
Top coat
How to Do It:
- Apply base coat and let it dry.
- Paint your nails with your main color. Let it dry completely. Speeding this up might cause smudging.
- Place a round sticker or stencil on each nail, near the cuticle, creating a “half-moon” shape over your nail polish. Press the edges down firmly.
- Option 1 (Two Colors): Paint the exposed half-moon area with your second color. Carefully remove the sticker while the second color is wet.
- Option 2 (Negative Space): Leave the half-moon area bare (your natural nail color or a clear base coat). Use a fine-tipped brush dipped in nail polish remover to clean up any stray polish around the sticker edge for a crisp line.
- Let the polish dry thoroughly.
- Apply a top coat.
Tips for Perfecting Your Geometric Nails
Even with simple designs, a few pro tips can help you achieve salon-worthy results right at home. Don’t get discouraged if your first attempt isn’t flawless. Practice makes perfect, and these tips will definitely help speed up your learning curve!
Mastering the Lines
Thin Coats are Key: Apply thin layers of polish. Thick coats are more prone to smudging and take longer to dry, making tape removal tricky.
Patience is a Virtue: Always let each layer of polish dry completely before applying tape or drawing your next line. Use a quick-dry spray or drop if you’re in a hurry.
Press Tape Down Firmly: Ensure the edges of your striping tape or vinyls are pressed down tightly to prevent polish seeping underneath.
Peel Tape at the Right Time: Remove tape and vinyls when the polish is still wet. Peeling too late can lift the polish underneath. Peeling too early can cause smudging. It’s a feel game, but you’ll get it!
Clean Up Immediately: Use a small brush dipped in nail polish remover to clean up any wobbly lines or polish on your skin while it’s still fresh.
Color Combinations and Placement
Contrast is Your Friend: For bold geometric designs, use contrasting colors like black and white, navy and gold, or mint and coral.
Subtle Sophistication: If you prefer a more understated look, use tonal shades or pair a metallic with a neutral. Think taupe and rose gold, or grey and silver.
Accent Nails: Start by practicing geometric designs on just one or two accent nails (usually the ring fingers) while the others have a solid color. This reduces the margin for error while still giving you a stylish look.
Consider Nail Shape: Different shapes can highlight geometric designs. Almond and stiletto nails are great for long, elegant lines, while square or squoval nails are perfect for bold blocks and chevrons.
Table Comparing Geometric Design Methods
Choosing the right method for creating your geometric shapes can make a big difference in ease and precision. Here’s a quick comparison to help you decide.
| Method | Ease of Use (Beginner) | Precision Level | Best For | Pros | Cons |
|---|---|---|---|---|---|
| Striping Tape / Nail Vinyls | High | Excellent | Straight lines, sharp angles, color blocking, French tips. | Super crisp lines, makes complex designs accessible, reusable options available. | Requires careful application and removal, can lift polish if not applied/removed correctly. |
| Thin Nail Art Brushes | Medium | Good (with practice) | Freehand lines, dots, simple details, curved lines. | Versatile for various patterns, good for fine detailing, more creative freedom. | Requires a steady hand and practice, can be messy without skill. |
| Dotting Tools | High | Good (for dots) | Creating patterns with dots, small circular shapes. | Easy to create consistent dots, good for patterns like polka dots or creating outlines. | Limited to dot shapes, not ideal for lines or sharp angles. |
| Stencils/Guards | High | Good (for shapes) | Half-moons, specific French tip shapes, stencils. | Good for creating specific shapes easily, reduces the need for freehand drawing. | Limited to the shapes of the stencil/sticker, can sometimes leave residue. |
Advanced Geometric Touches for the Adventurous
Once you’re comfortable with the basics, why not push your geometric designs a little further? These ideas can add an extra pop of interest to your manicures.
Incorporating Metallics and Glitter
Metallic Accents: Use gold, silver, or rose gold polish with striping tape to create elegant borders or thin lines against a matte base.
Glitter Gradients: Apply a glitter polish over a geometric shape for a dazzling effect. For instance, a glitter triangle at the tip of your nail, or a glitter stripe.
Glitter Lines: Use a very fine brush and a glitter polish to draw thin lines over a solid color for subtle shimmer.
Geometric Ombre
This is a fun twist on the traditional ombre. Instead of a smooth fade, create sharp lines or distinct blocks of color that transition from one shade to the next. You can achieve this using tape to create clean divisions between colors.
Combining with Other Finishes
Matte and Glossy: Pair a matte top coat over your geometric design for a sophisticated contrast. A matte base with glossy lines, or vice versa, looks incredibly chic.
Texture: Consider adding a matte top coat to a glossy design, or use textured polishes as part of your geometric pattern.
Nail Art Studies and Resources
For those who love to delve deeper, understanding the principles of design can be fascinating. Geometric art has roots in various cultures and design movements. While formal studies are extensive, you can find inspiration from graphic design principles, art history, and even architectural elements. Understanding symmetry, balance, and pattern repetition can help elevate your nail art. For more on design principles, exploring resources from institutions like Designspiration can offer visual cues and ideas that translate well to nail art, even if they aren’t directly about nails.
FAQ: Geometric Modern Nail Designs
Q1: Do I need special polish for geometric nail art?
No, you don’t need special polish! Regular nail polish works perfectly. The key is in the application tools and techniques, like using thin brushes or striping tape. However, some people find polishes with good pigmentation and a smooth finish are easier to work with for sharp lines.
Q2: How can I achieve really straight lines on my nails?
The easiest way for beginners is to use striping tape or nail vinyls. Apply the tape firmly to your dried polish, paint over it, and peel it off while the new polish is still wet. For freehand lines, use a very thin, precise nail art brush and practice drawing steady lines on paper first.
Q3: What is “negative space” in nail art?
Negative space refers to the areas of the nail that are left unpainted or are covered by a clear polish or base coat. Geometric designs often use negative space by revealing parts of the natural nail or a base color through cut-outs made by tape or stencils. It adds a modern, airy feel to the design.
Q4: Can I do geometric nail designs on short nails?
Absolutely! Geometric designs, especially minimalist stripes, small triangles, or simple color blocks, can look incredibly chic on short nails. Focus on smaller patterns and avoid overcrowding the nail. Diagonal lines can make short nails appear longer.
Q5: How do I prevent my polish from chipping with geometric designs?
Always start with a good base coat and finish with a high-quality top coat. Ensure all layers of polish are completely dry before applying the top coat. Applying the top coat carefully over all edges, including the tips, will help seal the design and prevent premature chipping.
<h3 id="q6-what-colors


