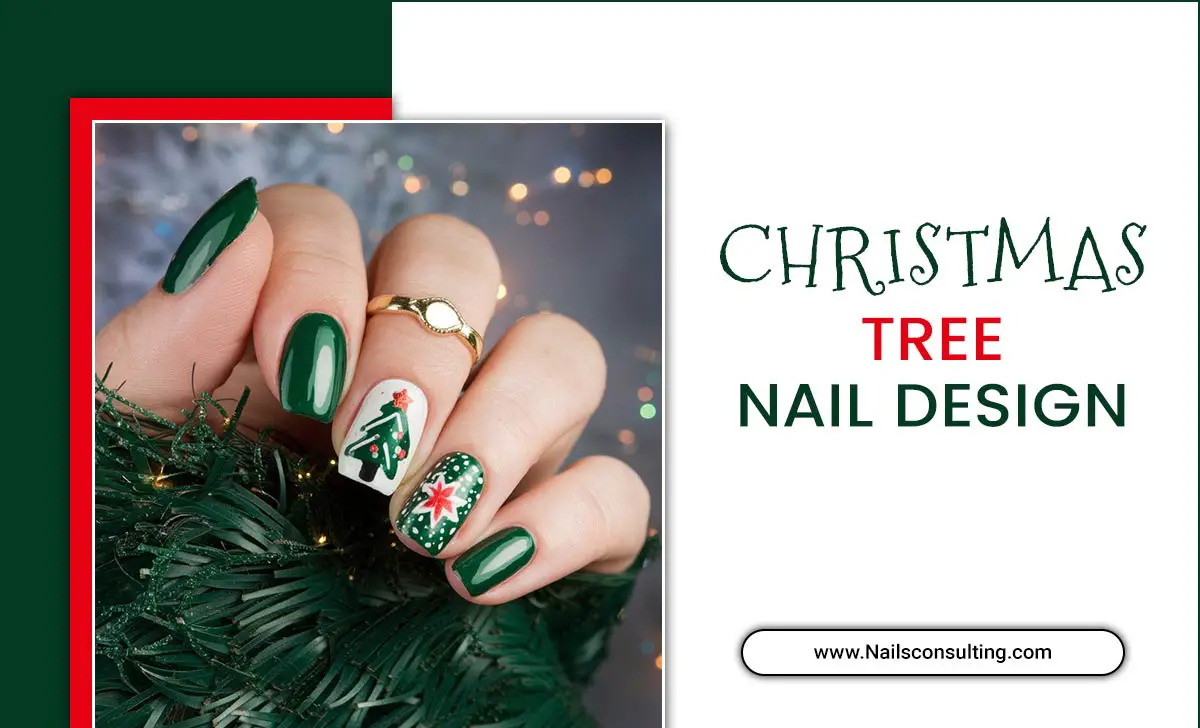
Get ready for Independence Day with festive and easy Fourth of July patriotic nails! This guide provides simple yet stunning design ideas, from classic red, white, and blue patterns to fun accent nails, perfect for any beginner looking to show their spirit.
The Fourth of July is all about celebrating freedom, fireworks, and good times! And what better way to join the festivities than with some dazzling patriotic nails? Many of us want to get into the holiday spirit with fun nail art, but thinking it’s too complicated or time-consuming can be frustrating. Don’t worry! We’re here to make it super simple. You can absolutely create gorgeous, festive nails right at home.
This guide will walk you through essential Fourth of July patriotic nail designs that are easy to achieve, even if you’re new to nail art. We’ll cover everything from basic color blocking to simple star patterns, so you can feel confident and look fabulous for your 4th of July celebrations. Get ready to spark some compliments and show off your American pride!
<h2>Why Patriotic Nails for the Fourth of July?</h2>
<p>The Fourth of July is a vibrant holiday, and expressing your patriotic spirit through your appearance is a fun tradition. Patriotic nails are a fantastic way to add a festive touch to your outfit without being over the top. They’re versatile – perfect for casual BBQs, parades, fireworks viewing, or even more formal gatherings. Plus, mastering a few simple designs can boost your confidence and creativity, making your holiday even more special. It’s a small detail that makes a big impact, uniting you with the celebratory atmosphere of Independence Day.</p>
<h2>Essential Tools for Your Patriotic Manicure</h2>
<p>Before we dive into the designs, let’s gather your nail art toolkit! Don’t feel overwhelmed; most of these are basic items you might already have. Having the right tools makes the process smoother and the results much prettier.</p>
<h3>The Must-Haves:</h3>
<ul>
<li><strong>Nail Polish Colors:</strong> At a minimum, you’ll need a good quality red, white, and blue polish. Consider a shimmery or glitter polish in one of these colors for extra sparkle.</li>
<li><strong>Base Coat:</strong> Protects your nails from staining and helps polish adhere better. A clear base coat is essential.</li>
<li><strong>Top Coat:</strong> Seals your design, adds shine, and prevents chipping. A quick-dry top coat is a lifesaver!</li>
<li><strong>Nail Polish Remover:</strong> For those inevitable little mistakes and cleaning up edges.</li>
<li><strong>Cotton Balls or Pads:</strong> To apply the remover.</li>
</ul>
<h3>Nice-to-Haves for Easy Designs:</h3>
<ul>
<li><strong>Dotting Tools:</strong> These have small metal balls at the end, perfect for creating dots, small stars, or adding embellishments. They come in various sizes.</li>
<li><strong>Thin Nail Art Brush or Toothpick:</strong> For drawing fine lines, details, or creating simple patterns. A clean toothpick can work in a pinch!</li>
<li><strong>Stencils or Nail Stickers:</strong> If you’re not confident with freehand art, these are fantastic shortcuts for stars, stripes, or even small flags.</li>
<li><strong>ি</strong> (Optional) Small nail art gems or glitter for added flair.</li>
</ul>
<h2>Beginner-Friendly Fourth of July Patriotic Nail Designs</h2>
<p>Let’s get creative! These designs are chosen for their simplicity and visual impact, perfect for making your nails festive for Independence Day.</p>
<h3>Design 1: Classic Red, White, and Blue Stripes</h3>
<p>This is a timeless look that’s easier than it sounds! You can do full stripes or just an accent nail.</p>
<h4>What You’ll Need:</h4>
<ul>
<li>Base coat</li>
<li>Red, white, and blue nail polish</li>
<li>Thin nail art brush or toothpick</li>
<li>Top coat</li>
<li>Nail polish remover and cotton swab (for cleanup)</li>
</ul>
<h4>Step-by-Step:</h4>
<ol>
<li><strong>Prep:</strong> Start with clean, dry nails. Apply your base coat and let it dry completely.</li>
<li><strong>Base Color:</strong> Paint all your nails with one of your chosen colors (e.g., white). Apply two thin coats for full opacity and let them dry.</li>
<li><strong>The Stripes:</strong>
<ul>
<li><strong>Option A (Freehand):</strong> Dip your thin brush or toothpick into your second color (e.g., blue). Gently paint vertical or horizontal stripes across your nail. Don’t worry about perfection; slightly uneven lines can look charmingly handmade! Wipe your brush/toothpick clean between each stripe and color.</li>
<li><strong>Option B (Toothpick):</strong> For a more controlled stripe, dip the tip of a toothpick into the polish and drag it across the nail. You can also try dabbing small dots of polish and connecting them to create a stripe.</li>
<li><strong>Option C (Stencils/Tape):</strong> For super crisp lines, paint your base color, let it dry thoroughly, then apply nail striping tape or thin strips of scotch tape. Paint over the tape with your stripe color, let the paint dry for a minute or two, then carefully peel off the tape. Repeat for different stripe colors.</li>
</ul>
</li>
<li><strong>Add More Colors:</strong> Once the first set of stripes is dry, you can add stripes in your third color, or alternate colors on different nails for variety.</li>
<li><strong>Cleanup:</strong> Dip a small brush or cotton swab in nail polish remover to clean up any stray polish around your cuticles and nail edges. This makes a huge difference!</li>
<li><strong>Seal It:</strong> Apply a generous layer of top coat to protect your design and add a glossy finish. Let it dry completely.</li>
</ol>
<h3>Design 2: Sparkling Stars and Glitter</h3>
<p>Stars are a quintessential symbol of the Fourth of July, and adding glitter makes them festive and eye-catching!</p>
<h4>What You’ll Need:</h4>
<ul>
<li>Base coat</li>
<li>Blue or red nail polish</li>
<li>White nail polish</li>
<li>Dotting tool or toothpick</li>
<li>Silver or star-shaped glitter polish (optional)</li>
<li>Top coat</li>
</ul>
<h4>Step-by-Step:</h4>
<ol>
<li><strong>Prep:</strong> Apply base coat to clean, dry nails.</li>
<li><strong>Base Color:</strong> Paint your nails in your chosen base color (e.g., blue). Apply two thin coats and let dry completely.</li>
<li><strong>Create Stars:</strong>
<ul>
<li><strong>Simple Dots:</strong> Dip your dotting tool or toothpick into white polish. Place a few dots on an accent nail (or all of them!) to represent stars. You can make them clustered or spread out.</li>
<li><strong>Small Stars (Slightly more advanced):</strong> For a more defined star, use the tip of your dotting tool or a fine brush. Make a small ‘V’ shape, then an upside-down ‘V’ to connect them. Or, make four dots in a square formation and a fifth dot in the center to approximate a star.</li>
<li><strong>Sticker Stars:</strong> If you have star-shaped nail stickers, apply them to your dried base color. This is the easiest way to get perfect stars!</li>
</ul>
</li>
<li><strong>Add Glitter (Optional):</strong> If you’re using a glitter polish, apply it over the stars or as an accent nail. You can dab it on to concentrate the glitter where you want it, or apply a full coat for maximum sparkle. This can also help hide any minor imperfections in your painted stars.</li>
<li><strong>Cleanup:</strong> Clean up any polish smudges with a remover-dipped cotton swab.</li>
<li><strong>Seal It:</strong> Apply a generous top coat to seal everything and add a beautiful shine. Let it dry completely.</li>
</ol>
<h3>Design 3: The French Tip Firework</h3>
<p>Give the classic French manicure a patriotic twist! Instead of white tips, we’re going to use red, white, and blue for a fun, festive look.</p>
<h4>What You’ll Need:</h4>
<ul>
<li>Base coat</li>
<li>Sheer pink or nude polish (optional base)</li>
<li>Red, white, and blue nail polish</li>
<li>Thin nail art brush or toothpick</li>
<li>Top coat</li>
</ul>
<h4>Step-by-Step:</h4>
<ol>
<li><strong>Prep:</strong> Apply base coat. You can add a sheer pink or nude polish for a subtle natural look if desired, and let it dry.</li>
<li><strong>Accent Nails:</strong> On one or two accent nails, paint the entire nail with white polish and let dry.</li>
<li><strong>Color Tips:</strong>
<ul>
<li><strong>Option A (Alternating Colors):</strong> On your accent nail(s), use your thin brush or toothpick to paint a French tip curve at the top of the nail using red polish. Let it dry completely. Then, apply a blue French tip curve just below the red one. Finally, add a thin white stripe at the very tip of the nail, or between the red and blue layers, for definition.</li>
<li><strong>Option B (Single Color Tip with Fireworks):</strong> On your accent nail(s), paint a single color French tip (e.g., blue). Once dry, use your dotting tool and white polish to add small dots along the blue tip, creating a firework-like burst effect. You can then add a tiny red dot in the center of some of the white bursts. On other nails, you can simply use a single red or blue French tip.</li>
</ul>
</li>
<li><strong>Other Nails:</strong> For your other nails, you can opt for a simple, solid red, white, or blue polish. Or, you could do a simple red and blue stripe design as described in Design 1.</li>
<li><strong>Cleanup:</strong> Clean up any stray polish.</li>
<li><strong>Seal It:</strong> Apply a generous top coat to all nails.</li>
</ol>
<h3>Design 4: The Subtle Ombre Fade</h3>
<p>For a more sophisticated take on patriotic nails, an ombre effect using red, white, and blue is beautiful and surprisingly achievable.</p>
<h4>What You’ll Need:</h4>
<ul>
<li>Base coat</li>
<li>Red, white, and blue nail polish</li>
<li>Cosmetic sponge (a clean makeup sponge or even a kitchen sponge cut into small pieces)</li>
<li>Top coat</li>
<li>Nail polish remover and cotton swab</li>
</ul>
<h4>Step-by-Step:</h4>
<ol>
<li><strong>Prep:</strong> Apply base coat and let it dry.</li>
<li><strong>Prepare Your Sponge:</strong> Cut a piece of your cosmetic sponge. You want it to be large enough to cover your nail but small enough to handle easily. It’s a good idea to have a few pieces ready.</li>
<li><strong>Load the Sponge:</strong> On a piece of foil or a non-porous surface, dab stripes of your three colors (red, white, blue) next to each other. You can arrange them vertically or horizontally. For a classic patriotic fade, you might do red, white, blue or blue, white, red.</li>
<li><strong>Apply the Ombre:</strong>
<ul>
<li><strong>Option A (Vertical Fade):</strong&


