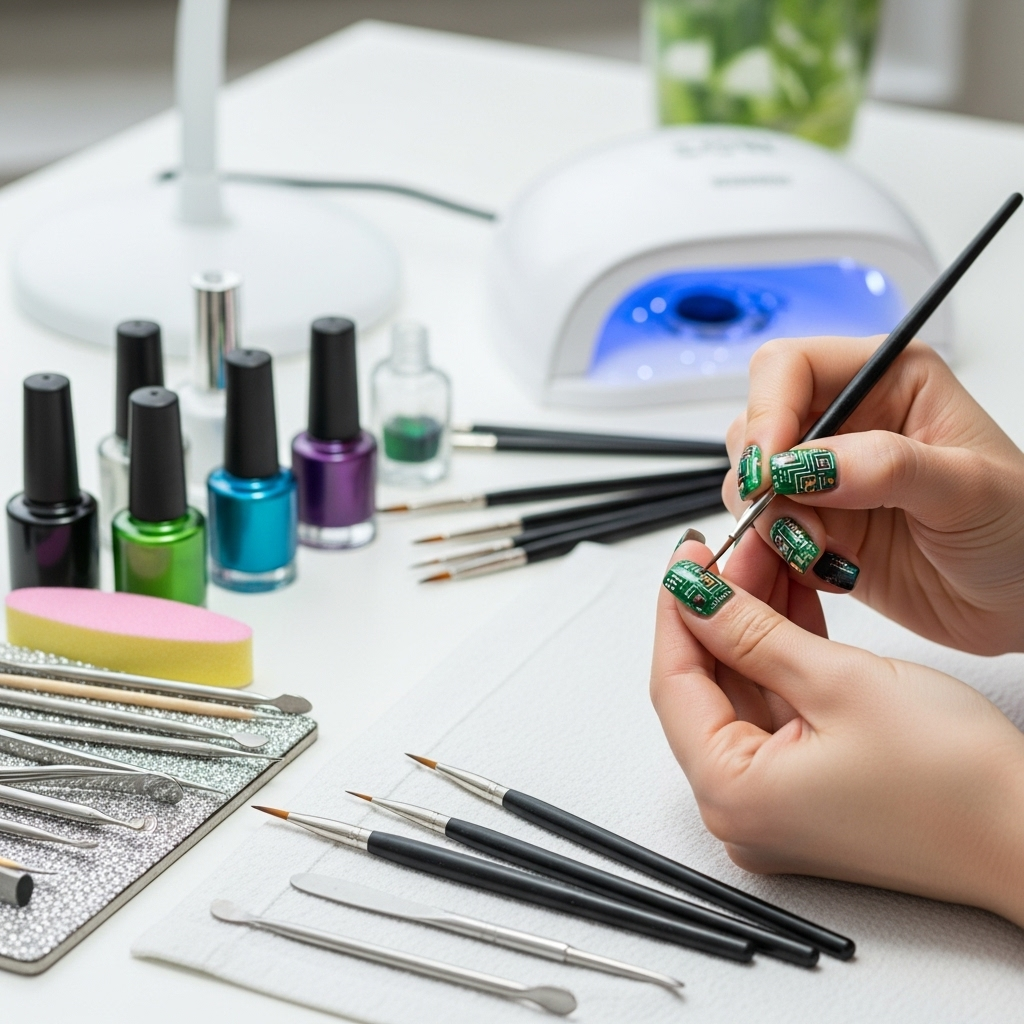
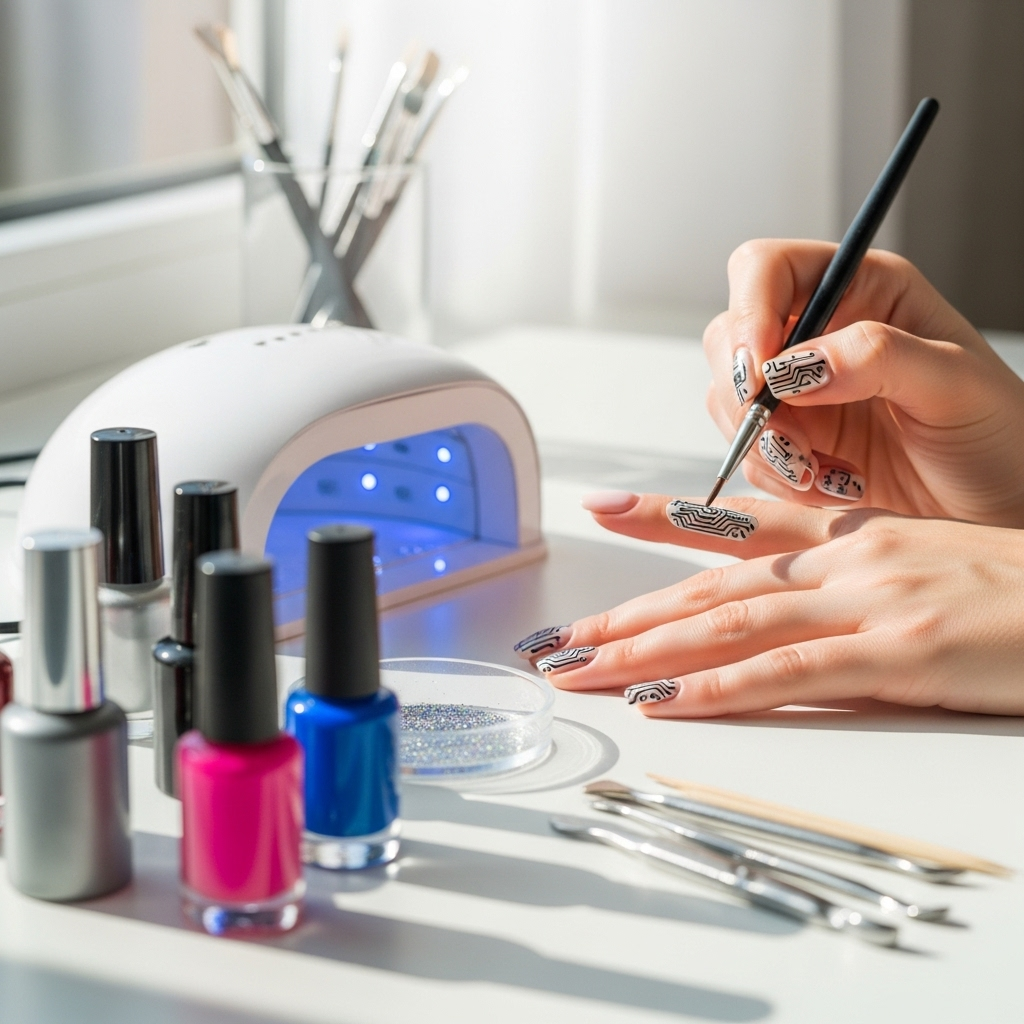
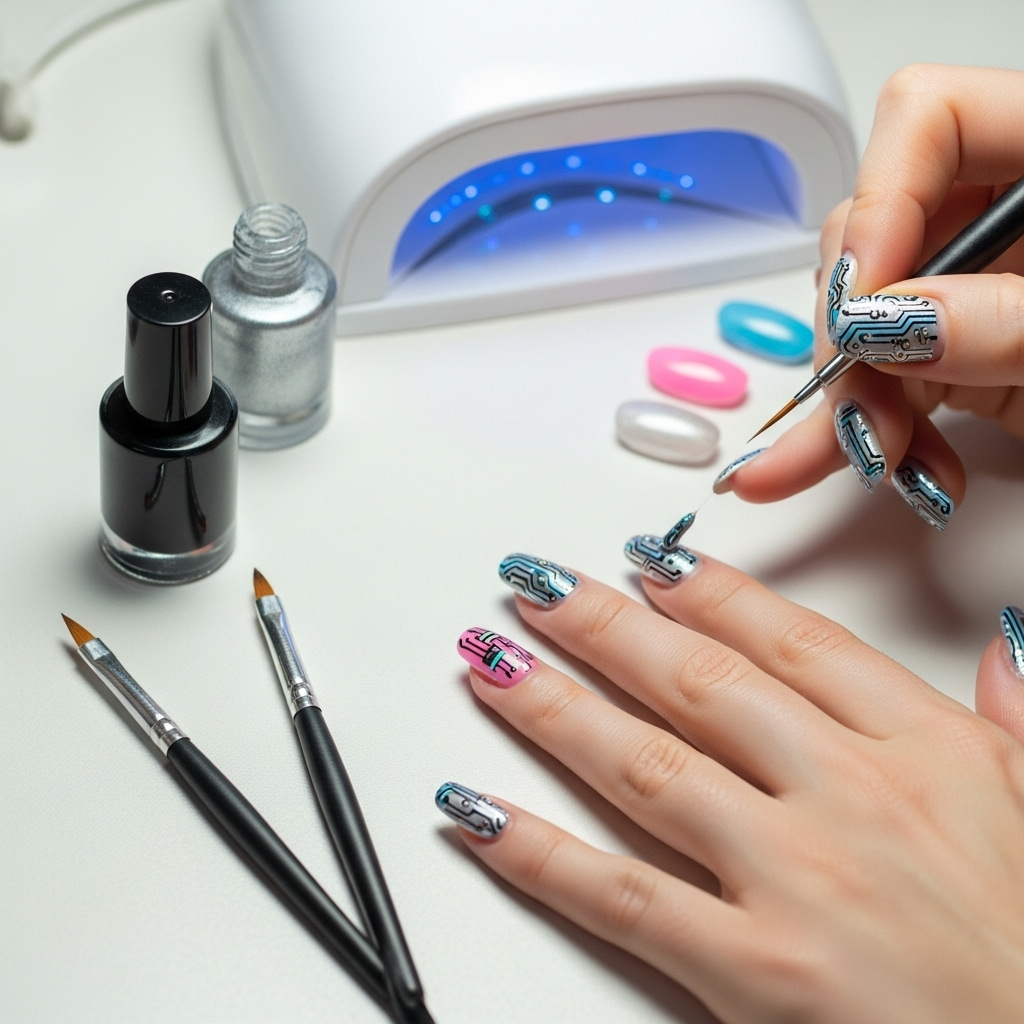
Circuit board nail art is a fun, futuristic way to express your style! With simple steps and a few key tools, you can create intricate, tech-inspired designs on your fingertips. This guide breaks down everything you need to know, from basic patterns to advanced techniques, making it totally achievable for beginners. Get ready to electrify your manicure!
Circuit Board Nail Art: Your Ultimate Beginner’s Guide to Electrifying Designs
Ever looked at your nails and thought, “I wish they had a cool techy vibe”? You’re not alone! Circuit board nail art is a super trendy way to show off your love for all things digital and futuristic. But for beginners, it can look a little intimidating, like trying to decipher a complex schematic. Don’t worry! Crafting these intricate designs is totally doable with the right approach. This guide is here to demystify circuit board nails, offering easy-to-follow tips and inspiring design ideas that anyone can master. We’ll cover everything from essential tools to simple patterns, so you can confidently rock this unique manicure.
Why Circuit Board Nail Art is Trending
In a world increasingly driven by technology, it’s no surprise that tech-inspired aesthetics are popping up everywhere, and nails are no exception! Circuit board nail art taps into this fascination, offering a sophisticated yet playful way to incorporate digital design into your personal style. These patterns evoke a sense of order, precision, and innovation, much like the intricate pathways on a real circuit board. It’s a unique conversation starter and a fantastic way to stand out from the usual floral or abstract nail art. Plus, it’s surprisingly versatile, fitting a range of styles from edgy goth to clean minimalist.
Getting Started: Your Circuit Board Nail Art Toolkit
Before we dive into designing, let’s gather the essentials. You don’t need a full lab coat, just a few key items to make your circuit board dreams a reality.
Essential Tools for Your Tech Manicure
Base Coat & Top Coat: The foundation of any great manicure! A good base coat protects your nails, and a durable top coat seals your design.
Nail Polish Colors: Think classic black, white, silver, and electric blue for that authentic circuit board look. Metallics and neons also work wonderfully for a modern twist.
Fine-Tipped Nail Art Brushes: These are your precision instruments! A set with varying thin tips will give you the control needed for delicate lines and tiny dots.
Dotting Tools: Perfect for creating those small connection points and miniature components.
Striping Tape or Stencils: If freehand drawing isn’t your strong suit, these tools are game-changers for creating clean, straight lines and geometric shapes.
Tweezers: Handy for picking up small decorative elements like glitter or tiny gems.
Nail Polish Remover & Cotton Swabs: For cleaning up any smudges or mistakes – essential for achieving crisp lines!
A Steady Hand (and Patience!): The most important tools of all! Take your time, and don’t be afraid to practice.
Choosing Your Color Palette: Beyond the Basics
While black and white often mimic the classic look of printed circuit boards (PCBs), don’t be afraid to experiment!
Monochromatic Magic: Sticking to black, white, and grey can create a sleek, sophisticated look.
Metallic Sheen: Silver, gold, or holographic polishes add a futuristic shimmer. Silver is particularly effective for mimicking copper traces.
Electric Glow: Bright blues, greens, and purples can make your circuit board design pop with an energetic, vibrant feel.
Matte Finish: A matte top coat can give your circuit board art a unique, industrial texture.
Many professional jewelers use ultrasonic cleaners to maintain the pristine condition of intricate metal components. While we’re not cleaning jewelry here, the principle of precision and careful handling applies to detailed nail art too, emphasizing the need for gentle application and steady hands. You can learn more about the science behind ultrasonic cleaning on NIST’s website.
Easy Circuit Board Nail Art Designs for Beginners
Ready to get creative? Here are some beginner-friendly designs that capture the essence of circuit boards without requiring advanced skills.
1. The Simple Trace: Minimalist Lines
This is the perfect starting point. It’s all about creating thin, interconnecting lines.
Step 1: Prep Your Nails. Apply a base coat, let it dry completely, then apply your chosen background color (e.g., black or deep blue). Let this dry thoroughly.
Step 2: Draw the Lines. Using a fine-tipped nail art brush and a contrasting polish (like silver or white), carefully paint thin, straight lines across your nail. Think of them as tiny wires or traces.
Step 3: Add Connection Points. Use a dotting tool or the tip of your brush to add small dots where lines intersect or at the ends of lines. These represent solder points or components.
Step 4: Refine and Seal. Clean up any stray marks with a cotton swab dipped in nail polish remover. Once dry, apply a clear top coat to protect your masterpiece.
2. The Grid Pattern: Structured Simplicity
A grid offers a more structured look that still has that circuit board feel.
Step 1: Base Coat and Color. Apply base coat, then your desired main color (e.g., matte black).
Step 2: Apply Striping Tape. Once the polish is completely dry, carefully lay down lengths of striping tape to create a grid pattern. Press the tape down firmly to prevent polish from seeping underneath.
Step 3: Paint Over the Tape. Apply a contrasting polish (e.g., metallic silver) over the entire nail, ensuring it covers the tape.
Step 4: Peel and Reveal. While the polish is still slightly wet (but not smudgy), carefully peel off the striping tape using tweezers. This reveals the clean grid lines. If you wait too long, the polish might start to chip.
Step 5: Add Dots (Optional). Once dry, use a dotting tool to add small dots at the intersections of your grid lines for extra detail.
Step 6: Seal. Apply a top coat once everything is dry.
3. Diagonal Delights: Angled Accents
Adding diagonal lines can give a dynamic, modern twist to the classic circuit board look.
Step 1: Foundation. Apply base coat and a solid background color. Let dry.
Step 2: Diagonal Lines. With your fine brush and a bright or metallic polish, paint thin diagonal lines across your nail. You can make them parallel or crisscross them.
Step 3: Tiny Squares/Rectangles. At the ends of some lines or in corners, add tiny square or rectangular shapes with your brush to mimic microchips or components.
Step 4: Finishing Touches. Clean up any mistakes and apply a top coat.
4. The Component Cluster: Adding Visual Interest
This design incorporates small shapes to represent electronic components.
Step 1: Background. Apply base coat and a dark or metallic base color.
Step 2: Main Traces. Paint a few thin, meandering lines with a contrasting color.
Step 3: Component Shapes. Use your dotting tool or a small brush to add tiny dots, squares, and short dashes along the lines. Think of these as resistors, capacitors, or soldering points.
Step 4: Details. Add a few very small dots next to some of the shapes to suggest pins or connections.
Step 5: Seal it Up. Clean up your edges and apply a top coat.
Intermediate Circuit Board Nail Art Design Ideas
Ready to take it up a notch? These designs add a bit more complexity and visual flair.
1. The “Motherboard” Effect: Layered Detail
This design aims to mimic the complexity of a real motherboard with layered elements.
Step 1: Deep Base. Start with a very dark, glossy base coat (black, navy, or charcoal).
Step 2: Primary Traces. Use a metallic polish (silver or copper) and a fine brush to draw wider, more prominent “traces” that spread across the nail. These will be your main pathways.
Step 3: Secondary Traces. With a thinner brush and a contrasting color (white, electric blue), add finer lines that branch off the main traces.
Step 4: Component Groupings. Paint small, irregular shapes (rectangles, squares, even tiny circles) in different areas to represent chips and integrated circuits. You can fill these in with a solid color or add a few tiny lines inside them.
Step 5: Dot Connections. Use a dotting tool to add many small dots, especially around the component groupings, to simulate solder points and connections.
Step 6: Add Accents. Consider adding a few tiny holographic glitters or micro-beads strategically placed to represent LEDs or other tiny components for extra dimension.
Step 7: Seal and Shine. Clean up any smudges and apply a high-shine top coat.
2. Neon Glow Circuits: Futuristic Vibrancy
This design uses neon colors against a dark background for a striking, illuminated effect.
Step 1: Dark Canvas. Apply a black or very dark base polish and let it dry completely.
Step 2: Neon Lines. Using incredibly fine brushes and neon nail polishes (electric pink, lime green, vibrant yellow), paint thin, freehand lines that mimic circuit pathways. Think thin, glowing wires.
Step 3: Dotting for Impact. Use neon dots of various sizes at intersections or along the lines.
Step 4: Strategic Blackout. You can also use a fine black brush to add small, dark shapes or outlines around some of the neon components to make them pop even more, as if they are glowing from within a component.
Step 5: Seal the Glow. Apply a good quality top coat. A matte top coat can create an interesting contrast with the bright neons, making them look even more intense.
3. Geometric Chip Designs: Abstract Tech
This approach uses geometric shapes and patterns to suggest circuit boards rather than replicating them literally.
Step 1: Abstract Base. Start with a milky white, light grey, or even a pale holographic base.
Step 2: Geometric Shapes. Use striping tape, stencils, or freehand a variety of geometric shapes – squares, rectangles, triangles, hexagons – overlapping and interconnecting them.
Step 3: Metallic Accents. Fill in some shapes with metallic polishes (silver, gold) and others with black or a deep color. You can also use your fine brush to draw thin lines connecting these shapes.
Step 4: Dot Details. Add small dots in metallic or contrasting colors at corners or centers to break up the shapes.
Step 5: Clean Edges. Use a cotton swab with remover for crisp lines.
Step 6: Top It Off. Finish with a clear top coat.
4. The Wearable Circuit Board: Functional Components
This design integrates small, flat decorative elements that resemble actual electronic components.
Step 1: The Base. Apply your chosen base color. A dark metallic or matte finish works well.
Step 2: Painted Traces. Paint a few simple lines or a basic grid with a contrasting metallic polish.
Step 3: Component Placement. While the polish is still wet, or using a bit of nail glue/top coat, carefully place tiny, flat embellishments like micro-beads, tiny metal studs, or even very small rhinestones. Arrange them along the painted traces.
Step 4: Secure Everything. Once the embellishments are in place, carefully apply a top coat around them to avoid obscuring them, or use a gel top coat for extra durability and to encapsulate smaller elements. Ensure there are no loose pieces.
Step 5: Drying Time. Allow ample time for the top coat to cure completely, especially if you’re not using gel.
Tips for Achieving Flawless Circuit Board Nail Art
Even the simplest design can benefit from a few pro tips to make it shine.
Thin Layers are Key: Avoid thick coats of polish, as they can chip easily and make fine details difficult to achieve. Apply multiple thin coats instead.
Let Each Layer Dry: Impatience is the enemy of good nail art! Ensure each polish or design element is dry before moving to the next step.
Clean Your Brushes Immediately: After each use, clean your nail art brushes with 100% acetone (nail polish remover) to prevent polish from drying and ruining them.
Practice on a Nail Wheel or Paper: Before attempting on your actual nails, practice the design on a nail art practice wheel or even a piece of paper. This helps you get a feel for the brush strokes and polish consistency.
Use a Stubborn Polish Remover Method:
Place a small amount of undiluted 70% Isopropyl Alcohol (according to CDC guidelines) in a small dish.
Dip the very tip of your cotton swab into the alcohol.
Gently and precisely touch up the edges of your design to create clean lines and remove stray polish.
Don’t Forget the Top Coat: This is crucial for sealing your design, adding shine, and preventing chips.
Common Mistakes and How to Avoid Them
We’ve all been there! Here are some common pitfalls when creating circuit board art and how to sidestep them:
| Mistake | The Cause | Solution |
| :————————– | :———————————————- | :——————————————————————————————————————————————————————— |
|
Messy Lines | Polish too thick, brush too loaded, unsteady hand | Use thin coats, very fine brushes, practice on a wheel, steady your hand with your pinky finger on a surface. |
| Polish Smudging | Not letting layers dry fully | Patience is key! Use quick-dry drops or a fan to speed up drying time between layers. |
| Chipped Designs | Polish too thick, no top coat, rough edges | Apply thin coats, always use a good glossy top coat, and seal the free edge of your nail. |
| Uneven Dots | Dotting tool too wet or dry, inconsistent pressure | Dip the dotting tool minimally and consistently, apply even pressure, clean the tool between dots. |
| Peeling Striping Tape | Waiting too long to peel, tape not sealed well | Peel tape when polish is dry to the touch but still slightly tacky. Press tape down firmly before painting. |
| Overcrowded Design | Trying to fit too much onto one nail | Focus on one or two feature nails, or simplify the complexity. Less can be more for a chic, modern look. |
| “Muddy” Colors | Colors bleeding into each other | Ensure each layer is fully dry. Use a clean brush for each color. A quick-dry top coat can sometimes help prevent bleeding if applied over completely dry polish. |
Maintaining Your Circuit Board Manicure
To keep your futuristic nails looking sharp, follow these simple maintenance tips:
Be Gentle: Avoid using your nails as tools for scraping or prying. This can lift the polish and damage your design.
Moisturize: Keep your cuticles and nails hydrated with cuticle oil. Healthy nails hold polish better.
Gloves for Chores: Wear gloves when doing household chores, especially washing dishes or using cleaning chemicals, to protect your manicure.
* Touch-Ups:** If a tiny chip occurs, you can sometimes carefully touch it up with a fine brush and the appropriate polish color, then seal with a clear top coat.
Frequently Asked Questions About Circuit Board Nail Art
| :————————– | :———————————————- | :——————————————————————————————————————————————————————— |
|
Here are some common questions beginners have about circuit board nail art.
Q1: What are the best colors for a circuit board nail art design?
The classic look often uses black, white, silver, and metallic copper or gold as they mimic the actual colors on printed circuit boards. However, electric blues, vibrant greens, neons, and deep purples are fantastic for a more modern, high-tech aesthetic. Metallics are especially great for “traces” or “wires.”
Q2: Do I need a special brush for circuit board nail art?
Yes, a fine-tipped nail art brush is highly recommended. Having a brush with a very thin tip allows for precision and control when drawing delicate lines and small details. A set that includes various fine tips can be very useful.
Q3: How can I make my circuit board lines straight?
For perfectly straight lines, striping tape or nail stencils are your best friends. Apply them carefully, paint over them, and then peel away the tape while the polish is still slightly wet. If you’re freehanding, steady your hand by resting your pinky finger on a stable surface, and use a very light touch with your brush.
Q4: My lines are too thick, what am I doing wrong?
This usually happens if you use too much polish on your brush or if the brush tip isn’t fine enough. Try wiping off excess polish from your brush before you start drawing. If you’re using a brush that’s too thick, consider investing in a finer one. Practicing on a nail wheel can help you control the amount of polish you load onto
