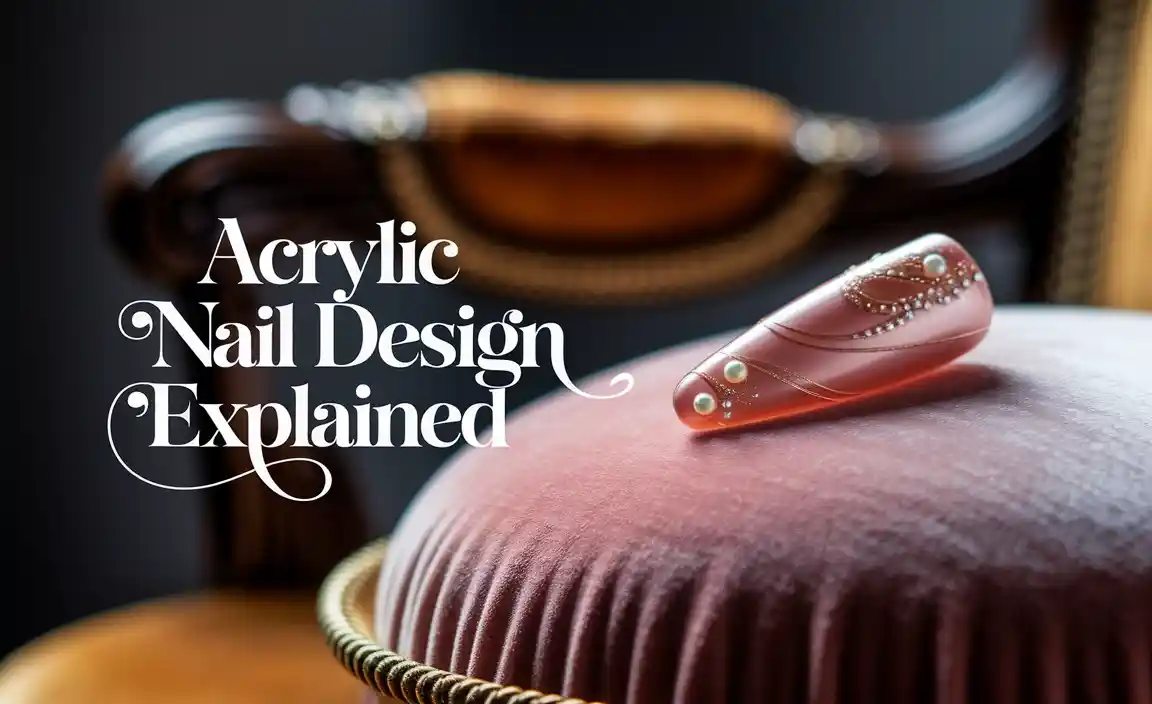
Prom nail design ideas with sparkles transform your look with dazzling, attention-grabbing nails. Get ready to shine with simple, beautiful, and totally achievable sparkly designs perfect for your special night, even if you’re a beginner!
Prom night is all about feeling your absolute best, and that includes your nails! Sometimes, the thought of creating a stunning nail design can feel a little overwhelming, especially when you want that extra touch of sparkle. But don’t worry, achieving brilliant, eye-catching prom nails with glitter and gems is totally within reach, even if you’re just starting your nail art journey. We’re here to make it fun and easy, transforming your fingertips into dazzling masterpieces without the fuss. Get ready to discover how simple, elegant, and utterly sensational sparkly nails can be for your prom!
Why Sparkles Are a Prom Nail Essential
Prom is the perfect occasion to go all out with glam, and sparkles are the quickest way to add that special touch. They catch the light beautifully, making your hands pop in photos and under the dance floor lights, adding a touch of magic to your entire look. Think of them as the perfect accessory, a little extra oomph that says “I’m ready to celebrate!”
The best part? Sparkly nail designs are surprisingly versatile. Whether you prefer a subtle shimmer or a full-on glitter explosion, there’s a way to incorporate them that suits your personal style and prom outfit. From delicate accents on a classic color to bold, dazzling patterns, glitter and gems can elevate any base polish into something truly memorable. It’s all about finding that perfect balance!
Getting Started: Your Sparkly Nail Toolkit
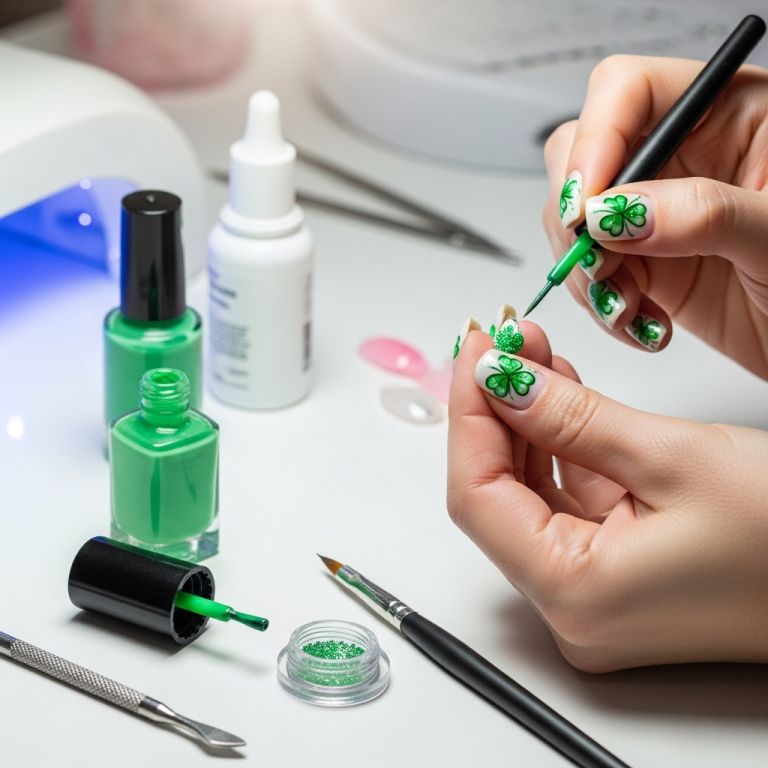
Before we dive into the fun designs, let’s gather your essential tools. You don’t need a professional salon setup to create gorgeous sparkly nails!
- Base Coat: Essential for protecting your natural nails and helping polish adhere better.
- Top Coat: Seals your design and adds incredible shine, making those sparkles pop!
- Nail Polish Colors: Choose your favorite base colors. Neutrals, pastels, classic reds, and deep blues or blacks all look stunning with sparkles.
- Glitter Polish: The easiest way to add sparkle! Available in fine glitters, chunky glitters, and holographic finishes.
- Loose Glitter/Confetti: For more control and unique effects.
- Small Rhinestones/Gems: Tiny jewels to add dimension and luxury.
- Nail Art Glue: For securely attaching larger gems.
- Tweezers or a Wax Pencil: For picking up and placing small gems and glitter precisely. A fine-tipped tweezer or a pencil with a sticky tip (like a broken crayon tip or a dedicated wax pencil) works wonders.
- Dotting Tool: Great for applying small dots of polish or strategically placing tiny gems.
- Thin Nail Art Brush: For drawing fine lines or picking up loose glitter.
- Rubbing Alcohol or Nail Polish Remover: For cleaning up mistakes and preparing nails.
Types of Sparkles and How to Use Them
Let’s break down the sparkly essentials you’ll be using:
| Sparkle Type | Description | Best For | Application Tip |
|---|---|---|---|
| Glitter Polish | Pre-mixed polish with glitter suspended in a clear or colored base. | Quick and easy sparkle, full coverage or as an accent. | Apply a thick coat of top coat, then immediately sprinkle loose glitter or place gems before it dries for best adhesion. |
| Loose Glitter | Fine, chunky, or shaped glitter particles. | Creating ombre effects, accent nails, or full glitter transformations. | Use a sticky base or top coat and gently press the glitter onto the nail. |
| Rhinestones/Gems | Small, faceted stones in various shapes and sizes (e.g., crystals, pearls, metallic studs). | Adding 3D texture and a luxurious feel. | Apply with nail art glue for secure, long-lasting hold. |
| Nail Foil/Flakes | Iridescent or metallic transfer foils and loose flakes. | Achieving a mermaid-like shimmer or a marbled effect. | Apply to tacky polish or special foil glue. |
Effortless Sparkly Prom Nail Design Ideas
Now for the fun part! These designs are beginner-friendly and perfect for making your prom nails shine. Remember, practice makes perfect, but even the most “imperfect” handmade detail adds unique charm!
1. The Subtle Shimmer Accent
This is elegance personified. It’s minimal, chic, and lets your outfit shine while your nails add a sophisticated glint.
How To:
- Apply a base coat and let it dry.
- Paint your nails with your chosen base color (a soft nude, pale pink, classic red, or even a deep navy looks beautiful). Let it dry completely.
- On one or two accent nails (like your ring finger), apply a thin layer of clear polish or a glitter top coat.
- While the polish is still wet, carefully use tweezers or a wax pencil to place a few small rhinestones or a sprinkle of fine glitter along the cuticle line or down the center of the nail.
- Apply a generous layer of top coat over the entire nail, making sure to seal in the embellishments. This is crucial for keeping them in place!
- Repeat steps 1-5 for your other accent nail.
2. The Glitter Gradient (Ombre)
This effect transitions from a solid color at the base of your nail to a shimmering glitter at the tip, or vice-versa. It’s a showstopper that’s easier than it looks!
How To:
- Apply your base coat and your main polish color to all nails. Let it dry.
- On an accent nail, dab a glitter polish along the tip of the nail.
- Using a clean brush or a sponge, gently blend the glitter down into the base color. You can also dab more glitter polish at the very tip to build up density.
- For a smoother finish, apply a layer of glitter top coat over the entire nail.
- Seal with a generous top coat.
- Alternatively, you can use loose glitter: Apply a thin layer of clear polish or top coat to the area you want glitter. Dip your brush into the loose glitter and lightly tap the glitter onto the wet polish, building it up. Brush away excess glitter.
3. The Full Glitter Powerhouse
Why be subtle when you can be spectacular? A full glitter nail is pure, unadulterated glamour.
How To:
- Apply base coat and let dry.
- Apply your first coat of glitter polish. For more opaque coverage, you might need two or even three coats. Let each coat dry slightly.
- If using loose glitter for a more intense effect, apply a thick layer of clear polish or top coat to the nail. Quickly, while the polish is wet, pour or sprinkle the loose glitter over the nail.
- Gently press the glitter into the polish with your finger or the back of a brush to ensure it adheres well. Brush away any excess glitter once dry.
- Once the glitter is completely dry, apply one or two generous layers of top coat to create a smooth, durable surface and seal in all that sparkle. This step is critical for a smooth finish!
4. The Gemstone Embellishment
Adding a few carefully placed gems can take your prom nails from pretty to princess-worthy.
How To:
- Paint your nails with your desired base color and let them dry completely.
- Apply a small dot of nail art glue (or a strategically placed dab of clear polish) where you want your first gem.
- Use your tweezers or wax pencil to carefully pick up a gem and place it onto the glue/polish.
- Repeat for any additional gems. You can place them in a line, a cluster, or just one statement gem on an accent nail.
- Once the glue is dry and the gems are secure, apply a top coat. Be careful not to brush directly over the gems, as this can move them. Instead, “cap” the edges and try to gently sweep the top coat around them. For extra security, some people prefer to apply top coat only around the gems after the glue has fully cured.
5. The Chic Half-Moon Sparkle
This retro-inspired design adds a fun pop of sparkle right at the base of your nail.
How To:
- Apply base coat and let dry.
- Paint your nails with your chosen base color. Let it dry completely.
- Apply a thin layer of clear polish or glitter polish in a half-moon shape at the base of your nail, following your cuticle line.
- Alternatively, place tiny rhinestones in a half-moon shape along your cuticle line using nail art glue.
- Once dry, apply a top coat to the entire nail, sealing in your sparkle.
6. The Foil Effect Shimmer
Nail foils offer an iridescent, almost ethereal glow that looks incredibly luxe and is surprisingly easy to apply.
How To:
- Apply base coat and your desired base color to all nails. Let it dry until it’s tacky but not fully dry.
- Cut a piece of foil slightly larger than your nail. Place the shiny side of the foil against your nail.
- Press firmly and smoothly onto the nail for about 10-20 seconds.
- Quickly and confidently peel off the foil in one swift motion. You should have a beautiful metallic or iridescent transfer.
- If some areas didn’t transfer well, you can try dabbing a special foil glue onto those spots, letting it get tacky, and reapplying the foil.
- Seal the entire nail with a top coat.
Prom Nail Prep and Care for Lasting Brilliance
To ensure your sparkly prom nails look flawless all night long, a little prep and care goes a long way!
- Clean & File: Start with clean, dry nails. Push back your cuticles gently. Shape your nails to your preferred length and style. A perfectly shaped nail is a great canvas.
- Buff Smooth: Lightly buff the surface of your nails to remove any oils and create a smooth base for polish. This helps with adhesion and longevity.
- Base Coat is Key: Never skip this step! It prevents staining and creates a smooth surface for your color and sparkle.
- Thin Layers: Apply polish and glitter in thin, even coats. This prevents clumping and ensures faster drying times.
- Patience During Drying: This is vital! Resist the urge to touch your nails before they are completely dry. Give them at least 15-20 minutes (or more, especially for glitter).
- Generous Top Coat: A good, thick layer of top coat is your best friend for sealing in glitter, gems, and preventing chips. Reapply every day or two if needed.
- Be Gentle: Once your nails are done, try not to use them as tools! Avoid harsh scrubbing or picking at anything.
- Carry a Mini Top Coat: For touch-ups, a travel-sized top coat can be a lifesaver to refresh shine and secure any loose embellishments.
Troubleshooting Common Sparkly Nail Issues
Even with the best intentions, sometimes things don’t go perfectly. Here are a few common issues and how to fix them:
- Glitter is clumpy or uneven: This happens when glitter polish is applied too thickly or not layered properly. For loose glitter, you might have applied it to polish that was too wet or too dry. Fix: For glitter polish, try a generous layer of smoothing top coat. For loose glitter, carefully buff down any rough spots with a fine-grit buffer and then apply more top coat.
- Gems keep falling off: You might not be using enough glue, or the polish/glue wasn’t fully dry when you applied the gem. Fix: Ensure you’re using nail art glue specifically for gems. Apply a tiny dot, place the gem, and hold for a few seconds. Let the glue cure fully before top coating.
- Top coat smudges the glitter: This usually happens if you apply top coat too aggressively or too soon after the final glitter layer. Fix: Use a lighter touch when applying top coat. For very loose or powdery glitters, let them fully dry for at least 30 minutes before top coating. You can also try a specially formulated glitter top coat.
- My nails look “lumpy” from glitter: When glitter is applied heavily, it can create a textured surface even after top coat. Fix: Use a good quality smoothing top coat. For really stubborn texture, a fine-grit nail buffer can gently smooth the surface before applying a final, generous top coat.
Eco-Friendly Sparkle Options
Want to shine responsibly? There are increasingly more options for glitter that aim to reduce environmental impact.
Many traditional glitters are made from plastic (PET or PVC). When these wash down the drain, they can end up in waterways and oceans. Thankfully, there’s a growing movement towards:
- Bioglitter/Biodegradable Glitter: Made from plant-based materials like cellulose, these glitters are designed to break down naturally in the environment. Look for brands that certify their glitter as biodegradable. You can find these as loose glitters or sometimes in specific polishes.
- Mineral-Based Glitters: Some companies offer glitters derived from natural minerals, offering a sparkly effect with a lower environmental footprint.
- Refillable Options: Purchasing loose glitters often means less packaging waste, and many brands offer refill pouches.
Checking ingredient lists and environmental certifications can guide you toward making a more sustainable sparkly choice for your prom night. Resources like the National Oceanic and Atmospheric Administration (NOAA) offer information on microplastics and their impact on marine life, which can be helpful context when considering glitter choices.
Frequently Asked Questions About Sparkly Prom Nails
How long do sparkly prom nails typically last?
With proper application, including a good base and top coat, and careful wear, sparkly prom nails can last anywhere from 5-10 days. Using a quality top coat and reapplying it every couple of days can help extend their life.
Can beginners really do these sparkly designs?
Absolutely! The designs mentioned—subtle accents, glitter gradients, and careful gem placement—are all very beginner-friendly. The key is patience and using the right tools like tweezers for precision.
What if I don’t have nail art glue for gems?
Clear nail polish or a thick top coat can work for smaller, lighter gems for a few days. However, for secure, long-lasting hold, especially on larger or heavier gems, nail art glue is highly recommended. It’s an inexpensive tool that makes a big difference!
How do I create a smooth finish with chunky glitter?
Chunky glitter can be tricky! The trick is to build up layers of top coat. After applying the glitter polish and letting it dry, apply a generous layer of top coat. You might need 2-3 layers, letting each dry partially between applications, to fully encapsulate the glitter and create a smooth surface.
Can I mix different types of sparkles (e.g., glitter polish and rhinestones)?
Yes, you can! Mixing textures can create

