New Year’s Eve nail designs with glitter are the perfect way to add sparkle to your celebration! These easy, beginner-friendly designs will help you achieve a dazzling look, from subtle shimmer to full-on glamour. Get ready to shine all the way into the New Year with festive and fun manicures that express your unique style.
Get ready to ring in the New Year with nails that sparkle as bright as the fireworks! Deciding on the perfect New Year’s Eve nail design can feel like a puzzle, especially when you want something festive but not over-the-top. You want your nails to look amazing for photos, selfies, and, of course, that midnight toast. A little sparkle is a must for this special night, and the good news is, you don’t need to be a pro to create stunning results. This guide will walk you through simple yet genius sparkle designs that are perfect for beginners. Let’s make your nails the star of the show!
New Year’s Eve Nail Designs: Your Ultimate Sparkle Guide
New Year’s Eve is all about new beginnings and celebrating the year past. What better way to embrace that festive spirit than with some dazzling nail art? Glitter, metallics, and eye-catching shimmer are the undisputed champions of NYE manicures. Whether you’re heading to a fancy party or a cozy get-together, these nail design ideas are sure to impress.
Why Sparkle for New Year’s Eve?
New Year’s Eve is practically synonymous with glitter and shine! It’s a night that encourages a little extra glamour and joy. Think about it: the champagne is bubbly, the decorations twinkle, and the atmosphere is electric. Your nails are the perfect accessory to match that celebratory vibe. They’re a small detail that can make a big impact, adding a touch of personal flair to your overall look. Plus, New Year’s Eve nail designs with glitter are incredibly versatile – they can be as subtle or as bold as you like!
Choosing Your Sparkle Level
Not everyone wants a full disco ball on their nails, and that’s perfectly okay! The beauty of New Year’s Eve nail designs is that you can customize the sparkle to fit your personal style. We’ll explore options for every preference:
- Subtle Shimmer: Think a hint of glitter polish over a nude or sheer base, or a delicate glitter accent on one or two nails. Perfect for a sophisticated look.
- Glamorous Glow: This involves more prominent glitter application, perhaps an ombre effect or glitter tips on every nail. It’s balanced, eye-catching, and festive.
- Full-On Sparkle: For those who truly want to embrace the glitter, this means glitter all over, layered designs, or bold metallic finishes. It’s for making a statement!
Beginner-Friendly New Year’s Eve Nail Design Ideas
Let’s dive into some easy-to-achieve, yet utterly fabulous, New Year’s Eve nail designs with glitter. These are perfect for anyone dipping their toes into nail art.
1. The Classic Glitter Accent Nail
This is a foolproof way to add just the right amount of sparkle. It’s chic, modern, and incredibly simple to do.
What You’ll Need:
- Your favorite nail polish color (e.g., black, deep blue, burgundy, nude)
- A glitter nail polish (fine or chunky, silver, gold, or iridescent)
- Base coat
- Top coat
Step-by-Step:
- Prep Your Nails: Start with clean, dry nails. Apply a base coat to protect your nails and help the polish last longer.
- Apply Base Color: Paint all your nails (except for your ring finger) with your chosen base color. Let it dry completely.
- Sparkle Up the Accent Nail: On your ring finger, apply one or two coats of the glitter nail polish. For more intense sparkle, you can apply it over a layer of sticky (not fully dry) base color.
- Second Coat (Optional): If you want more coverage with your base color, apply a second coat now, avoiding the accent nail.
- Seal the Deal: Once all polish is dry, apply a clear top coat over all your nails, including the glitter accent, to lock everything in and add shine.
Pro Tip: For a cleaner glitter application, use a small brush or a dotting tool to pick up specific glitter pieces and place them strategically on your accent nail.
2. Glitter Gradient (Ombre) Nails
This design seamlessly blends a solid color with an explosion of glitter. It looks intricate but is surprisingly easy to create!
What You’ll Need:
- Base color polish
- Glitter polish (fine glitter works best for a smooth blend)
- Cosmetic sponge or makeup sponge
- Top coat
- Base coat
Step-by-Step:
- Base Coat & Color: Apply base coat, then apply two thin coats of your chosen base color polish to all nails. Let it dry.
- Prepare the Sponge: Cut a small piece from your cosmetic sponge. This will help you build up the glitter gradient.
- Apply Glitter to Sponge: Apply a small amount of glitter polish directly onto the sponge.
- Dab and Blend: Gently dab the sponge onto the tips of your nails where you want the glitter to start. Gradually work your way down the nail, dabbing less intensely as you go to create a fading effect. You may need to reapply glitter to the sponge and repeat the dabbing process a few times to achieve your desired density.
- Clean Up Edges: Use a small brush dipped in nail polish remover to carefully clean up any glitter that got onto your skin.
- Top Coat: Once the glitter gradient is dry, apply a generous layer of top coat. This is especially important with glitter to ensure a smooth finish and to help embed the glitter particles.
Why it works: The sponge acts like a stippling tool, allowing you to build up the glitter layer by layer, creating a soft, blended transition from the solid color to pure sparkle.
3. Metallic Tips (The Modern French)
Forget plain white tips! This New Year’s Eve, swap them out for a futuristic metallic shine. It’s a sophisticated twist on a classic that’s super easy to achieve.
What You’ll Need:
- Base color polish (optional, can be clear or nude)
- Metallic polish (gold, silver, rose gold)
- Clear tape or nail stencils (French tip guides)
- Top coat
- Base coat
Step-by-Step:
- Prep and Base: Apply a base coat, followed by one or two thin coats of your base color if using. Let it dry completely.
- Create the Tip Shape:
- Using Tape: Carefully place a piece of clear tape across your nail, creating the line where your tip will begin. Ensure the tape is firmly pressed down to prevent polish from seeping underneath.
- Using Stencils: Apply a French tip guide sticker where you want the metallic tip to start.
- Apply Metallic Polish: Paint the exposed tip of your nail with your chosen metallic polish. Apply two thin coats for an opaque finish.
- Remove Tape/Stencil: While the metallic polish is still slightly wet (but not runny!), carefully peel off the tape or stencil. Doing this while wet prevents chipping and ensures a crisp line.
- Seal: Once dry, apply a top coat over all your nails to protect the design and add shine.
External Resource: For more tips on achieving crisp lines in nail art, check out this article from NailCareHQ on achieving flawless French manicure lines.
4. All-Over Glitter Bomb
Why hold back when you can go all out? A full coat of glitter polish is the ultimate New Year’s Eve sparkle statement. Many fine-glitter polishes can be worn sheer for a subtle sparkle or layered for a dense, opaque glitter effect.
What You’ll Need:
- Glitter nail polish (fine or chunky)
- Base coat
- Top coat
Step-by-Step:
- Base Coat: Apply your base coat to clean nails.
- Apply Glitter Polish: Apply one to two (or even three!) coats of your glitter polish. With glitter, thinner coats are often better to avoid a chunky, uneven finish. Let each coat dry for a minute or two before applying the next.
- Smooth it Out: If using chunkier glitter, you might notice some unevenness. A good, thick top coat (or even two) can help to smooth out the surface and encapsulate the glitter for a more professional finish.
Tip for Densely Packed Glitter: Some full-coverage glitter polishes can be tricky to work with. For a dense glitter look without streaks, try the “sandwich method”: apply a layer of glitter polish, let it dry completely, apply a thick layer of top coat, and then apply another layer of glitter polish. This helps embed the glitter and create a smoother surface.
5. Constellation Nails
This design is inspired by the night sky, perfect for ringing in the New Year! It uses a dark base with scattered glitter to mimic stars.
What You’ll Need:
- Dark polish (navy, black, deep purple)
- Fine silver or holographic glitter polish
- Small dotting tool or toothpick
- Base coat
- Top coat
Step-by-Step:
- Base Coat & Dark Color: Apply base coat and then two coats of your dark base color. Let it dry completely.
- Add “Stars”: Dip your dotting tool or a toothpick into the glitter polish. Gently dab tiny dots of glitter onto your nails, scattering them randomly to look like stars. Vary the size of the dots slightly if possible. For a more natural look, place more glitter towards the tips or corners of the nails.
- Seal the Night Sky: Once the glitter dots are dry, apply a generous top coat over all nails to seal in the celestial design.
Variation: For extra pop, you can add a few slightly larger, bolder glitter pieces strategically placed among the tiny dots.
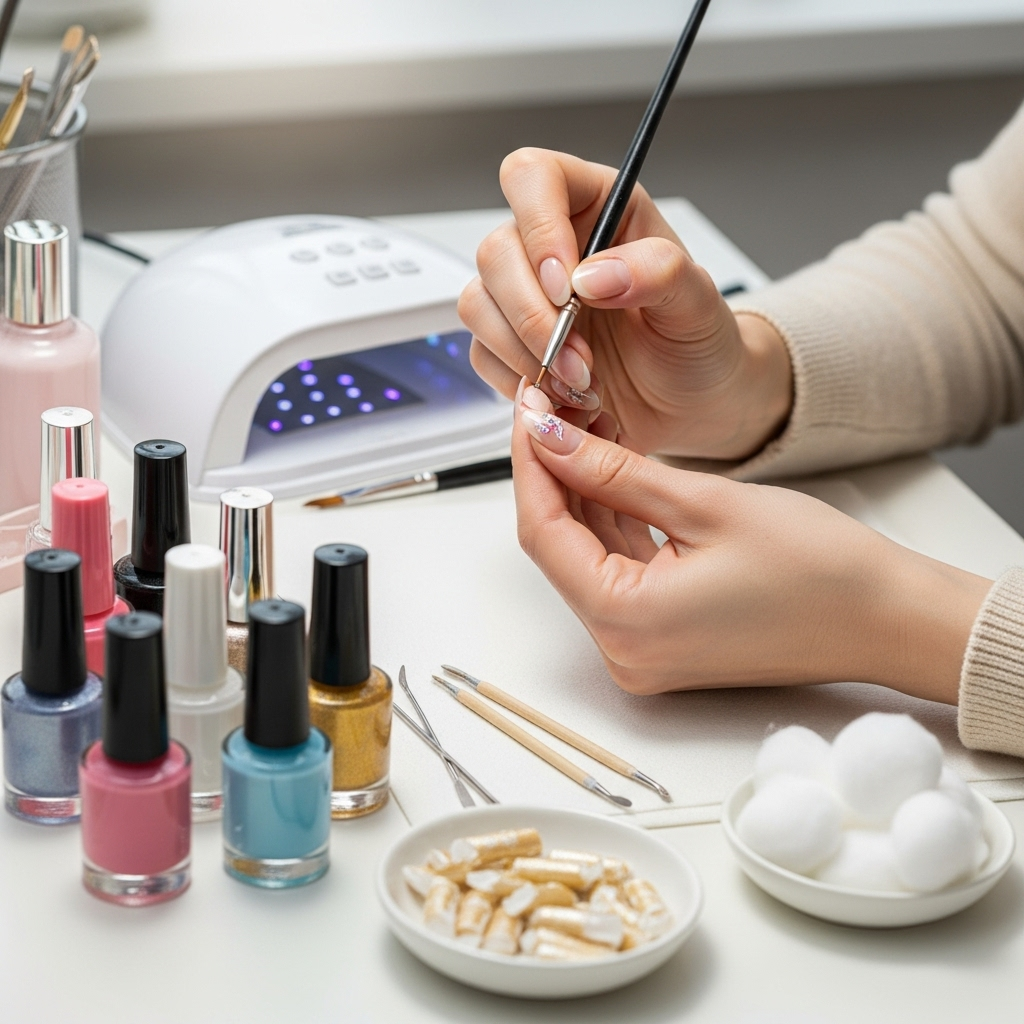
Essential Tools & Products for Sparkly NYE Nails
Having the right tools can make all the difference, even for simple designs. Here are a few essentials that will help you achieve those gorgeous New Year’s Eve nail designs with glitter:
For Application & Precision:
- Quality Nail Polish: Invest in good formulas that apply smoothly and offer good color payoff.
- Fine-Tip Brush: Invaluable for cleaning up edges or for creating fine lines with polish or gel.
- Dotting Tools: These come in various sizes and are perfect for creating polka dots or placing individual glitter particles.
- Cosmetic Sponges: Essential for achieving beautiful glitter ombre effects.
- Nail Stencils/Tape: For creating crisp lines and shapes, like French tips or geometric designs.
For Lasting Shine:
- Good Base Coat: Protects natural nails and creates a smooth canvas.
- Durable Top Coat: Seals your design, adds shine, and prevents chips. Consider a “quick dry” top coat on busy days!
- Cuticle Oil: Keep your cuticles hydrated for a polished, finished look.
Maintaining Your Sparkle
You’ve put in the effort to create a fabulous New Year’s Eve nail design; now, let’s make it last!
- Apply Top Coat Regularly: A top-up every couple of days can refresh the shine and reinforce protection against chips.
- Wear Gloves: When doing chores like washing dishes or cleaning, wear rubber gloves to protect your nails from harsh chemicals and excessive moisture.
- Be Gentle: Avoid using your nails as tools, like scraping off labels or opening packages.
- Moisturize: Keep your hands and nails hydrated with lotion and cuticle oil. Healthy nails are less prone to breakage.
Glitter Polish Comparison Table
Choosing the right glitter polish can elevate your design. Here’s a quick look at what’s out there:
| Type of Glitter Polish | Best For | Application Tip | Visual Effect |
|---|---|---|---|
| Fine Glitter Polish | Subtle shimmer, smooth ombre effects, everyday sparkle. | Applies smoothly. Can be layered for more intensity. | Slight sparkle, can be sheer or opaque depending on coats. |
| Chunky Glitter Polish | Bold statement nails, accent nails, textured effects. | May require a good top coat to level out. Use a dabbing technique for even distribution. | Visible, larger glitter particles. Can be less smooth. |
| Holographic Glitter | Iridescent, rainbow sparkle, eye-catching designs. | Works beautifully over dark colors to enhance the holographic effect. | Shimmers with rainbow colors under light. |
| Metallic Flakes | Chrome-like finish, sophisticated shimmer. | Often requires a special base coat or applied with a brush for a smooth finish. | Looks like a metallic foil or fine glitter. |
FAQs: Your New Year’s Eve Nail Design Questions Answered
Q1: How do I prevent glitter nail polish from looking chunky?
A: Apply glitter polish in thin coats and allow each coat to dry slightly before applying the next. Using a good, thick top coat is crucial to smooth out the surface and encapsulate the glitter. For very chunky glitters, consider using a makeup sponge to dab the glitter onto the nail, which helps distribute it more evenly.
Q2: Can I use craft glitter on my nails?
A: It’s best to use cosmetic-grade glitter specifically designed for nails. Craft glitter can be too abrasive, have sharp edges, or contain non-body-safe materials, which can damage your natural nails or skin. Nail glitter is formulated to be safe and smooth for manicures.
Q3: How long do these New Year’s Eve nail designs typically last?
A: With proper application (base coat, thin color coats, good top coat) and care, most nail polish manicures can last anywhere from 5-10 days. Glitter polishes, especially when layered with a good top coat, can be quite durable. Overexposing nails to water or harsh chemicals can reduce longevity.
Q4: What’s the easiest way to remove glitter nail polish?
A: Glitter polish can be stubborn! The easiest way is the “foil method.” Soak a cotton ball piece in nail polish remover, place it on your nail, and wrap your fingertip tightly with aluminum foil. Let it sit for 5-10 minutes, then gently slide the cotton/foil off. The glitter should come with it. You can find more details on Healthline’s guide to removing glitter polish.
Q5: Can I do these designs with gel polish?
A: Absolutely! Most of these techniques work wonderfully with gel polish. For gel, you’ll cure each layer under a UV/LED lamp. The foil method for removal is still effective for gel glitter polish, though it may take slightly longer.
Q6: My glitter polish is clumping. What should I do?
A: If your glitter polish is clumping, it might be getting too thick. Try adding a drop or two of nail polish thinner (not remover!) to revive it. If it’s already very thick and clumpy, it might be time to replace it.
Q7: Can I mix different types of glitter in one design?
A: Yes! You can absolutely mix fine and chunky glitters, or different colors, to create unique effects. For example, use fine glitter as a base and then strategically place chunky glitter on top, or do a glitter ombre with one color and add accent glitter of another.
Conclusion: Shine Bright into the New Year!
There you have it – your guide to creating stunning, beginner-friendly New Year’s Eve nail designs that are bursting with sparkle! From the simple elegance of an accent nail to the dazzling drama of a full glitter look, these techniques are designed to help you express your festive spirit