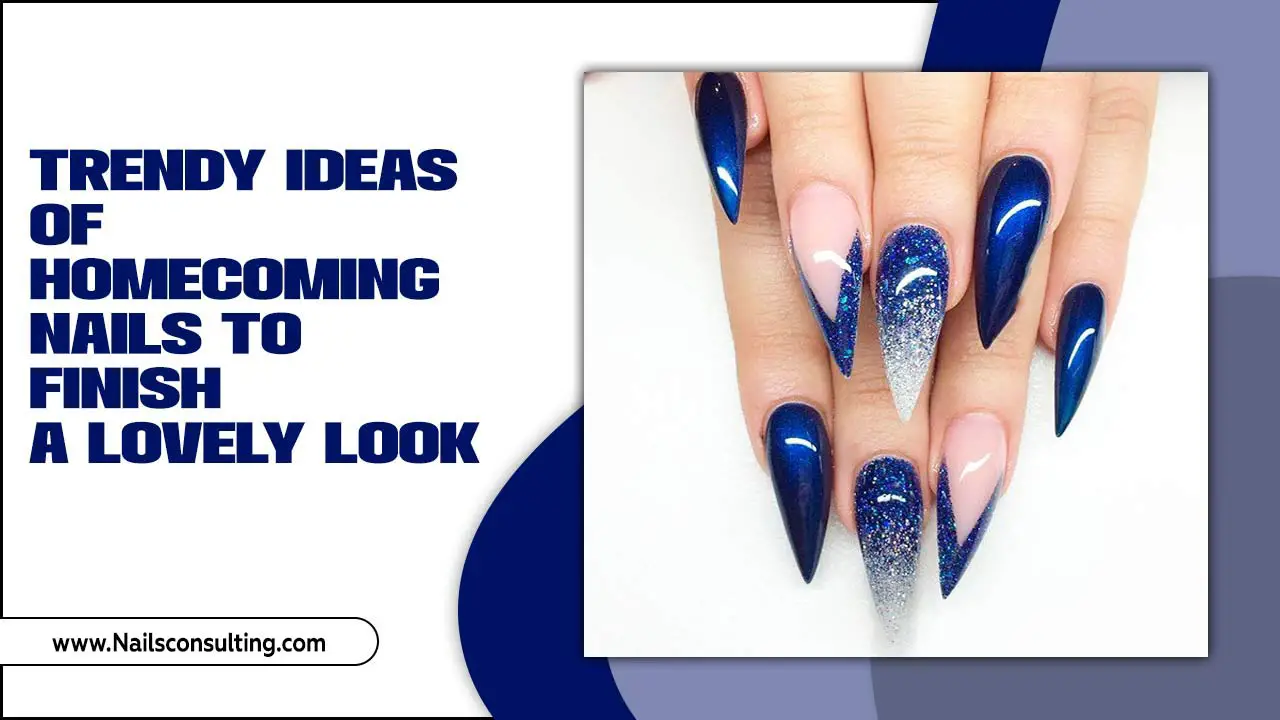
Get ready to express yourself with daring and unique funky nail designs perfect for college girls! This guide breaks down easy-to-follow steps and essential tips to create eye-catching manicures that fit your style and busy campus life.
College is the perfect time to experiment with your style, and your nails are a fantastic canvas for creativity! You want looks that are fun, express your personality, and maybe even spark conversations. But finding designs that are cool, easy to do yourself, and actually last through lectures and late-night study sessions can feel like a challenge. Don’t worry, I’ve got you covered! We’ll explore awesome funky nail designs that are totally achievable for beginners and essential for making a statement. Get ready to upgrade your nail game and let your fingertips do the talking!
Why Funky Nails for College Girls?
Your college years are a vibrant chapter of self-discovery and expression. Your wardrobe, your music, and yes, your nails, all become part of telling your unique story. Funky nail designs aren’t just about following trends; they’re about showcasing your individuality, your mood, and your creative spirit. They’re a small yet impactful way to stand out and feel confident. Plus, they can be a fun stress reliever and a creative outlet during busy academic weeks!
Essential Tools for Your Funky Nail Design Journey
Before we dive into the designs, let’s gather your nail toolkit. You don’t need a professional salon’s worth of supplies to create amazing looks. Here’s a beginner-friendly list of essentials:
- Nail Polish: A good base coat and top coat are non-negotiable for longevity. Stock up on a variety of colors – brights, pastels, metallics, and neutrals.
- Dotting Tools: These come in various sizes and are perfect for creating dots, swirls, and simple patterns.
- Thin Striping Brush: Ideal for drawing fine lines, geometric shapes, and intricate details.
- Nail Art Pens/Liners: These are super easy to use for freehand designs and quick details.
- Dotting Wheel/Palette: A small, flat surface to place your polish colors when using dotting tools.
- Tweezers: For picking up small embellishments like glitter or tiny rhinestones.
- Nail Polish Remover & Cotton Pads: For cleanup and fixing mistakes.
- Cuticle Pusher: To gently push back your cuticles for a clean canvas.
- Nail File and Buffer: To shape your nails and create a smooth surface.
Easy & Essential Funky Nail Designs for Beginners
Ready to get your hands on some fabulous designs? These are perfect for dipping your toes into the world of funky nail art.
1. The Confetti Explosion
This design is playful, colorful, and super forgiving! It looks intricate but is incredibly simple to achieve.
What you’ll need:
- Base Coat
- A bright, solid color polish (e.g., white, black, or a vibrant hue)
- A top coat
- A collection of small, multi-colored glitter or confetti pieces (available at most beauty supply stores)
How to do it:
- Start with a clean, smooth nail. Apply your base coat and let it dry completely.
- Paint your nails with your chosen solid color polish. Apply two thin coats for opaque coverage and let it dry until it’s just slightly tacky to the touch. This is key for the glitter to adhere.
- Carefully dip your nails into your confetti or glitter pot, or use tweezers to place the pieces onto your still-tacky polish. You can go for a full coverage look or scatter them strategically.
- Let it dry for a minute, then gently press down any loose pieces.
- Finish with one or two layers of top coat to seal in the confetti and give a smooth, glossy finish. This also helps the confetti lay flat.
2. The Gradient Ombre
Ombre nails look sophisticated but are surprisingly easy to create with a makeup sponge. It’s a subtle way to be funky!
What you’ll need:
- Base coat and top coat
- Two or three complementary nail polish colors (e.g., pink fading to purple, or blue to green)
- A makeup sponge (a clean, dry kitchen sponge cut into small pieces works too!)
- A piece of cardboard or a paper plate for dabbing excess polish
How to do it:
- Apply base coat and let it dry.
- Paint your nails with the lightest color polish and let it dry completely.
- Now for the fun part! Take your makeup sponge and dab the lightest color onto one edge, transitioning to the next color, and then the darkest color on the other edge. Don’t over-saturate the sponge.
- Gently dab the sponge onto your nail, starting from the cuticle and rolling upwards to the tip. You might need to re-apply polish to the sponge and dab a few times to build up the gradient.
- Clean up any excess polish around your cuticles and sidewalls with a brush dipped in nail polish remover.
- Once dry, apply a generous top coat to smooth out the texture and blend the colors beautifully.
3. Geometric Fun with Tape
Clean lines and sharp angles create a modern, edgy look that’s perfect for a funky vibe.
What you’ll need:
- Base coat and top coat
- Your chosen polish colors (contrasting colors work best)
- Painter’s tape or specialized nail tape
- A sharp pair of scissors or nail art tape cutter
How to do it:
- Apply base coat and let it dry.
- Paint your nails with your first color and let it dry completely. This is crucial – if it’s not bone dry, the tape will peel it off.
- Cut strips of painter’s tape (household painter’s tape is great because it’s low-tack and won’t damage your polish) and carefully apply them to your nail, creating geometric shapes. Press down the edges firmly to prevent polish from bleeding underneath.
- Paint over the taped areas with your second color.
- While the second color is still wet, carefully peel off the tape. This is the trickiest part, so be patient! For best results, peel the tape away at an angle.
- Let the second color dry completely before applying a top coat. You might need a few layers of top coat to smooth out any texture from the tape.
4. Dotty Delights
Dots are a classic nail art element that can be made funky with strategic placement and color choices.
What you’ll need:
- Base coat and top coat
- Various nail polish colors
- Dotting tools of different sizes, or the rounded end of a pencil or bobby pin
How to do it:
- Apply base coat and let it dry.
- Paint your nails with your desired base color and let it dry.
- Dip your dotting tool into a contrasting polish color. Remove excess polish by dabbing it on your palette.
- Create dots on your nails. You can make them uniform, random, or arrange them in patterns like stripes, hearts, or even abstract shapes. For a “funky” look, try asymmetrical placement or a mix of different sized dots on the same nail.
- Let the dots dry thoroughly before applying a top coat.
5. The “Pop of Neon” Accent Nail
Not ready to go full neon on all your nails? An accent nail is the perfect way to add a bolt of fun and funk!
What you’ll need:
- Base coat and top coat
- A neutral or subtle base color for most nails (e.g., nude, soft grey, or pastel)
- One or two neon or bright, contrasting polishes for your accent nail
- Optional: A thin striping brush or dotting tool for detailing on the accent nail
How to do it:
- Apply base coat to all nails and let dry.
- Paint your accent finger (usually the ring finger) with your chosen neutral color. Paint the rest of your nails with the same neutral color.
- Once the accent nail is completely dry, apply your neon or bright polish. You might need two coats for vibrant coverage.
- Get creative with the accent nail! You can add simple lines, dots, or even a small abstract design using a smaller brush or dotting tool. Think of a zig-zag pattern, a series of dots, or a single bold stripe.
- Let everything dry thoroughly and seal with a top coat.
Level Up Your Funky Nail Game: Next Steps
Once you’ve mastered these beginner-friendly designs, you might feel ready to explore more advanced techniques or unique embellishments.
1. Decal Delight
Nail decals are like stickers for your nails and are an incredible shortcut to complex designs. You can find them in countless patterns, from abstract art to tiny animals.
How to use them:
- Apply base coat and your desired polish color. Let it dry completely.
- Carefully peel or cut out your chosen decal.
- Apply the decal to your nail. For water-transfer decals, you’ll typically soak them in water for a few seconds before sliding them off the backing onto your nail. Press down gently.
- Seal with a good top coat.
2. Glitter Fade
This is a variation on the ombre and confetti looks, focusing solely on glitter for a dazzling effect.
How to do it:
- Apply base coat and a solid color polish, letting it dry.
- Take a glitter polish and apply it near the tip of your nail.
- Using a light-to-medium pressure tapping motion with the brush, ‘feather’ the glitter down towards the cuticle, creating a gradient effect.
- Repeat if necessary to build up the desired density of glitter.
- Apply a top coat. Chunky glitters might require a few layers of top coat to smooth out.
3. Abstract Art
Don’t overthink it! Sometimes the most “funky” designs come from embracing randomness and bold color combinations.
How to do it:
- Start with a clean canvas (base coat, solid polish, dried).
- Use different brush sizes (or even a dry brush technique) to apply strokes, splatters, or blobs of various colors.
- Embrace imperfections! The goal is a unique, expressive look, not perfect symmetry.
- Let dry and seal with a top coat.
Color Combinations That Pop!
The right color pairing can make any design truly funky. Here are some ideas to get your creative juices flowing:
- Classic Contrast: Black and white, navy and electric blue, deep purple and lime green.
- Bold & Bright: Hot pink and neon yellow, turquoise and orange, emerald green and ruby red.
- Pastel Power: Lavender and mint green, baby blue and pale yellow, coral and blush pink. Add a metallic accent for extra flair!
- Monochromatic Magic: Experiment with different shades of the same color family, from light to dark.
- Unexpected Pairings: Think mustard yellow with a deep teal, or a dusty rose with a muted olive green.
Nail Care Tips for Healthy, Happy Nails
Funky designs look best on healthy nails! Taking care of your nails will make them stronger, smoother, and more receptive to polish and art.
- Moisturize: Use cuticle oil or hand lotion daily to keep your skin soft and prevent hangnails.
- Protect: Wear gloves when doing dishes or cleaning.
- Buff Gently: Don’t over-buff your nails, as this can thin them.
- Take Breaks: Give your nails a break from polish now and then. Applying a strengthening base coat or a clear nourishing polish can help.
- File Correctly: Always file in one direction to prevent splitting. The U.S. Food and Drug Administration (FDA) offers comprehensive guidelines on cosmetic product safety and use, including nail care.
Keeping Your Masterpieces Looking Fresh
To make your funky designs last through your busy college schedule:
- Apply Top Coat Regularly: A top coat adds shine and protects your design. Reapply every couple of days, especially on frequently used nails, to prevent chipping and maintain gloss.
- Be Mindful: Try not to use your nails as tools (e.g., opening cans, scraping things).
- Quick Fixes: If a tiny chip occurs, you can sometimes carefully dab a bit of polish onto the spot and seal with top coat, or even use a nail art pen to camouflage it.
FAQ: Your Funky Nail Design Questions Answered
Q1: What are the easiest funky nail designs for a complete beginner?
The easiest designs involve minimal precision. Think confetti nails, simple color blocking with tape (where clean lines aren’t critical), or using dotting tools for random scattered dots. Anything that embraces a slightly imperfect, abstract look is great for beginners!
Q2: How can I make sure my nail polish designs don’t chip easily?
The secret is in the base coat and top coat! Always start with a good base coat to help polish adhere and prevent staining. Crucially, finish with at least two thin layers of a high-quality top coat, and reapply it every 2-3 days. Ensure each layer of polish and top coat is completely dry before moving to the next step.
Q3: What if I mess up a design?
Don’t panic! For most mistakes made with wet polish, a cotton swab or a small brush dipped in nail polish remover can carefully clean up the error without ruining the rest of your nail. For dried polish mistakes, you can often paint over them or start that nail fresh.
Q4: Are there any nail design trends that are considered particularly “funky”?
Absolutely! Trends like abstract swirls, bold geometric shapes, mismatched colors on each finger, neon accents, holographic finishes, and even playful character-inspired art are currently considered very funky and popular for expressing individuality.
Q5: Can I achieve salon-quality funky nails at home on a budget?
Yes! You really can. Investing in a few key tools like dotting tools and striping brushes, a good base and top coat, and a variety of polishes from affordable brands will get you far. Many trendy designs are also achievable with household items like sponges and tape.
Q6: How long should I wait between applying coats of nail polish?
For best results, allow each coat to dry to a tacky, not fully hardened, state before applying the next. This typically takes 2-5 minutes. For designs involving tape or multiple colors, ensure the underlying layer is completely dry to avoid lifting or smudging.
Conclusion: Your Nails, Your Canvas
Embracing funky nail designs is a brilliant way for college girls to showcase their personality, boost their confidence, and add a splash of fun to their everyday lives. Whether you’re creating a bold abstract masterpiece, a playful confetti explosion, or a chic geometric pattern, the most important element is that you enjoy the process and love the result.
Remember, nail art is all about self-expression. Don’t be afraid to experiment with colors, shapes, and techniques. These designs are meant to be a starting point, so feel free to adapt them, mix them up, and make them uniquely yours. So grab your polishes, your tools, and let your creativity flow. Your nails are your personal canvas – paint them loud, paint them proud, and have fun with it! Happy designing!


