Bold nail designs are your secret weapon to exude confidence and express your unique style. Discover essential, easy-to-achieve looks that will make you feel powerful and polished. These designs are perfect for the modern woman ready to make a statement.
Feeling a little unsure about your nails? Want to add some serious oomph to your look? You’re in the right place! Bold nail designs aren’t just pretty; they’re a declaration of self-assurance. They’re a fun way to show the world who you are without saying a word.
Sometimes, finding the right design can feel a bit overwhelming, especially if you’re new to nail art. But guess what? It doesn’t have to be complicated! We’re going to break down some amazing, confidence-boosting nail looks that are totally achievable, even if you’re just starting out.
Ready to embrace your inner glow-getter with some fabulous nails? Let’s dive into the essential bold nail designs that every confident woman should know about. Get ready to feel empowered, one nail at a time!
Why Bold Nails Speak Volumes
Bold nail designs do more than just prettify your fingertips; they are a powerful form of self-expression. They can instantly elevate your mood, boost your confidence, and act as a perfect accessory to your personal style. Think of them as a small but mighty way to project your personality and strength.
For confident women, bold nails are often a deliberate choice. They say, “I’m here, I’m noticeable, and I embrace who I am.” Whether it’s a vibrant color, an eye-catching pattern, or a striking silhouette, these designs command attention in the best possible way.
In a world where we express ourselves in so many ways, our nails are a canvas waiting to be explored. They offer a creative outlet that’s both accessible and incredibly personal. Ready to explore some of these confidence-boosting looks?
Essential Bold Nail Designs for Confident Women
Let’s get to the fun part! Here are some essential bold nail designs that are perfect for making a statement and feeling your most confident.
1. The Classic Red: Timeless Power
Red is the undisputed queen of bold nail colors. It’s universally recognized as powerful, passionate, and chic. A perfectly applied classic red manicure is never out of style and instantly adds a touch of sophistication.
Why it works:
- Universally Flattering: Red suits almost every skin tone.
- Instant Confidence Boost: It’s a color associated with strength and allure
- Versatile: Works for any occasion, from board meetings to a romantic dinner.
How to achieve it:
- Prep: Ensure your nails are clean, filed to your desired shape, and moisturized.
- Base Coat: Apply a clear base coat to protect your nails and help the polish adhere better.
- Color: Apply two thin coats of your favorite classic red nail polish. Let each coat dry completely before applying the next.
- Top Coat: Finish with a glossy top coat for shine and longevity.
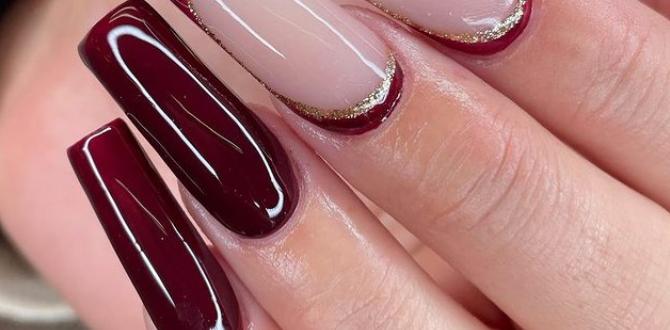
2. The Deep Burgundy/Wine: Sophisticated Edge
For those who love red but want something a little more muted and mysterious, deep burgundy or wine shades are perfect. These colors exude a sense of luxury and depth.
Why it works:
- Elegant: Rich, deep tones feel incredibly sophisticated.
- Year-Round Appeal: A go-to for fall and winter, but chic any time.
- Subtle Statement: Bold without being overly loud.
How to achieve it:
Follow the same steps as the classic red manicure, simply swapping out the bright red for a rich, dark shade like merlot, oxblood, or deep plum.
3. The Vibrant Geometric: Modern & Edgy
Geometric patterns are fantastic for women who love a modern, sharp aesthetic. Think clean lines, sharp angles, and bold color combinations. These designs are all about precision and visual impact.
Why it works:
- Artistic & Modern: Appeals to a creative and contemporary sensibility.
- Customizable: Endless possibilities with shapes, colors, and placements.
- Eye-Catching: The precision and pattern grab attention.
Design Ideas:
- Color Blocking: Large blocks of contrasting colors.
- Stripes: Thin or thick, vertical or horizontal lines.
- Chevrons: V-shaped patterns.
- Minimalist Dots: Strategic placement of small dots.
Tips for application:
- Use tape: For clean lines, use nail art tape or even regular Scotch tape. Apply your base color, let it dry completely, then carefully place the tape. Paint over the tape for your second color, and peel it off while the polish is still slightly wet for the sharpest edges.
- Dotting tools or fine brushes: For dots and intricate lines, invest in a few dotting tools or fine-tipped nail art brushes.
- Steady hand: A steady hand is key! You can rest your pinky finger on a stable surface for extra support.
4. The Daring Graphic Liner: Minimalist Impact
This trend takes inspiration from eye makeup. A fine line of contrasting color applied just above the cuticle or along the free edge of the nail creates a minimalist yet undeniably bold statement.
Why it works:
- Chic & Understated: Boldness without being overwhelming.
- Easy to Execute: Requires minimal precision compared to full nail art.
- Sophisticated Twist: Adds a modern, edgy detail to a clean nail.
How to achieve it:
- Base Color: Apply a neutral or solid base color and let it dry thoroughly.
- Liner Polish: Use a nail art polish with a very fine brush, or load a striping brush with regular polish.
- Application: Carefully draw a thin line of contrasting polish either right at the base of your nail (near the cuticle) or along the tip.
- Top Coat: Seal with a clear top coat once dry.
5. The Metallic Shine: Futuristic Glamour
Metallic finishes, especially chrome, silver, and gold, add an instant touch of futuristic glamour and luxury. These shades reflect light beautifully, making a bold statement with every movement.
Why it works:
- High Impact: Catches the light and instantly draws attention.
- Luxurious Feel: Evokes a sense of opulence and sophistication.
- Modern Edge: Especially with chrome finishes.
Application (Chrome):
- Base Color: Apply a solid, often dark, base color (black is popular for chrome). Let it cure under a UV/LED lamp if using gel.
- Chrome Powder: Apply a special chrome powder using an applicator (often a silicone brush or your fingertip). Rub it firmly into the nail surface until it creates a mirror-like effect.
- Top Coat: Seal with a no-wipe gel top coat. Regular top coats can dull the shine.
For simple metallic polishes, follow the standard base coat, two color coats, and top coat method. You can explore shades of gold, silver, rose gold, and even vibrant metallic blues or greens.
6. The Bold Matte Finish: Understated Power
Sometimes, the boldness comes not from color or pattern, but from texture. A matte finish can transform any color into a sophisticated, understated statement. It absorbs light rather than reflecting it, creating a velvety look.
Why it works:
- Chic & Sophisticated: Offers a modern, velvet-like appearance.
- Accentuates Color: Makes rich colors appear even deeper and more luxurious.
- Unique Texture: Stands out from the typical glossy finish.
How to achieve it:
- Matte Top Coat: The easiest way is to use a matte top coat over any dried nail polish color. Apply as you would a regular top coat.
- Matte Polish: Some polishes come in a matte finish. Apply these directly.
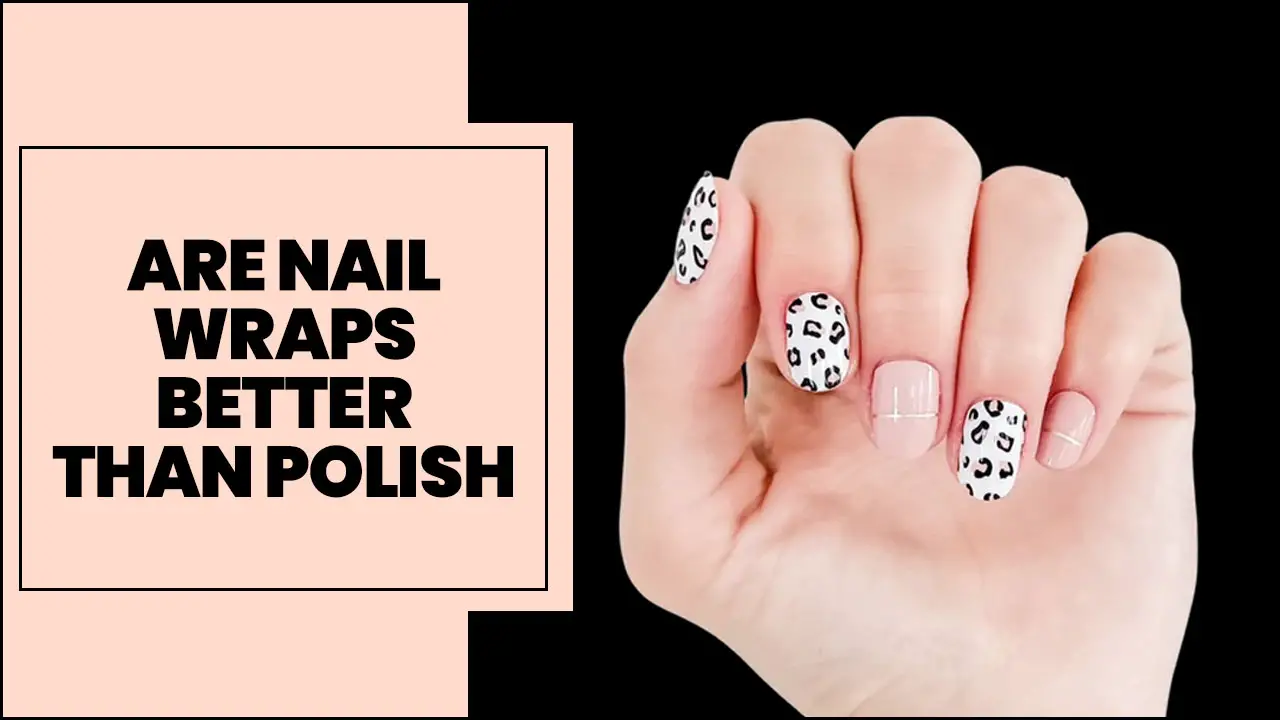
7. Bold Animal Prints: Wildly Confident
Leopard, zebra, snake, or even cow print – these are not just patterns; they’re a declaration of a fierce and confident spirit. Done right, they can be incredibly chic and fun.
Why it works:
- Playful & Fierce: Adds a touch of wildness and personality.
- Textural Interest: Can mimic natural textures for a unique look.
- Conversation Starter: These designs are always noticed!
Tips for application:
- Stencils or Nail Art Brushes: Use stencils for easier application, or practice with a fine brush to draw the spots or stripes. Start with simple leopard spots – usually two-toned, with a darker outline around a lighter spot.
- Subtle Colors: For a more sophisticated take, try animal prints in muted or monochromatic color schemes (e.g., black and white zebra, or brown and black leopard on a nude base).
- Accent Nail: If a full set feels too bold, try an animal print design on just one or two accent nails.
Nail Care for Bold Designs
To truly rock any bold nail design, healthy, well-maintained nails are essential. Here’s a quick guide to keeping your nails in top shape:
Essential Nail Care Steps:
- Cleanliness is Key: Always start with clean nails. Remove old polish thoroughly.
- Shape Up: File your nails consistently in one direction to prevent splitting. Almond or squoval shapes often complement bold designs well, but choose what makes you feel best!
- Cuticle Care: Gently push back cuticles after a warm soak. Never cut them, as they protect your nail bed. Moisturize with cuticle oil daily. Visit the American Academy of Dermatology Association for more on nail health.
- Moisturize: Dry hands and nails can ruin even the best manicure. Use a good hand cream regularly.
- Base & Top Coats: Never skip these! They protect your natural nail and ensure your polish lasts longer.
Tools for Your Bold Nail Journey
You don’t need a professional salon to create stunning bold nail designs. Here are some key tools to have in your arsenal:
| Tool | Purpose | Beginner Tip |
|---|---|---|
| Nail Files | Shaping and smoothing nails. | Use a finer grit (240+) for natural nails to avoid damage. |
| Cuticle Pusher/Orange Stick | Gently pushing back or lifting cuticles. | Be tender; only push back, don’t force. |
| Nail Polish Remover & Cotton Pads | Removing polish cleanly. | Use acetone-free remover if your nails are dry or damaged. |
| Base Coat | Protects natural nail, improves polish adhesion. | Choose one that suits your nail needs (e.g., strengthening). |
| Top Coat | Adds shine, protects polish from chipping, speeds drying. | A “quick-dry” top coat is a lifesaver! |
| Dotting Tools | Creating dots, swirls, and small designs. | Comes in various sizes; experiment with all of them! |
| Fine-Tipped Brushes (Nail Art Brushes) | Drawing thin lines, intricate details, or gradients. | Clean them immediately after use with remover to keep them in good condition. |
| Nail Art Tape | Creating sharp, clean lines and geometric shapes. | Ensure the base coat is completely dry before applying tape. |
| Matte Top Coat | Transforms any color into a sophisticated matte finish. | Can be layered over any dried glossy polish for a new look. |
| Chrome Powder & Applicator | Creating mirror-like metallic finishes. | Requires specific application steps and usually a gel top coat. |
Choosing Your Bold Design: Personal Style Matters
The most important aspect of a “bold” design is that it feels bold to you. It should make you feel powerful, confident, and authentically yourself. Don’t be afraid to experiment and find what resonates with your personal style.
Considerations:**
- Your Wardrobe: Do you prefer classic neutrals, vibrant colors, or edgy blacks? Your nails can complement or contrast your style.
- Your Lifestyle: If you work with your hands a lot or require very practical nails, a simpler bold design (like a single accent nail in a vibrant color or a matte finish) might be better than intricate patterns with 3D elements.
- Skin Tone: While most colors can be adapted, certain shades might look particularly striking on your specific skin tone. Don’t be afraid to test colors! For instance, jewel tones can be stunning on deeper skin tones, while brighter corals and pinks can pop on lighter complexions.
- Occasion: While bold designs are great for everyday confidence, you might choose something more subtle for a formal event or a more elaborate design for a party.
FAQs: Your Bold Nail Questions Answered
Q1: What’s the easiest bold nail design for beginners?
A: A single block color in a vibrant shade like deep red, cobalt blue, or emerald green. Alternatively, a bold matte finish on any color is very simple to achieve with a matte top coat.
Q2: How do I make my nail polish last longer, especially with bold colors?
A: Always use a good base coat and top coat. Apply thin coats of color and let them dry completely between applications. A quick-dry top coat can also help seal the polish and prevent chipping.
Q3: Can I wear bold nail designs to a professional job?
A: Absolutely! The key is choosing sophisticated versions. Think deep, rich colors (like burgundy, navy, or forest green) or minimalist designs (like a single metallic stripe or a chic geometric accent). Avoid neons or overly complex patterns if your workplace is very conservative.
Q4: How do I clean up my nail polish mistakes?
A: Keep a small brush (like an old eyeliner brush or a dedicated nail art brush) dipped in nail polish remover handy. You can carefully paint around the edges to clean up any polish that has gone onto your skin. A cotton swab works too, but a brush offers more precision.
Q5: My nail polish chips quickly. What am I doing wrong?
A: Ensure your nails are completely clean and free of oils before applying polish. Don’t forget to cap the free edge of your nail with your top coat – run your brush along the very tip of your nail after you’ve painted the surface. This seals the polish in and dramatically reduces chipping.
Q6: Are there bold nail designs that make nails look longer?
A: Yes! Vertical stripes, designs that extend towards the tip of the nail, or a deep V-shape at the base of your nail can create an illusion of length. Longer, almond-shaped nails also tend to look elongating.
Q7: How do I get geometric lines super sharp?
A: Clean, dry nails are crucial. Use good quality nail art tape or even painter’s tape. Press it down firmly to ensure no polish seeps underneath. For the sharpest lines, peel the tape off when the polish is still slightly wet, not fully dry, and not when it’s too gooey.
Conclusion: Embrace Your Bold, Beautiful Nails
There you have it – your guide to essential bold nail designs that are perfect for any confident woman! We’ve explored classic power shades, modern geometric art, luxurious metallics, and fierce animal prints. Remember, these designs are just starting points.
The beauty of nail art is its endless potential for creativity and personalization. Whether you choose a striking solid color, a minimalist accent, or a full-on statement design, the most important element is how it makes you feel. Bold nails are a fabulous way to boost your confidence, express your unique personality, and add that extra sparkle to your everyday life.
Don’t be afraid to experiment, have fun, and let your nails do the talking. Grab your favorite polishes, check out those tools we discussed, and start creating. You’ve got this, and your nails are about to show it!


