Ballerina nail designs with a matte finish offer a sophisticated, modern twist on a classic nail shape. Explore easy-to-follow steps and creative ideas to achieve this chic look at home.
Dreaming of elegant, modern nails? Ballerina (or coffin) shaped nails are super stylish. Adding a matte finish takes them to a whole new level of chic. But how do you get that smooth, velvety look without smudges or streaks? It can seem tricky, especially if you’re new to nail art. Don’t worry! This guide is here to help. We’ll walk you through everything you need to know, from choosing your colors to perfecting that flawless matte topcoat. Get ready to create gorgeous, trendy nails right in your own home!
From sleek solid colors to delicate details, matte ballerina nails are perfect for any occasion. They feel luxurious and look incredibly polished. Whether you’re heading to a fancy event or just want to treat yourself to a pretty mani, this guide has got you covered.
What Are Ballerina Nails?
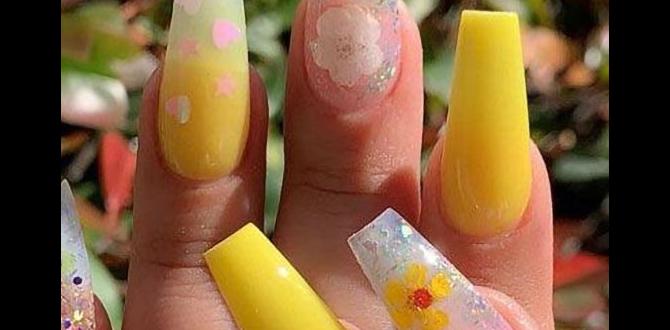
Ballerina nails, also known as coffin nails, are a popular nail shape characterized by their long, straight sides that taper to a squared-off tip. Think of a ballet slipper or a classic coffin shape – that’s where the names come from! This shape is elegant and elongates the fingers beautifully, making it a favorite for many.
They offer a great canvas for various nail art designs, from minimalist looks to intricate patterns. The sharp lines of the ballerina shape pair wonderfully with the soft, non-reflective texture of a matte finish, creating a stunning contrast that’s both modern and sophisticated.
Why Choose Matte Finish for Ballerina Nails?
The matte finish transforms any nail color. Instead of a high shine, it offers a soft, velvety look that absorbs light. This creates a sophisticated and understated elegance.
- Modern Appeal: Matte is incredibly on-trend and gives a contemporary feel to classic nail shapes.
- Sophistication: It instantly elevates a manicure, making it look more refined and professional.
- Versatility: Matte finishes work with almost any color, from deep, moody tones to soft pastels and even neons.
- Hides Imperfections: A matte topcoat can sometimes be more forgiving of minor nail surface imperfections than a high-gloss finish.
- Unique Texture: The velvety texture feels luxurious and is a delightful change from traditional glossy nails.
Essential Tools and Supplies
To achieve salon-worthy matte ballerina nails at home, you’ll need a few key items. Don’t be intimidated; most of these are standard in any nail care kit!
For Shaping and Prep:
- Nail File (medium grit for shaping, fine grit for smoothing)
- Nail Clippers
- Cuticle Pusher or Orange Stick
- Buffer Block (4-way buffer is great for beginners)
- Nail Polish Remover
- Cotton Pads
For Application:
- Base Coat
- Your Chosen Nail Polish Colors (cream, gel, or regular polish)
- Matte Top Coat (this is crucial!)
- Optional: Nail Art Brushes, Dotting Tools, Rhinestones, Glitter
For Cleanup:
- Angled Brush or Cotton Swab dipped in remover
Step-by-Step Guide to Matte Ballerina Nails
Ready to get creative? Follow these simple steps to achieve a beautiful matte ballerina manicure.
- Prep Your Nails: Start by removing any old polish. Gently push back your cuticles with a cuticle pusher. File your nails into the desired ballerina shape: straight sides tapering to a rounded or squarish tip. Use a buffer to smooth the nail surface, removing any ridges. This ensures a clean canvas for your polish.
- Apply Base Coat: A good base coat protects your natural nails from staining and helps your polish adhere better. Apply one thin layer and let it dry completely.
- Apply Nail Polish: Apply your first color. Use thin, even coats. Most polishes require two coats for full opacity. Let each coat dry thoroughly before applying the next. If you’re doing a design, you’ll apply colors as needed in this step.
- Apply Matte Top Coat: Once your color coats are completely dry (this is key to avoid dragging the color!), apply your matte top coat. Apply it just like a regular top coat: one thin, even layer over the colored polish. Ensure you cap the free edge (swipe the brush along the very tip of the nail) to help prevent chipping.
- Let it Dry: Allow the matte top coat to dry completely. Unlike glossy topcoats, matte finishes often dry down to their velvety texture fairly quickly.
- Clean Up Edges: Use an angled brush or a cotton swab dipped in nail polish remover to clean up any polish that got onto your skin around the nails. This gives a super neat finish.
Ballerina Nail Design Ideas with a Matte Finish
The matte finish is stunning on its own, but it also forms a perfect base for creative nail art. Here are some ideas to inspire your next manicure:
1. Classic Monochromatic Matte
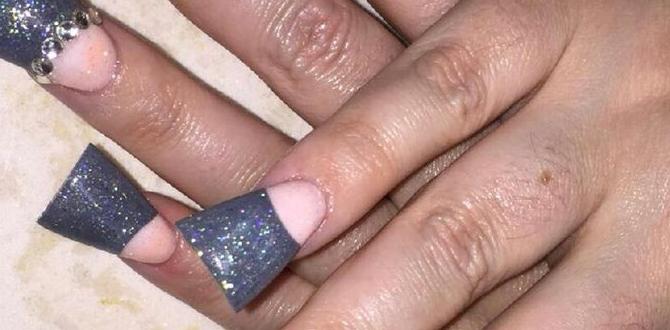
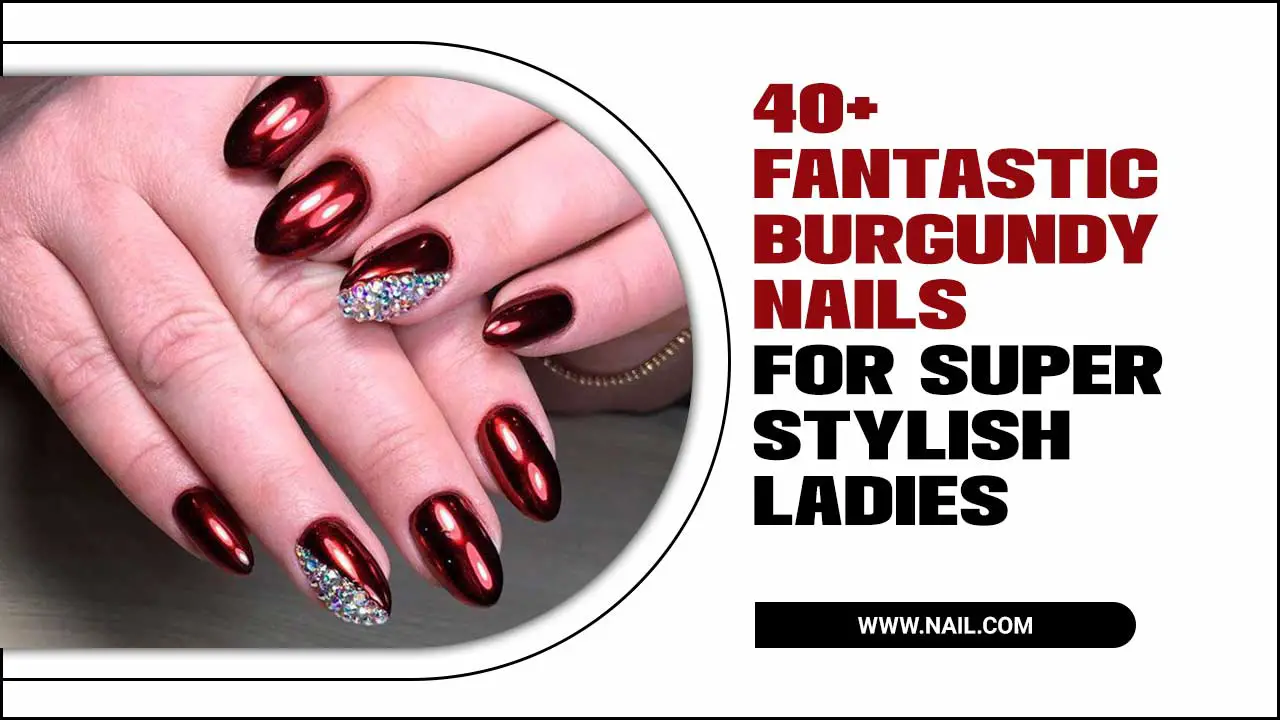
This is the simplest yet most elegant option. Choose your favorite color – think deep burgundy, sophisticated slate gray, rich forest green, or a soft nude. Apply two coats of your chosen polish, let it dry completely, and then seal it with your matte top coat. It’s chic, timeless, and never fails to impress.
2. Two-Tone Matte Elegance
Combine two complementary or contrasting matte colors. You could do a gradient (ombre) effect, where one color fades into another. Or, use striping tape to create clean lines between two different matte shades on each nail. Another idea is to paint your thumb and ring fingers one color, and the rest another.
3. Matte with Glossy Accents
This is where matte really shines! The contrast between matte and glossy finishes is visually striking. You can paint a design (like dots, stripes, hearts, or abstract shapes) over your matte base using a regular glossy top coat. This creates a subtle yet impactful detail.
Tip: For this, apply your matte top coat first over the entire nail. Once dry, use a fine nail art brush and a regular glossy top coat (or a glossy gel polish if you’re using gel) to paint your accent design. Let the glossy accent dry completely.
4. Glitter & Matte Combination
Matte nails also pair beautifully with glitter accents. You can apply a glitter polish to just the tips, creating a matte French manicure with a sparkling edge. Alternatively, add a touch of glitter to an accent nail, or create a glitter gradient starting from the cuticle.
5. Minimalist Line Art
Simple, delicate lines can look incredibly sophisticated on a matte background. Use a fine nail art brush and a contrasting polish (often black or white, or even a metallic shade) to draw thin lines, geometric shapes, or abstract swirls over your matte base. A touch of gold or silver line art is particularly stunning with matte shades.
6. Decals and Nail Stickers
For a quick and easy design, use nail stickers or water decals. Apply your matte polish, let it dry, then carefully apply your chosen sticker or decal. Seal it with a thin layer of matte top coat to blend it in and protect it. Look for delicate floral patterns, celestial designs, or chic minimalist graphics.
7. Textured Matte Designs
Experiment with different textures over your matte base. You can use small rhinestones, studs, or caviar beads strategically placed for a glamorous touch. Apply them while the matte top coat is still slightly tacky, or use a tiny dot of nail glue.
Matte vs. Gel Matte Top Coats
When choosing a matte top coat, you’ll likely come across two main types: regular (air-dry) and gel. Both have their pros and cons.
| Feature | Regular Matte Top Coat | Gel Matte Top Coat |
|---|---|---|
| Application | Apply like regular polish, air dries. | Requires a UV/LED lamp to cure. |
| Durability | Moderate; typically lasts 3-7 days. | High; can last 2-3 weeks with proper application. |
| Removal | Easily removed with regular nail polish remover. | Requires specific gel polish remover or soaking. |
| Finish | Velvety matte finish, can sometimes be less durable. | Smooth, durable matte finish. |
| Best For | Quick manicures, trying out designs, those who change polish frequently. | Long-lasting manicures, busy individuals, those committed to a look. |
Recommendation for Beginners: If you’re just starting, a regular air-dry matte top coat is a great choice. It’s forgiving, easy to use, and you don’t need extra equipment like a UV lamp. You can find excellent options from brands like OPI, Essie, and Sally Hansen.
Tips for Achieving the Perfect Matte Finish
Getting that flawless, velvety look every time takes a little practice and a few key insights.
- Ensure Polish is DRY: This is the most critical step. Applying matte top coat over partially dry color polish will result in streaks and smudges that look like dragging. Be patient!
- Thin Coats are Key: Just like with regular polish, thin, even coats of the matte top coat will give you the smoothest finish. Thick coats can be uneven and may not dry properly.
- Even Application: Apply the matte top coat smoothly and without stopping. If you stop and start, you might see brush strokes appear as it dries.
- Avoid Water Immediately After: Just like glossy polish, try to avoid prolonged contact with water for a few hours after your manicure is complete, especially with air-dry formulas. This helps the finish set properly.
- Matte Top Coat Quality Matters: Invest in a good quality matte top coat. Cheaper formulas can sometimes turn chalky or go streaky more easily.
- Consider the Base Color: While matte works with everything, very dark or vibrant colors can sometimes show smudges more readily if not applied perfectly. Nudes, grays, and pastels can be more forgiving, especially for beginners.
Maintaining Your Matte Ballerina Nails
To keep your matte nails looking their best, follow these simple maintenance tips:
- Be Gentle: Matte finishes can be more susceptible to showing oils and smudges than glossy ones. Avoid rubbing your nails on rough surfaces.
- Moisturize: Keep your cuticles and the skin around your nails moisturized with cuticle oil and hand cream. Dry skin can make any manicure look less polished.
- Reapply Matte Top Coat (if needed): For regular polish manicures, if you notice the matte finish starting to wear down or look shiny in spots, you can carefully clean the nail and reapply a thin layer of matte top coat to refresh it.
- Proper Removal: When it’s time to remove, use a good quality nail polish remover. For gel, follow the specific removal process for gel polish.
For those looking to understand the science behind nail polish durability, the National Institute of Standards and Technology (NIST) provides valuable research on material properties and coatings, which indirectly influences the longevity and finish of nail polishes.
Frequently Asked Questions (FAQ)
Q1: Can I make any nail polish matte?
A1: Yes! You can achieve a matte finish on almost any nail polish color by applying a matte top coat over it. The matte top coat is what creates the velvety texture.
Q2: How long do regular matte ballerina nails typically last?
A2: Regular air-dry matte manicures usually last between 3 to 7 days, depending on how well you prep your nails, the quality of the polish used, and how gently you treat your hands.
Q3: What’s the best way to clean up errant polish with matte manicures?
A3: Use a small, angled brush or a fine-tipped nail art brush dipped in nail polish remover. Gently trace around the edges of your nails to remove any polish on the skin for a crisp, clean finish.
Q4: Are matte nails harder to maintain than glossy nails?
A4: They can be slightly more prone to showing fingerprints or oils due to their texture. However, with gentle care and regular moisturizing, they are quite manageable. Applying a top coat helps protect the finish.
Q5: Can I put matte top coat over press-on or acrylic nails?
A5: Absolutely! Matte top coat can be applied to press-on nails, acrylics, or gel extensions just as you would on natural nails, provided they are clean and free of oils.
Q6: Will my matte nails start to look shiny after a few days?
A6: Sometimes, with regular wear and tear, the matte finish might start to lose some of its velvety appearance and gain a slight sheen, especially on the tips or where there’s friction. You can often refresh this by gently buffing and reapplying a thin layer of matte top coat.
Conclusion
Matte ballerina nail designs offer a sophisticated and modern twist that’s surprisingly easy to achieve at home. Whether you opt for a sleek solid color or get creative with artistic accents, the matte finish adds an unparalleled touch of elegance. By following the essential prep steps, applying your colors and matte top coat with care, and choosing the right tools, you can confidently create stunning, salon-quality manicures.
Remember, nail art is all about self-expression and having fun! Don’t be afraid to experiment with different colors, designs, and finishes. With this guide, you’re well-equipped to rock the chic matte ballerina nail trend. Happy polishing!

