Create stunning Thanksgiving nail designs using essential fall colors! This guide offers simple, step-by-step ideas perfect for beginners, featuring beautiful autumn palettes that will make your nails festive for the holiday. Get ready to impress with your DIY manicure skills!
Fall is a magical time, and Thanksgiving is the perfect excuse to adorn your fingertips with the season’s most beautiful colors. But if you’re new to nail art, the thought of creating intricate designs might seem a little daunting. Don’t worry! You don’t need to be a professional to achieve gorgeous, festive nails. This guide is designed to help you easily create stunning Thanksgiving nail designs using those warm, cozy colors we all love. We’ll break down everything from picking your color palette to simple techniques that look incredibly chic. Get ready to fall in love with your nails all over again, just in time for turkey day!
What Are The Essential Fall Colors for Thanksgiving Nails?
When we think of autumn and Thanksgiving, a specific palette of warm, earthy, and rich tones immediately comes to mind. These colors evoke the feeling of cozy sweaters, crisp air, and bountiful harvests. Incorporating these into your Thanksgiving nail designs will instantly bring a festive and seasonal vibe to your look.
The Core Thanksgiving Color Palette
The foundation of any great Thanksgiving nail design lies in its color choices. Think about the colors you see all around you during this time of year. These are the shades that just feel like autumn!
- Warm Neutrals: Think creamy beige, soft taupe, and rich chocolate brown. These provide a sophisticated base and complement any other color beautifully.
- Earthy Tones: These are the heart of fall! Consider shades like olive green, deep forest green, muted mustard yellow, and subtle terracotta.
- Rich Reds & Oranges: Transition from summer brights to deeper, warmer versions. Picture burnt orange, deep crimson, rust, and even a touch of cranberry.
- Golden Hues: A metallic or shimmer finish in gold or bronze can add a touch of elegance and sparkle, mimicking falling leaves or warm candlelight.
- Deep Blues & Purples: Don’t forget about the skies on a crisp fall evening! Navy blue or a deep plum can offer a sophisticated contrast to the warmer tones.
Why These Colors Work for Thanksgiving
These colors aren’t just pretty; they’re intrinsically linked to the Thanksgiving season. They reflect the natural beauty of autumn foliage, the harvest bounty, and the cozy atmosphere of the holiday. Using them creates an immediate visual connection to the celebration.
Understanding Color Theory for Fall Nails
Even a basic understanding of color theory can elevate your nail game. For fall, we’re generally working with warm tones. This means colors with yellow, red, or orange undertones. Complementary colors can create striking contrasts, while analogous colors (those next to each other on the color wheel, like orange and red) create harmonious looks.
For instance, pairing a deep olive green with a burnt orange creates a classic fall contrast that’s visually pleasing and very Thanksgiving-appropriate. A monochromatic look using different shades of brown can be just as impactful and is incredibly chic.
Beginner-Friendly Thanksgiving Nail Designs: Step-by-Step
Ready to get creative? These designs are perfect for beginners and use those lovely fall colors. We’ll focus on simple techniques that deliver maximum impact. Grab your nail polish and let’s begin!
1. The Classic Fall Gradient
A gradient, or ombré, effect is easier than it looks and can be stunning with fall colors. It’s a beautiful way to blend multiple shades.
What You’ll Need for This Design:
- Base coat
- 2-3 fall-colored nail polishes (e.g., a deep red, a burnt orange, a mustard yellow)
- Makeup sponge (a clean, dry cosmetic sponge works best)
- Top coat
- Optional: Cotton swabs and nail polish remover for clean-up
Steps to Create the Fall Gradient:
- Prep your nails: Start with clean, filed nails. Apply a base coat and let it dry completely. This protects your nails and helps polish adhere better.
- Apply the first color: Paint one thin coat of your lightest fall color (e.g., mustard yellow) onto your nail. Let it dry for a minute or two.
- Create the gradient on the sponge: On a flat, protected surface (like a piece of paper or plastic wrap), carefully paint stripes of your chosen colors side-by-side. For our example, you’d paint a stripe of mustard yellow, then next to it a stripe of burnt orange, and then a stripe of deep red. Work quickly as the polish can dry fast.
- Dab the sponge onto your nail: Gently press the sponge onto your nail, rolling it slightly from side to side to help blend the colors. You might need to dab it a few times to build up the color intensity and achieve a smooth transition.
- Repeat for more intensity: If the gradient isn’t as vibrant as you’d like, let the first layer on your nail dry slightly, and then repeat steps 3 and 4. You can also add more polish to the sponge for subsequent applications.
- Clean up edges: Use a cotton swab dipped in nail polish remover to carefully clean up any polish that got onto your skin around the nail.
- Seal it in: Once the gradient looks perfect and is completely dry, apply a generous coat of top coat to seal the design and add shine. Let it dry thoroughly.
2. The Subtle Leaf Accent Nail
Adding a simple leaf design to one or two nails can be a beautiful and understated nod to the season.
What You’ll Need for This Design:
- Base coat
- A neutral or deep fall color for your main nail polish (e.g., taupe, olive green)
- A contrasting fall color for the leaf (e.g., a lighter green, a burnt orange, or even a gold shimmer)
- A fine-tipped nail art brush or a dotting tool
- Top coat
- Optional: Cotton swabs and nail polish remover
Steps to Create the Leaf Accent Nail:
- Prep and paint: Apply your base coat. Paint all your nails with your chosen main fall color, except for your accent nail. Apply two thin coats for full opacity. Let them dry.
- Paint the accent nail: On your accent nail, apply two thin coats of your main color. Let it dry completely.
- Create the leaf: Dip your fine-tipped nail art brush into the contrasting leaf color. On your accent nail, carefully draw a simple leaf shape. You can start with an elongated oval and then add a small stem, or just create a few flowing lines that suggest a leaf. If using a dotting tool, you can create a few dots and then use the brush to gently connect and shape them.
- Add subtle details (optional): For a bit more dimension, you can use a slightly darker shade of your leaf color to add a thin line down the center of the leaf, mimicking a vein.
- Clean up: Carefully clean up any stray marks with a cotton swab and remover.
- Seal the deal: Apply a top coat to all your nails to protect the design and add a glossy finish.
3. The Cozy Plaid-Inspired Nail
Plaid is the epitome of fall comfort, and you can bring this cozy pattern to your nails with a few simple lines.
What You’ll Need for This Design:
- Base coat
- A base color polish (e.g., a creamy beige, a deep forest green)
- 1-2 contrasting nail art polishes in fall colors (e.g., a burgundy, a deep blue, a mustard yellow)
- A fine-tipped nail art brush
- Top coat
- Optional: Cotton swabs and nail polish remover
Steps to Create the Plaid-Inspired Nail:
- Base coat and base color: Apply your base coat and then paint your nails with your chosen base color. Let it dry completely. This should be one of your accent nails.
- First set of lines: Dip your fine-tipped brush into one of your contrasting nail art polishes. Carefully paint a few horizontal lines across your accent nail. The lines can be of varying thickness. Let these dry.
- Second set of lines: Now, use the same brush (or a clean one) with your second contrasting polish (or the same one if you only have one contrast color). Paint a few vertical lines, making sure they intersect with your horizontal lines. For a classic plaid look, create small squares where the lines intersect.
- Add small details (optional): For a more authentic plaid look, you can add very thin, intersecting lines in a darker shade at some of the intersections.
- Clean up: Clean up any smudges around your nail.
- Seal and shine: Apply a top coat and let it dry.
4. The Gilded Harvest Mani
This design is elegant and simple, using metallic accents to elevate your fall colors.
What You’ll Need for This Design:
- Base coat
- Your favorite deep fall color polishes (e.g., deep red, forest green, navy blue)
- Gold or bronze metallic nail polish or foil transfer stickers
- A fine-tipped brush or tweezers (for stickers)
- Top coat
Steps to Create the Gilded Harvest Mani:
- Prep and paint: Apply your base coat. Paint all your nails with your chosen deep fall color. Apply two thin coats and let them dry completely.
- Add metallic accents:
- Option A (Metallic Polish): Using a fine-tipped brush dipped in gold or bronze polish, carefully paint a thin line along your nail tip, creating a French tip style but in metallic. Alternatively, paint a single thin line at the base of the nail, or create a simple geometric shape on an accent nail.
- Option B (Foil Stickers): If you have gold or bronze foil transfer stickers, carefully apply them to your nails. You can cover the entire nail, create a half-moon shape at the base, or cut small shapes like leaves or dots. Follow the instructions for your specific foil stickers.
- Seal generously: Once your metallic accents are in place and dry (if using polish) or adhered (if using stickers), apply a generous coat of top coat. This is especially important for foil stickers to ensure they stay put and to smooth out any texture.
- Dry thoroughly: Let your nails dry completely.
Essential Tools for Thanksgiving Nail Art Beginners
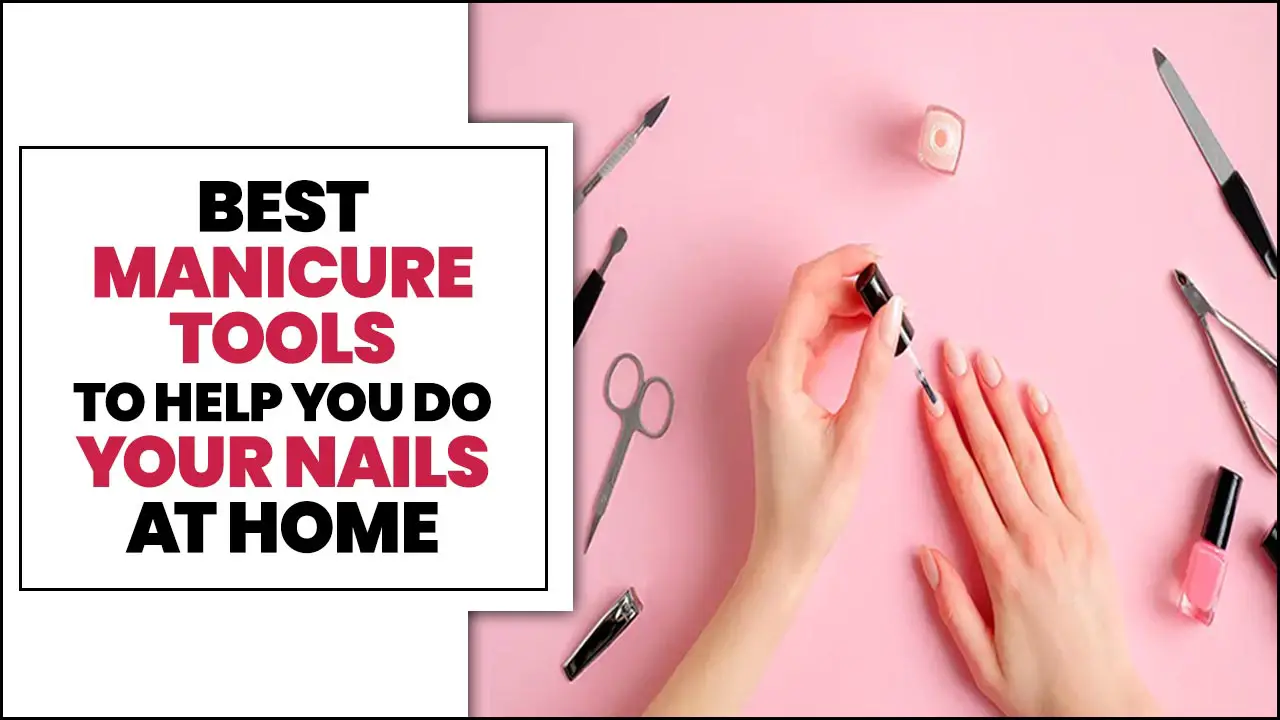
You don’t need a whole professional kit to achieve beautiful Thanksgiving nail designs. A few key tools can make all the difference and are surprisingly affordable and easy to use.
Here’s a breakdown of what’s helpful:
| Tool | What it Does | Why it’s Great for Beginners |
|---|---|---|
| Base Coat | Protects natural nails and provides a smooth surface for polish. | Crucial for nail health and helps polish last longer, preventing chipping and staining. |
| Top Coat | Seals the design, adds shine, and prevents chipping. | Makes your manicure look polished and professional, extending its wear time. |
| Fine-Tipped Nail Art Brush | Allows for precision in drawing lines, dots, and small details. | Makes intricate designs like plaid, veins, or delicate lines much more achievable. Many can be found in affordable sets. |
| Dotting Tools | Used to create dots of various sizes, which can be the basis for many designs (like polka dots or floral centers). | Extremely versatile and easy to use for creating uniform dots, which are a building block for many simple nail art patterns. |
| Makeup Sponge (Cosmetic Sponge) | Used to create gradient (ombré) effects by dabbing polish onto the nail. | A surprisingly effective and simple tool for the popular ombré trend, requiring minimal artistic skill. |
| Cotton Swabs & Nail Polish Remover | For cleaning up stray polish around the cuticles and nail edges. | Essential for achieving a neat finish, making even simple designs look much more professional. |
| Orange Stick or Cuticle Pusher | To gently push back cuticles before applying polish or to clean up edges. | Helps create a clean canvas for nail art and prevents polish from clinging to raised cuticles. |
Tips for Long-Lasting Thanksgiving Nails
You’ve put in the effort to make your nails look beautiful, so you want them to last! Here are some pro tips to keep your Thanksgiving nail designs looking fresh through all the feasting and festivities.
- Start with clean, dry nails: Make sure your nails are free of oils and old polish. Avoid applying lotion right before polishing, as it can interfere with adhesion.
- Thin coats are key: While it’s tempting to slap on a thick coat for better coverage, thin, even coats dry faster and are less likely to chip or smudge. Two thin coats are almost always better than one thick one.
- Cap the free edge: When applying your base coat, color coats, and definitely your top coat, swipe your brush horizontally across the free edge (the tip) of your nail. This seals the polish in and prevents chipping from the tips.
- Rushing is the enemy: Patience is a virtue, especially with nail polish. Allow each coat to dry for at least a minute or two before applying the next. And let your final top coat dry completely before you start doing anything that involves your hands! This can take up to 15-20 minutes for full hardness, though it might feel dry to the touch sooner.
- Wear gloves for chores: When washing dishes, cleaning, or doing any task that involves prolonged exposure to water or harsh chemicals, wear rubber gloves. Water and detergents are the biggest enemies of manicures.
- Reapply top coat: If your manicure starts to lose its shine after a few days, a fresh coat of top coat can revive it and add extra protection.
- Be gentle with your hands: Try not to use your nails as tools to open cans, scrape labels, or pry things open.
Thanksgiving Nail Designs: Frequently Asked Questions
Q1: How can I make my nail polish last longer for Thanksgiving?
A1: For longer-lasting polish, always start with a clean, dry nail and apply thin coats of both base and top coat. Don’t forget to “cap” the free edge of your nails with each coat. Avoid exposing your nails to harsh chemicals or prolonged water contact without gloves. A fresh top coat mid-week can also help!
Q2: I’m a beginner, what’s the easiest Thanksgiving nail design to try?
A2: A simple gradient using a makeup sponge is very beginner-friendly and looks incredibly chic.


