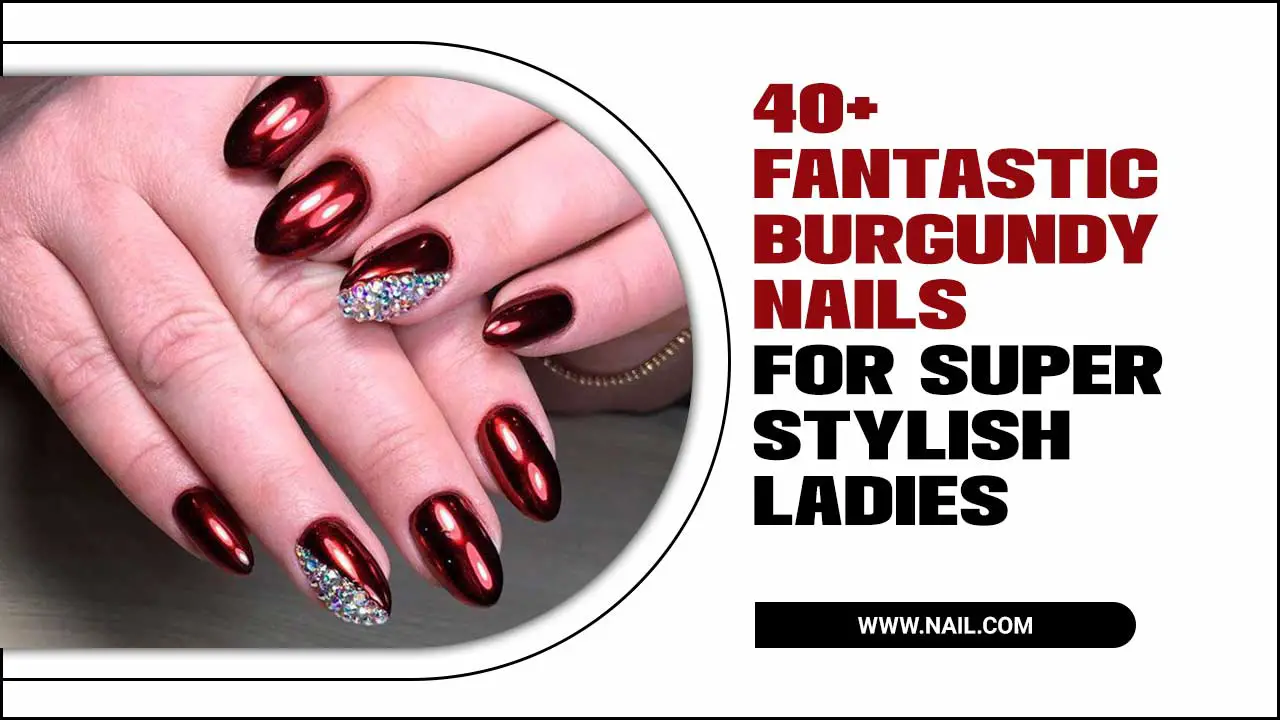
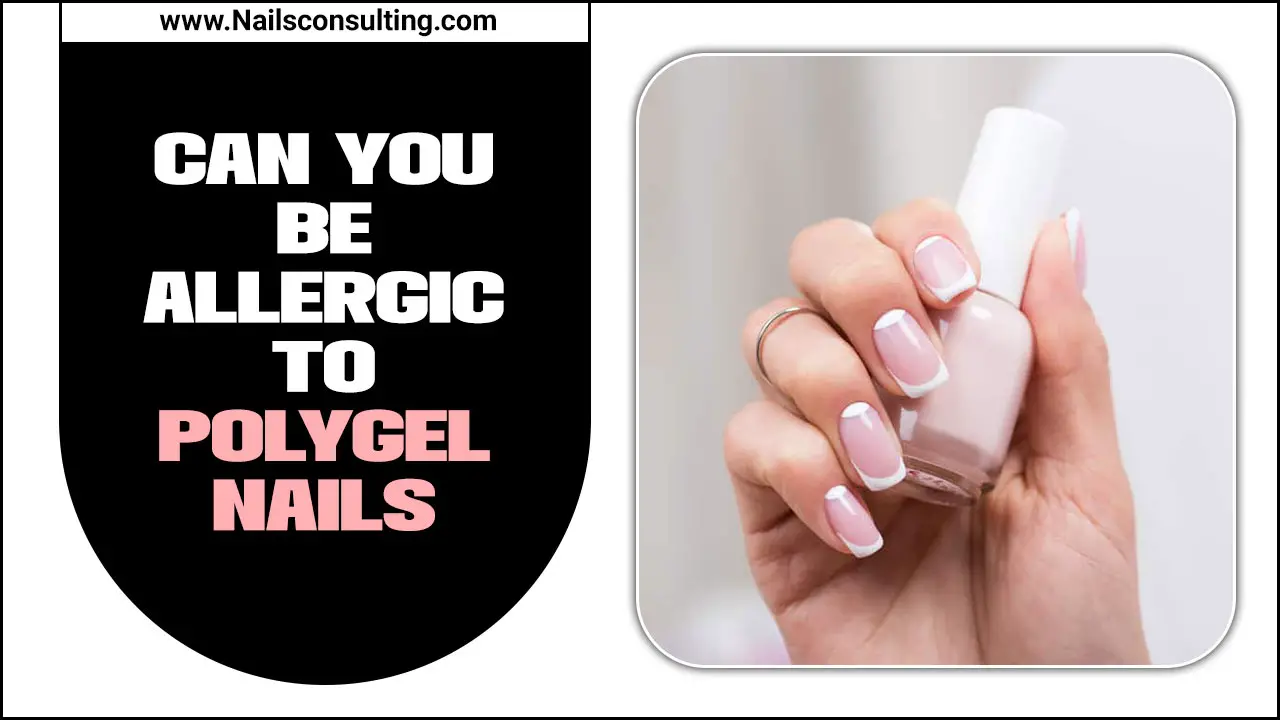
Oval nail designs with a minimalist style offer an effortlessly chic and sophisticated look, perfect for anyone seeking elegant simplicity. Learn how to achieve this timeless aesthetic with easy-to-follow steps and essential tips for beautiful, understated nails.
Are you dreaming of nails that look polished and stylish but don’t scream for attention? Sometimes, less is truly more when it comes to beauty. Oval nails are a universally flattering shape, and when paired with a minimalist design, they create a look that’s both elegant and incredibly easy to maintain. Many of us find ourselves staring at Pinterest, overwhelmed by intricate nail art. But what if achieving that sophisticated vibe was simpler than you thought? This guide will show you how to embrace the understated beauty of minimalist oval nail designs, turning your nails into subtle statement pieces with minimal fuss.
We’ll walk through everything you need to know, from shaping your nails the right way to choosing the perfect colors and adding those subtle touches that make all the difference. Get ready to discover your new go-to nail aesthetic!
Why Minimalist Oval Nails Are a Winning Combination
The oval nail shape is renowned for its ability to elongate the fingers, giving them a slender and graceful appearance. It’s a universally flattering shape that suits almost everyone. When you combine this elegant silhouette with a minimalist design philosophy, you get a look that is sophisticated, timeless, and incredibly versatile. Minimalist nail art isn’t about avoiding creativity; it’s about strategic understatement, focusing on clean lines, subtle details, and a refined color palette. This approach ensures your nails complement your style without overpowering it, making them perfect for any occasion, from a busy workday to a special evening out.
The beauty of minimalist oval nails lies in their effortless appeal. They convey a sense of self-assured elegance and attention to detail without being flashy. This means less time spent on complicated art and more time enjoying chic, put-together nails. Let’s explore what makes this pairing so special and how you can achieve it yourself.
The Appeal of the Oval Shape
- Finger Elongation: Oval nails naturally make fingers look longer and slimmer.
- Universally Flattering: This shape complements all hand shapes and nail lengths.
- Reduced Snagging: The rounded edges are less prone to breaking and snagging compared to sharper shapes.
- Classic Elegance: It’s a timeless shape that never goes out of style.
The Power of Minimalism in Nail Design
- Sophistication: Simple designs exude a refined and chic aura.
- Versatility: Minimalist nails pair well with any outfit and occasion.
- Ease of Maintenance: These designs are often easier to touch up and maintain.
- Focus on Quality: It highlights the health and neatness of your nails.
- Subtle Statement: They offer a way to express personal style without being overly bold.
Essential Tools for Your Minimalist Oval Manicure
Before we dive into the designs, let’s gather your toolkit. You don’t need a ton of fancy gadgets to create beautiful minimalist oval nails. Having the right basic supplies will make the process smoother and the results much more professional. Think of these as your essential companions for achieving that effortless chic.
Here’s what you’ll want to have on hand:
- Nail File: A good quality file is crucial for shaping. Look for ones with different grits, or a fine-grit emery board for shaping and a coarser one for initial length correction.
- Nail Buffer: To smooth out any ridges and create a smooth canvas for polish.
- Cuticle Pusher/Orange Stick: For gently pushing back cuticles, creating a clean base.
- Base Coat: Essential for protecting your natural nail and helping polish adhere better.
- Top Coat: To seal your design, add shine, and prevent chipping. A quick-dry top coat is a lifesaver!
- Nail Polish in Your Chosen Colors: Think neutrals, pastels, or classic shades for a minimalist look.
- Thin Nail Art Brush or Dotting Tool (Optional): For adding small accents like dots or thin lines.
- Nail Polish Remover and Cotton Pads: For cleaning up mistakes and removing old polish.
- Hand Cream and Cuticle Oil: For finishing touches and keeping your nails healthy.
Recommended Tools Breakdown
Choosing the right tools makes a big difference. Here’s a little more detail on why each is important:
| Tool | Purpose | Why it’s great for minimalist designs |
|---|---|---|
| Fine-grit Emery Board | Shaping nails, smoothing edges | Achieves precise, smooth oval edges without damaging the nail. |
| Nail Buffer (4-way) | Smooths, buffs, shines | Creates a perfect, glossy base for polish, even without color for some looks. |
| Thin Nail Art Brush | Creating fine lines, dots, or small details | Enables precise application of subtle design elements. |
| Quick-Dry Top Coat | Protects polish, adds shine, speeds up drying | Ensures your minimalist design stays intact and allows for quick touch-ups. |
Step-by-Step Guide to Achieving Minimalist Oval Nail Designs
Creating beautiful, minimalist oval nails is a straightforward process. We’ll break it down into simple steps, focusing on achieving that clean, sophisticated finish. This guide is perfect for beginners and seasoned nail enthusiasts alike.
Step 1: Nail Shaping – The Perfect Oval
This is foundational! The right shape sets the stage for any design.
- Prep: Start with clean, dry nails. Remove any old polish. Gently push back your cuticles using an orange stick or cuticle pusher.
- Shape the Sides: Using your fine-grit nail file, file the sides of your nail in one direction, creating straight lines that taper inwards slightly towards the tip. Avoid sawing back and forth, as this can weaken the nail.
- Create the Curve: Once you have a straight taper, use the file to create a rounded tip. Gently curve the file from one side to the other, maintaining an even arc. Aim for a soft, rounded edge that mirrors an egg shape.
- Smooth and Refine: Use the file to smooth any rough edges.
- Buff: Gently buff the surface of your nails to smooth out ridges and create a nice, even texture. This prepares the nail for polish application.
Step 2: Base Coat Application
A good base coat is non-negotiable for nail health and polish longevity.
- Apply one thin layer of your chosen base coat to each nail.
- Allow it to dry completely (usually about 1-2 minutes). This layer protects your natural nails from staining and provides a smooth surface for your polish.
Step 3: Applying Your Color(s)
This is where the minimalist aesthetic truly begins to take shape.
- First Coat: Apply a thin, even coat of your chosen nail polish. Start in the middle of the nail, then go down the sides. Leave a tiny gap between the polish and your cuticle to prevent flooding.
- Drying Time: Let the first coat dry for at least 2-5 minutes. Patience here prevents smudging!
- Second Coat: Apply a second thin coat, following the same technique. This ensures full opacity and a smooth finish.
- Drying Time: Allow the second coat to dry thoroughly, at least 5-10 minutes, before moving on.
Step 4: Adding the Minimalist Touch
Here’s where we get creative with subtle designs. Choose one of these easy ideas or mix and match!
Idea 1: The Single Dot
A tiny, strategically placed dot is the epitome of chic simplicity.
- Dip the tip of your dotting tool (or the end of a toothpick/thin brush) into a contrasting polish color (or a metallic shade).
- Gently press the dot onto your nail. Popular placements include:
- At the base of the nail, near the cuticle.
- Off-center towards one side.
- As a tiny accent on a French tip.
- Allow the dot to dry completely.
Idea 2: The Delicate Line
A thin line adds a modern, graphic touch.
- Using your thin nail art brush (or a clean-up brush dipped into polish), draw a fine line. Options include:
- A single horizontal line across the middle of the nail.
- A vertical line down the center.
- A thin line along the free edge, mimicking a micro-French.
- A delicate outline around a portion of the nail.
- Keep the line as thin and steady as possible. Practice on paper if needed!
- Let the line dry completely.
Idea 3: Negative Space Accents
Embrace the beauty of showing off your natural nail.
- Paint only a portion of your nail, leaving some areas bare (this is negative space). Examples:
- Paint just the tips in a thin line (like a minimalist French).
- Paint a geometric shape (like a half moon or a triangle) at the base.
- Create a thin outline around your nail, leaving the center clear.
- Ensure the edges where polish meets bare nail are very clean. Use a clean-up brush dipped in polish remover to sharpen lines if necessary.
Idea 4: Subtle Geometric Shapes
Simple shapes can make a big impact.
- Using a thin brush or a striping tape (carefully applied and removed), create small, simple geometric shapes. Think tiny squares, triangles, or even just a series of dots forming a pattern.
- Place these shapes sparingly – one per nail or just on an accent finger is often enough.
- Allow to dry fully.
Step 5: Top Coat Application
The final, crucial step to seal the deal!
- Apply one generous layer of your top coat over the entire nail, ensuring you cap the free edge (coat the very tip of the nail).
- This seals in your design, adds a beautiful shine, and protects against chipping.
- If using a quick-dry top coat, you can often do things like wash your hands after about 5-10 minutes, though it’s best to avoid strenuous activity for at least 30 minutes for full hardening.
Step 6: Hydration and Finish
Don’t forget the final pampering!
- Once your top coat is dry to the touch, apply cuticle oil to your nail beds.
- Gently massage a small amount of hand cream into your hands and nails.
- This keeps your nails and cuticles healthy and adds a final touch of polish.
Color Palettes for Effortless Elegance
The colors you choose are key to achieving that minimalist vibe. The goal is sophistication and subtlety, but that doesn’t mean boring! Minimalist doesn’t have to mean only white or nude. It’s about intentionality in your color choices.
Neutrals and Nudes
These are the go-to for a reason. They are universally flattering and blend seamlessly with any outfit. Think soft beiges, creamy ivories, rosy pinks, and muted greys. They create a clean, polished look that’s perfect for everyday wear.
Pastel Hues
Delicate pastels offer a gentle pop of color without being overwhelming. Soft lavenders, baby blues, mint greens, and pale peaches can add a touch of whimsy while maintaining an elegant feel. These are especially lovely for spring and summer.
Muted Jewel Tones
For a slightly deeper, more sophisticated feel, consider muted versions of jewel tones. A dusty rose, a muted emerald, a soft sapphire, or a deep berry can all work beautifully. The key here is that they aren’t overly bright or saturated.
Monochromatic Magic
Using different shades of the same color creates a subtle yet impactful design. For example, a nude base with a slightly darker nude dot or line. Or a soft grey with a charcoal grey accent. This monochromatic approach is inherently minimalist.
Metallic Accents
A touch of metallic can elevate a minimalist design without making it gaudy. Think rose gold, silver, or a soft gold. A thin metallic line, a single metallic dot, or a small metallic shape can add a hint of sparkle and luxury.
Color Combinations to Inspire
Here are a few winning combinations that embody minimalist chic:
- Classic Chic: Milky white base with a single gold metallic dot at the cuticle.
- Soft Sophistication: Peachy nude base with a thin, delicate grey horizontal line.
- Modern Edge: Sheer pink base with a clean, white half-moon at the base of the nail.
- Understated Glamour: Soft dove grey base with a single silver dot near the tip.
- Everyday Elegance: Beige base with a thin, vertical line in a slightly darker taupe.
When choosing colors, consider your skin tone and personal style. The beauty of minimalism is that it’s adaptable. You’re creating a look that feels authentically you.
Advanced Tips for Perfecting Your Minimalist Oval Nails
Once you’ve mastered the basics, a few extra pointers can elevate your minimalist oval nail game to pro status. These tips focus on precision, longevity, and that extra touch of polish that makes all the difference.
1. The Art of the Clean Line
For designs involving lines or shapes, precision is key.
- Steady Hand: Rest your wrist or elbow on a stable surface to prevent wobbling.
- Thin Brush Control: Use a high-quality, fine art brush. Dip only the very tip into polish, and wipe off excess on the bottle neck before painting.
- Clean-Up Crew: Keep a small, stiff brush (an old eyeliner brush works well!) or an orange stick dipped in nail polish remover handy. Use it to clean up any stray marks or sharpen edges immediately after application, before the polish fully dries. This is your secret weapon for perfect lines!
2. Mastering Negative Space
Negative space designs, where parts of the natural nail are left bare, are inherently minimalist and chic.
- Sharp Edges: Use striping tape for crisp lines if you’re not confident with a brush. Apply the tape after your base color is completely dry, paint over it, and then carefully peel the tape off while the polish is still wet for the cleanest separation.
- Seal the Deal: Ensure your top coat goes over the edges of the polish and slightly onto the bare nail to prevent lifting.
3. Longevity Secrets
Minimalist designs often mean fewer layers, but that doesn’t mean they shouldn’t last!
- Cap the Free Edge: Always swipe your base coat, color, and top coat across the very tip (the free edge) of your nail. This seals the polish and prevents chipping, no matter the design. It’s a small step with a huge impact.
- Gel Polish (Optional): If you want maximum durability, consider using a gel polish system. The application is similar, but the results last much longer.
- Avoid Water Exposure Immediately: After your manicure, try to avoid prolonged exposure to hot water or harsh chemicals for the first 24 hours, as this can soften the polish and make it more prone to damage.
4. Adding Subtle Dimension
Even in minimalism, you can add a hint of something extra.
- Matte Top Coat: Swap your usual shiny top coat for a matte one. This instantly gives a sophisticated, velvety finish that’s incredibly chic, especially with neutral or pastel colors.
- Holographic or Chrome Powders: A very light dusting of holographic or chrome powder over a neutral base can add a subtle, ethereal shimmer that catches the light beautifully without being overly flashy. Apply sparingly with a soft makeup brush.
5. Nail Health is Key
Minimalist designs highlight the condition of your nails. Healthy nails look beautiful even with just a clear coat.
- Regular Buffing: Use a good nail buffer regularly to keep the surface smooth.
- Moisturize: Hydrate your cuticles and nails daily with cuticle oil and hand cream.
- Gentle Filing: Always file in one direction to prevent splitting and


