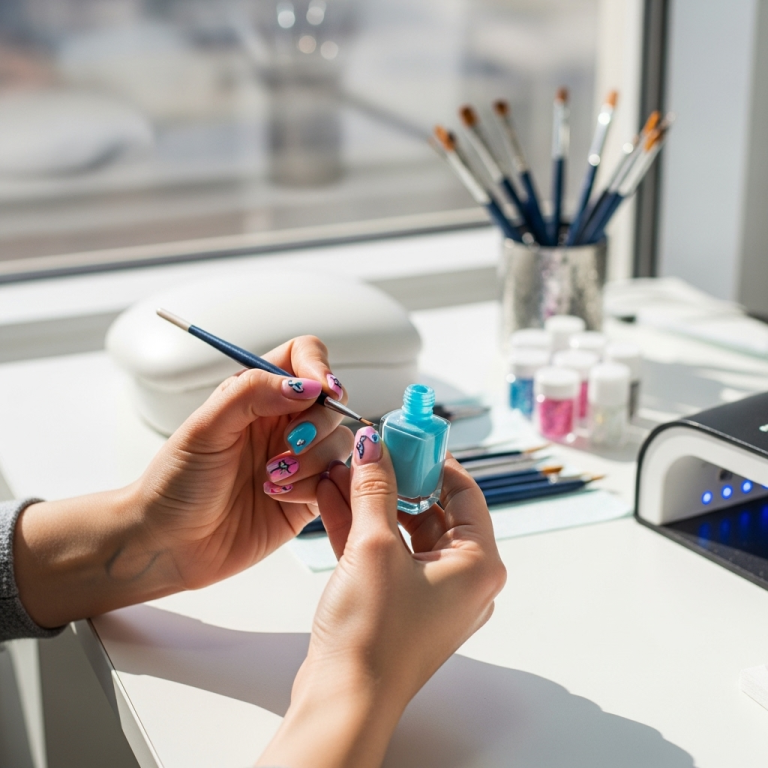
Nail design with striping tape for lines is an easy and effective way to achieve crisp, clean geometric patterns and elegant nail art. This beginner-friendly technique allows anyone to create professional-looking striped manicures at home with minimal fuss.
Hello, nail lovers! Are you dreaming of those perfectly straight, razor-sharp lines on your nails but find yourself frustrated with wobbly freehand attempts? You’re not alone! Many of us have struggled to get those flawless lines that look like they came straight from a salon. The good news is, there’s a super simple secret tool that can transform your nail art game: striping tape!
Forget the shaky hands and endless cleanups. With a little help from this magical tape, you can create stunning geometric designs, chic French tips, or even intricate patterns with surprising ease. It’s all about precision, and this tape is your new best friend for achieving just that. Ready to ditch the duds and embrace the dazzling straight lines? Let’s dive into how you can master nail design with striping tape for lines and unlock a world of effortless nail art!
What is Nail Striping Tape?
Nail striping tape is exactly what it sounds like – thin, adhesive tape specifically designed for nail art. It comes in various widths, from super fine to slightly thicker, and a rainbow of colors, though metallic silver, gold, and black are the most popular for creating sharp lines. Unlike regular craft tape, nail striping tape is designed to adhere securely to polish and gel without lifting or smudging, yet it peels off cleanly to reveal your crisp design underneath. Think of it as a stencil that gives you perfect control over where your colors meet.
The beauty of striping tape lies in its simplicity. It doesn’t require a steady hand or years of practice to achieve professional-looking results. This makes it an absolute game-changer for beginners and busy bees who want fabulous nails without the fuss. It opens up a world of creative possibilities, allowing you to experiment with geometric patterns, contrasting color blocks, and even accentuating nail shapes.
Why You’ll Love Using Striping Tape
There are so many reasons why nail striping tape has become a staple in every nail artist’s kit, whether they’re a pro or a hobbyist. It’s incredibly versatile and forgiving, making it perfect for anyone looking to elevate their manicure game. Here are a few of the top benefits:
- Perfectly Straight Lines: This is the main star of the show! Get those impossibly straight lines every single time, whether you’re going for bold geometric shapes or delicate accents.
- Effortless Application: No complicated techniques needed. Simply apply, paint over, and peel – it’s that easy!
- Versatile Designs: From simple stripes to intricate patterns, color blocking, and French tips, striping tape can be used in countless ways to create unique looks.
- Clean Color Separation: Say goodbye to color bleed! The tape creates a barrier, ensuring your colors stay exactly where you want them.
- Beginner-Friendly: It’s one of the easiest nail art techniques to master, making it ideal for those new to DIY manicures.
- Cost-Effective: A roll of striping tape is inexpensive and lasts for many designs, offering amazing value compared to professional nail art services.
- Works with Polish and Gel: Whether you use regular nail polish or gel polish for your manicures, striping tape works beautifully with both. Gel polish often provides a smoother surface for tape application and removal.
What You’ll Need for Striping Tape Nail Designs
Gathering the right supplies is key to a smooth and successful nail art session. The good news is that you likely already have most of these items in your nail care arsenal. Here’s a breakdown of what you’ll need:
Essential Tools:
- Nail Striping Tape: Choose your desired color and width. Fine tape (around 1mm) is great for delicate lines, while wider tapes can create bolder accents.
- Base Coat: Protects your natural nails and provides a smooth canvas.
- Your Chosen Nail Polish/Gel Colors: This is where the creativity comes in!
- Top Coat: Seals your design and adds shine.
- Nail Polish Remover or Alcohol Wipes: For cleaning up any mistakes and ensuring the tape adheres well.
- Tweezers (Optional but Recommended): For precise placement and lifting of the tape.
- Cuticle Pusher or Orange Stick: To firmly press down the tape edges.
For optimal results, especially when working with gel polish, ensure you have a UV/LED lamp for curing.
Optional but Helpful Extras:
- Nail File and Buffer: To shape and prepare your nails.
- Cuticle Oil: To rehydrate your nails and skin after your manicure.
- Small Scissors or Nail Art Clippers: To trim excess tape if needed, although often it can be carefully pulled away.
Step-by-Step Guide: Nail Design With Striping Tape for Lines
Ready to get creative? Follow these simple steps to achieve stunning striped nail designs. This method works for both regular nail polish and gel polish. If using gel, remember to cure under your lamp between coats and after applying the tape.
Step 1: Prepare Your Nails
Start with clean, dry nails. Shape them with a nail file to your desired length and shape. Gently push back your cuticles using a cuticle pusher. Buff your nail surface lightly to remove any natural shine, which helps polish adhere better. Cleanse your nails with nail polish remover or alcohol to remove any oils and dust.
Step 2: Apply Your Base Coat and First Color
Apply a thin layer of your base coat and let it dry completely. Then, apply your first color of nail polish or gel. For opaque coverage, you might need two thin coats. Make sure each coat is fully dry (or cured if using gel) before moving on. A fully dry surface is crucial for the tape to adhere properly and peel off cleanly.
Pro-Tip: If you’re aiming for a simple stripe design, this first color will be the one showing through your tape lines. If you plan to paint over the tape itself, this step is about creating your background canvas.
Step 3: Apply the Striping Tape
This is where the magic happens! Carefully peel a length of striping tape from the roll. Using tweezers or your fingers, place the tape onto your nail. Decide where you want your line to be. For perfectly straight lines, lay the tape down smoothly, pressing it onto the nail surface.
Use your cuticle pusher or the edge of an orange stick to firmly press down all edges of the tape. This is vital to prevent polish from seeping underneath. If the tape is too long, you can carefully trim the excess with small scissors or a nail art clipper once it’s in place, or simply leave it to be peeled off later.
For geometric designs: Apply multiple pieces of tape to create sections or patterns. Think triangles, squares, or even abstract shapes. Measure and place them carefully. Ensure there are no air bubbles and all edges are pressed down securely.
Step 4: Apply Your Second (or Third) Color
Now, carefully paint over the striping tape and the exposed nail area with your second contrasting color. Apply thin, even coats. If using gel polish, cure your nails under your UV/LED lamp according to the product instructions. If using regular polish, allow it to dry completely. Patience here is key – rushing can lead to smudging when you remove the tape.
If you want more than two colors or a more complex design, you can repeat steps 3 and 4. For instance, after a color dries, you can apply more tape over it, paint another color, cure/dry, and then carefully remove that layer of tape. This allows for multi-layered effects.
Step 5: Carefully Remove the Striping Tape
Once your polish is completely dry (or gel is cured), it’s time for the reveal! Starting from one end, gently and slowly peel off the striping tape. Use tweezers to get a good grip, or carefully lift an edge with your cuticle pusher. Pull the tape away at a sharp angle from your nail. The slower and steadier you are, the cleaner your lines will be.
Important Tip for Removal: If you find the tape is sticking too much or threatening to lift the polish beneath, try gently pressing down the edges one last time before peeling. If you’ve used regular polish and it feels slightly tacky, waiting a few extra minutes might help. For gel polish, it should peel off cleanly after curing.
Step 6: Apply Your Top Coat
Once all the tape is removed and you’re happy with your design, apply a thin, even layer of top coat over the entire nail. This seals your design, protects the lines, adds shine, and helps your manicure last longer. Be sure to cap the free edge of your nails by sweeping the brush along the tip. Let the top coat dry completely (or cure, if using gel).
Step 7: Finishing Touches
Clean up any stray polish on your cuticles with a small brush dipped in nail polish remover. Once everything is dry, apply a drop of cuticle oil to rehydrate your nails and surrounding skin. Admire your flawless, effortlessly created nail art!
Creative Nail Design Ideas With Striping Tape
The possibilities with nail striping tape are truly endless! It’s not just about basic stripes. Here are some ideas to spark your creativity and take your nail art to the next level:
1. Classic Stripes
The most straightforward yet chic design. Apply tape horizontally, diagonally, or vertically. Use contrasting colors for a bold look or subtle variations of the same hue for a sophisticated feel.
2. French Tips and V-Tips
Instead of freehanding your smile line, use striping tape to create a perfectly crisp French tip. Apply tape at an angle across the nail, paint the tip, let it dry/cure, and remove the tape. You can also create V-shaped tips for a modern twist.
3. Geometric Patterns
Layer multiple pieces of tape to create squares, diamonds, triangles, or more abstract geometric arrangements. Paint each section with a different color for a stunning mosaic effect. This is where you can really experiment with color blocking.
4. Color Blocking
Use tape to divide your nail into distinct color blocks. This can be a simple horizontal or vertical split, or more complex arrangements.
5. Ombre Effects
While not directly creating ombre, striping tape can be used to add clean lines between ombre gradients or to create sharp edges within an ombre design.
6. Negative Space Designs
Apply tape, paint sections of the nail, then remove the tape to reveal areas of bare nail or base coat. This “negative space” look is modern and stylish.
7. Accents and Borders
Use a thin strip of metallic tape as a glittering accent along the cuticle line, the tip, or as a divider between two colors on a single nail.
Striping Tape vs. Other Nail Art Tools
When it comes to creating lines, striping tape isn’t the only option. It’s helpful to know how it stacks up against other popular tools:
| Tool | Pros | Cons | Best For |
|---|---|---|---|
| Nail Striping Tape | Extremely precise, easy for beginners, wide variety of colors and sizes, clean removal, works with polish and gel. | Can sometimes lift polish if not applied/removed carefully, requires some patience for precise placement. | Perfectly straight geometric lines, French tips, color blocking, intricate patterns. |
| Fine Nail Art Brushes | Highly versatile for freehand designs, can create thin to thick lines, good for intricate details and freehand art. | Requires a very steady hand and practice, can be difficult to achieve perfectly straight lines consistently, can smudge if polish isn’t dry. | Freehand floral designs, swirls, custom illustrations, filling small gaps. |
| Dotting Tools | Excellent for creating dots, small flowers, and simple patterns. Different sizes offer variety. | Not suitable for creating lines, can be tricky to control dot size without practice. | Daisies, polka dots, leopard spots, small accent designs. |
| Stamping Plates and Stamper | Quick for complex patterns and designs, good for repetitive designs across multiple nails. | Requires specific plates and stamper, can be tricky to align perfectly, designs are pre-determined by the plate. | Intricate patterns, textures, detailed images quickly on multiple nails. |
| Nail Art Pens | Easy to use like a pen, good control for some designs, dries relatively quickly. | Line thickness is limited by the pen tip, can sometimes clog, not always as opaque as polish, can be difficult to achieve super fine lines compared to tape. | Simple lines, scribbles, borders, adding small details. |
As you can see, while other tools have their place, nail striping tape truly excels when the goal is achieving flawless, crisp lines with minimal effort, making it a must-have for beginners and seasoned nail enthusiasts alike.
Tips for Perfect Application and Removal
Want to ensure your striping tape designs turn out flawless every time? Here are some expert tips to help you master the application and removal process:
Application Tips:
- Ensure Polish is Dry: This is non-negotiable! Whether you’re using regular or gel polish, ensure the layer underneath the tape is completely dry or fully cured. A tacky surface will cause the tape to stick or lift the polish.
- Press Edges Firmly: Use a cuticle pusher, an orange stick, or even the edge of tweezers to press down every edge of the tape. This creates a seal that prevents polish from seeping underneath.
- Avoid Bubbles: Lay the tape down smoothly and carefully. If you notice small air bubbles, try to gently press them out towards the edges as you apply.
- Proper Placement: For straight lines, stretch a small section of tape taut before placing it on the nail. This helps maintain tension and prevents sagging.
- Less is More with Coat Thickness: When painting over the tape, apply thin coats of polish. Thick coats take longer to dry and increase the risk of smudging when you remove the tape.
- Use Quality Tape: Invest in good quality nail striping tape. Cheaper brands might be too sticky, too flimsy, or leave residue, which can frustrate your efforts.
Removal Tips:
- Be Patient: Wait until the polish is completely dry or cured before attempting to remove the tape.
- Peel Slowly and Steadily: Don’t yank the tape off. Gently lift an edge with tweezers or your cuticle pusher and peel it away slowly at a sharp angle.
- Angle is Key: Pulling the tape away at a 45-degree angle (or sharper) is usually best. This helps to lift the tape cleanly off the nail.
- Use Tweezers for Grip: Tweezers are your best friend for getting a firm hold on the tape without touching the freshly painted nail.
- Clean Up Mistakes: If you have any minor bleeds or imperfections, a fine brush dipped in nail polish remover can work wonders for precise cleanup.
- Don’t Forget the Top Coat: A good top coat will seal your design and cover any tiny imperfections, making everything look smooth and polished.
Frequently Asked Questions About Nail Striping Tape
Q1: Can I use regular craft tape instead of nail striping tape?
While you can try, it’s not ideal. Craft tape is often thicker, stickier, and might leave behind adhesive residue. Nail striping tape is specifically designed to be thin, adhere well without being overly sticky, and peel off cleanly, making it superior for nail art.
Q2: How do I get the tape to stick properly for crisp lines?
The key is to make sure the nail polish (


