Nail design using stickers and decals is the easiest way to achieve salon-worthy manicures at home. Get stunning, professional-looking nails in minutes with simple steps and basic tools. Discover how to create beautiful nail art effortlessly!
Do you dream of having gorgeous, artfully decorated nails but feel like you lack the artistic skill or steady hand? Maybe you’ve tried intricate nail art tutorials and ended up with a smudged mess. It’s a common frustration for many nail lovers! The good news is you don’t need to be a pro artist to achieve stunning nail designs. Nail stickers and decals are your secret weapon for effortless, eye-catching manicures that will make you feel like a star. In this guide, we’ll walk you through everything you need to know, from picking the perfect stickers to making them last. Get ready to transform your nails into tiny masterpieces with ease!
Embracing the Magic of Nail Stickers & Decals
Nail stickers and decals have revolutionized the way we approach nail art. Gone are the days when intricate designs required hours of practice and a steady hand. These tiny wonders offer a quick, accessible, and incredibly versatile way to elevate your manicure. Whether you’re a complete beginner or a seasoned nail enthusiast looking for a shortcut, stickers are a game-changer. They come in an endless array of designs, from delicate florals and bold geometrics to charming characters and sparkling rhinestones. You can transform your nails from plain to perfectly polished in a matter of minutes, making them ideal for busy individuals who still want to express their style.
The beauty of using nail stickers and decals lies in their simplicity. They peel and stick, much like regular stickers, but are designed to adhere smoothly to your nails. This means you can achieve intricate patterns and detailed artwork without any freehand painting. It’s this ease of use, combined with the vast creative possibilities, that makes them such a popular choice for DIY nail art. Let’s dive into how you can master this technique and create your own stunning nail designs!
Why Nail Stickers Are Your New Best Friend
If you’re new to nail art or short on time, stickers are an absolute lifesaver. Here’s why they’re a must-have in your nail arsenal:
- Effortless Application: No special skills needed! Just peel and stick for instant design.
- Speedy Manicures: Transform your nails in minutes, perfect for last-minute events or busy schedules.
- Endless Variety: From subtle elegance to loud statements, there’s a sticker for every mood and occasion.
- Budget-Friendly: Achieve a salon look without the salon price tag.
- Mistake-Proof: Easily repositionable (with care!) or covered up with polish.
- Durability: When applied correctly, they can last as long as your manicure.
Your Essential Toolkit for Sticker Nail Designs
Before we get our hands (and nails!) dirty, let’s gather the few simple tools you’ll need. You probably have most of these already!
What You’ll Need:
- Nail Stickers or Decals: Of course! Choose designs that speak to your style. From holographic finishes to intricate lace patterns, the options are limitless.
- Base Coat: This protects your natural nails and helps your polish adhere better. A good quality base coat is crucial for a lasting manicure. You can explore options like Seche Vive Instant Gel Effect Top Coat or OPI Natural Nail Base Coat for a smooth canvas.
- Nail Polish Color: Your chosen polish will be the base color for your sticker design.
- Top Coat: This is essential for sealing your stickers, adding shine, and preventing chipping. Look for a quick-drying or gel-effect top coat for extra longevity, such as Essie Good To Go or Sally Hansen Insta-Dri.
- Tweezers: Fine-tipped or pointed tweezers are perfect for precisely picking up and placing small stickers.
- Cuticle Pusher or Orangewood Stick: To gently smooth down the edges of the sticker and ensure it lies flat.
- Rubbing Alcohol or Nail Polish Remover: To clean your nails and remove any oils for optimal sticker adhesion.
- Optional: Lint-free Wipes: Great for cleaning nails and handling stickers without leaving fuzz.
Step-by-Step Guide: Achieving Stunning Sticker Nails
Ready to create some magic? Follow these simple steps for a flawless sticker manicure. We’ll make sure your designs look intentional and chic!
Step 1: Prep Your Nails
A clean canvas is key! Start by washing your hands and ensuring your nails are free from any old polish or oils. Gently push back your cuticles with a cuticle pusher and file your nails to your desired shape. Then, clean each nail thoroughly with rubbing alcohol or nail polish remover using a lint-free wipe. This removes any natural oils that might prevent the sticker from sticking properly. A truly clean nail surface is the first secret to a long-lasting design.
Step 2: Apply Your Base Color
Paint your nails with your chosen nail polish color. Apply two thin coats for even coverage, allowing each coat to dry completely. If you’re in a hurry, a quick-drying polish or a drying accelerator can be your best friend. The base color acts as the backdrop for your sticker art, so ensure it’s perfectly applied. For designs that pop, consider lighter colors when using darker stickers, or vice versa.
Step 3: Place Your Stickers
This is the fun part! Once your polish is completely dry (wait at least 5-10 minutes after the last coat to be sure), it’s time to apply the stickers. Gently peel a sticker from its backing using your tweezers. Position it on your nail where you want it. Don’t be afraid to experiment with placement! You can place them in the center, on the side, or even overlap them for a layered effect. For more complex designs, think about how different stickers can complement each other.
Quick Tip: If you’re using water decals, you’ll need to soak them in water for a few seconds as per the product instructions before sliding them off the backing onto your nail. Always check the specific instructions for your chosen decal type!
Step 4: Smooth and Secure
Once the sticker is in place, gently press it down with your fingertip or the cuticle pusher/orangewood stick. Start from the center and work your way outwards to smooth out any bubbles or wrinkles. Pay special attention to the edges to ensure they lie flat against the nail. This step is crucial for making the sticker look like it’s part of your nail, rather than just something stuck on top.
Step 5: Seal the Deal with a Top Coat
This is arguably the most important step for longevity and a professional finish. Apply a generous layer of top coat over the entire nail, making sure to cover the sticker and the edges. The top coat will seal in the sticker, add a beautiful glossy shine, and protect it from chipping or peeling. For extra durability, you can apply a second coat of top coat after the first one has dried for a minute or two. A good top coat will make your sticker design last for days!
Creative Ideas for Nail Design Using Stickers & Decals
The possibilities are truly endless when it comes to nail design using stickers and decals. Let’s explore some popular and easy-to-achieve looks:
1. The Accent Nail Wow
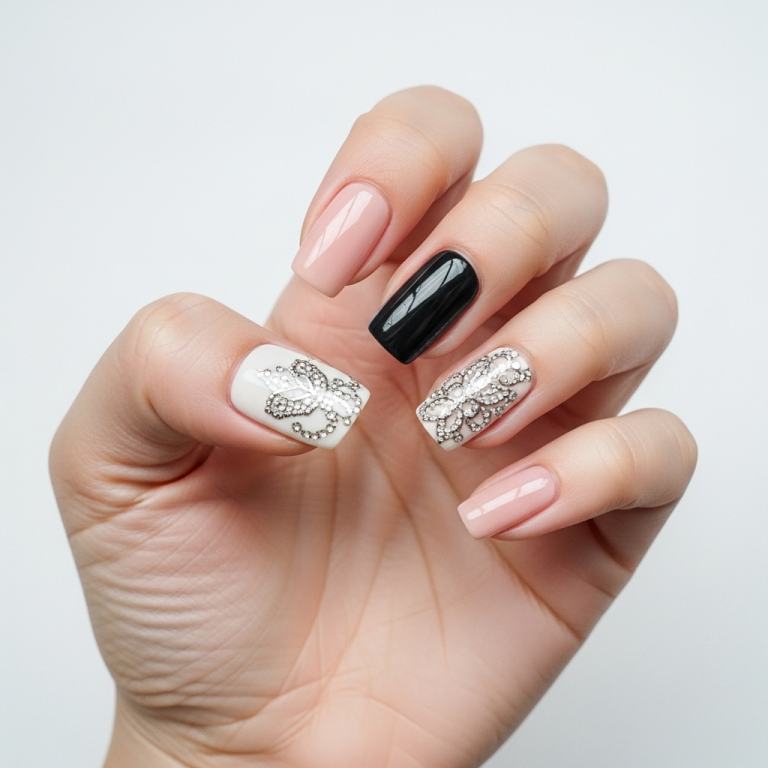
Paint all nails in a solid color (e.g., nude, pink, or a deep jewel tone). On one or two accent nails (usually the ring finger), apply a beautiful, intricate sticker. This creates a focal point and adds a touch of glamour without being overwhelming. Floral stickers, lace patterns, or metallic geometric designs work wonderfully for this.
2. Full Nail Coverage
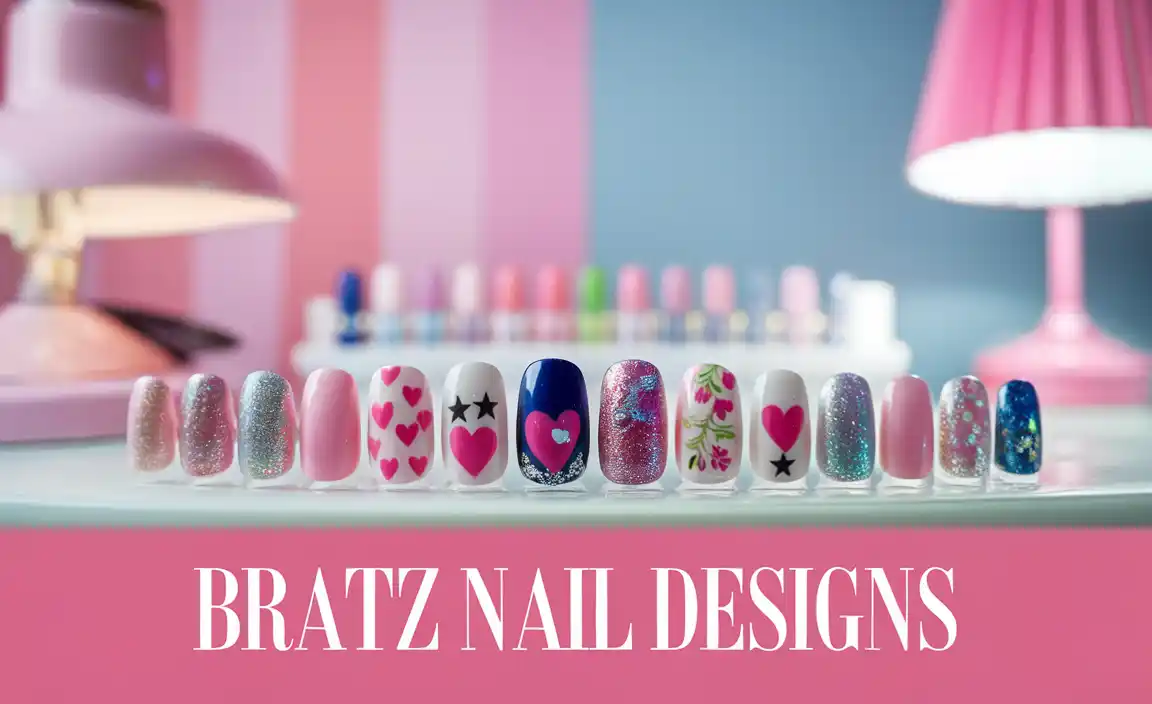
For a bolder statement, cover your entire nail with smaller, repeating stickers. Think tiny hearts, stars, or delicate vines. This can create a visually mesmerizing effect. Ensure you overlap them slightly for full coverage and seal thoroughly with a top coat to prevent lifting.
3. Layered Looks
Don’t be afraid to layer stickers! Apply a base sticker, then add smaller details on top. For example, a sheer white lace sticker can be applied over a colored polish, and then tiny rhinestones can be placed on top with nail glue or a dot of top coat. This allows for more complex and unique designs.
4. French Tips with a Twist
Instead of painting your French tips, use fine-line stickers. You can buy specific French tip stickers or use thin strips of metallic or patterned decals to create a sharp, precise line. This is a fantastic way to achieve a perfect French manicure look easily.
5. Themed Manicures
Holiday season? Special event? Nail stickers are perfect for themed designs. Think spooky ghosts and pumpkins for Halloween, snowflakes and festive patterns for Christmas, or tiny hearts and kisses for Valentine’s Day. They allow you to get creative and show off your festive spirit easily.
Nail Stickers vs. Water Decals: What’s the Difference?
While both offer an easy way to add art to your nails, there are some key differences between nail stickers and water decals. Understanding these will help you choose the best option for your desired look and application.
| Feature | Nail Stickers (Adhesive) | Water Decals (Transfer) |
|---|---|---|
| Application | Peel and stick directly onto the nail. | Soak in water, slide off backing, and transfer to the nail. |
| Thickness | Can be slightly thicker, especially 3D or textured stickers. | Generally very thin and lie flat on the nail for a smooth finish. |
| Flexibility | May crease if applied to a curved nail without careful smoothing. | More flexible and conform better to the nail shape. |
| Removal | Peel off, often with regular nail polish remover. | Soak with polish remover or peel off. |
| Appearance | Can have a more opaque or layered look. | Can appear more integrated with the polish, especially when sealed with topcoat. |
| Best For | Quick, bold designs; slightly raised textures; beginners. | Intricate patterns, delicate designs, lacelike effects, smooth finish. |
Both types are amazing for achieving professional-looking nail art at home. If you prefer a super seamless look, water decals might be your go-to. For instant, easy application with fun textures, adhesive stickers are fantastic!
Tips for Maximum Sticker Longevity
Want your beautiful sticker designs to last as long as possible? A few extra steps can make a big difference!
- Ensure Nails Are Bone Dry: After applying your base color and letting it cure, make sure it’s completely dry before applying the sticker. Even a slightly tacky surface can affect adhesion.
- Smooth Out Edges: Use your cuticle pusher or orangewood stick to gently press down the edges of the sticker. This helps seal them and prevent them from catching on things.
- Cap the Edges: When applying your top coat, make sure you also paint a thin layer along the free edge (the tip) of your nail. This ‘caps’ the sticker and seals everything in, protecting it from lifting.
- Avoid Harsh Chemicals: Be mindful of prolonged exposure to water or harsh cleaning chemicals, as these can weaken the adhesive and the top coat over time. Wear gloves when doing household chores!
- Regular Top Coat Reapplication: If you notice your top coat is starting to wear down, a quick refresh with another layer can help maintain its protective barrier and keep your stickers looking fresh.
Where to Find High-Quality Nail Stickers and Decals
The market is flooded with options, but investing in good quality stickers will give you the best results. Reputable brands offer better adhesion, sharper designs, and a wider variety of styles. You can find excellent options at:
- Online Retailers: Websites like Amazon, Etsy, and specialized beauty supply stores offer a vast selection. Look for brands with consistently good reviews.
- Beauty Supply Stores: Large beauty retailers often have dedicated sections for nail art supplies, including a wide range of stickers and decals.
- Drugstores & Supermarkets: Many mainstream beauty brands now include nail stickers in their collections, making them easily accessible for everyday looks.
- Professional Nail Brands: Some professional nail polish and care brands also offer higher-end, more intricate sticker lines. For example, brands like Marmalade and nail art specialists like Born Pretty often have unique and high-quality options.
When selecting, consider the material and intended use. Some are fine for casual wear, while others are designed for longer-lasting manicures. Reading product descriptions and reviews can provide valuable insight into their quality and ease of use.
The Science Behind Nail Adhesion
Understanding a little bit about how things stick can help you achieve better results. The adhesion of nail stickers and decals relies on a few key principles of surface science and chemistry:
- Surface Energy: For any adhesive (like the backing on your sticker or the top coat) to stick well, it needs to spread out and make good contact with the nail surface. Oils, dirt, and even inherent surface properties can prevent this. Cleaning with isopropyl alcohol [Source on Isopropyl Alcohol’s Properties] is effective because it removes these contaminants and briefly increases the surface energy of the nail, allowing better adhesion.
- Wetting: The ability of the adhesive to “wet” the surface is crucial. A good top coat is designed to wet the sticker and the nail, flowing into any microscopic irregularities to create a strong bond.
- Chemical Bonds: While the primary bond for stickers is often physical (mechanical interlocking and Van der Waals forces), a well-formulated top coat can create weaker chemical bonds with the polish and the sticker material, further enhancing durability.
By preparing your nails properly and using quality top coats, you’re optimizing these scientific principles for a manicure that not only looks great but also lasts.
Frequently Asked Questions about Nail Stickers
Q1: Can I reuse nail stickers?
Generally, no. Most adhesive nail stickers are designed for single use. Once removed from their backing and applied, the adhesive can be compromised, and they may lose their stickiness or become misshapen. Water decals, however, are also single-use due to their delicate nature.
Q2: How long do nail stickers typically last?
With proper application and a good top coat, nail stickers can last anywhere from 5 to 10 days, sometimes even longer. Longevity depends on the quality of the sticker, your top coat, and how much you expose your nails to water and harsh chemicals.
Q3: My stickers are bubbling. What did I do wrong?
Bubbling usually happens if the stickers are applied to a nail that isn’t completely dry (either the base polish or residue from oils/cleaner). Ensure your base polish is fully dry, and clean your nails thoroughly before application. Smooth the sticker down carefully from the center outwards.
Q4: Can I put nail polish over a sticker?
Yes, you can! After applying the sticker and smoothing it down, you can paint over it with another layer of nail polish or even a different color top coat. However, the most common and effective method is to seal it with a clear top coat as described in the steps.
Q5: Are water decals better than adhesive stickers?
It depends on your preference! Water decals are typically thinner and lie flatter, giving a more ‘painted-on’ look. Adhesive stickers are easier to apply as they require no water and can sometimes have interesting textures or 3D effects. Both can achieve beautiful results.
Q6: How do I remove nail stickers without damaging my nails?
Soaking your nails in nail polish remover for a few minutes will usually soften the sticker and adhesive enough to gently peel or wipe them away. For stubborn stickers, you can try applying a cuticle oil around the edges first, then using a cuticle pusher to gently lift them before soaking with remover.
Conclusion: Your Canvas Awaits!
Nail design using stickers and decals truly is the easiest path to a stunning, professional-looking manicure at home. You’ve learned how to prep your nails, apply your base color, expertly place and secure your chosen designs, and seal everything with a top coat for maximum longevity. We’ve explored a variety of creative ideas, from elegant accent nails to full-coverage patterns, and even delved into the differences between sticker types and the science behind their adhesion.
With the simple steps outlined in this guide and a few essential tools, you are now equipped to transform your nails into works of art. Don’t be afraid to experiment, mix and match designs, and find what truly expresses your personal style. Remember, the most important part of any nail design is that it makes you feel fabulous. So go


