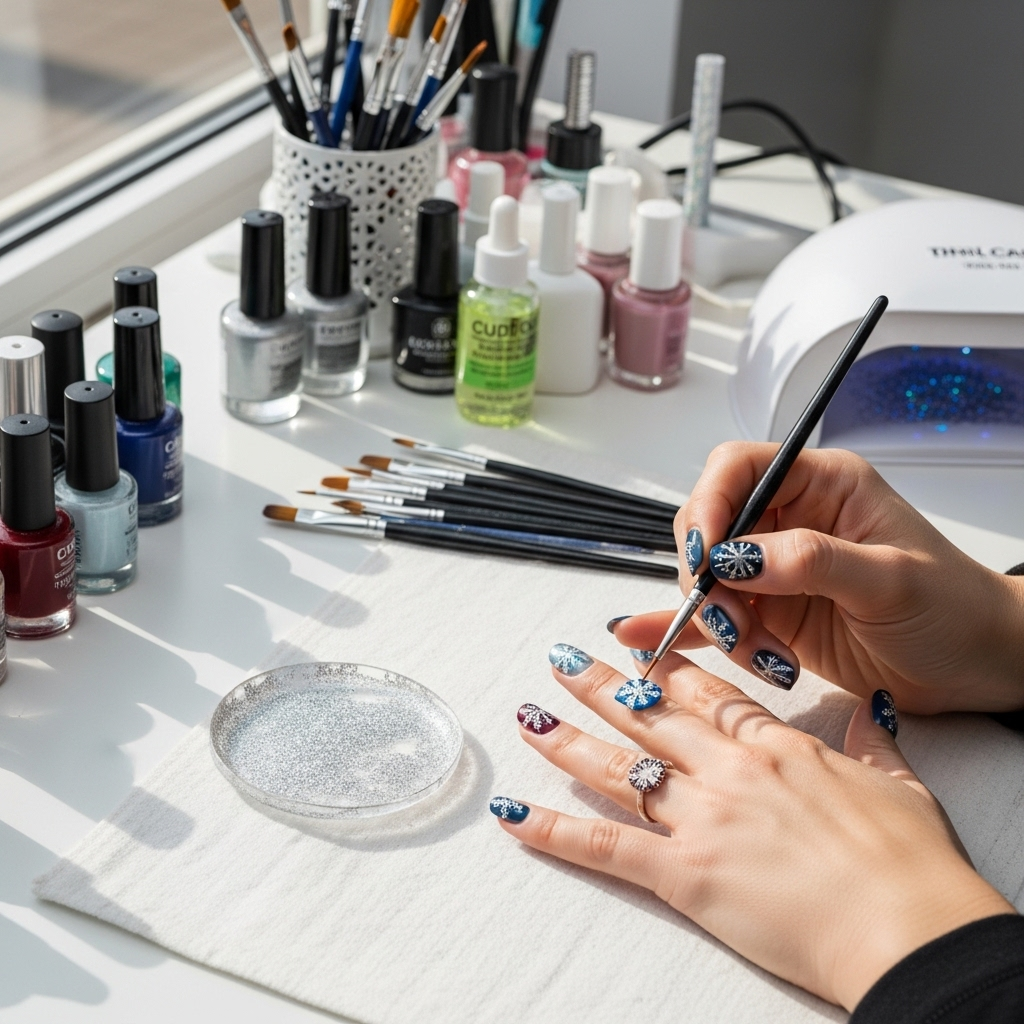
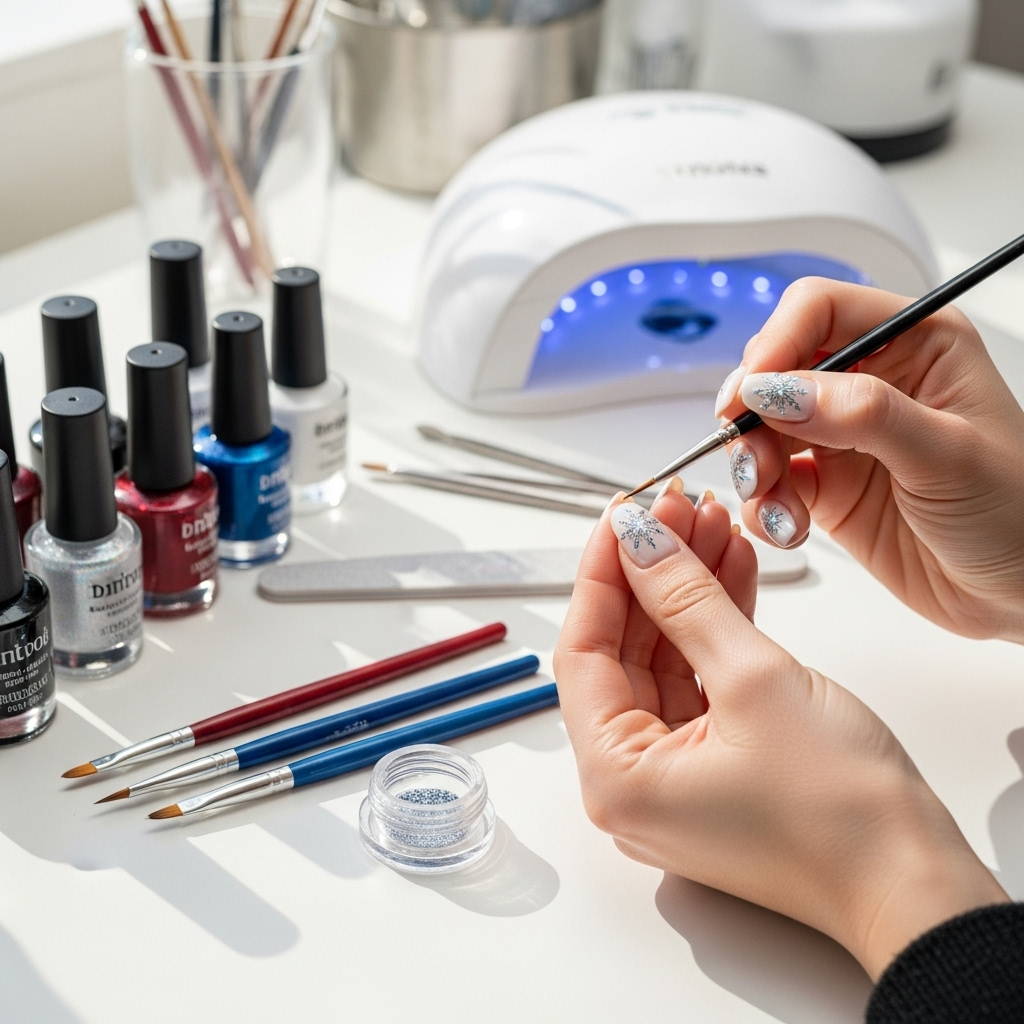
Get ready to dazzle this winter with gorgeous snowflake nail art! You can easily create stunning winter nail designs with snowflake art at home, from minimalist chic to intricate winter wonderlands. We’ve got simple steps and creative ideas to make your nails shine like freshly fallen snow.
The chill is in the air, and that means it’s time to bring out the cozy sweaters, warm drinks, and, of course, beautiful winter nail designs! If you’re dreaming of a manicure that captures the magic of a snowy day, then you’re in the right place. Snowflake nail art is a classic for a reason – it’s elegant, festive, and surprisingly easy to achieve, even if you’re a complete beginner. Forget complicated techniques; we’re going to explore simple ways to make your nails look like they’ve been kissed by winter’s finest. Let’s dive into how you can create stunning winter nail designs with snowflake art that you’ll love to show off!
Why Snowflake Nail Art is Perfect for Winter
There’s something undeniably enchanting about snowflakes. Each one is unique, delicate, and beautiful, just like a truly personalized manicure! Winter nail designs featuring snowflakes are incredibly versatile. You can opt for a subtle, single snowflake on an accent nail, or go all out with a blizzard of tiny flakes across all your fingers. They pair beautifully with classic winter colors like deep blues, crisp whites, icy silvers, and even warm berry tones. Plus, learning to create them is a fantastic way to dip your toes into the world of nail art without feeling overwhelmed. It’s achievable, fun, and is guaranteed to bring a touch of winter sparkle to your everyday look.
Getting Started: Your Snowflake Nail Art Toolkit

Before we start painting, let’s gather our supplies. Don’t worry, you don’t need a professional salon in your bathroom! Most of these items are readily available and budget-friendly.
Essential Tools for Snowflake Nails:
- Base Coat: Protects your natural nails and helps your polish last longer. A good quality base coat is key to a smooth finish!
- Top Coat: Seals your design and adds a beautiful glossy shine. It also prevents chipping, which we all want!
- Nail Polish Colors: Think frosty blues, snowy whites, icy silvers, deep greys, and perhaps a touch of glitter. You’ll need at least two colors – one for your base and one for the snowflakes.
- Dotting Tools: These are amazing for creating perfect dots and can be used for the center of snowflakes or to create simple star shapes. They come in various sizes.
- Fine-Tipped Nail Art Brush / Detail Brush: This is your best friend for drawing delicate snowflake lines. Look for one with very fine bristles.
- Toothpick: A surprisingly effective tool for beginners wanting to create simple snowflake patterns or small dots.
- Dotting Swirl or Nail Art Pen: These often have a fine tip for drawing designs and can be a great alternative to a brush.
- Optional: Rhinestones or Glitter: For extra sparkle and dimension! Small silver or iridescent rhinestones can mimic sparkly ice crystals.
- Nail Polish Remover & Cotton Pads: For clean-up errors – because they happen to everyone!
Choosing Your Colors: Winter Palette Ideas
The foundation of your snowflake design is your color scheme. Here are some ideas to get your creative juices flowing:
| Look | Base Color Ideas | Snowflake Color Ideas | Accent/Glitter Ideas |
|---|---|---|---|
| Classic Winter White | Matte or glossy white, creamy off-white | Silver, light blue, pale grey | Silver glitter, iridescent glitter, tiny rhinestones |
| Deep Winter Night | Navy blue, deep teal, charcoal grey | White, silver, icy blue | Silver holographic glitter, tiny silver star studs |
| Frosty Morning | Pale icy blue, periwinkle, soft lavender | White, silver, pale pink | Iridescent flakes, subtle holographic shimmer |
| Cozy & Warm | Burgundy, deep plum, dusty rose | White, gold, rose gold | Gold micro-glitter, tiny gold studs |
Beginner-Friendly Snowflake Nail Art Techniques
Ready to create some magic? Let’s start with the easiest methods perfect for beginners.
Technique 1: The Dot-and-Line Snowflake
This is the simplest and most popular method for creating recognizable snowflakes. It uses a dotting tool or even a toothpick.
Step-by-Step Guide to Dot-and-Line Snowflakes:
- Prep Your Nails: Start with clean, dry nails. Apply a thin layer of your chosen base coat and let it dry completely.
- Apply Base Color: Paint your nails with your main base color. Apply two thin coats for an opaque finish and allow each coat to dry thoroughly. A smooth, dry base is crucial for easy art!
- Create the Center Dot: Dip your dotting tool (or the tip of a toothpick) into your snowflake color polish. Place a single, medium-sized dot in the center of the nail where you want your snowflake.
- Draw the Lines: This is where the snowflake shape comes to life! Without dipping your tool again, draw four lines outwards from your center dot. You can choose to make them straight lines extending from the center like a star, or you can angle them. For a classic snowflake, think of drawing an ‘X’ and then adding a vertical and horizontal line through the center.
- Add the Arms: Now, for the delicate arms of the snowflake. Dip your fine-tipped brush or toothpick again into the snowflake polish. At the end of each of the four main lines, add a smaller dot. From that smaller dot, draw two short lines outwards, creating a “V” or “Y” shape.
- Repeat and Refine: Continue refining your snowflake. You can add tiny dots along the main lines for extra detail, or make the “arms” more elaborate. The key is to keep your dots and lines relatively small so they don’t blob together.
- Let it Dry: Allow the snowflake design to dry completely. This might take a little longer than regular polish because it’s layered on top. Be patient!
- Seal the Deal: Once completely dry, apply a generous layer of your top coat. This will smooth out any texture from the polish and seal your beautiful snowflake art. For added sparkle, you can add glitter polish or a few tiny rhinestones around the snowflake before the top coat.
Technique 2: Simple Stamping with Snowflake Plates
Nail stamping is a game-changer for intricate designs, and it’s surprisingly easy to learn!
What You Need for Stamping:
- Your basecoat, polish, and topcoat
- A nail stamping plate with snowflake designs (available from brands like Born Pretty Store, Pueen, and Uber Chic)
- Stamping polish (these are more pigmented than regular polish)
- A stamper and scraper tool
How to Stamp Snowflakes:
- Prep: Apply your base coat and main polish color as usual. Let it dry completely.
- Apply Stamping Polish: Generously apply stamping polish over the snowflake design on your stamping plate.
- Scrape Away Excess: Immediately use your scraper tool at a 45-degree angle to scrape off the excess polish. You want to leave polish only in the etched lines of the design.
- Pick Up the Design: Gently roll your stamper over the design on the plate. Don’t press hard; a light roll is all you need to pick up the image.
- Stamp onto Nail: Lightly roll the stamper onto your nail where you want the snowflake. Again, a gentle roll is best.
- Clean Up: Use a brush dipped in nail polish remover to clean up any stray polish on your skin.
- Top Coat: Once all your stamped snowflakes are on and dry, apply your top coat to seal them. This is crucial to prevent the stamping image from smudging.
Pro Tip: Practice on paper or press-on nails first to get the hang of the scraping and rolling motion. Stamping is all about speed and a light touch!
Technique 3: Accent Nail Snowflake Elegance
Not ready to commit to snowflakes on every nail? The accent nail is your best friend!
How to Do an Accent Snowflake:
- Choose Your Accent Finger: Typically, this is your ring finger.
- Paint the Rest: Paint all your other nails with your chosen base color.
- The Accent Nail: On your accent nail, you can either use a complementary color, a glitter polish, or the same base color as the other nails.
- Add Your Snowflake: Using any of the techniques described above (dotting tool, fine brush, or stamping), create one or two beautiful snowflakes on this accent nail. You can make it a single, detailed snowflake, or a scattering of smaller ones.
- Finishing Touches: Apply top coat to all nails. For extra glam on the accent nail, consider adding a small silver rhinestone at the center of a snowflake or along the cuticle line.
Advanced Snowflake Design Ideas to Inspire You

Once you’re comfortable with the basics, you can explore more complex and creative snowflake designs!
Icy Ombré with Snowflakes
Start with a gradient base. Apply a light blue or white polish, then use a makeup sponge to blend a darker shade (like navy or grey) towards the tip or cuticle. Once dry, add delicate white or silver snowflakes on top using a fine brush or stamping.
Glitter Snowfall Effect
Paint your nails in a deep color like navy or black. After the base color is dry, use a glitter polish and a brush to lightly dab fine silver or iridescent glitter along the tips of your nails, mimicking falling snow. Then, add a few strategically placed, larger snowflakes using white or silver polish.
3D Snowflake Designs
For a truly unique look, try 3D elements! You can use 3D gel paints or even small pre-made 3D snowflake charms. Apply a strong nail glue to attach the charm, or sculpt the snowflake shape using gel. This is a more advanced technique but incredibly impactful.
Minimalist Snowflake Touches
Sometimes, less is more! Opt for a clear or nude base coat. Then, use a fine brush or dotting tool to draw a single, tiny, intricate snowflake with white or silver polish on the side of your nail, or near the cuticle. This is super chic and subtle.
French Tip with a Snowflake Twist
Instead of a plain white French tip, try a frosty blue or silver tip. Then, place a small snowflake design on the white tip of one or two nails. You can also try a reverse French manicure where the snowflake is near the cuticle line.
Snowflake and Reindeer Combos
For a full festive look, pair your snowflakes with other winter icons! A cute reindeer face on one nail is adorable, surrounded by scattered tiny snowflakes on the other nails. This works well with brown, white, and red color schemes.
Using Gems and Rhinestones to Enhance Snowflakes
Tiny rhinestones can act as the center of your hand-drawn snowflakes, or you can place them around your snowflake designs to add extra sparkle and dimension. Clear, iridescent, or silver stones work particularly well.
Tips for Long-Lasting Winter Nail Art
You’ve put in the effort to create beautiful snowflake nails, so let’s make sure they last!
- Always use a good base coat. This creates a smooth canvas and prevents staining.
- Apply thin coats of polish. Thick polish takes longer to dry and is more prone to smudging and chipping.
- Allow each layer to dry. Patience is key! Rushing the drying process is the number one cause of smudged designs.
- Don’t skip the top coat! A quality top coat seals your design, adds shine, and provides protection against daily wear and tear. Reapply your top coat every couple of days to refresh the shine and extend the life of your manicure.
- Moisturize your cuticles. Dry cuticles can lead to hangnails and can make your manicure look less polished. Use cuticle oil daily.
- Wear gloves for chores. When washing dishes, cleaning, or engaging in any activity that involves prolonged water or chemical exposure, wear rubber gloves. This is one of the best ways to protect your manicure.
Common Beginner Mistakes to Avoid

Even with simple designs, a few common pitfalls can derail your efforts. Here’s how to sidestep them:
| Mistake | Why it Happens | How to Fix/Avoid |
|---|---|---|
| Smudged Designs | Rushing the drying time between layers or before applying top coat. | Be patient! Use quick-dry drops or sprays if you’re in a hurry. Ensure the design is completely dry before top-coating. |
| Blobby, Uneven Dots/Lines | Too much polish on the brush/dotting tool, or pressing too hard. | Wipe excess polish from your tool on the bottle neck. Use a light touch when applying dots and lines. For lines, try a light flicking motion. |
| Polish Capping the Free Edge | Not applying polish to the very tip of the nail. | Always “cap” the free edge with your base coat, color coats, and top coat by running the brush along the tip. This prevents chipping. |
| Over-Thick Top Coat | Applying one very thick layer instead of two thin ones. | Apply thin, even layers of top coat. If you want extra protection or shine, do two thin coats. |
| Forgetting the Base Coat | Thinking it’s an unnecessary step. | A base coat is essential for nail health and polish longevity. It provides grip and prevents staining. See Nail Pro’s guide on base coats for why it’s so important. |
Frequently Asked Questions About Snowflake Nail Art
Q1: Is snowflake nail art difficult for beginners?
Not at all! We’ve covered several beginner-friendly techniques like the dot-and-line method using a toothpick or dotting tool, which are very forgiving. Stamping is also an easy way to get intricate designs with practice.
Q2: What are the best colors for snowflake nail designs?
Classic winter colors like white, silver, icy blue, and deep navy are fantastic. You can also experiment with contrasting colors like burgundy with white, or black with silver for a bold statement. Don’t forget glitter for extra sparkle!
Q3: How long does homemade snowflake nail art last?
With proper application, including a good base coat, thin layers of polish, and a strong top coat, your snowflake manicure can last anywhere from 5 to 10 days. Reapplying top coat every 2-3 days can help extend its life.
Q4: Do I need special nail polish for drawing snowflakes?
While you can use regular nail polish with a fine-tipped brush or toothpick, specialized nail art polishes are often more pigmented and have finer brushes, making intricate designs easier. For stamping, stamping polish is essential as it’s designed to be picked up by the stamper.
Q5: Can I use stickers instead of painting snowflakes?
Absolutely! Nail art stickers or decals are a super quick and easy way to add snowflakes. Just apply them to your dried polish and seal with a top coat. Make sure to choose good quality ones that lay flat.
Q6: How can I clean up mistakes when doing snowflake art?
Dip a small, fine-tipped brush (an old makeup brush works) into nail polish remover. Gently trace around the edges of your design or any stray marks to clean them up neatly. You can also use a toothpick dipped in remover for precision.
Conclusion: Embrace the Winter Wonderland on Your Nails

Winter nail designs with snowflake art offer a beautiful and personal way to embrace the magic of the season. Whether you’re a complete beginner just starting with dots and lines, or you’re ready to explore stamping and advanced techniques, there’s a snowflake design perfect for you. Remember, the most important thing is to have fun and let your creativity shine. Don’t be afraid to experiment with colors, add a touch of glitter, or even try out those 3D charms if you’re feeling bold! With these ideas and tips, you’re well-equipped to create stunning, festive manicures that will make your hands look like they hold a little piece of winter wonderland. So grab your polishes, get creative, and enjoy your gorgeous new snowflake nails all season long!
