Create stunning swirl marble effect nails at home with easy techniques and essential ideas. This beginner-friendly guide breaks down the process, offering creative inspiration for beautiful DIY manicures using simple tools and polishes.
Who doesn’t love a gorgeous nail design? The swirl marble effect is a fan favorite, making nails look like tiny, chic works of art. But if you’re new to nail art, it can seem a bit intimidating. Where do you start? Which colors work best? Don’t worry, it’s totally achievable! This guide will walk you through everything you need to know to create beautiful swirl marble nails right at home. Get ready to impress yourself (and everyone else!) with your new skills. Let’s dive into the magic of marble!
The Allure of Swirl Marble Nails
The swirl marble effect on nails is a design trend that mimics the beautiful, unpredictable patterns found in natural marble stone. Think of those elegant countertops and luxurious decor pieces – now imagine that sophisticated look gracing your fingertips! This style is incredibly versatile, allowing for endless color combinations and artistic interpretations. It can be as subtle or as dramatic as you wish, making it perfect for any occasion, from a casual day out to a special event.
What makes swirl marble so captivating? It’s the art of blending colors in a way that creates organic, flowing lines and shapes. Unlike a perfectly painted design, marble effects embrace imperfection, which is part of their charm. Each nail becomes a unique masterpiece, no two exactly alike. For beginners, it’s a fantastic way to dip your toes into nail art because the messy, blended look is forgiving and inherently stylish.
Why DIY Swirl Marble Nails?
While salon manicures are lovely, tackling swirl marble effect nail designs at home offers so many benefits. It’s a fantastic way to save money, allowing you to experiment with countless color palettes without the ongoing cost of professional services. Plus, there’s an immense satisfaction that comes from creating something beautiful with your own hands.
This DIY approach also means you can have stunning nails whenever you want – no appointments needed! Whether you’re looking to pamper yourself after a long week or add a special touch to your outfit for an impromptu event, your swirl marble dreams are just a few steps away. It’s a wonderfully accessible form of self-expression and creativity that fits right into your busy life.
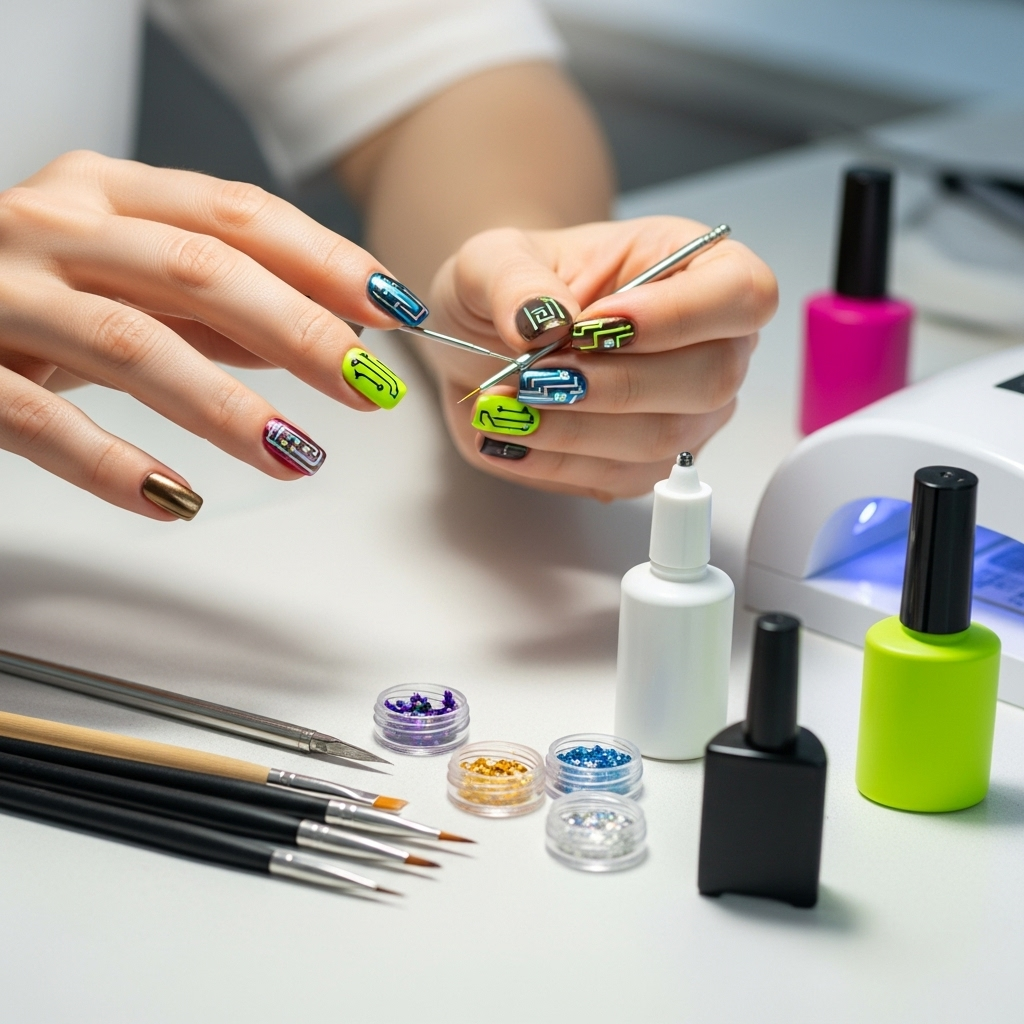
Essential Tools for Your Swirl Marble Journey
Before we get our hands (and nails!) dirty, let’s gather the essentials. You don’t need a professional salon setup to achieve gorgeous results. Most of these items are likely already in your nail polish collection or are budget-friendly to acquire.
Here’s a handy checklist:
Base Coat: This is crucial for protecting your natural nails and helping your polish adhere smoothly.
Polishes in Your Chosen Colors: Select 2-4 colors that complement each other beautifully. Think about contrast for the best swirl effect!
Top Coat: This seals your design, adds shine, and protects against chipping.
Thin Nail Art Brush or Toothpick: This is your magic wand for creating the swirls. A fine-tipped brush offers more control, while a toothpick is a readily available household item.
Small Container/Surface: A disposable palette, a piece of foil, or even a plastic lid works perfectly for mixing or letting colors bloom.
Clean-Up Brush (Optional but Recommended): An old eyeliner brush or a small, flat brush dipped in nail polish remover is a lifesaver for tidying up edges.
Nail Polish Remover: For those clean-up moments and correcting any slips.
Cotton Pads/Balls: For applying the nail polish remover.
Choosing Your Color Palette
The beauty of swirl marble nails lies in the color combinations. Here are some popular and striking pairings to get you started:
Classic Black & White: Timeless, chic, and always a sophisticated choice.
Monochromatic Cool Tones: Shades of blue, grey, and silver for a serene, elegant look.
Warm Neutrals: Beige, cream, gold, and taupe for an earthy, sophisticated vibe.
Gemstone Inspired: Deep blues, emerald greens, amethyst purples, and ruby reds.
Pastel Dreams: Soft pinks, blues, lavenders, and mints for a delicate, dreamy effect.
Bold Contrasts: Deep red with white, navy with bright pink, or teal with gold for a vibrant statement.
Pro Tip: Consider the undertones of your skin when selecting colors. Generally, cooler tones complement fairer skin, while warmer tones suit deeper complexions. However, nail art is all about expression, so choose what makes you feel amazing!
The Water Marble Method: A Beginner’s Favorite
The water marble technique is a fantastic way to achieve intricate swirl patterns. It might sound tricky, but with a little practice, you’ll master it! This method can create some of the most unique and detailed marble effects.
Here’s your step-by-step guide:
Step 1: Prep Your Nails
Start with clean, dry nails.
Apply your favorite base coat and let it dry completely. This layer acts as a protective barrier and provides a smooth surface for the design.
Step 2: Prepare Your Water Station
Fill a small cup or bowl with room-temperature water. Tap water is usually perfect; avoid very cold or hot water as it can affect how the polish spreads.
Use a small brush or tape to cover the skin around your nails. This step is crucial for preventing a messy clean-up later! Dip a small brush (like an old eyeliner brush) into nail polish remover and carefully outline your cuticle and the sides of your finger.
Step 3: Drop Your Colors
Open your chosen nail polishes.
Carefully drop a few drops of one color onto the surface of the water.
Immediately follow with drops of your other colors, alternating them. Aim for the center of the previous drop.
Continue dropping colors, letting each drop gently spread on the water’s surface. Don’t overcrowd it; a few drops of each color are usually enough.
Step 4: Swirl It Up!
Once you have your desired color pattern on the water, take your toothpick or nail art brush.
Gently drag the tool from the center outwards in a swirling motion. You can create a few patterns by dragging the tool:
Concentric Circles: Start from the center and make a spiral outwards.
Radial Lines: Drag the tool from the center to the edge, then repeat around the droplet.
Freeform Swirls: Let your creativity guide you as you gently move the polish.
Don’t over-swirl! Too much manipulation can muddy the colors. Aim for distinct patterns.
Step 5: Marble Your Nail
Carefully dip your nail (the one you protected with polish remover) into the water, at an angle, through the swirled polish. Try to capture the pattern you like best.
Hold your finger submerged for a few seconds, then slowly lift it straight up.
The polish should have transferred to your nail.
Step 6: Clean Up and Seal
Immediately remove any excess polish from around your finger using your clean-up brush dipped in remover. This is where the initial protection really pays off!
Once the design is dry and you’ve tidied up, apply a generous layer of top coat. This will seal the design and give it a beautiful glossy finish.
Repeat the process for each nail.
Water Marble Tips for Beginners:
Work Quickly: Nail polish dries fast, especially on water. Have everything ready.
Use Specific Polishes: Some nail polishes work better for water marbling than others. Creamy, opaque polishes tend to spread well. Avoid glitter or very thick formulas initially.
Practice on Paper/Foil: If you’re nervous, try dropping and swirling colors onto a piece of paper or foil first to get a feel for the movement.
Don’t Be Afraid to Redo: It’s okay if your first few attempts aren’t perfect! Just remove the polish and try again.
The Swirl & Swish Method: Easier & Faster
If the water marble method seems daunting, or you’re short on time, the “swirl and swish” (or “blooming”) technique is for you! It uses fewer tools and is more forgiving, offering a beautiful, abstract marble look.
Here’s how it’s done:
Step 1: Base and Colors
Apply your base coat and let it dry.
Paint your nails with your background color (often white or a light neutral). Let this dry completely. A crisp white background makes colors pop!
On a piece of foil or a palette, place a few small blobs of your chosen marble colors next to each other. Don’t mix them yet!
Step 2: The Swirl
Take your clean nail art brush or toothpick.
Dip the tip into one of the color blobs.
Gently drag it through the other color blobs in a swirling motion. You’re essentially ‘picking up’ and ‘smearing’ colors together. You can make simple figure-eights, spirals, or just random strokes.
Aim to blend the colors just enough to create swirls and streaks, not a muddy mess.
Step 3: Apply to Nail
Quickly and carefully touch your brush (with the swirled colors) onto your nail.
You can dab, drag, or lightly brush the color onto the nail. You’re aiming to transfer some of the swirled effect.
Don’t try to cover the whole nail in one go. You can layer this a few times to build up the effect.
Think of it like painting a watercolor effect; you’re layering and blending.
If you want more definition, you can add a fine swirl line with your brush and remover, then gently blend it in.
Step 4: Refine and Seal
Once you’re happy with the marble pattern, let it dry thoroughly.
Use your clean-up brush and remover to neaten the edges around your cuticles.
Apply a generous top coat to seal and shine.
Swirl & Swish Tips for Beginners:
Use a Good Base Color: White is excellent for making other colors appear vibrant.
Color Consistency: Ensure your polishes aren’t too thick or too thin. Polish thinner can help if they’re too goopy.
Less is More: You can always add more color, but it’s harder to take away. Start with a light hand.
Dampen Base: For a more blended look, you can sometimes apply the swirl colors onto a slightly “wet” base coat of your nail. This allows for more diffusion.
Other Swirl Marble Effect Ideas & Techniques
Beyond the classic water marble and bloom techniques, here are a few more ways to achieve stunning swirl marble effects:
1. Monochromatic Marble:
Concept: Use different shades of the same color family (e.g., light blue, medium blue, navy) to create depth and subtle marbling.
How-To: Can be done with either water marble or swirl & swish. The key is selecting harmonious shades. This creates a very sophisticated and less “busy” look.
2. Glitter Swirl Marble:
Concept: Add a touch of sparkle by incorporating glitter polish into your swirl design.
How-To:
Water Marble: Drop an iridescent or fine glitter polish along with your base colors.
Swirl & Swish: After applying your base color, use your brush to pick up some glitter polish along with your opaque colors for the swirl. Seal with a glitter top coat for extra dazzling effect.
Best For: Adding glam for parties or festive occasions.
3. Foil Accents:
Concept: Use nail foils to create metallic streaks or marbled-like patterns within your design.
How-To:
Apply your base colors and create your initial swirl effect.
Once dry, apply foil glue or a tacky top coat where you want the foil.
Press foil onto the sticky areas and peel off to reveal the metallic accent. This can mimic a vein in marble.
Best For: Adding a modern, high-fashion edge.
4. Stamping Plates:
Concept: Many stamping plates feature marble patterns.
How-To:
Apply your base color.
Use a stamper and a marble-patterned plate with a metallic or contrasting polish.
Stamp the design onto your nail. You can use a clean stamper head to pick up the polish from the plate, then “roll” it onto your nail for a unique blend.
Best For: Quick, perfectly repeatable patterns if drawing isn’t your forte.
5. Gel Polish Application:
Concept: Gel polish offers a longer-lasting manicure and can be manipulated for swirl effects.
How-To:
Apply a base layer of gel polish and cure under a UV/LED lamp.
Apply your background color and cure.
On your palette, mix your marble colors (using a dotting tool or brush).
Apply the swirled gel onto your nail, then use a fine brush to slightly blend and drag the colors for that marble look. Cure under the lamp.
Repeat layering for desired depth. Seal with a gel top coat.
Best For: Durability and a high-gloss finish.
Designing Your Swirl Marble Masterpiece: Inspo Table
Let’s look at some popular swirl marble themes and how to achieve them.
| Theme Idea | Color Palette Suggestions | Technique Focus | Look & Feel |
|---|---|---|---|
| Classic Elegance | Black, White, Grey, Silver | Water Marble (for sharp lines) or Swirl & Swish (for softer blends) | Sophisticated, timeless, chic. Perfect for formal events or professional settings. |
| Bohemian Chic | Terracottas, Creams, Mustard Yellow, Teal | Swirl & Swish, allowing colors to blend organically. | Earthy, artistic, free-spirited. Great for everyday wear or festivals. |
| Gemstone Glam | Deep Sapphire Blue, Emerald Green, Amethyst Purple, Gold Flecks | Water Marble for precise swirls, or Gel Polish for layered richness. Add fine gold glitter/foil. | Luxurious, vibrant, regal. Makes a statement for evenings out. |
| Pastel Dream | Baby Pink, Sky Blue, Mint Green, Lavender | Water Marble (gentle swirls) or Swirl & Swish with a white base. | Soft, delicate, romantic. Ideal for spring/summer or bridal looks. |
| Bold & Modern | Electric Blue, Hot Pink, Neon Yellow, Black | Swirl & Swish, using a clean brush to drag colors for sharp contrast. | Edgy, high-energy, eye-catching. For those who love to stand out. |
Maintaining Your Swirl Marble Manicure
A beautiful swirl marble design deserves to last! Here are some tips to keep your nails looking fabulous:
Top Coat is Key: Reapply a clear top coat every 2-3 days. This reinforces the protective layer, adds shine, and helps prevent chipping.
Wear Gloves: When doing chores like washing dishes or using cleaning products, wear rubber gloves. Harsh chemicals can break down polish and dull the finish.
Moisturize: Keep your cuticles and hands hydrated with cuticle oil and hand lotion. Healthy nails are less prone to breakage and peeling.
Avoid Harsh Activities: Be mindful of activities that could chip or scratch your nails, such as using them as tools to open packages.
* Gentle Removal: When it’s time for a change, use a good quality nail polish remover and soak your nails only as long as necessary. Avoid aggressively scraping off the polish.
For the longevity of your manicure, consider using gel polish if you’re looking for a more durable option. Gel manicures, when applied and cured correctly, can last two weeks or more without chipping.
Frequently Asked Questions (FAQ)
Q1: What is the easiest way to do swirl marble nails for beginners?
The “swirl and swish” or “blooming” technique is generally easier for beginners. It involves dabbing colors onto a base coat and then swirling them with a brush or toothpick for a more abstract effect, making it less precise and more forgiving than water marbling.
Q2: Can I use regular nail polish for water marbling?
Yes, you can use regular nail polish for water marbling, but some formulas work better than others. Opaque, creamy polishes tend to spread and swirl more predictably. Very thin or quick-drying polishes might be trickier to work with.
Q3: How do I prevent the polish from drying too fast on the water?
Work quickly! Have all your polishes open and ready. Use room-temperature water. Avoid dropping too many colors at once; add them gradually. If the water is too warm, it can speed up the drying process, so room temperature or slightly cool is ideal.
Q4: My swirls look muddy. What am I doing wrong?
Muddy swirls usually happen from over-mixing the colors on the water. Try using fewer drops of polish. Once you drop the colors, gently swirl them just once or twice with your toothpick or brush. The goal is defined lines and color separation, not a homogenous blend.
Q5: How can I protect my skin from getting nail polish all over it during water marbling?
The best method is to apply a layer of liquid latex around your cuticle area and let it dry completely before you start. Alternatively, you can use a fine brush dipped in nail polish remover to carefully paint around your nails, or use tape to mask the skin. Don’t forget to remove the excess before the polish dries fully on your nail!
Q6: Can I achieve a marble effect with just two colors?
Absolutely! A classic black and white swirl marble is stunning. You can also use a light base color (like white or nude) and then add swirls of any single contrasting color for a more subtle, elegant look. For instance, white with thin grey swirls is very chic.
Q7: How long do DIY swirl marble nails typically last?
With a good base coat, careful application, and a strong top coat, regular nail polish swirl marble designs can last anywhere from 3 to 7 days. Reapplying top coat every couple of days can help extend their life. Gel polish versions will last much longer, typically 1-3 weeks.
Embrace Your Inner Artist!
Creating swirl marble effect nail designs is an incredibly rewarding way to express your personal style and add a touch of elegance to your look. Whether you’re drawn to the mesmerizing patterns of water marbling or prefer the quicker, more forgiving swirl and swish technique, there’s a method that’s perfect for you.
Remember, nail art is all about creativity and having fun. Don’t be discouraged if your first few attempts aren’t salon-perfect. Every swirl, every blend, every color combination is a step in your nail art journey. With practice and these essential ideas, you’ll soon be crafting beautiful, unique marble designs that will have everyone asking, “Who did your nails?!” So grab your polishes, get inspired, and let your fingertips become your canvas. Happy polishing!