Lavender flower nail designs are a beautiful way to add a touch of floral elegance to your look. These delicate and charming designs are surprisingly easy to create at home, proving that stunning nail art doesn’t require professional skills. Get ready to elevate your manicure game with simple steps and gorgeous results!
Dreaming of a delicate, floral touch on your fingertips? Lavender flower nail designs are simply enchanting! They bring a touch of nature’s beauty right to your nails, offering a fresh and sophisticated look. Many people think intricate nail art is complicated, but it’s easier than you might imagine. We’re here to show you how to create these stunning designs yourself, no salon fuss required! Get ready to unleash your inner artist and make your nails bloom.
Why Lavender Flower Nail Designs?
Lavender isn’t just a beautiful color; it’s a symbol of grace, calm, and devotion. Incorporating lavender flowers into your nail art captures these lovely sentiments. These designs are versatile, perfect for everything from a casual brunch to a wedding. Plus, the soft, often pastel shades associated with lavender flowers are universally flattering and easy to wear. They add a unique pop of personality without being overwhelming. Let’s dive into why this trend is a must-try!
The Appeal of Lavender Blooms on Nails
Imagine tiny, intricate lavender sprigs gracing your nails. It’s a look that’s both elegant and whimsical. These designs can range from minimalist single flowers to more elaborate floral patterns. They complement a wide array of outfits and occasions, making them a go-to for many fashion-conscious individuals. Think of it as wearable art that expresses your love for nature and subtle beauty.
Versatility for Every Occasion
Whether you’re heading to a formal event or just want to brighten up your everyday look, lavender flower nails fit the bill. They work wonderfully for:
- Weddings and Bridal Showers: Their romantic and delicate nature makes them perfect for brides and bridesmaids.
- Spring and Summer Manicures: They capture the essence of the blooming seasons beautifully.
- Everyday Elegance: A subtle lavender accent nail can add a touch of sophistication to your daily style.
- Festivals and Special Events: Stand out with a unique and eye-catching design.
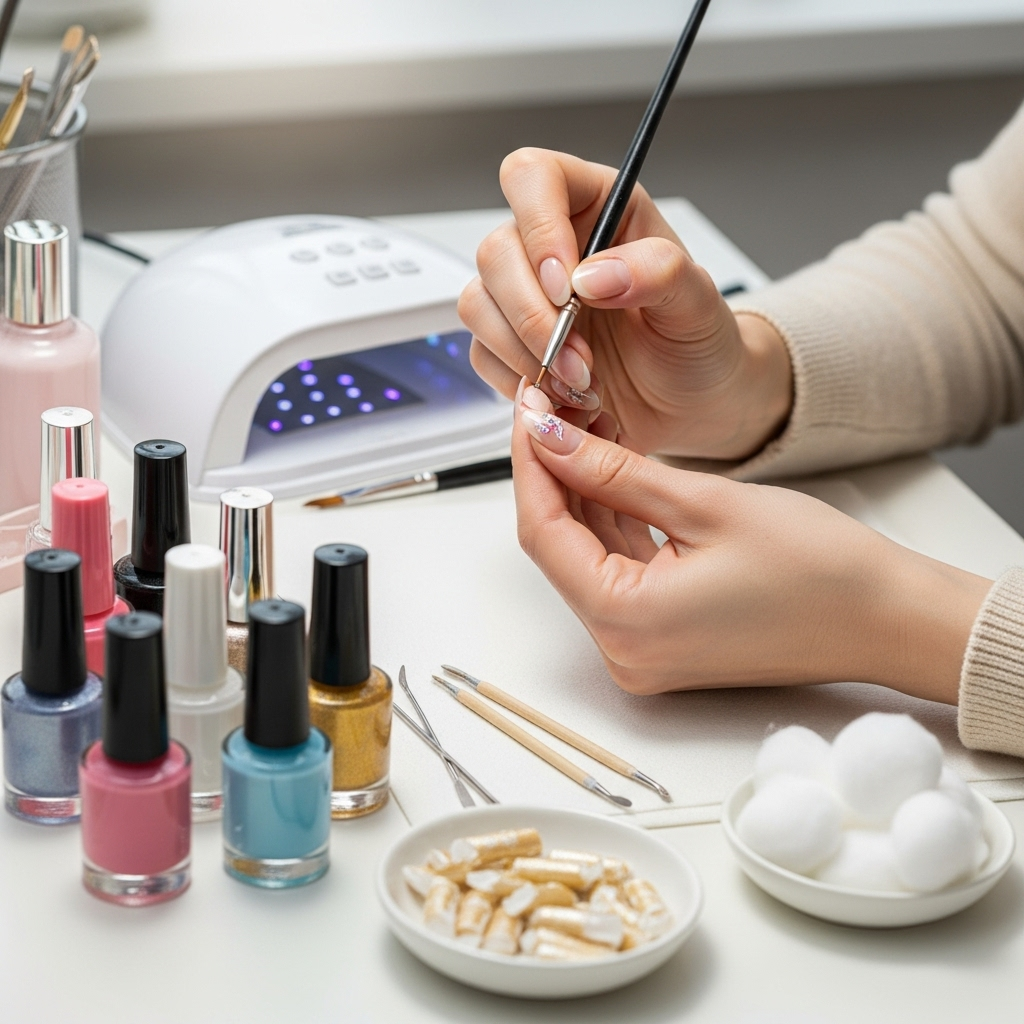
Essential Tools and Materials
Before we get our hands (and nails!) dirty, let’s gather our supplies. Don’t worry if you don’t have everything; many of these items are readily available and can be used for countless other nail art adventures. Having the right tools makes the process smoother and the results more professional-looking.
Nail Prep Essentials
Getting your nails ready is the first crucial step for any successful manicure. This ensures your design lasts longer and looks its best.
- Nail File and Buffer: To shape and smooth your nails.
- Cuticle Pusher or Orangewood Stick: To gently push back cuticles.
- Nail Polish Remover: To clean off any oils or old polish.
- Cotton Pads or Lint-Free Wipes: For polish removal and application.
Your Lavender Palette and Application Tools
Here’s where the magic happens! These are the core items for your lavender flower design.
- Base Coat: Protects your natural nail and provides a smooth surface.
- Base Color Polish: Often a soft pastel like white, light pink, nude, or even a very pale lavender.
- Lavender Nail Polish: For the flower petals. A medium to light shade works best.
- Accent Color Polish: A darker shade of purple or even dark green for details and leaves can be helpful.
- Detailing Polish/Paint: Black or dark brown for outlines, or a metallic gold/silver for extra flair.
- Nail Art Brushes: A fine-tip brush for drawing details and a dotting tool for creating small dots.
- Top Coat: To seal your design and add shine.
- Optional: Rhinestones or Glitter: For extra sparkle.
Understanding Nail Art Brushes
Nail art brushes are your best friends for creating detailed designs. Here’s a quick rundown:
| Brush Type | Purpose | How to Use for Lavender Nails |
|---|---|---|
| Fine-Liner Brush | Drawing thin lines, outlines, and delicate details. | Perfect for drawing the stems and the tiny lines within lavender florets. |
| Dotting Tool | Creating dots of various sizes, small circles, and blending. | Use the smallest tip to create individual lavender buds or add small dots for texture. |
| Fan Brush (Optional) | Creating ombre effects or subtle shading. | Can be used to gently blend different shades of purple for a softer petal look. |
Step-by-Step: Creating Your Lavender Flower Nail Design
Let’s get creative! We’ll walk you through a popular and achievable lavender flower design. This method uses simple techniques that even a beginner can master.
Method 1: Delicate Hand-Painted Lavender Sprigs
This is a classic approach, focusing on creating thin, elegant sprigs of lavender. It looks intricate but is quite manageable.
-
Prep Your Nails:
Start by cleaning your nails with polish remover to get rid of any oils. Shape your nails as desired using a nail file, and gently push back your cuticles. Buff your nails lightly for a smooth surface.
-
Apply Base Coat and Color:
Apply a thin layer of clear base coat and let it dry. Then, apply two thin coats of your chosen base color (like white, nude, or pale pink). Ensure each coat is completely dry before moving on.
-
Create the Sprigs:
Dip your fine-liner brush into your lavender nail polish. Gently touch the tip of the brush to your nail where you want the stem to start (often near the cuticle or one side). Draw a thin, slightly curved line upwards. This is your stem.
-
Add the Florets:
Without cleaning your brush yet, gently add small dots or tiny dashes along the stem, clustered together to mimic lavender buds. You can vary the pressure slightly to create different shapes. Work quickly while the polish is wet. You can load your brush with a bit more polish to make slightly larger clusters.
-
Add Depth (Optional):
For added dimension, you can use a slightly darker shade of purple or a touch of green with a very fine brush to add tiny accents to some of the florets or along the stem. Alternatively, use a darker color to add subtle shading around the base of each cluster.
-
Outline for Definition (Optional):
If you want your lavender to pop more, use a black or dark brown fine-liner brush with a tiny amount of polish to carefully outline the edges of the sprigs or individual florets. This adds definition.
-
Add Greenery (Optional):
If you have space, use a fine brush and a green polish to add a small leaf or two stemming from the main lavender sprig. Keep them simple and thin.
-
Apply Top Coat:
Once your design is completely dry, apply a generous layer of top coat. This will seal in your artwork, add a beautiful shine, and help your manicure last longer. Ensure you cap the free edge of your nail with the top coat.
-
Add Embellishments (Optional):
For extra sparkle, carefully place a small rhinestone at the base of a sprig or a touch of fine glitter near the design while the top coat is still wet. Let it set before it dries completely.
Method 2: Gradient Lavender Bloom Accent Nails
This method uses a gradient background with simple stamped or painted lavender flowers for a softer, blended effect.
-
Prep Nails:
Follow steps 1 and 2 from Method 1: prep nails, apply base coat, and then two coats of your base color.
-
Create the Gradient:
For this, you can use your base color and a lighter or darker shade of purple. Apply thin stripes of each color onto a makeup sponge. Gently dab the sponge onto your nail, starting from the cuticle and moving upwards. Roll the sponge for a smoother blend. Repeat with a clean section of the sponge for a more intense gradient. Allow it to dry completely.
-
Apply Lavender Flowers:
Once the gradient is dry, you can:
- Stamp: Use a lavender flower stamping plate and your lavender polish. Apply polish to the plate, scrape it off, and use a stamper to transfer the design onto your gradient nails.
- Paint: Using your fine-liner brush and lavender polish, create simple, small lavender flower clusters on top of the gradient background. Think small dots arranged in a sprig shape.
- Use Decals: Apply pre-made lavender flower nail decals.
-
Outline and Details (Optional):
If you painted your flowers, you can add thin outlines with a darker color or black fine-liner. If you stamped, you might not need this step unless you want to add extra highlights.
-
Seal with Top Coat:
Apply a generous layer of top coat over the entire nail to protect the design and give it a high-gloss finish. Ensure edges are sealed.
Method 3: Minimalist Lavender Dot Flowers
This is the ultimate beginner-friendly design! It’s chic, simple, and incredibly effective.
-
Prep and Base:
Prepare your nails as usual. Apply base coat, then your chosen base color (a nude, white, or light grey works well for contrast).
-
Create the Lavender Sprigs:
Dip a fine-liner brush into your lavender polish. On each nail, draw a thin, slightly curved line. This will be the stem. From this line, create small, clustered dots using the tip of your brush, or use a small dotting tool. Focus on creating a fluffy, sprig-like shape along the stem. You don’t need to draw individual petals; the dots themselves mimic the look of lavender.
-
Add a Center Dot (Optional):
For a more defined “flower,” you can add a tiny dot of a darker purple or even black in the center of a few dot clusters.
-
Accent Nail Option:
Consider making one or two nails all-over lavender with scattered dot flowers, or just an accent nail with the full sprig design.
-
Top Coat:
Once completely dry, apply a good quality top coat to seal and add shine.
Tips for Achieving the Best Lavender Flower Nails
Even with simple designs, a few pro tips can elevate your DIY manicure from good to absolutely stunning. These are little tricks that make a big difference.
Nail Prep is Key
As we mentioned, a clean, smooth canvas is essential. Ensure your nails are free of oils and any old polish. Properly pushing back and trimming cuticles makes a huge difference in how neat your art looks. For more on proper nail care, the National Center for Biotechnology Information offers resources on maintaining nail health.
Understanding Nail Anatomy and Health
Work with Thin Layers
Bulky polish can smudge and look messy. Always aim for thin, even coats of base color, polish, and top coat. Patience is key here – allow each layer to dry sufficiently.
Mastering the Brush Stroke
For hand-painted designs, the pressure you apply to your brush is everything. Experiment on a piece of paper first if you’re new to nail art. A light touch creates fine lines, while a slightly firmer touch can create thicker strokes or spread the polish for texture.
Color Combinations
While lavender flowers are beautiful on their own, consider complementary colors. Light greens for stems and leaves, soft whites or nudes for the base, or even a touch of rose gold for accents can enhance the design.
Don’t Overdo It
Sometimes, less is more. A single, delicate sprig on an accent nail can be incredibly chic. If you’re a beginner, start with one or two accent nails and build your confidence.
Practice Makes Perfect
Your first attempt might not be flawless, and that’s completely okay! The more you practice, the steadier your hand will become, and you’ll develop a feel for the brush and polish. Think of it as a fun skill-building exercise.
Choosing the Right Polish Formula
For detailed work, opaque polishes that don’t streak are ideal. Cremes and some gel formulas can be easier to work with than sheer or glitter polishes. If using regular nail polish, ensure it’s not too old and gloopy.
Troubleshooting Common Issues
Even the most experienced nail artists run into hiccups. Here’s how to tackle common problems when creating your lavender flower nails:
My Lines Are Streaky or Not Fine Enough!
- Solution: Ensure your fine-liner brush is clean and has the right amount of polish. Too much polish will create thick lines, while too little will cause streaks. Try dabbing off excess polish onto the neck of the bottle before painting.
My Designs Smudged!
- Solution: This usually means you applied the next layer of polish too soon. Make sure each layer is completely dry before adding another color or top coat. You can also speed up drying with a quick-dry top coat or by holding your nails under cool air for a minute.
The Flowers Don’t Look Like Lavender!
- Solution: Organic shapes are beautiful! Don’t stress about perfection. For lavender, think clusters of tiny dots or dashes arranged along a stem. Look at reference photos of real lavender for inspiration.
My Top Coat Bubbled!
- Solution: Bubbling often happens when polish layers are applied too thickly, or if the polish is applied over wet layers. Ensure each layer is dry and apply your top coat in thin, even strokes. Avoid shaking your polish bottles too vigorously; instead, roll them gently between your hands to mix.
The Design Chips Easily!
- Solution: This can be due to poor nail prep (oils on the nail), not using a base coat, or not capping the free edge of your nail with polish and top coat. Ensure you seal the tips of your nails with your base color, art polish, and especially your top coat.
Beyond the Basics: Variations and Inspiration
Once you’ve mastered the basic lavender sprig, the world of lavender flower nail art opens up! Don’t be afraid to experiment and make it your own.
Ombre Backgrounds
A soft ombre blend of purples, blues, or even pinks creates a dreamy canvas for your lavender flowers. This adds a beautiful depth akin to a sunset or a hazy sky.
Glitter Accents
Add a touch of sparkle! A dusting of fine holographic glitter over the flowers, or a glittery accent nail, can make your manicure party-ready.
3D Elements
For a more advanced touch, consider using 3D gel or acrylic mediums to create raised lavender flowers. This adds a tactile dimension to your art.
French Tips with a Twist
Apply a delicate lavender flower design along the smile line of a classic French manicure, or use a lavender shade as your tip color and add tiny floral details.
Minimalist Single Flower
Instead of a sprig, paint a single, larger stylized lavender flower on one or two nails. This is bold yet elegant.
Seasonal Adaptations
In autumn, pair lavender with deeper jewel tones or metallic accents. For winter, consider icy blues and silvers. Spring and summer naturally lend themselves to softer pastels and greens.
FAQ: Your Lavender Nail Art Questions Answered
What is the best base color for lavender flower nails?
Soft pastels like white, cream, light pink, nude, or a very pale lilac work beautifully as a base. They provide a neutral backdrop that allows the lavender flowers to stand out without being overwhelming. A sheer nude can also give a very sophisticated look.
How do I make my nail art last longer?
Proper nail prep is crucial! Make sure your nails are clean and free of oils. Always use a good base coat and a high-quality top coat. Ensure your top coat seals the free edge of your nail (the very tip). Reapply top coat every few days to maintain shine and protection.
Can I use regular nail polish for these designs, or do I need special polish?
You can absolutely use regular nail polish! For detailed work, opaque cream formulas tend to be easiest. If you want very fine lines, nail art pens or polishes with built-in fine brushes are super convenient. Acrylic paints are also a popular choice for nail art and can be used if you seal them with a top coat.
How do I clean my nail art brushes?
For regular polish, use nail polish remover to clean your brushes immediately after use. For acrylic paints, clean them with water before the paint dries. Always ensure brushes are completely dry before storing them to maintain their shape.
My lavender dots are too big and blobby. How can I make them smaller?
This usually means you’re using too much polish on your brush or dotting tool. Try wiping off the excess on a paper towel or the edge of your polish bottle before applying it to the nail. Using the smallest tip of a dotting tool, or a very fine-tipped brush, will also help create daintier dots.
Can I combine lavender flower designs with other nail art?
Absolutely! Lavender flowers pair wonderfully with subtle glitter accents, minimalist geometric lines, or even delicate marbling. The key is to balance the elements so your nails don’t look too busy. Try a lavender flower on one accent nail and a simple glitter gradient on the others.
What if I don’t have a fine-liner brush? Can I still do this?
Yes! You can use a toothpick or the tip of a very fine orangewood stick to create small dots and lines. You can also use a regular polish brush and carefully use just the very tip or edge of it for thinner lines, though this takes practice. Nail art pens are also a great, affordable alternative.
Conclusion: Cultivate Your Creativity!
There you have it – your guide to creating stunning and essential lavender flower nail designs! We’ve explored why these designs are so beloved, gathered the necessary tools, and walked through several easy-to-follow methods. Remember, nail art is a journey of self-expression. Whether you opt for delicate sprigs, subtle dots, or a gradient background, the most important thing is to have fun and let your creativity bloom.
Don’t be discouraged if your first attempts aren’t salon-perfect. Every stroke, every dot, is practice. Soon, you’ll be confidently painting intricate floral designs in no time. Embrace the beauty of lavender, the joy of DIY, and the confidence that comes with a gorgeous, personalized manicure. Go forth and let your nails blossom!