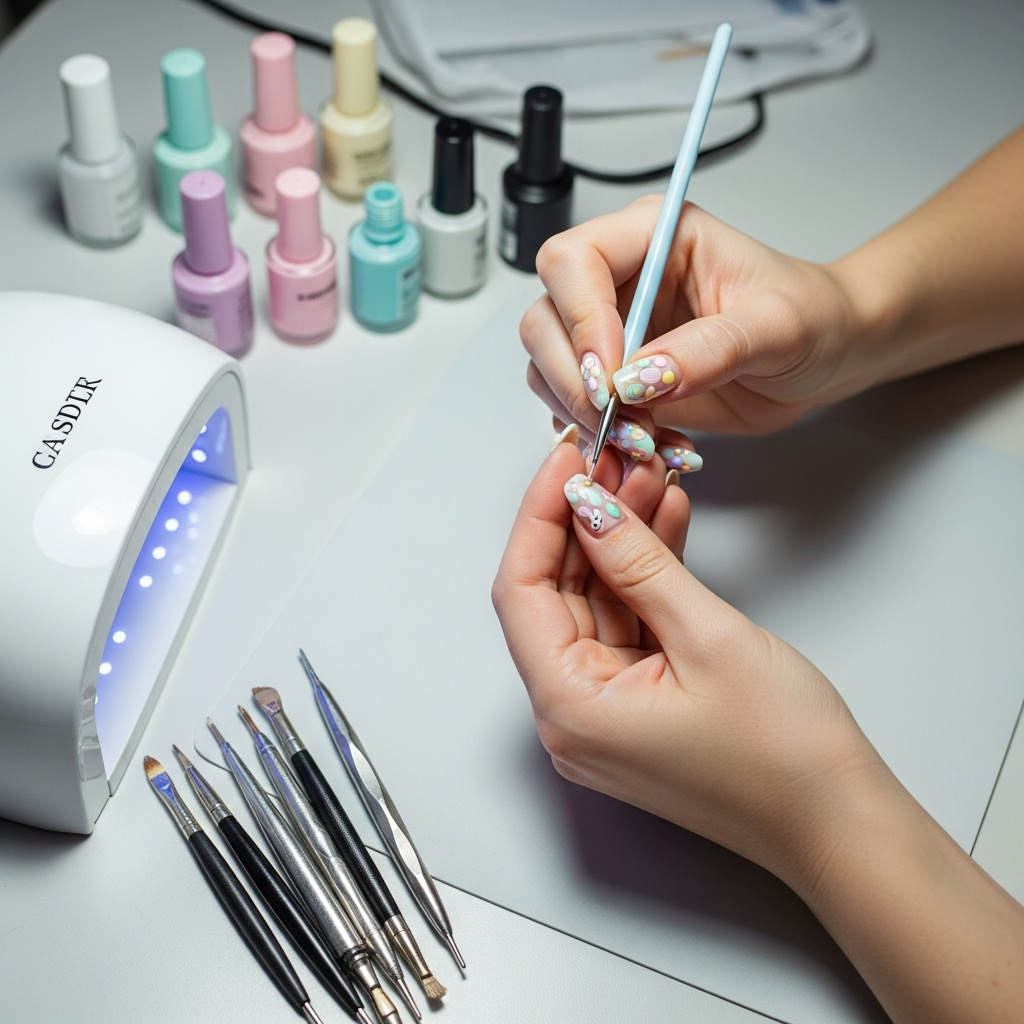
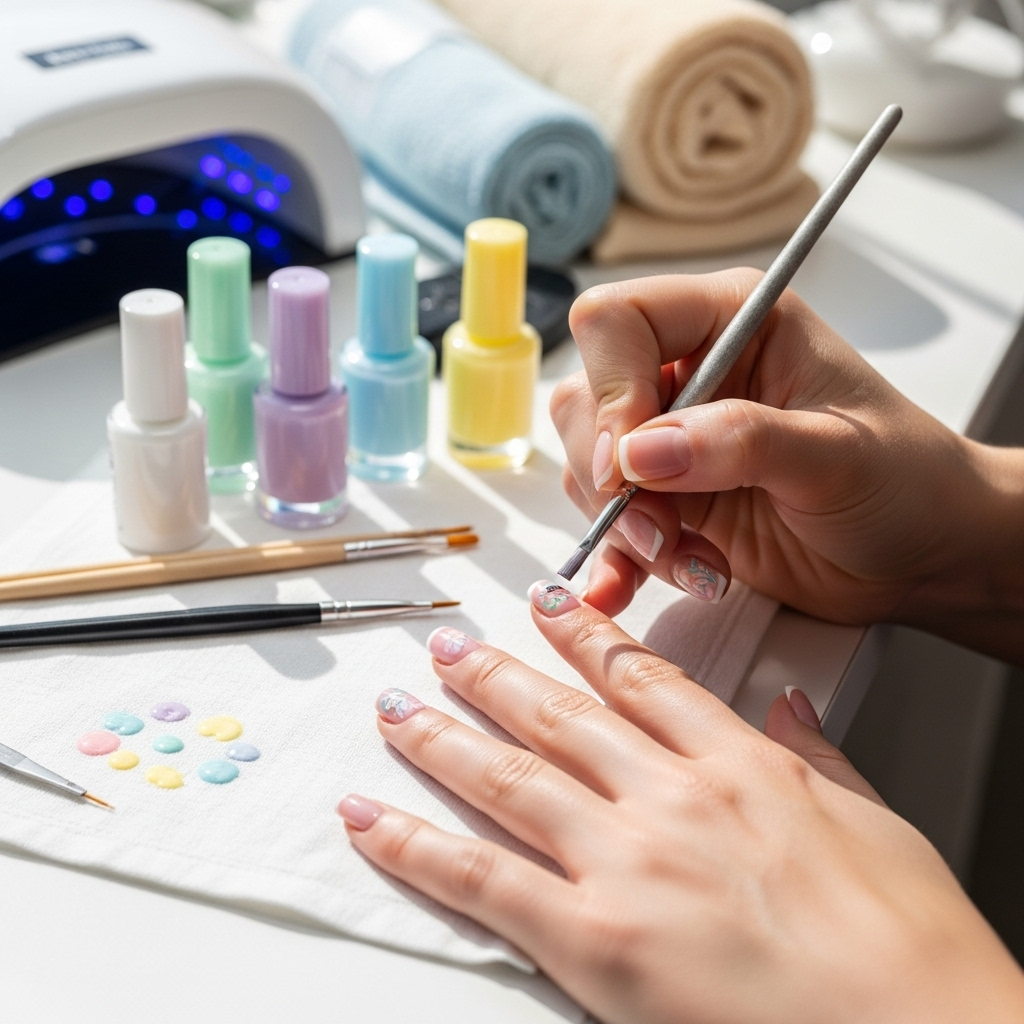
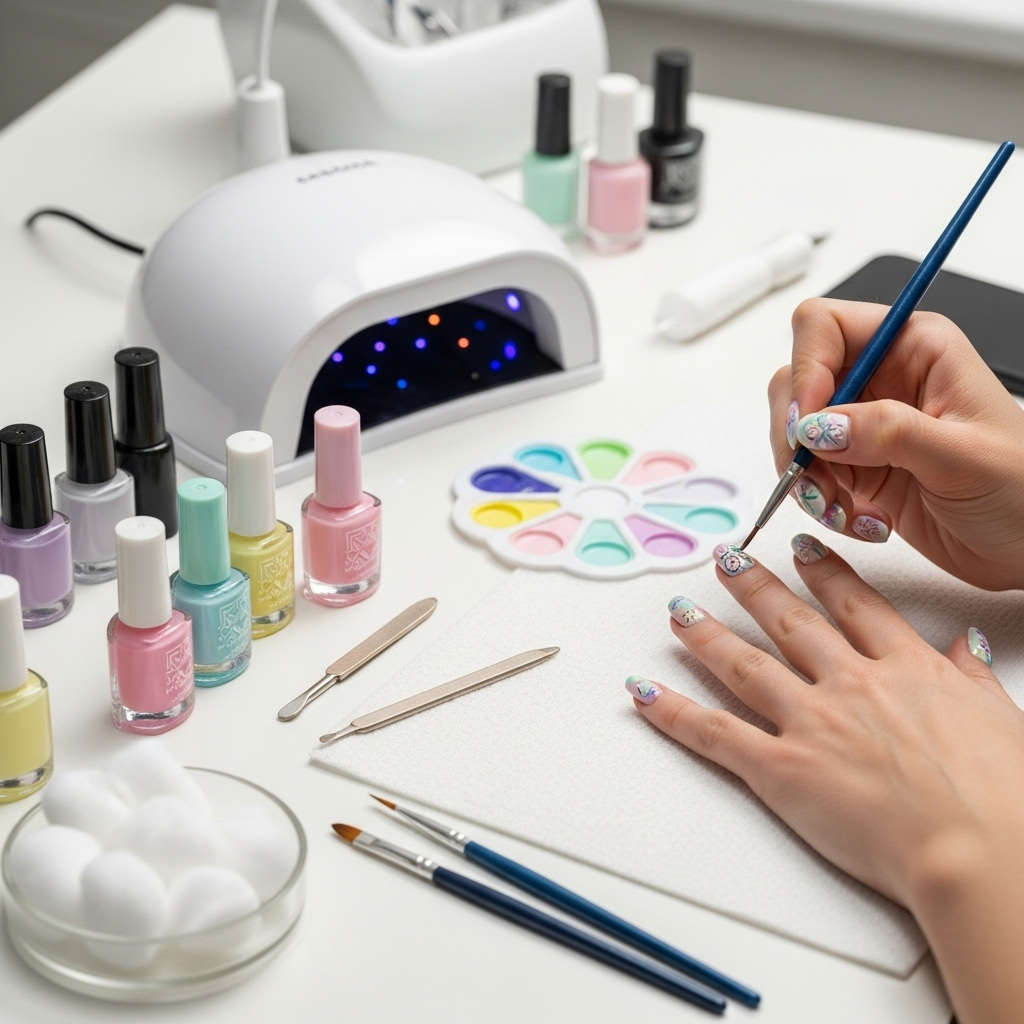
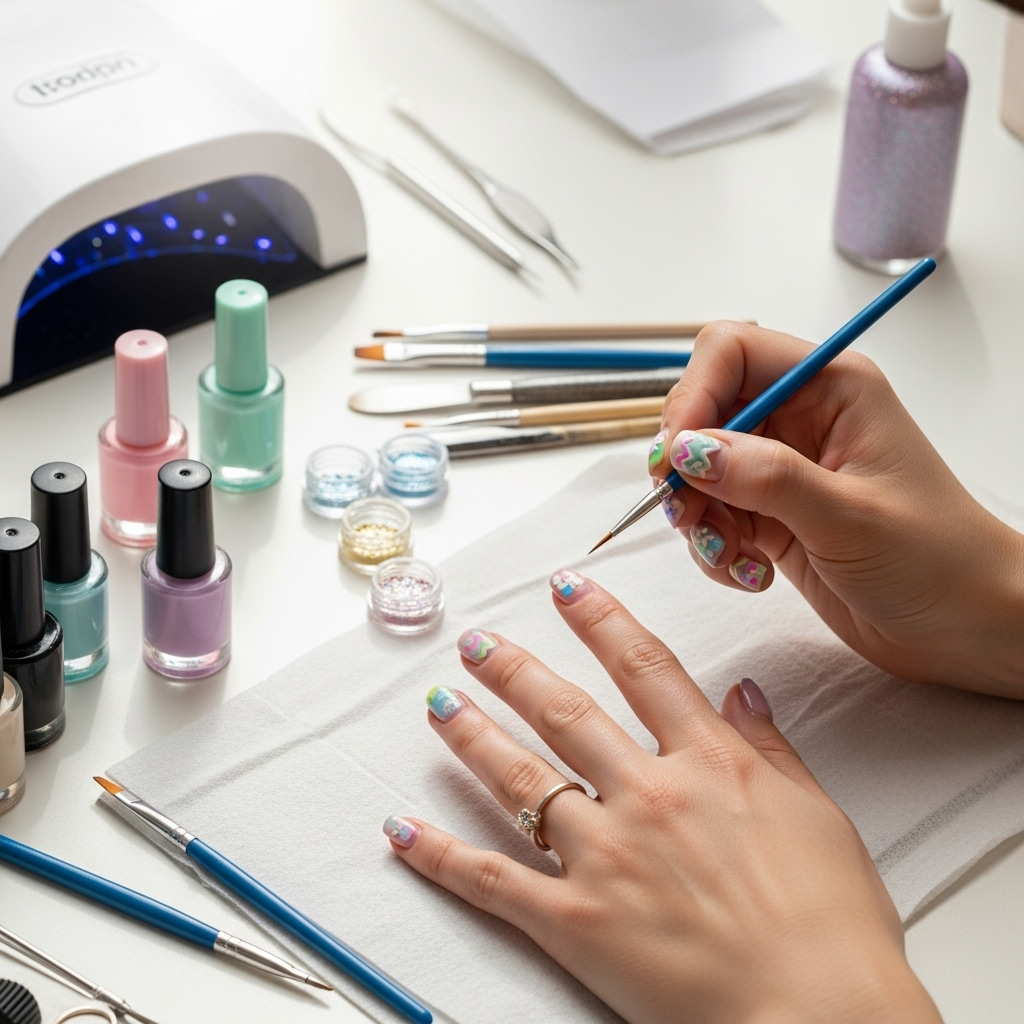
Easter pastel nail design ideas are all about soft, dreamy colors and simple, fun patterns that celebrate spring. Achieve these looks with easy techniques and a few key polish shades, perfect for a festive and elegant manicure suitable for beginners.
Easter is the perfect time to refresh your nail game with a splash of soft, cheerful color. If you’re looking for beautiful Easter pastel nail design ideas, you’ve come to the right place! Pastel shades evoke the gentle dawn of spring, bringing a touch of sweetness and innocence to your fingertips. Maybe you’ve tried to recreate a cute bunny or a delicate floral design and ended up with a bit of a mess. Don’t worry! We’re going to break down some truly adorable and surprisingly easy pastel nail art that anyone can do. Get ready to bloom with these essential Easter looks!
Frequently Asked Questions about Easter Pastel Nail Designs
What are pastel colors?
Pastel colors are soft, pale shades of colors. Think of them as colors with a lot of white mixed in, like baby blue, mint green, soft pink, lavender, and pale yellow. They’re very gentle and easy on the eyes, making them perfect for spring!
Are pastel nails difficult to do at home?
Not at all! Many Easter pastel nail designs are simple enough for beginners. We’ll show you how to create beautiful looks using basic techniques like color blocking, simple dots, and even easy floral patterns. All you need are a few key polishes and a little patience.
What are the most popular pastel nail polish colors for Easter?
The most popular colors include soft pinks, sky blues, mint greens, lilac purples, and creamy yellows. Peach and coral tones also make a lovely appearance. You can use these colors individually or mix and match them for a playful, festive manicure.
How do I make my pastel nail polish colors pop more?
For pastel colors to really stand out, a good base coat is essential. Also, consider using a white polish as a base before applying your pastel shade; this creates a brighter canvas and makes the pastel color appear more vibrant. A good top coat will add shine and seal everything in, making simple designs look professionally done.
Can I combine pastel colors with other nail art elements?
Absolutely! You can add subtle glitter, tiny rhinestones, or even use a contrasting pastel shade for an accent nail. Simple hand-painted elements like tiny flowers, dots, or even Easter-themed icons like bunnies and Easter eggs also pair wonderfully with pastel bases.
How long do DIY pastel nail designs usually last?
With proper application, including a base coat and two layers of top coat, simple pastel nail designs can last anywhere from 5 to 7 days, sometimes even longer. The key is to cap the free edge of your nail (paint a little on the very tip) and avoid harsh chemicals or activities that could chip your polish.
Where can I find inspiration for more complex pastel nail art?
Many beauty blogs, Pinterest, and Instagram are fantastic sources for nail art inspiration. Searching hashtags like #easterNails, #pastelNails, or #springNails will give you endless ideas. Reputable nail art supply stores also often showcase trending designs on their websites.
Essential Easter Pastel Nail Design Ideas for Beginners

Spring is in the air, and that means it’s time for pastels! These soft, dreamy colors are just perfect for Easter and the whole spring season. They’re gentle, cheerful, and incredibly versatile. Whether you have five minutes or an afternoon, there’s a pastel nail design that’s perfect for you. Let’s dive into some essential looks that are super easy to achieve, even if you’re new to nail art!
1. The Single Pastel Shade Sensation
This is the ultimate beginner-friendly look and a complete classic for spring. It’s all about letting a beautiful pastel color shine on its own.
Why it’s essential: It’s incredibly easy, elegant, and always looks polished. A single, well-applied pastel shade instantly lifts your mood and your look.
Colors to try:
- Baby Pink
- Mint Green
- Sky Blue
- Lavender
- Pale Yellow
- Peach
How to achieve it:
- Prep your nails: Start by cleaning your nails and pushing back your cuticles. Shape them nicely with a nail file.
- Apply a base coat: This protects your natural nails and helps the polish last longer. Let it dry completely.
- Apply two thin coats of your chosen pastel polish: Don’t try to get full coverage with one thick coat – thin coats are better! Let each coat dry for a minute or two before applying the next.
- Apply a top coat: Seal your manicure with a good quality top coat. This adds shine and prevents chipping. Make sure to cap the free edge (paint a little on the very tip of your nail) to protect the polish.
2. The Two-Tone Trend
This is a fun and simple way to add a little more interest without being complicated. You simply use two different pastel shades.
Why it’s essential: It’s a step up from a single color but still incredibly manageable. It allows for a subtle pairing of complementary or contrasting pastel hues.
Color Combinations:
- Baby Blue and Mint Green
- Soft Pink and Lavender
- Pale Yellow and Peach
- Sky Blue and Light Coral
How to achieve it:
- Prep your nails: Clean, shape, and prep as usual.
- Apply a base coat: Always start with a base coat.
- Choose your placement: You can paint one color on your pinky and ring fingers, and the other color on your index and middle fingers. Or, paint all nails one color, and use the second color for an accent nail (like just your ring finger).
- Apply two coats of each color: Ensure each nail color is fully dry before moving to the next.
- Top coat: Finish with a generous layer of top coat to seal both colors in.
3. The Pastel Gradient (or Ombré) Effect
Ombré nails look incredibly chic, and the pastel version is pure springtime magic. Don’t let it intimidate you; it’s easier than it looks!
Why it’s essential: It offers a sophisticated and trendy look that’s surprisingly achievable with a makeup sponge. It’s a beautiful way to blend multiple soft colors.
Colors needed: 2-3 complementary or similar pastel shades.
How to achieve it (using a sponge):
- Prep your nails: Clean, shape, and apply a base coat. You might want to paint your nails white first to make the pastels pop even more vibrantly, then let that dry completely.
- Apply the polish to a makeup sponge: Lay down stripes of your chosen pastel polishes side-by-side on a makeup sponge or a clean piece of plastic wrap. Work quickly!
- Dab onto the nail: Gently dab the sponge onto your nail, pressing down just enough to transfer the colors. You might need to reapply polish to the sponge and dab a second time to build up the color intensity.
- Clean up the edges: Use a small brush dipped in nail polish remover to carefully clean up any polish that got on your skin.
- Top coat: Once the ombré is perfect, seal it with a good top coat. A glitter top coat can also enhance the ombré effect beautifully.
4. The Dot Party
Simple dots are a super easy yet effective way to add charm to your pastel nails. They can be random or organized, big or small.
Why it’s essential: This is one of the easiest nail art techniques. You can create polka dots with a dotting tool, the end of a bobby pin, or even a toothpick.
Tools needed:
- Dotting tools (various sizes) OR the tip of a bobby pin/toothpick
- Contrasting pastel polish for the dots
How to achieve it:
- Start with your pastel base: Paint your nails with your chosen pastel color and let it dry completely.
- Load your tool: Dip your dotting tool (or alternative) into a different pastel polish.
- Place the dots: Gently press the dotting tool onto your nail to create dots. You can make a pattern, scatter them randomly, or even create little flower shapes by placing dots in a circle.
- Let it dry: Allow the dots to dry fully.
- Seal with top coat: Apply a clear top coat to protect your adorable dot design.
5. The Simple Floral Touch
Tiny, delicate flowers are synonymous with spring and Easter. You don’t need to be an artist to paint simple blossoms!
Why it’s essential: Adds a touch of feminine elegance that’s perfect for the season. Simple floral designs are more achievable than complex florals and offer a sweet, natural feel.
Colors needed: Pastel base color, white or a lighter pastel for petals, yellow or white for the center.
How to achieve it:
- Paint your base: Apply your base pastel color and let it dry completely.
- Create the flower: Dip a fine-tipped brush or skewer into white or a very light pastel. Make small dots or tiny petal shapes in a cluster. For a simple flower, you can often just make tiny dots arranged in a circle.
- Add a center: Use a smaller dotting tool or the tip of a toothpick with yellow or white polish to add a tiny dot in the middle of your petals.
- Let it dry: Ensure everything is completely dry.
- Top coat: Apply a clear top coat for a lasting finish.
6. The Easter Egg-Inspired Mani
This is where you get playful and incorporate the fun patterns seen on Easter eggs! Think simple stripes, swirls, or speckled effects.
Why it’s essential: It’s a direct nod to the Easter festivities and allows for a lot of creative freedom. These designs are typically quite abstract and forgiving.
Colors needed: A variety of pastel polishes.
How to achieve it:
- Stripes/Swirls: Use a fine-tipped brush or a nail art pen to draw thin stripes or gentle swirls in a contrasting pastel color over your base pastel coat. Let each line dry slightly before adding another if needed to prevent smudging.
- Speckled/Confetti: After applying your base pastel color, dab a clean, dry brush very lightly into a darker pastel polish and flick it gently onto the nail to create a “speckled” look. Alternatively, use a dedicated speckled polish or carefully place tiny dots in various colors for a confetti effect.
- “Cracked” Egg Look: Paint your nails in a base pastel color. Once dry, use a fine brush with a slightly darker or lighter shade to draw thin, jagged “crack” lines across a few nails. Seal with a top coat.
As always, let each design element dry thoroughly before sealing with a top coat.
Essential Tools and Tips for Pastel Nail Designs
Achieving beautiful pastel nail designs at home is all about having the right tools and knowing a few simple tricks. You don’t need a professional kit to get salon-worthy results!
Your Pastel Nail Art Toolkit
Here’s a breakdown of key items that will make your pastel nail art adventures much easier:
- Base Coat: Essential for nail health and polish longevity.
- Top Coat: Adds shine, protects your design, and extends wear. A quick-dry top coat is a lifesaver!
- Pastel Nail Polishes: The stars of the show! Choose a few shades you love.
- White Nail Polish: Great for creating a brighter base for pastels or for adding white details.
- Dotting Tools: A set with different-sized balls at the end is perfect for creating dots, flowers, and patterns. You can find these affordably online from retailers like Amazon.
- Fine-Tipped Nail Art Brush: For drawing delicate lines, swirls, and small details.
- Toothpicks or Bobby Pins: Excellent DIY alternatives for dotting tools.
- Makeup Sponge: Perfect for creating gradient or ombré effects.
- Nail Polish Remover: For cleaning up any mistakes around the cuticles.
- Cotton Swabs/Q-tips: For precise cleanup with nail polish remover.
- Cuticle Pusher: To gently push back and tidy up your cuticles before painting.
- Nail File: To shape your nails to perfection.
Pro Tips for Pastel Perfection
These tips will help you achieve flawless pastel nails every time:
- Prep is Key: Always start with clean, dry nails. Push back your cuticles gently. A smooth nail surface ensures a smooth polish application.
- White Base for Vibrancy: Pastel polishes can sometimes appear a bit sheer or dull on their own. Applying a thin coat of white polish and letting it dry fully before your pastel color creates a brighter, more opaque canvas, making those pastel shades really sing!
- Thin Coats Rule: It’s much better to apply two or three thin coats of polish than one thick, gloopy coat. Thin coats dry faster and are less likely to bubble or smudge.
- Cap the Edge: This is a crucial step for preventing chips! After applying your final coat of color and your top coat, run your brush lightly along the very tip (the free edge) of your nail. This seals in the polish and significantly extends the life of your manicure.
- Patience is a Virtue: Let each layer of polish dry for at least a minute or two before applying the next. This is especially important when layering colors or adding details.
- Don’t Forget the Cleanup: A tiny brush dipped in nail polish remover is your best friend for cleaning up stray polish around your cuticles and sidewalls. It makes a huge difference in the finished look.
- Seal it Tight: Always finish with a good top coat. It adds gloss, protects your design, and gives your manicure that professional, salon-perfect shine. For an extra boost, consider a gel-like top coat for added durability and shine.
- Practice Makes Progress: Don’t get discouraged if your first attempts aren’t perfect. Nail art takes a little practice. Keep experimenting with different designs and techniques!
Showcase: The “Spring Meadow” Design

Let’s put some of these ideas into practice with a super simple yet charming design we’ll call the “Spring Meadow.” This design combines a soft pastel base with a few delicate floral touches – perfect for beginners!
Concept: A soft lavender base with tiny white daisies scattered on one or two accent nails.
Estimated Time: 20-30 minutes (plus drying time)
Difficulty: Easy
Table: Materials Needed
| Item | Description |
|---|---|
| Base Coat | For nail protection and polish adhesion. |
| Lavender Pastel Nail Polish | Your main color. Ensure it has good coverage in 2 coats. |
| White Nail Polish | For the daisy petals and center. |
| Yellow Nail Polish | For the daisy centers (optional, white is fine too). |
| Fine-Tipped Nail Art Brush or Dotting Tool | To create the daisy details. A toothpick can work for dots. |
| Top Coat | To seal the design and add shine. |
| Nail Polish Remover & Cotton Swabs | For cleanup. |
Step-by-Step Instructions:
- Nail Preparation: Start with clean, dry nails. Gently push back your cuticles using a cuticle tool. Shape your nails to your desired length and style with a nail file.
- Base Coat Application: Apply a thin, even layer of your base coat to all nails. Let it dry completely. This step is vital for nail health and ensures your manicure lasts longer.
- Apply Lavender Polish: Take your lavender pastel polish and apply a thin coat to all your nails. Let this dry for about a minute. Apply a second thin coat for full, opaque coverage. Let these dry thoroughly for at least 5 minutes.
- Prepare for Daisies: Decide which nails will have the floral accents – typically the ring or pinky fingers are great for this.
- Create the Daisy Petals: Dip your fine-tipped brush or the small ball of a dotting tool into the white nail polish. On your accent nail(s), create tiny petal shapes. You can do this by making small, curved strokes in a circular pattern. Aim for 4-5 small “petals” forming a loose circle. Alternatively, if using a dotting tool, make 5 small white dots arranged in a circle.
- Add the Daisy Center: Dip a very fine dotting tool or the tip of a toothpick into your yellow (or white) nail polish. Carefully place a tiny dot right in the center of each white petal cluster to complete your daisy.
- Repeat for Other Accent Nails: If you’re adding daisies to more than one nail, repeat steps 4-6.
- Allow to Dry Fully: This is important! Make sure the painted daisies are completely dry before moving to the next step. This can take a bit longer than regular polish drying. A quick-dry spray can help if you’re in a hurry, but ensure the polish is mostly set.
- Cleanup: If there’s any stray polish on your skin around the nails, dip a small brush or cotton swab into nail polish remover and carefully clean up the edges.
- Apply Top Coat: Once everything is bone dry, apply a generous layer of your top coat over all nails. Make sure to cap the free edge by swiping the brush over the very tip of your nail. This seals in your beautiful design and adds a protective, glossy finish.
This “Spring Meadow” design is a fantastic way to practice simple nail art techniques and achieve a beautiful, festive look without feeling overwhelmed. You can adapt it by using different pastel base colors or adding more flowers!
Embrace the Pastel Palette This Easter!
There you have it – a collection of delightful Easter pastel nail design ideas perfect for any beginner looking to add a touch of springtime charm to their fingertips. From the simple elegance of a single pastel shade to playful patterns inspired by Easter eggs, these looks are all about embracing the joy and softness of the season.
Remember, the beauty of nail art is in its creativity and self-expression. Don’t be afraid to mix colors, experiment with your tools, and put your own unique spin on these ideas. Whether you’re attending an Easter brunch, heading out for a spring picnic, or simply want to brighten your everyday, these pastel manicures are sure to bring a smile to your face and add that perfect finishing touch. So grab your polishes, get creative, and let your nails bloom this Easter! Happy painting!


