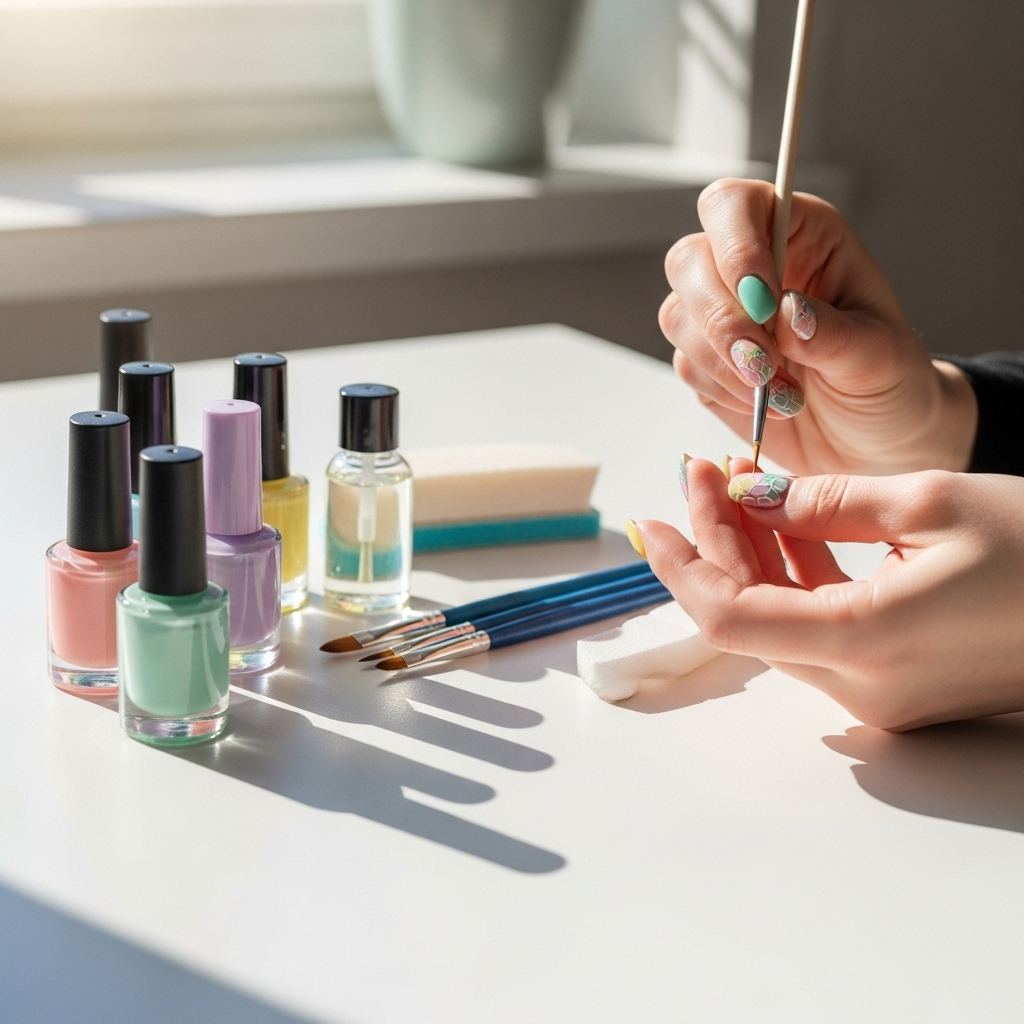
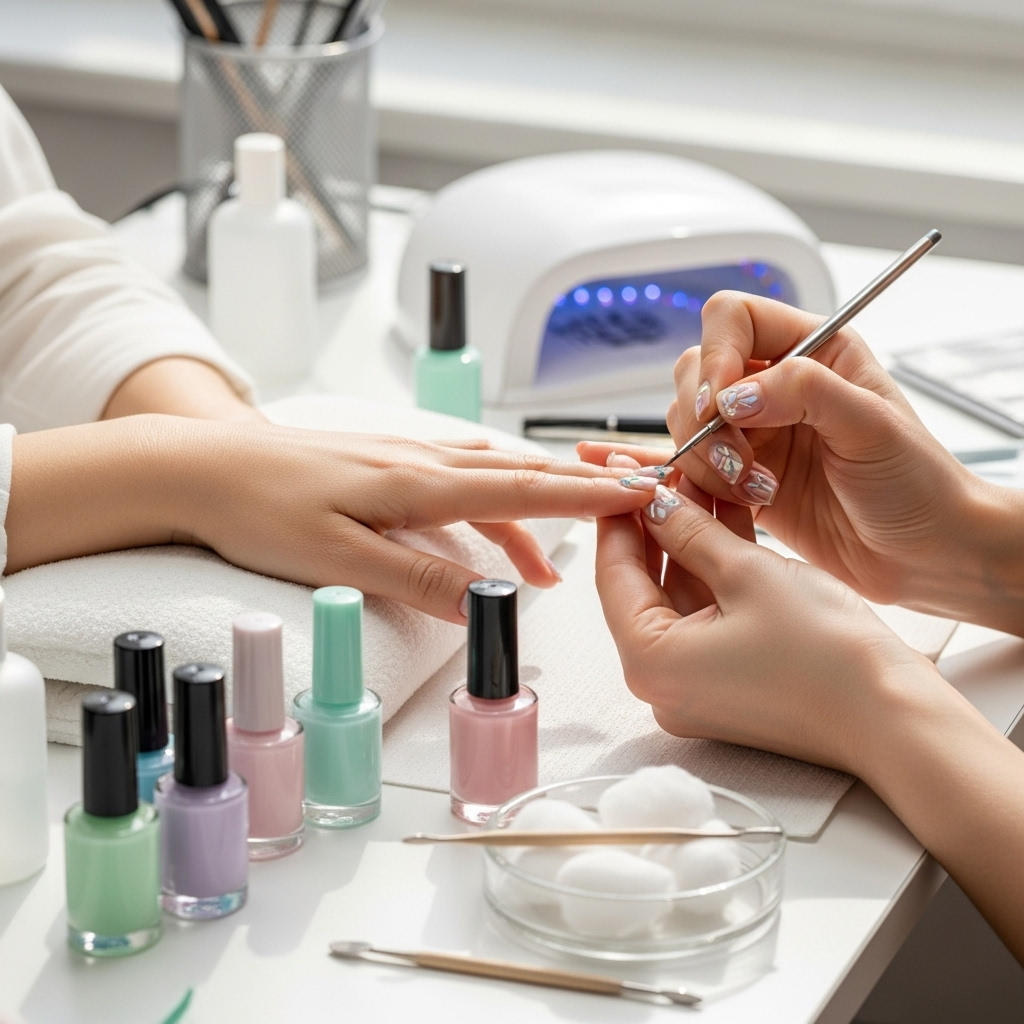
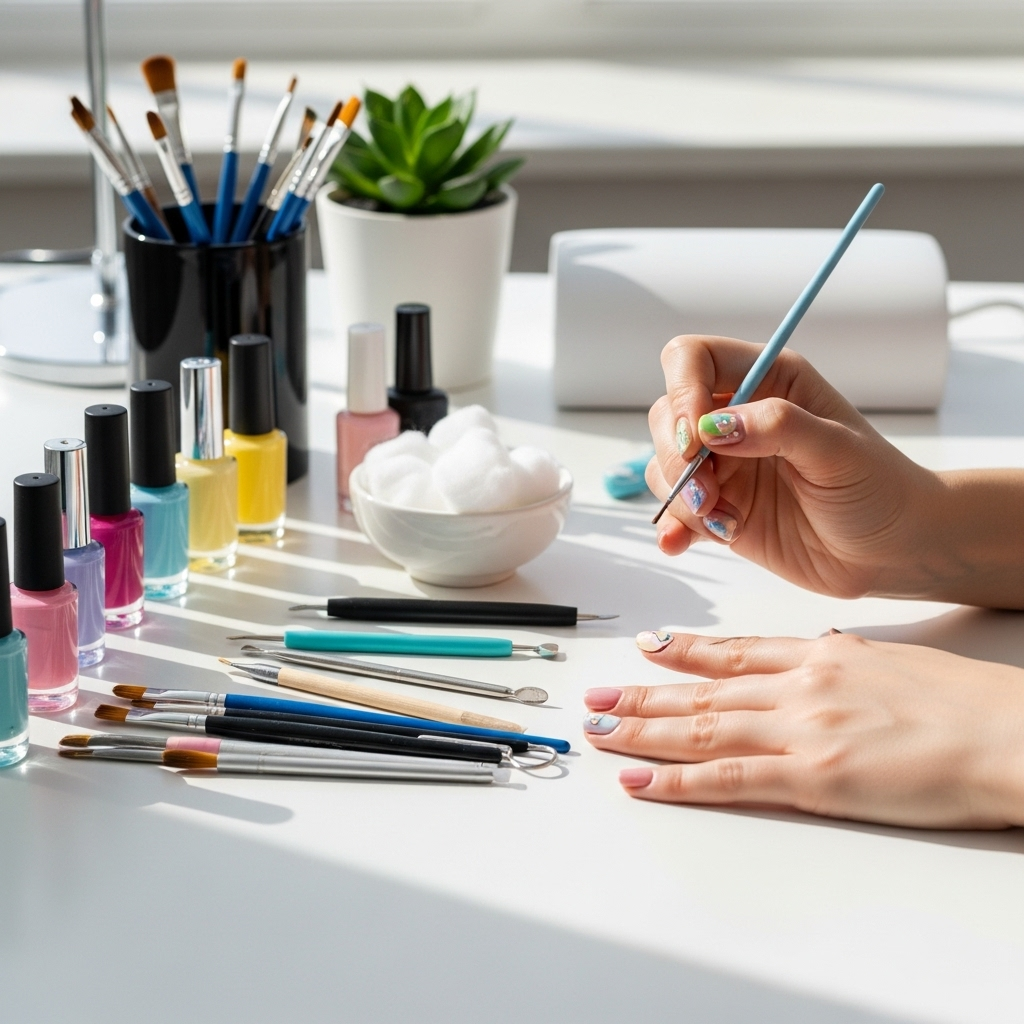
Easter pastel nail design ideas offer a soft, charming way to celebrate spring and the holiday. These easy-to-achieve looks use gentle colors that are perfect for beginners wanting a touch of festive elegance without complex artistry. Focus on simple color blocking, subtle gradients, and cute, minimal accents for effortless beauty.
Spring is in the air, and with it comes Easter! If you’re looking for a way to freshen up your look and embrace the season, adorable Easter pastel nail design ideas are the perfect place to start. Tired of complicated nail art that takes forever and often ends up… well, not quite right? We get it! Many of us want pretty nails for the holidays but don’t have hours to spend or a steady enough hand for intricate designs. The good news is, achieving beautiful, festive nails is totally doable, even if you’re just dipping your toes into nail art. We’ll walk you through some super simple, yet stunning, pastel nail looks that will make your hands sing with springtime cheer. Get ready to discover how easy and fun embracing Easter nail trends can be!
Your Guide to Effortless Easter Pastel Nail Design Ideas
Easter and pastel shades are a match made in heaven! Think robin’s egg blue, soft lilac, creamy mint green, and buttery yellow. These colors just scream spring renewal and holiday joy. This guide is all about giving you the confidence and the know-how to replicate gorgeous pastel nail designs right at home. We’ll focus on techniques that are easy to master, ensuring you get salon-worthy results without the fuss. Whether you’re attending an Easter brunch, hunting for eggs, or simply want to bring a little bit of that springtime magic to your everyday, these ideas are for you.
Why Pastels for Easter?
Pastel colors evoke feelings of softness, new beginnings, and delicate beauty, perfectly mirroring the essence of spring and Easter. They are less intensely vibrant than primary colors, making them inherently more subtle and easier on the eyes. This makes them incredibly beginner-friendly for nail art, as mistakes are less noticeable. Plus, they complement a wide range of spring fashion and Easter decorations beautifully.
Essential Tools for Your Pastel Manicure
Before we dive into the designs, let’s gather your nail art toolkit. You don’t need fancy equipment to create lovely pastel nails. Here’s a simple list of essentials:
- Base Coat: Protects your natural nails and helps polish adhere better. A good quality base coat is the foundation of any lasting manicure.
- Top Coat: Seals your design, adds shine, and prevents chipping. Don’t skip this step for longevity!
- Pastel Nail Polishes: Choose a few of your favorite soft shades. Brands like Essie, OPI, and Sally Hansen offer a fantastic range of pastels.
- Dotting Tool: A lifesaver for creating small dots and simple patterns. Even a toothpick can work in a pinch!
- Thin Nail Art Brush: For drawing fine lines or small details.
- Nail Polish Remover & Cotton Pads: For clean-ups and correcting any little oopsies.
- Orange Stick or Cuticle Pusher: To gently push back cuticles for a clean canvas.
- Optional: Glitter Polish: A touch of sparkle can elevate any pastel design.
Step-by-Step Guide: Basic Pastel Color Block Nails
Color blocking is one of the easiest ways to create a chic and modern look. For Easter, we’ll use soft pastel combinations.
- Prep Your Nails: Start by ensuring your nails are clean, dry, and free of old polish. Gently push back your cuticles with an orange stick. Apply a thin layer of your base coat and let it dry completely.
- Paint Your First Color: Choose your first pastel shade. Apply one or two thin, even coats, allowing each coat to dry slightly before applying the next. Cover about half to two-thirds of your nail, deciding where you want your color block to be.
- Clean Up Edges: Use a fine brush dipped in nail polish remover to clean up any polish that got onto your skin or cuticles. This ensures a crisp line.
- Add the Second Color: Once the first color is dry to the touch, carefully apply your second pastel shade. This color should cover the remaining part of your nail, creating a distinct line or block with the first color.
- Seal the Deal: After the second color has dried sufficiently (give it a few minutes!), apply a generous layer of your top coat. This will smooth out any unevenness from the two colors and add a brilliant shine.
Pro Tip: For a cleaner line between colors, you can apply a bit of liquid latex or even Elmer’s glue around your nail. Once the polish is dry, peel off the latex/glue for a perfectly crisp edge!
Easter Pastel Nail Design Ideas: Simple & Sweet
Ready for some design inspiration? These ideas are perfect for achieving that effortless Easter beauty, even if you’re a total beginner!
1. The Gradient Dream
A gradient, or ombre, effect looks intricate but is surprisingly easy to do with a makeup sponge.
- Base & First Color: Apply your base coat and let it dry. Then, apply a light base color like white or a very pale pastel.
- Sponge Application: On a piece of paper or plastic, paint two pastel shades side-by-side. Gently dab a makeup sponge into both colors, picking up the polish.
- Dab onto Nail: Lightly dab the sponge onto your nail, starting from the cuticle and moving upwards. Re-apply polish to the sponge as needed and repeat the dabbing motion to build up the gradient.
- Repeat for Depth: For a more blended look, repeat the sponging process a couple of times.
- Clean & Seal: Carefully clean up any polish around your skin with a brush and remover. Finish with a shiny top coat to meld the colors together.
Tip: Use shades that are close in tone for a subtle gradient or contrasting shades for a bolder effect.
2. Dotty Delight
Dots are classic, cute, and incredibly easy to create with a dotting tool or even a bobby pin!
- Choose Your Base: Apply your favorite pastel polish and let it dry completely.
- Dotting Time: Dip your dotting tool (or the tip of a bobby pin) into a contrasting pastel polish. Gently press it onto your nail to create dots.
- Pattern Play: You can create a simple pattern like a French tip with dots, rows of dots, or even a cute bunny face with two larger dots and two smaller ears.
- Seal It: Once your dots are dry, seal everything with a top coat.
Easter Bunny Idea: On a pastel pink or baby blue nail, use a white polish and a medium dotting tool to create two larger circles for the head and body. Then, use a smaller dotting tool or the side of your dotting tool to create two smaller dots above the head for ears. Add two tiny black dots for eyes using black polish, and a small pink dot for a nose!
3. Subtle Stripes
Vertical or horizontal stripes add a touch of sophistication. You can use a fine brush or even striping tape for precision.
- Base Color: Apply a solid pastel base color and let it dry thoroughly.
- Stripe Creation:
- Using a Brush: Dip a thin nail art brush into a contrasting polish color. Carefully draw thin lines across your nail. Start with one or two lines and see how you like it.
- Using Striping Tape: Apply a layer of top coat to your dry base color. While the top coat is still wet, carefully lay down thin strips of nail art striping tape in your desired pattern. Let the top coat dry a bit until it’s tacky, then paint over the tape with your contrasting color. Once dry, carefully peel off the tape, revealing crisp lines.
- Finish: Apply a top coat to protect your stripes.
4. Half-Moon Chic
This is a modern take on the classic French manicure. It’s all about defining the moon-shaped cuticle area.
- Apply Base and First Color: After your base coat, apply your main pastel color to the entire nail. Let it dry.
- Create the Moon: Use a fine brush or a small dotting tool to paint a curved line just above your cuticle, following the natural shape of your nail’s moon. You can also use French tip guides if they fit your curve.
- Fill In: Fill in the moon shape with a different pastel color or even a shimmery clear polish.
- Seal: Once dry, apply a top coat.
5. The Speckled Egg Look
Mimic the natural beauty of speckled Easter eggs with minimal effort!
- Base Color: Paint your nails with a light pastel color like cream, pale yellow, or mint green. This will be the base of your “egg.”
- Speckle Time: Take a toothbrush (one you don’t use for cleaning!) or a stiff brush. Dip it lightly into a darker pastel or even brown/black polish.
- Create Splatter: Flick your thumb across the bristles of the brush, aiming towards your nail. Do this lightly at first and build up the speckles to your liking. Ensure you protect surrounding areas with tape or a brush cleaner for easier cleanup.
- Seal: Apply a clear top coat to seal in the speckles.
For more tips on nail care and preparation, the American Academy of Dermatology Association offers excellent advice on keeping your nails healthy.
Advanced (But Still Easy!) Pastel Techniques
Feeling a little more adventurous? These techniques add a touch more flair while remaining beginner-friendly.
1. Dewdrop Nails
This looks like tiny water droplets clinging to your nails and is super chic.
- Base & Color: Start with your preferred pastel polish.
- The Droplets: Apply a clear top coat or a dedicated glossy gel-like top coat. Immediately, before it dries, use a dotting tool to create small, raised dots. You can arrange these in lines, clusters, or randomly across the nail.
- Cure (if using gel): If using a gel top coat, cure under a UV/LED lamp. If using regular top coat, let it dry completely.
Note: For the best “dewdrop” effect, a thicker, high-shine top coat is recommended.
2. Embossed Florals (Using Stickers!)
Get an embossed look without the hard work using clever stickers.
- Base Color: Apply your pastel base color and let it dry completely.
- Apply Sticker: Carefully peel a pastel floral nail sticker. Apply it to your nail.
- Seal with Top Coat: Apply a generous layer of top coat over the sticker. Make sure to cap the edges of the polished nail to prevent the sticker from peeling up. The top coat helps to “melt” the sticker into the nail, giving it an embossed, almost painted-on look.
Where to Find: You can find beautiful floral and Easter-themed nail stickers at most beauty supply stores or online retailers.
3. Subtle Shimmer with Glitter Gradient
A touch of sparkle is always festive!
- Base Color: Apply your favorite pastel polish and let it dry.
- Glitter Application: Take a fine glitter polish (silver, gold, or even a complementary pastel shade). Apply it strategically to the tips of your nails, fading it down towards the cuticle. You can use a sponge or a brush for this.
- Build Up: Apply a second light layer if you want more sparkle.
- Seal: Finish with a top coat.
Pastel Palette Combinations for Easter
Mixing and matching pastels can be fun! Here are some of our favorite easy color combinations:
| Nail 1 | Nail 2 | Nail 3 | Nail 4 | Nail 5 |
|---|---|---|---|---|
| Mint Green | Baby Blue | Soft Pink | Lavender | Creamy Yellow |
| Pale Peach | Coral Pink | Lilac | Sky Blue | Butter Yellow |
| Watermelon Pink | Mint Julep | Creamy White | Pale Periwinkle | Light Lemon |
This table features a classic rainbow of soft Easter hues. Feel free to mix and match these colors across your fingers for a playful look, or use them as inspiration for your accent nails!
Maintaining Your Pastel Manicure
Your beautiful pastel nails deserve to last! Here’s how to keep them looking fresh:
- Always Wear a Top Coat: Reapply your top coat every 2-3 days, especially to the tips of your nails, to seal in the color and prevent chipping.
- Moisturize: Keep your cuticles and hands hydrated with cuticle oil and hand lotion. Dry skin can make even the prettiest manicure look dull.
- Be Gentle: Avoid using your nails as tools (like scraping or prying).
- Wear Gloves: When doing household chores, especially those involving water or chemicals, wear rubber gloves.
Troubleshooting Common Pastel Nail Issues
Even with simple designs, little hiccups can happen. Here’s how to fix them:
- Streaky Polish: This often happens with lighter shades. Ensure you’re applying polish in thin, even coats and letting each coat dry slightly before the next. If it’s still streaky, a slightly thicker, good-quality top coat can help smooth things out.
- Chipped Tips: This is a sign your top coat might need reapplying or that you were a bit rough with your hands. A quick touch-up with a matching polish and a fresh layer of top coat can save the day.
- Uneven Dots/Lines: Don’t stress! A toothpick or fine brush dipped in nail polish remover can gently tidy up edges or reshape dots. You can also strategically place a small dot or a tiny star sticker over a minor imperfection.
- Polish Not Drying: This is frustrating! Ensure you’re applying thin coats. If you’re in a rush, a quick-drying top coat or chilling your nails under cool (not cold) running water for a minute or two after they are mostly dry can help.
For more on nail health and care to prevent issues, sites like the NHS offer practical advice on nail hygiene that benefits everyone.
Frequently Asked Questions (FAQs) About Easter Pastel Nail Designs
Q1: What are the most popular pastel colors for Easter nails?
A1: The most beloved Easter pastel colors include baby blue, soft pink, mint green, lavender, pale yellow, and peach. These shades evoke a sense of freshness and spring.
Q2: I’m a total beginner. Which pastel nail design is the easiest to try?
A2: The easiest designs for beginners are solid pastel colors, simple color blocking (two colors meeting on the nail), or using a dotting tool to add dots. These require minimal precision.
Q3: How can I make my pastel nail polish look smooth and not streaky?
A3: Apply your polish in thin, even coats. Allow each coat to dry slightly before applying the next. A good quality base and top coat also help create a smooth finish. If streaking persists, a thicker, glossy top coat can often even out the appearance.
Q4: Can I use regular nail polish for these designs, or do I need gel?
A4: You can absolutely use regular nail polish! Gel polish offers extra durability and shine but isn’t necessary for creating these beautiful pastel designs. Regular polish is more accessible and easier for beginners to work with.
Q5: How long do pastel nail designs typically last?
A5: With proper application (base coat, thin coats, top coat) and good maintenance (reapplying top coat, moisturizing, wearing gloves for chores), a regular nail polish manicure can last anywhere from 5 to 10 days. Gel polish will last longer, typically 2-3 weeks.
Q6: What if I don’t have a dotting tool? What else can I use?
A6: No worries! You can use the tip of a toothpick, the rounded end of a bobby pin, the tip of a ballpoint pen, or even a fine-tipped eyeliner brush (make sure it’s clean!).
Q7: How do I prevent my nail polish from chipping quickly?
A7: The key is a good prep, a solid base coat, thin-but-opaque color coats, and a protective top coat. Don’t forget to “cap” the free edge of your nail by running your top coat brush along the very tip. Reapplying top coat every few days also helps extend the life of your manicure.
Conclusion: Embrace Your Inner Artist This Easter!

There you have it! Easter pastel nail design ideas that are not only adorable and festive but also incredibly achievable for anyone. We’ve explored simple techniques like color blocking and dotting, shared tips for stunning gradients and stripes, and even provided some easy “advanced” tips to elevate your manicure. Remember, the goal is to have fun and express your personal style. Don’t be afraid to experiment with different pastel combinations or add your own unique spin. Whether you opt for a delicate speckled egg look or a chic half-moon design, your nails are sure to radiate springtime charm.
This Easter, give yourself the gift of beautiful, effortless nails. With these ideas, the perfect pastel manicure is just a few simple steps away. So grab your favorite polishes, a steady hand (or a helpful tool!), and let your creativity blossom. Happy painting, and enjoy your wonderfully festive Easter nails!


