Quick Summary: Learn how to create a beautiful daisy nail design tutorial effortlessly! This easy-to-follow guide uses simple steps and common tools to bring charming floral accents to your manicure, perfect for beginners wanting a touch of nature-inspired elegance.
Daisy Nail Design Tutorial: Proven Effortless Style
Dreaming of cute, nature-inspired nails but think it’s too complicated? You’re not alone! Many of us see adorable daisy designs and feel intimidated, thinking we need pro skills. The good news? Creating simple daisy nail art is totally achievable, even if you’re just starting out. Forget expensive salon trips – you can get that fresh, cheerful look right at home. This tutorial breaks down the process into super simple steps. Get ready to unlock your inner nail artist and give your nails a delightful floral makeover!
Why We Love Daisy Nails
Daisy nails are a universal favorite for a reason! They’re instantly cheerful, versatile, and add a touch of innocent charm to any look. Whether you’re heading to a picnic, a casual day out, or just want to brighten your mood, daisies bring a little sunshine to your fingertips. They’re more than just pretty; they represent purity, new beginnings, and simple joy. Plus, they fit perfectly with spring and summer vibes, but honestly, who says you can’t have floral accents year-round?
The beauty of daisy nail art lies in its simplicity. Unlike intricate patterns that require a steady hand and specialized tools, daisy designs can be as basic or detailed as you like. This makes them perfect for beginners who want to dip their toes into nail art without feeling overwhelmed. You can use basic dotting tools, toothpicks, or even fine brushes to achieve stunning results.
Tools You’ll Need for Your Daisy Nail Design

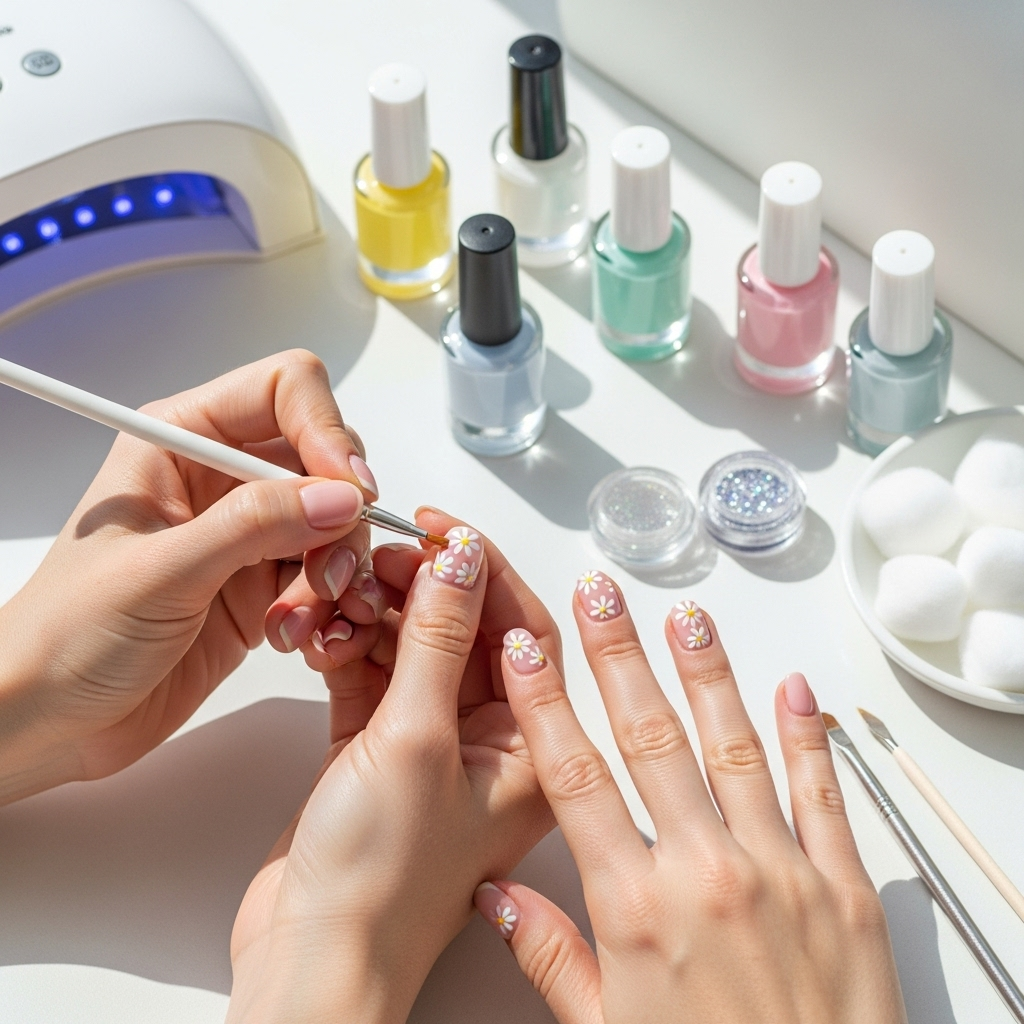
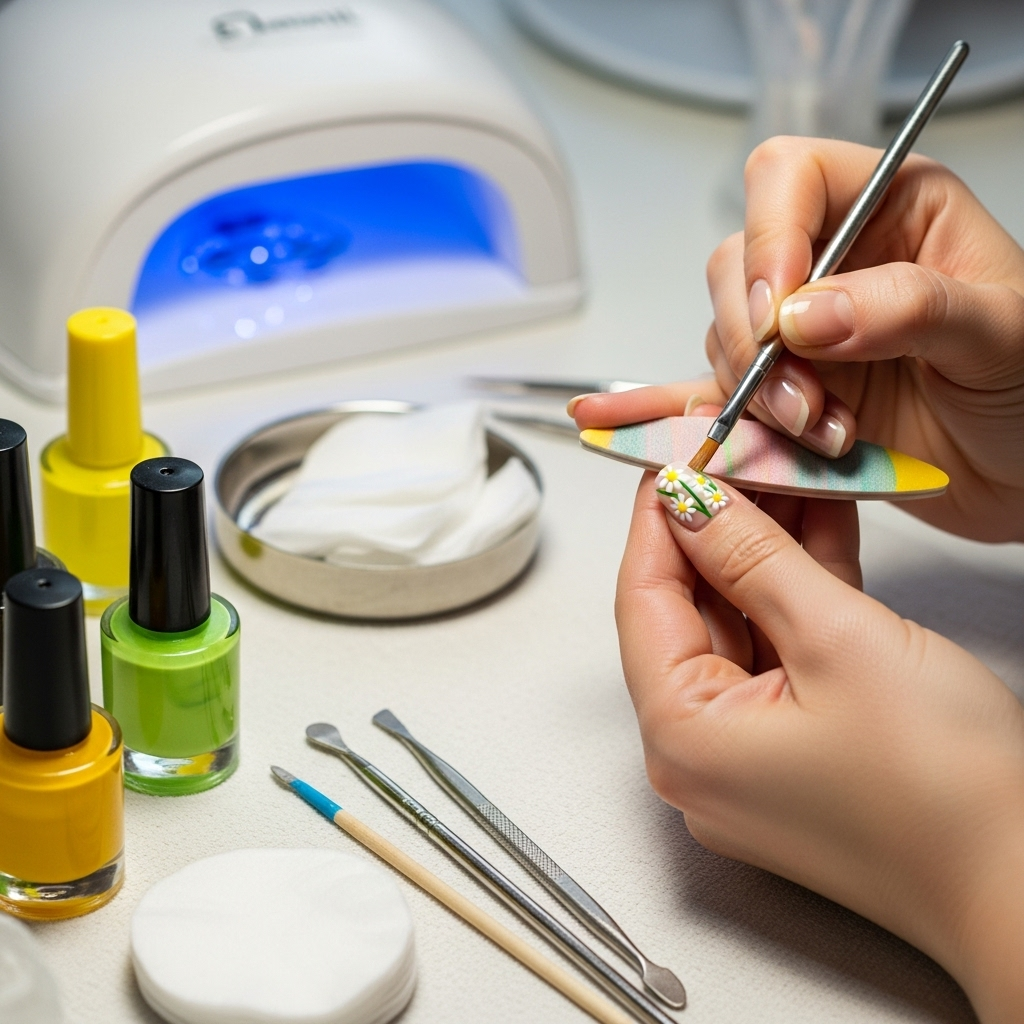
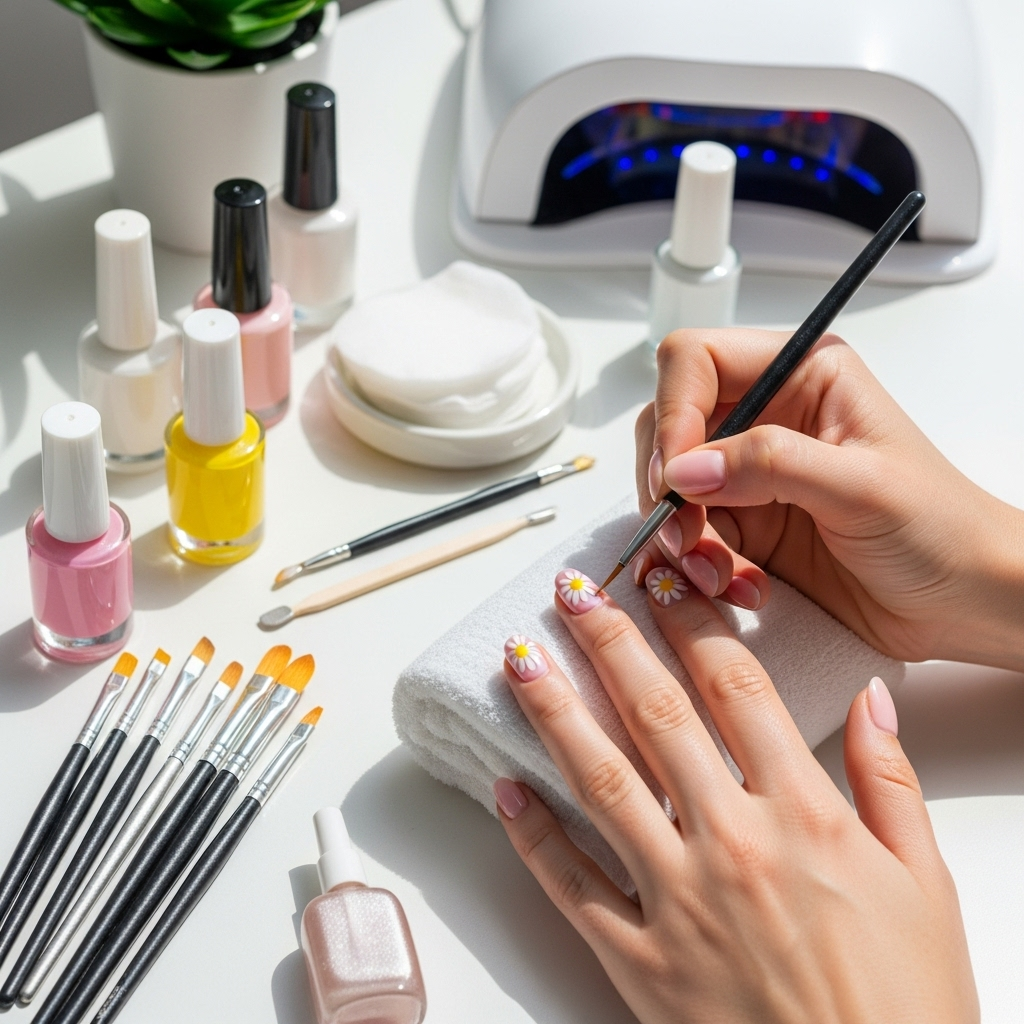
Gathering the right supplies is the first step to any successful nail art project. For a simple daisy design, you don’t need a whole professional kit. Here’s a breakdown of what will help you create your masterpiece:
- Base Coat: Essential for protecting your natural nails and helping polish adhere better.
- Top Coat: Seals your design, adds shine, and makes your manicure last longer.
- Your Chosen Polish Colors:
- A light color for the nail base (white, pale yellow, pastel pink, baby blue, or a sheer nude are great choices!).
- A bright white for the daisy petals.
- A vibrant yellow for the daisy centers.
- Dotting Tool: These come in various sizes. A medium tip is perfect for creating the yellow center of the daisy. If you don’t have one, a ball-point pen tip or even the end of a bobby pin can work in a pinch!
- Fine-Tipped Nail Art Brush (Optional): For drawing the white petals if you prefer brush strokes over dots, or for adding extra details.
- Toothpick (Alternative): Great for creating small dots for the daisy centers if you don’t have a dotting tool.
- Nail Polish Remover and Cotton Swabs: For cleaning up any mistakes—they happen to everyone, so don’t worry!
Having these items handy will ensure a smooth and enjoyable nail art experience. Remember, having the right tools makes all the difference!
Preparing Your Nails for Art
Before you even think about painting, proper nail preparation is key to a salon-worthy finish and a long-lasting design. Think of this as the canvas preparation for your art!
- Cleanse Your Nails: Start with clean, dry nails. Remove any old polish. Wash your hands with soap and water.
- Shape Your Nails: File your nails into your desired shape. Whether it’s square, round, or almond, having neat edges makes painting easier. Always file in one direction to prevent splitting. For more on nail shaping, you can check out resources on proper nail care techniques from organizations like the American Academy of Dermatology.
- Push Back Cuticles: Gently push back your cuticles using an orange stick or cuticle pusher. This creates a cleaner nail surface for your design.
- Buff (Optional): Lightly buff the surface of your nails to smooth out any ridges. This also helps polish adhere better. Be gentle; you don’t want to thin your nails too much.
- Apply Base Coat: Apply one thin layer of your base coat. Let it dry completely. This step is crucial for preventing polish stains and ensuring your manicure’s longevity.
Once your nails are prepped and your base coat is dry, you’re ready for the fun part – the design!
Step-by-Step: Effortless Daisy Nail Design Tutorial

Let’s get creative! This tutorial is designed for ease, so grab your polishes and let’s paint some happy little daisies.
Step 1: Apply Your Base Color
Paint your nails with your chosen base color. This could be a soft pastel, a gentle nude, or even a clear polish if you want the daisies to pop against your natural nail. Apply one or two thin, even coats. Make sure each coat is completely dry before moving on. Patience here prevents smudges!
Step 2: Create the Daisy Centers
Now, let’s add the heart of our daisy! Dip the rounded end of your dotting tool (or a toothpick tip) into your vibrant yellow polish. Carefully place a small dot in the center of your nail. You can place this dot directly on your base color, or if you’re feeling adventurous, you can put it slightly off-center or near the cuticle for a more whimsical look. You can experiment with slightly varying sizes for a more organic feel.
Pro Tip: If you’re using a dotting tool, clean it with polish remover after each dot to keep your lines clean and your yellow bright.
Step 3: Form the Daisy Petals
This is where your daisy comes to life! You have a couple of easy options here:
Option A: Using a Dotting Tool (Beginner Friendly)
- Dip the slightly larger tip of your dotting tool into your white polish.
- Gently press and slightly drag the polish from the edge of the yellow dot outwards to create a petal shape. Think of a small teardrop or a rounded comma stroke.
- Repeat this around the yellow center, creating small white dots or strokes that radiate outwards.
- Aim for 5-7 petals around each yellow center. Don’t worry about perfect symmetry; real daisies aren’t perfectly symmetrical!
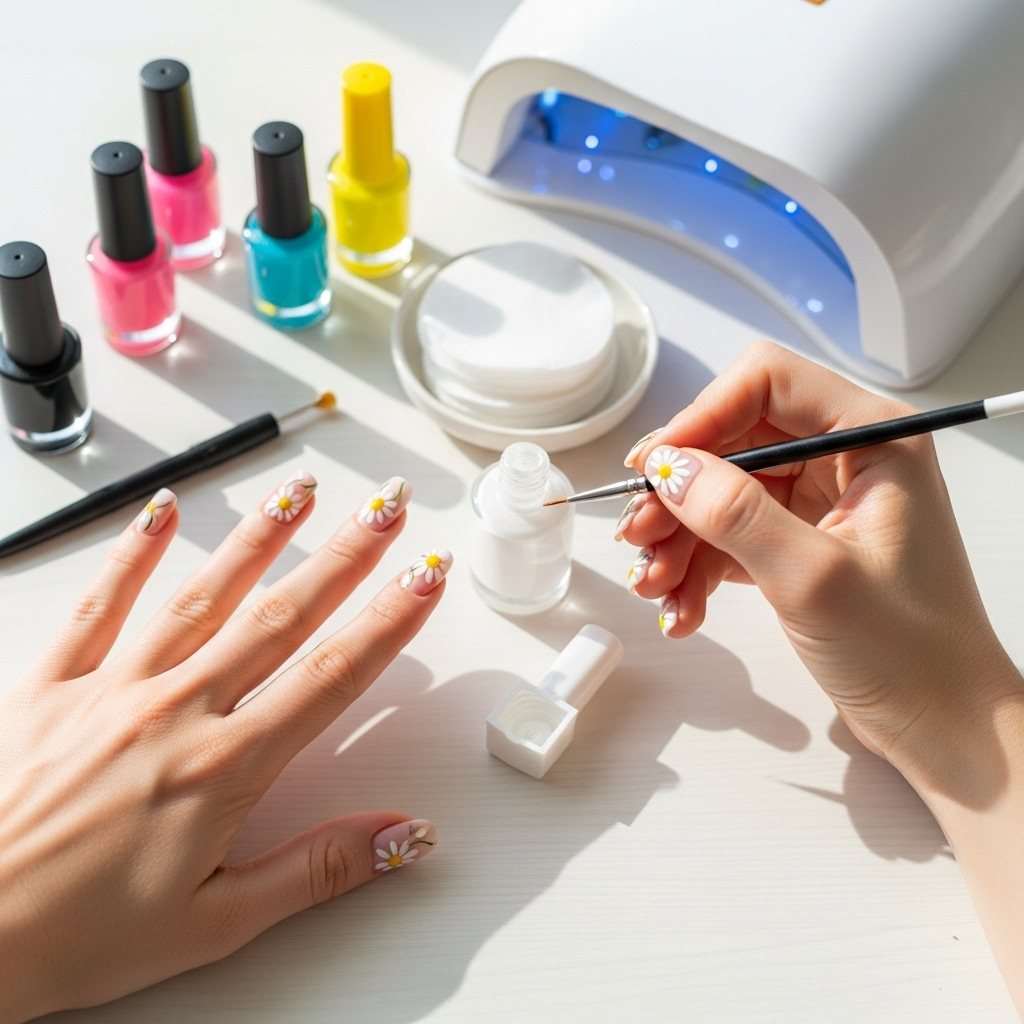
Option B: Using a Fine-Tipped Brush
- Dip your fine-tipped brush into the white polish.
- Start at the edge of the yellow center and gently pull the brush outwards in a small arc to form a petal.
- Continue placing petals around the yellow dot. You can make them more rounded or slightly pointed, depending on your preference.
- Again, 5-7 petals are usually enough to form a recognizable daisy.
Option C: Two-Dot Method (Super Simple!)
- Dip the tip of your dotting tool (or toothpick) into white polish.
- Make a small dot next to the yellow center.
- Pick up a tiny bit more white polish and make another small dot right next to the first one, slightly overlapping or touching.
- Repeat this process, creating a little cluster of white dots around the yellow center that naturally form a petal shape. This method is very forgiving!
Remember to work relatively quickly so the polish doesn’t dry too much, making it harder to connect the petals smoothly. If needed, reload your tool or brush with fresh polish.
Step 4: Adding Details (Optional)
For an extra touch, you can:
- Add a second dot: Place a tiny white dot at the tip of each petal for a highlight.
- Add a tiny green leaf: Use a fine brush and green polish to draw a small leaf shape next to a daisy.
- Outline: Use a black or dark brown fine brush to outline the petals or the yellow center for a more graphic look.
These little additions aren’t necessary but can elevate your design!
Step 5: Apply Top Coat
Once all your daisies are painted and you’re happy with the result, let the polish dry for at least 5 minutes. Then, apply a generous layer of your clear top coat. Cap the edges of your nails by running the brush along the free edge. This is crucial for sealing in the design and preventing chips. Make sure to cover the entire nail, including the painted daisies.
Step 6: Allow to Dry Completely
This is perhaps the hardest part: waiting! Let your nails dry naturally for at least 10-15 minutes before engaging in any activity. Avoid hot water, typing vigorously, or anything that could smudge your beautiful new artwork.
Variations and Creative Ideas
The daisy design is just the beginning! Once you’re comfortable with the basic technique, you can play around and make it your own. Here are some fun variations to try:
Color Play
Who says daisies have to be white? Get creative with your petal colors!
- Pastel Daisies: Use baby pink, lavender, or mint green for the petals.
- Bold Daisies: Try a vibrant fuchsia, electric blue, or sunny orange for a statement look.
- Monochromatic Daisies: Use different shades of a single color for petals and centers.
Base Color Options
Consider how different base colors interact with your daisies:
- Sheer Nudes: For a subtle, elegant look.
- Matte Finishes: Try a matte base or a matte top coat for a sophisticated twist.
- Glitter Bases: A subtle shimmer base can make your daisies sparkle.
Daisy Placement and Pattern
Don’t limit yourself to one daisy per nail!
- Accent Nail: Paint daisies on just one or two nails and leave the rest a solid color.
- Pattern Play: Create a repeating pattern of small daisies all over the nail.
- Size Variation: Mix large and small daisies on the same nail or across different nails.
- Half-Daisy: Paint a daisy appearing to grow from the side of your nail or cuticle.
Adding Accents
Elevate your design with tiny additions:
- Green Leaves: Add small, simple leaves in various shades of green.
- Tiny Berries: A small red or pink dot can suggest berries.
- Glitter Centers: Instead of yellow, use a gold or iridescent glitter polish for the center.
- Outline Magic: A fine line of black, brown, or even a contrasting color around the petals can make them pop.
Tips for Longevity and Maintenance

Want your adorable daisy nails to last as long as possible? Here are some essential tips:
- Always use a top coat: We can’t stress this enough! A good quality top coat is your best friend for durability. Reapply every 2-3 days if needed for extra shine and protection.
- Be gentle: Try to avoid using your nails as tools. Open cans, scrape things, or press hard buttons with your fingertips instead.
- Moisturize: Keep your hands and cuticles moisturized with cuticle oil or hand cream. Healthy cuticles mean healthier-looking nails and polish.
- Wear gloves: When doing chores involving water or cleaning chemicals, wear rubber gloves. These can strip polish and dry out your nails.
- Avoid harsh chemicals: Many cleaning products can damage nail polish.
By following these simple maintenance tips, you can enjoy your daisy nail designs for an extended period, keeping them looking fresh and vibrant.
Troubleshooting Common Daisy Nail Design Issues
Even with the simplest designs, sometimes things don’t go exactly as planned. Don’t let a little oopsie get you down!
| Problem | Solution |
|---|---|
| Dots for centers are too big/small | Use different sized dotting tools or adjust the amount of polish on your tool/brush. For smaller dots, try the very tip of a toothpick. For larger, use a bigger dotting tool end. |
| Petals look messy or uneven | For the dotting tool method, try a slightly firmer press and drag. For the brush method, use less polish on your brush and practice light strokes. Don’t be afraid to use a clean-up brush dipped in nail polish remover to neaten edges. |
| Polish dragged or smudged | Ensure each layer of polish is completely dry before adding the next. A quick blast of cool air from a hairdryer (on a cool setting, held at a distance) can help speed up drying time between layers. |
| Design doesn’t stick or flakes off quickly | This usually means your base coat wasn’t fully dry, or you skipped it altogether. Ensure your base coat is dry, and always use a good quality top coat, remembering to cap the free edge of your nail. |
| Color bleeding occurs | This can happen if you apply polish too thickly or if the layers underneath aren’t fully dry. Use thin coats and allow ample drying time between each. |
Remember, practice makes perfect! Every attempt is a learning experience, and even “imperfect” daisies have their own unique charm.
FAQ: Your Daisy Nail Design Questions Answered

Q1: Do I need special nail art polish for this tutorial?
A: Not at all! Standard nail polishes work perfectly fine for this daisy nail design tutorial. You just need a good brush or a dotting tool to apply them.
Q2: How long will my daisy nail design last?
A: With a good base coat, careful application, and a strong top coat, your daisy nails can last anywhere from 7 to 14 days. Reapplying the top coat every few days can help extend their life.
Q3: My yellow centers keep looking messy. What can I do?
A: Try using the very tip of your dotting tool or toothpick and picking up just a small amount of polish. Press gently and lift straight up. If it’s still messy, you might be using too much polish. Don’t forget to clean your tool after each dot!
Q4: Can I do this on my toenails too?
A: Absolutely! The exact same technique applies to toenails. They can be a fun way to add a touch of spring to your pedicures.
Q5: What if I don’t have a white polish? Can I use a different color for the petals?
A: Yes! While white is classic, feel free to use any color you like for the petals. Pastels, brights, or even metallics can create beautiful daisy variations.
Q6: How do I avoid getting polish on my skin?
A: The best way is to be precise. Polish the edge of the nail by holding your brush or tool slightly away from the cuticle. For any spills, a small brush (like an old fine eyeliner brush) dipped in nail polish remover is perfect for cleaning up edges cleanly. You can also apply a thin layer of white glue or liquid latex around your cuticles before painting and peel it off once done.
Q7: Is this design suitable for extremely short nails?
A: Yes, it is! For very short nails, focus on creating smaller daisies. A single, small daisy near the tip or center of the nail can look incredibly chic without overcrowding the nail bed.
Conclusion
There you have it – a simple, yet stunning daisy nail design tutorial that’s perfect for beginners and seasoned nail art lovers alike! We’ve walked through everything from gathering your tools to mastering the petal strokes, ensuring you feel confident and capable of recreating this effortless style. Remember, nail art is all about self-expression and having fun. Don’t be afraid to experiment with colors, placements, and techniques to make these daisies uniquely yours.
Whether you opt for classic white and yellow or a bolder, more vibrant interpretation, daisy nails bring a touch of natural beauty and cheer to any day. So, grab your polishes, gather your tools, and let your creativity bloom. You’ve got this, and your fingertips are about to look absolutely delightful!
