Leopard print nail art is surprisingly easy! This tutorial breaks down creating chic, effortlessly cool leopard spots on your nails. You’ll learn simple techniques, essential tools, and quick tips to achieve salon-worthy results at home, even if it’s your first time trying nail art. Get ready for a stylish mani that’s sure to turn heads!
Hey nail lovers! Lisa Drew here from Nailerguy, ready to dive into one of the most iconic and fun nail art trends: leopard print! Ever look at those fabulous spotted nails and think, “There’s no way I can do that”? I get it! Many assume intricate nail art is only for the pros. But guess what? Leopard print is one of the most beginner-friendly designs out there, and it always looks incredibly chic. We’re talking about a look that’s wild, stylish, and surprisingly simple to achieve right at your own vanity. No complicated tools, no hours of painstaking work. Just pure, unadulterated nail art fun! Ready to unleash your inner fashionista and create a statement mani that’s uniquely you? Let’s get those paws ready!
Unleash Your Wild Side: The Genius of Leopard Print Nails
Leopard print is more than just a pattern; it’s a statement of confidence and a timeless fashion staple. From runways to everyday accessories, this spotted design adds an instant touch of glamour and a hint of playful rebellion. And the best part? Applying it as nail art is much more accessible than you might think. Unlike super detailed patterns, leopard spots often rely on loose, organic shapes, making them forgiving and allowing for plenty of personal flair. This tutorial is designed to demystify the process, giving you the confidence and the exact steps to create stunning leopard print nails that look like you just stepped out of a high-end salon.
What You’ll Need: Your Leopard Print Nail Art Toolkit
The beauty of mastering leopard print is that you don’t need a sprawling collection of fancy brushes. With just a few key items, you’ll be well on your way. Having the right tools makes the process smoother and the results cleaner. Think of this as your essential starter pack for wild nails!
Here’s what we’ll be using:
- Base Coat: To protect your natural nails and help polish adhere better.
- Your Desired Nail Polish Color: This will be the background for your spots. Think classic neutrals like beige, cream, tan, or even bold colors if you’re feeling adventurous!
- Leopard Spot Colors: Typically black is used for the spots, but deep browns, dark grays, or even burgundy can create a sophisticated twist. You’ll likely need a second, slightly lighter shade for outlining if you choose that method.
- A Fine-Tipped Nail Art Brush OR a Toothpick/Dotting Tool: This is your main tool for creating the spots and outlines. A brush gives more control, while a toothpick or dotting tool can create a more organic, slightly imperfect look, which is perfect for leopard print!
- Top Coat: To seal your design, add shine, and make your manicure last longer.
- Clean-up Brush/Cotton Swabs: For tidying up any stray polish around your cuticles. A small brush dipped in nail polish remover works wonders.
- Nail Polish Remover: For those inevitable little oopsies.
Choosing the right base color really sets the mood. For a classic look, creamy beiges and soft browns are your best bet. If you want something more modern, try a dusty pink, a muted teal, or even a sophisticated gray. The possibilities are endless, and this is where you can truly let your personality shine!
Step-by-Step: Your Effortless Leopard Print Nail Art Guide
Alright, let’s get down to business! This method is designed to be super simple, focusing on creating those iconic leopard spots without any fuss. We’re aiming for a look that’s chic and achievable, even if you’ve never picked up a nail art brush before. Remember to take your time and enjoy the process!
Step 1: Prep Your Canvas – The Foundation is Key
Before any color goes on, proper nail prep is crucial for a smooth finish and a long-lasting manicure. This means:
- Start with clean, dry nails. Remove any old polish.
- Gently push back your cuticles. Avoid cutting them to prevent damage.
- If your nails are uneven, a light buffing can help.
- Apply a thin layer of your favorite base coat. Let it dry completely (about 1-2 minutes). This step is non-negotiable for healthy-looking nails and polished results!
Step 2: Lay Down the Base Color – Your Leopard’s Playground
Now for the fun part: painting your nails! Apply two thin coats of your chosen base color. Why two? One coat often looks streaky, and two thin coats dry faster and look much smoother than one thick blob. Between coats, ensure the previous one is mostly dry to avoid smudging. Let the second coat dry thoroughly before moving on. Patience here is a virtue that pays off in a flawless finish!
Step 3: Dotting the Spots – The Heart of the Design
This is where the leopard magic happens! You have two main approaches here, and both are super easy:
Method A: The Freehand Dot & Outline (Most Popular)
This is the classic way to get that leopard look. It’s all about imperfect, organic shapes.
- Dip Your Tool: Get a tiny amount of your “spot” color (usually black or dark brown) onto your fine-tipped brush, toothpick, or the tip of your dotting tool. You want just enough to make a small dot, not a big blob.
- Create Irregular Dots: Lightly dab irregular-shaped dots all over your nail. Vary the size and placement. Think of them as small, imperfect splotches rather than perfect circles. Don’t aim for symmetry; leopard print is naturally chaotic! Imagine a few larger irregular shapes and then some smaller ones scattered around.
- Let Them Dry (Slightly): Allow these initial spots to dry for a minute or two. They don’t need to be bone dry, but you don’t want them to smudge when you add the outline.
- Outline the Spots: Now, take your brush or toothpick with a tiny bit of your spot color (or an even darker shade for contrast). Carefully outline some of the dots, leaving gaps. You’re not drawing a full circle; you’re making C-shapes, U-shapes, or incomplete circles. Some spots might get a double outline, some just a single curved stroke, and some might be left completely un-outlined. This imperfection is key to the authentic leopard look!
Method B: The “Stamp” or Dapple Technique (Super Quick!)
This method is even faster and great if you struggle with fine lines. It creates a softer, more diffused leopard spot.
- Dip Your Tool: Load your brush or toothpick with your spot color.
- Create “Blobs”: Instead of dots, create small, irregular “blobs” or splotches of color scattered across your nail. Don’t worry about perfect shapes.
- Outline (Optional, but Recommended): While the blobs are still a little wet, use a very fine brush or toothpick with your outline color. Lightly tap or gently drag the edge of the outline color around the edges of some of the blobs. This creates a softer, more blended effect, mimicking the natural gradients of a leopard’s spots. You can also add a few random, smaller dots in this color around the larger blobs.
Whichever method you choose, remember the guiding principle: imperfection is perfection! Real animal prints are never uniform. The variation in spot size, shape, and outline density is what makes it look so natural and stylish.
Step 4: Add a Second Spot Color (Optional, for Depth)
For a more realistic and dimensional leopard print, you can add a second color. This is especially effective with Method B, but can work with Method A too.
After your main spots and outlines have dried a bit, take a very small amount of a slightly lighter shade of your spot color (e.g., a medium brown over black spots on a beige background) on a fine brush or toothpick. Gently tap this second color into the centers of some of the larger spots, or create smaller, lighter “shadow” spots next to some of the darker ones. This adds depth and makes the print look less flat. Blend gently if needed.
Step 5: Clean Up Your Edges
Now it’s time for that pristine finish. Dip a small, stiff brush (an old eyeliner brush works perfectly) or a cotton swab into nail polish remover. Carefully trace around your cuticles and sidewalls to remove any stray polish. This step instantly elevates your nail art from DIY to pro-level and makes a HUGE difference!
For the cleanest results, ensure your brush or swab is damp with remover, not soaking wet, and hold it at a slight angle to your skin. Rotate the brush/swab as you clean to use a fresh surface. Websites like NailCareGuide.com offer further tips on cuticle care and cleanup techniques.
Step 6: Seal the Deal with Top Coat
Once your design is completely dry and all your cleanup is done, it’s time for the grand finale: the top coat! Apply a generous layer of your favorite shiny top coat over your entire nail, making sure to cap the free edge (paint a little along the tip of your nail). This seals in your design, protects it from chipping, and gives you that beautiful glossy finish that makes leopard spots pop. Let it dry completely.
And there you have it! Fierce, fabulous leopard print nails created by YOU!
Pro Tips for Leopard Print Perfection
Want to take your leopard print game to the next level? Here are a few insider tips:
- Practice Makes Perfect: Don’t be discouraged if your first attempt isn’t exactly what you envisioned. Grab a piece of paper and practice drawing dots and outlines with polish until you get the hang of it.
- Color Combinations: While black and brown on a neutral are classic, try experimenting! Pink and black, blue and gold, or even metallic accents can create stunning variations.
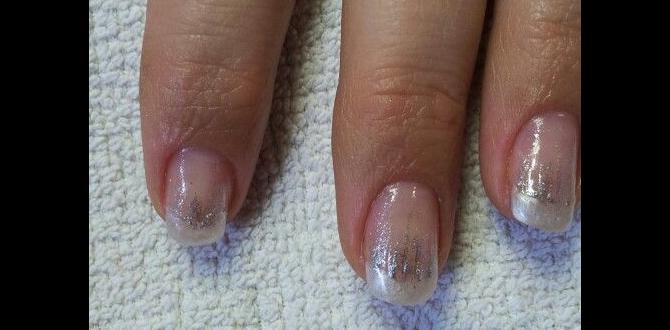
- Negative Space Leopard: For a super chic and modern twist, try doing the leopard print design on a clear or nude base coat, only applying the spots and outlines. It’s incredibly minimalist and stylish.
- Small vs. Large Spots: For shorter nails, smaller spots tend to look better. For longer nails, you can play with both small and larger spots.
- Tool Hygiene: If you’re using a brush, clean it thoroughly with nail polish remover after each color and before switching to another to prevent color mixing.
- Drying Time is Crucial: Resist the urge to rush! Ensure each layer is adequately dry before applying the next. This is the golden rule of preventing smudges and blobs.
Leopard Print Nail Art: Variations to Explore
Once you’ve mastered the classic leopard print, why stop there? This versatile pattern lends itself to endless creative interpretations. Here are a few ideas to keep your nail art exciting:
1. Mini Leopard Spots
Perfect for dainty nails or a more subtle look. Use a very fine brush or the very tip of a toothpick to create tiny, irregular dots. Outline them with even finer strokes. This offers a delicate take on the bold print.
2. Rainbow Leopard
Swap out your traditional spot colors for vibrant hues! Use rainbow-colored dots and outlines over a white or black base. This is a fun, playful option for summer or whenever you need a pop of color.
3. Monochrome Leopard
For a sophisticated, edgy vibe, go for black and white or shades of gray. Black spots with gray outlines on a white base, or vice versa, create a graphic and modern look.
4. Metallic Leopard
Uplevel your print by using metallic polishes! Gold, silver, rose gold, or bronze spots and outlines on a contrasting matte or glossy base can look incredibly luxurious.
5. Accent Nail Leopard
Not ready to commit to leopard spots on all your fingers? No problem! Designate one or two accent nails with the leopard print and leave the rest in a solid coordinating color. This is a fantastic way to add a trendy touch without overwhelming your manicure.
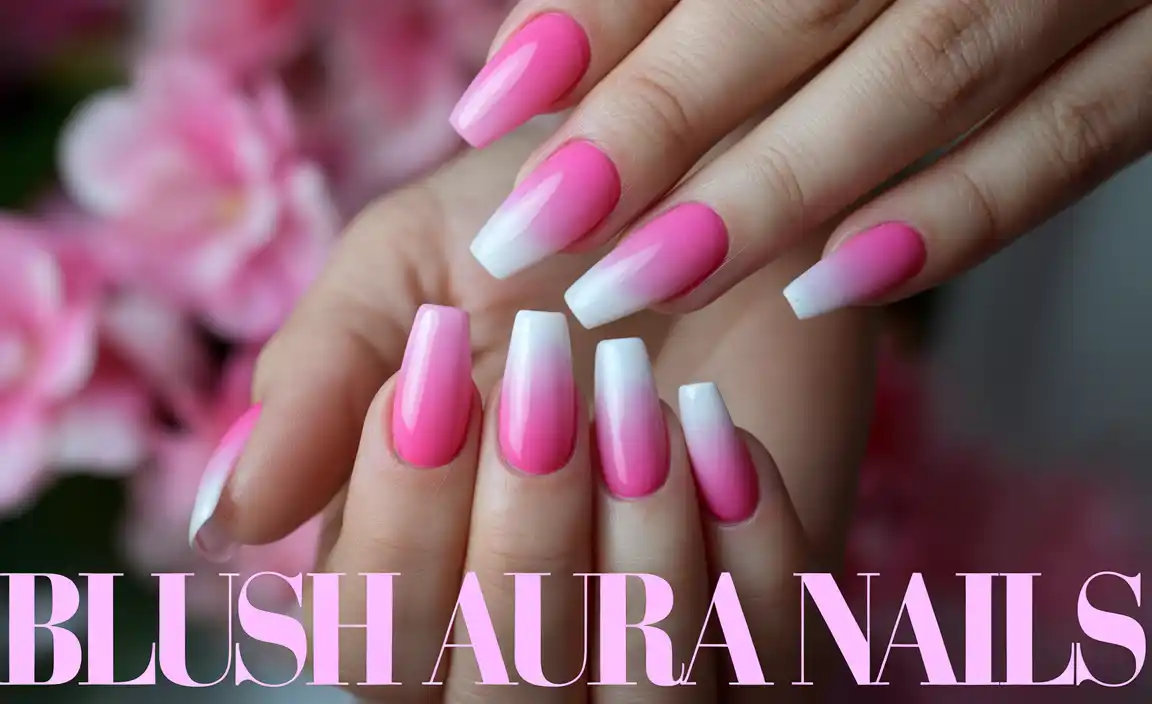
6. Gradient Leopard
Create a subtle ombre effect by blending your base color (e.g., from nude to pink) and then applying leopard spots over the top. The gradient adds an extra layer of visual interest.
Troubleshooting Common Leopard Print Nail Art Issues
Even with a simple design like leopard print, sometimes things don’t go exactly as planned. Don’t worry, these are common hiccups, and they have easy fixes:
Issue: Spots are too perfect/uniform.
Solution: Embrace imperfection! Redraw some dots to be smaller, larger, or more jagged. For outlines, make them incomplete – C-shapes, U-shapes, or just a curved line. The key is asymmetry and varied shapes.
Issue: My outlines are messy.
Solution: This is where your clean-up brush and nail polish remover come in! Dip a small, stiff brush in remover and carefully carve out clean lines around your messy spots. It’s like an instant eraser for nail art!
Issue: The colors are muddying together.
Solution: Ensure adequate drying time between applying the base spots and the outlines. If using multiple spot colors, clean your brush or toothpick meticulously between each color application. A quick wipe on a lint-free cloth or paper towel after each dab can help remove excess polish.
Issue: My dots are too big and blobby.
Solution: Use less polish on your tool! For toothpicks, dab off most of the excess on the bottle neck before touching your nail. For brushes, load only the tip. If you’ve already made a blob, you can sometimes gently stretch or thin it out with your clean brush before it dries completely, or just commit to it and make other spots varied in size!
Issue: The print doesn’t look “leopardy” enough.
Solution: Look at reference images! The characteristic leopard look often involves irregular, elongated spots with fragmented outlines. Try varying the density – some areas can have more spots than others. Adding a contrasting outline color or a second, lighter shade within the spots can also enhance the animalistic feel.
For more in-depth discussions on nail health and product safety, resources like the U.S. Food & Drug Administration’s Cosmetics information page can be very informative.
Leopard Print vs. Other Animal Prints: A Quick Comparison
Leopard print is incredibly popular, but it’s not the only animal-inspired nail art out there! Here’s a quick look at how it compares to other common animal prints:
| Print Type | Key Features | Best For Beginners? | Typical Colors | Effort Level |
|---|---|---|---|---|
| Leopard | Irregular spots, often with curved or incomplete outlines. Varying spot sizes. | Very Easy | Browns, blacks, tans, creams. | Low |
| Cheetah | Solid, small black spots, sometimes with single, thin outlines. More uniform than leopard. | Easy | Yellows, oranges, browns, with black spots. | Moderate |
| Zebra | Bold, straight, vertical stripes. | Moderate | Black and white. | Moderate |
| Cow Print | Patches with irregular, often rounded edges, resembling cowhide. Usually involves two colors with a distinct outline. | Easy to Moderate | White/cream with black or brown patches. | Moderate |
| Snake/Alligator Skin | Hexagonal or diamond shapes creating a scaled or textured look. | Difficult | Greens, browns, grays, tans. | High |
As you can see, leopard print stands out for its beginner-friendliness and classic appeal. The forgiving nature of its spots means you can achieve a stylish result without needing advanced artistic skills.
Frequently Asked Questions About Leopard Print Nail Art
Q1: Can I really do leopard print nail art with just a toothpick?
A: Absolutely! A toothpick is one of the best tools for creating leopard spots. The tip is perfect for dabbing (for the spots) and drawing fine lines (for the outlines). Just be sure to

