For gothic nail designs explained, think dark, dramatic, and daring! This guide breaks down the mystique of these captivating looks, from classic black to intricate details. Learn the essential elements, easy DIY techniques, and how to rock your dark side with confidence. Perfect for beginners wanting to explore this bold style!
Feeling a little drawn to the darker side of beauty? Gothic nail designs are a fantastic way to express your unique style, and they’re totally achievable, even if you’re new to nail art! Forget complicated steps – we’re going to show you how to create stunning gothic looks with ease. You might think gothic nails are all about plain black polish, but there’s so much more to explore. We’ll dive into the core elements, essential tools, and simple techniques that will have you mastering these intriguing designs in no time. Get ready to unleash your inner artist and embrace the allure of gothic nails!
Ready to get started? We’ll cover everything from choosing the right shades to adding those signature gothic touches. Let’s dim the lights and get creative!
What Exactly Are Gothic Nail Designs?
Gothic nail designs are all about embracing a dramatic, mysterious, and often edgy aesthetic. Think of deep, rich colors, intricate details, and a touch of the unconventional. While traditionally associated with the color black, gothic style has expanded to include deep reds, purples, blues, and even contrasting metallics against dark backdrops.
These designs often incorporate symbolism and imagery that evoke a sense of romance, mystery, and individuality. It’s a style that’s less about following fleeting trends and more about personal expression and a timeless, captivating aura.
Key Elements of Gothic Nail Designs
What makes a nail design scream “gothic”? It’s a combination of specific elements that work together to create that signature look. Don’t worry if you’re just starting; understanding these basics will make choosing and creating your designs so much simpler.
- Dark Color Palettes: The foundation of most gothic nails is deep, rich hues. Black is the undisputed king, but shades like deep burgundy, midnight blue, forest green, dark plum, and charcoal gray are equally iconic.
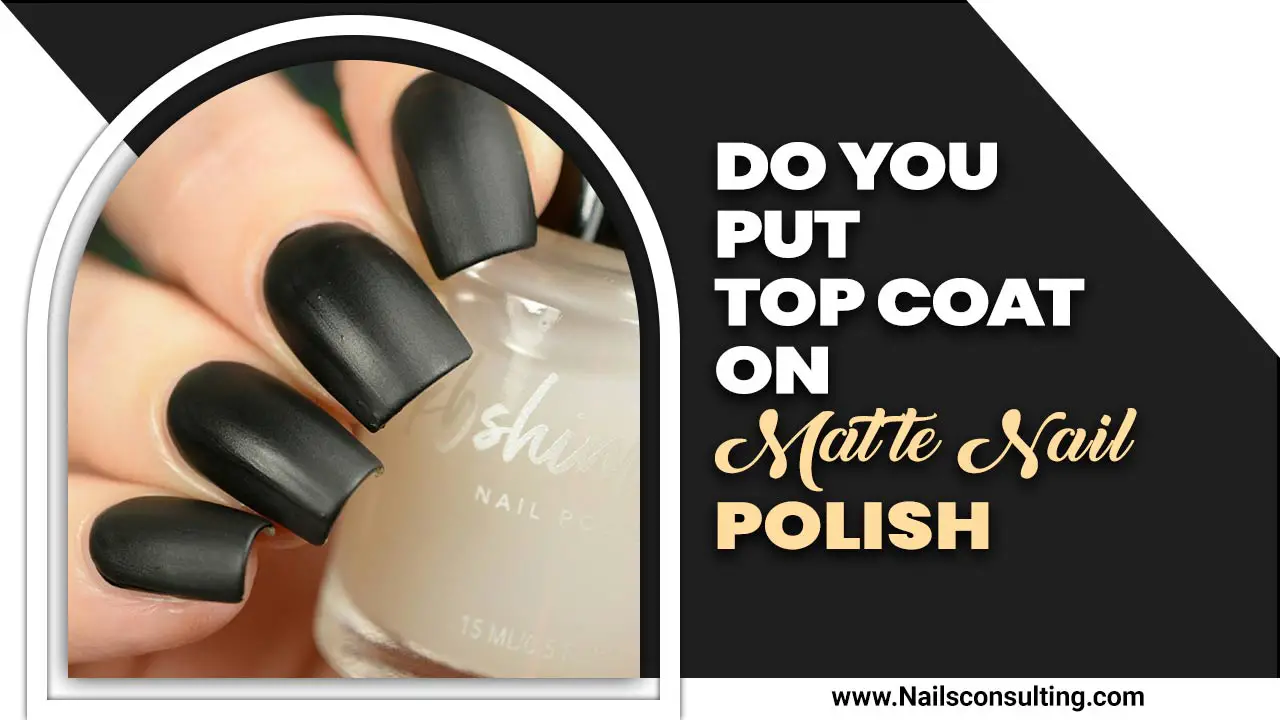
- Matte Finishes: While glossy finishes are always an option, matte topcoats can add a sophisticated, velvety depth to dark polishes, enhancing the gothic mood.
- Intricate Details & Motifs: This is where the artistry comes in! Think subtle lace patterns, delicate filigree, spiderwebs, bats, skulls, crosses, moons, stars, or Victorian-inspired scrollwork.
- Metallic Accents: Silver, gold, or even iridescent accents – like foil tape, glitter, or metallic polishes used for detailing – can provide a striking contrast against dark backgrounds.
- Texture: Sometimes, a bit of textural play can elevate a gothic design. This could involve flocking powder for a velvet effect, fine glitter, or even small embellishments like studs or charms.
- Nail Shape: While not strictly a design element, certain nail shapes often complement gothic aesthetics. Almond, stiletto, and coffin (or ballerina) shapes can enhance the dramatic feel. However, you can achieve a gothic look on any nail length and shape!
Essential Tools for Gothic Nail Designs
You don’t need a professional salon setup to create amazing gothic nail art! A few key tools can make a world of difference. Here are some essentials that will help you bring your dark visions to life:
| Tool | Description | Why You Need It for Gothic Nails |
|---|---|---|
| Nail Files & Buffers | Used for shaping nails and smoothing the nail surface. | Essential for creating clean lines and a smooth canvas, especially for dramatic shapes like stilettos. A buffer helps polish adhere better. |
| Base Coat | A protective layer applied before colored polish. | Prevents dark polish from staining your natural nails (a must for deep colors!) and helps polish last longer. |
| Top Coat (Glossy & Matte) | Seals the polish and adds shine or a non-shiny finish. | A glossy top coat enhances depth, while a matte top coat is perfect for achieving that signature gothic velvety look. |
| Detail Brushes (Fine-tip) | Small brushes with very fine bristles for intricate lines and designs. | Crucial for drawing delicate details like spiderwebs, filigree, or fine lines. Look for a set with various tip sizes. A great resource for understanding brush care can be found on sites like the National Park Service’s (NPS) articles on art fundamentals, which often touch upon brush strokes and precision applicable here. |
| Dotting Tools | Tools with small balls at the end for creating dots and small circular designs. | Perfect for creating intricate patterns, tiny embellishments, or a cluster of dots like a subtle texture. |
| Tweezers | For picking up and placing small embellishments like studs or rhinestones. | Essential for precise placement of glitter, studs, or tiny charms that add a gothic flair. |
| Nail Polish Remover & Cotton Pads | For cleaning up mistakes and removing polish. | Mistakes happen! Quick and clean removal is key to maintaining a polished look. |
| Optional Embellishments | Rhinestones, glitter, studs, foil tape, nail decals. | These are your secret weapons for adding that extra layer of gothic drama and texture. So many options to explore! |
Beginner-Friendly Gothic Nail Design Ideas (with Simple Steps!)
Ready to dive in? Let’s start with some super accessible gothic nail designs that even total beginners can master. We’ll focus on techniques that give you maximum impact with minimal fuss.
1. The Classic Moody Monochrome
This is the ultimate beginner gothic look. It’s chic, sophisticated, and undeniably dark. All you need is a great dark polish and a matte top coat.
Steps:
- Prep Your Nails: Start by ensuring your nails are clean, dry, and shaped. Apply a good base coat to protect your nails from staining.
- Apply Dark Polish: Choose your favorite deep shade – black, deep purple, or navy are perfect. Apply two thin coats for full, even coverage. Allow each coat to dry completely.
- Add the Matte Magic: Once your polish is dry, apply a matte top coat over your entire nail. This instantly transforms the finish, giving it a sophisticated, velvety depth.
- Optional Detail: For a subtle touch, use a fine-tip brush and a metallic polish (like silver or gunmetal) to paint a single thin line at the tip of one or two nails, or draw a tiny dot near the cuticle.
2. Subtle Spiderweb Accent
Spiderwebs are an iconic gothic motif, and you can create them surprisingly easily! This design focuses the web on one or two accent nails, keeping it simple yet effective.
Steps:
- Base Polish: Apply your base coat, then your chosen dark color polish (black, deep grey, or even a dark red) to all nails. Let it dry fully.
- Prepare Accent Nail: On one or two accent nails (like your ring fingers), you can apply a contrasting color if you like, or stick with the base color. Ensure it’s dry.
- Draw the Web Lines: Using a fine-tip detail brush and white or silver polish (or even a contrasting dark shade like deep purple on black), carefully draw a few radiating lines from the center of the nail towards the edges, like spokes on a wheel. Don’t worry if they aren’t perfectly straight!
- Connect the Lines: Go back with the same fine brush and polish and draw short, curved horizontal lines connecting the radiating spokes. Start near the cuticle and work your way up. This creates the web effect.
- Clean Up and Seal: Use a small brush dipped in nail polish remover to clean up any stray lines around the edges. Once you’re happy with the web, apply a top coat over all nails to seal the design. A glossy top coat works well here to make the web pop.
3. Glitter Gradient with a Dark Base
A glitter gradient adds a touch of sparkle and drama that perfectly suits the gothic aesthetic. It’s more about blending than precise application, which is great for beginners!
Steps:
- Base and Dark Polish: Apply your base coat and then two coats of a dark polish (black, deep blue, charcoal) to all nails. Let it dry.
- Prepare for Glitter: On your accent nails (or all nails, if you’re feeling bold!), apply a layer of your dark polish or a clear polish where you want the glitter to be. This acts as the “glue” for the glitter.
- Apply Glitter: While the polish is still wet, gently tap a dark, chunky glitter (like black with holographic flecks, gunmetal, or deep red glitter) onto the tip or cuticle of your accent nail. Use a brush or a sponge. You can concentrate more glitter at the tip and blend it upwards, or apply it just at the free edge.
- Build the Gradient: For a smoother transition, use a makeup sponge or a flattened brush to gently tap and blend the glitter upwards into the dark polish. Work in thin layers. You can also add a second, finer glitter over the top for a multi-dimensional effect.
- Seal the Sparkle: Once the glitter is dry and you’re happy with the gradient, apply a thick, smoothing top coat. You might need two coats of top coat to fully encapsulate the glitter and create a smooth surface. A regular glossy top coat works beautifully here.
4. Victorian Lace Stamping
Nail stamping can seem intimidating, but with the right plates and technique, it’s a fantastic way to add intricate detail. Victorian lace patterns are perfect for a gothic vibe.
Steps:
- Base Color: Apply your base coat and then two coats of a dark nail polish (black, deep burgundy, or navy). Let it dry completely.
- Prepare for Stamping: Ensure your stamping polish (usually a highly pigmented polish or a dedicated stamper polish – white or silver are great for contrast) is ready. Have your stamper and scraper tool handy.
- Load the Stamping Plate: Apply a generous amount of your stamping polish over the chosen lace design on a metal stamping plate.
- Scrape and Stamp: Immediately scrape off the excess polish with your scraper tool at a 45-degree angle. Then, quickly press the stamper onto the plate to pick up the design.
- Transfer to Nail: Carefully roll or press the stamper onto your nail. Aim for a smooth, even transfer. If any polish gets on your skin, you can clean it up later with a small brush dipped in nail polish remover.
- Seal the Design: Once the stamped design is dry (stamping polish dries very fast!), apply a top coat. Be gentle with the top coat – too much pressure can smudge the stamped image. A quick dabbing motion can help.
Pro Tip: For nail stamping, using a stamper that has a slightly softer head can make transfers easier. Many beginner-friendly stamping kits are available online.
Taking Your Gothic Nails to the Next Level
Once you’ve got the basics down, you can start experimenting with more advanced techniques and elements to create truly show-stopping gothic nail designs. Don’t be afraid to play and see what you love!
Using 3D Embellishments
Adding studs, rhinestones, pearls, or even small charms can dramatically elevate a gothic design. Think tiny silver spikes on the tips of stilettos, a cluster of black rhinestones near the cuticle, or a small metallic accent at the base of the nail.
- Placement: Use tweezers for precise placement. Apply a tiny dot of strong nail glue or a thick top coat where you want to place the embellishment.
- Securing: Once the embellishment is in place, gently press it down. Then, carefully apply a top coat around the edges of the embellishment, avoiding covering its surface, to help secure it. For larger or heavier elements, strong nail glue is recommended.
Exploring Ombre and Blending
Gothic ombres can be stunning. Imagine a gradient from a deep black to a dark blood red, or from a midnight blue to a shimmering silver. This can be achieved with a makeup sponge for a smooth transition.
- Technique: Apply your base colors side-by-side (or layered) onto a makeup sponge. Gently dab the sponge onto your nail, layering the colors until you achieve your desired blend. Clean up any excess around the nail.
Incorporating Negative Space
Negative space, also known as “skinny dipping” or leaving parts of the natural nail bare, can add a modern, edgy twist to gothic designs. Think about a black polish design against a clear nail base, or a fine black line running down the center of a bare nail.
- How-to: This often involves using striping tape or freehand painting on a clear or nude base before applying darker colors to specific sections. It requires precision but offers a very sophisticated result.
Playing with Texture
Beyond matte finishes, consider adding texture. Flock powder can create a velvety effect – imagine a black velvet accent nail. Fine holographic glitter can give a subtle shimmer that catches the light beautifully, adding depth without being over the top.
For more information on nail care and maintenance that keeps your nails healthy for any design, the American Academy of Dermatology Association provides excellent guidelines.
Nail Shape and Gothic Style
While you can rock gothic designs on any nail shape, some shapes naturally lend themselves to the dramatic aesthetic. Experimenting with shape can really enhance your overall gothic look.
| Nail Shape | Gothic Vibe | Best For |
|---|---|---|
| Almond | Elegant, sophisticated, elongating. | A classic gothic look that’s flattering on many fingers. Great for delicate details and sharper tips. |
| Stiletto | Daring, fierce, dramatic. | The ultimate statement nail. Pairs perfectly with bold, sharp gothic designs. Requires longer or enhanced nails. |
| Coffin/Ballerina | Modern, edgy, sharp. | A very popular choice for gothic styles, offering a clean, sharp canvas. Works well with graphic designs and intricate patterns. |
| Square/Squoval | Classic, strong, grounded. | A more practical shape that still allows for gothic artistry. Great for simpler, bolder designs and solid dark colors. |
| Round | Soft, subtle, minimalist. | Even round nails can embrace gothic elements with dark colors and subtle accents like a single glitter detail. |
Maintaining Your Gothic Manicure
Keeping your dark designs looking fresh and fabulous is key. Here are some tips to make your gothic manicure last:
- Seal Properly: Always use a good quality top coat. For glitter designs or those with embellishments, a thicker, smoothing top coat might be necessary to create an even surface and prevent snags.
- Reapply Top Coat: Every 2-3 days, reapply a thin layer of top coat to refresh the shine (or matte finish) and protect the design.
- Be Mindful: Dark polishes can stain. Wear gloves when cleaning or doing anything that might expose your nails to harsh chemicals.
- Moisturize: Keep your hands and cuticles hydrated. Dry skin can detract from even the most stunning nail art. Use a good cuticle oil daily.
- Avoid Chipping Hotspots:

