Gel nail designs tutorial: Essential & Effortless. Learn simple, beautiful gel nail art step-by-step. We cover essential tools, easy techniques, and upkeep for stunning at-home manicures perfect for beginners.
Have you ever admired those perfectly polished, long-lasting manicures and wished you could achieve that salon-quality look at home? Gel nails offer incredible durability and shine, but creating beautiful designs can seem a bit intimidating at first. Don’t worry, it’s totally achievable! Many people feel overwhelmed by the specialized tools and techniques, thinking it’s only for professionals. But with the right guidance, you can master simple, stunning gel nail designs that express your personal style.
This guide is designed to take the confusion out of gel nail art. We’ll walk you through everything you need to know, from the basic supplies to creating eye-catching designs, all in an easy-to-understand way. Get ready to unlock your inner nail artist and create gorgeous gel manicures that will turn heads!
[h2]Why Gel Nails for Easy Designs?[/h2]
[p]Gel polish is a fantastic choice for DIY nail art, especially for beginners. Unlike traditional nail polish, gel cures under a UV or LED lamp, making it instantly dry and smudge-proof. This means you have more flexible working time to perfect your designs without worrying about accidental smudges. The smooth, hard finish of gel also provides a perfect canvas for intricate details and creates a glossy, chip-resistant manicure that can last for weeks. This durability makes it a smart choice for busy individuals who want their nails to look great without constant touch-ups.[/p]
[h2]Your Essential Gel Nail Toolkit: What You Need to Start[/h2]
[p]Before we dive into dazzling designs, let’s gather your essential tools. Having the right supplies makes the whole process smoother and more enjoyable. Think of this as your starter kit for creating professional-looking gel nails at home![/p]
[h3]Must-Have Gel Nail Products:[/h3]
[ul]
[li]Gel Base Coat: This creates a smooth surface for your color and helps it adhere better to your natural nail.[/li]
[li]Gel Color Polish: Choose your favorite shades! You can start with just one or two to practice.[/li]
[li]Gel Top Coat: This seals your design, provides a high-gloss finish, and protects against chips.[/li]
[li]UV/LED Nail Lamp: Essential for curing (hardening) your gel polish. LED lamps are generally faster and more energy-efficient.[/li]
[/ul]
[h3]Key Application Tools:[/h3]
[ul]
[li]Nail File: For shaping your natural nails before application.[/li]
[li]Nail Buffer: To gently buff the surface of your nails, helping the gel adhere.[/li]
[li]Cuticle Pusher/Stick: To gently push back your cuticles for a clean canvas.[/li]
[li]Lint-Free Wipes: For cleaning the nail surface and removing the sticky inhibition layer after curing.[/li]
[li]Alcohol (Isopropyl Alcohol 70% or Higher): Used for cleaning and removing the sticky layer.[/li]
[li]Orange Wood Sticks or Dotting Tools: Perfect for applying small dots of polish or creating simple designs.[/li]
[li]Thin Nail Art Brush: For drawing fine lines, swirls, or adding intricate details.[/li]
[/ul]
[h3]Optional (But Helpful!) Extras:[/h3]
[ul]
[li]Nail Prep Dehydrator/Primer: Helps remove excess moisture and oils from the nail for better adhesion.[/li]
[li]Cuticle Oil: To nourish and soften cuticles before and after the manicure.[/li]
[li]Nail Polish Remover (Acetone-based): For soaking off gel polish when it’s time for a change.[/li]
[/ul]
[h2]The Foundation: Preparing Your Nails for Gel[/h2]
[p]Proper nail preparation is the secret to a long-lasting and beautiful gel manicure. It ensures the gel adheres well and prevents lifting or chipping. Think of it as prepping a canvas before painting – a smooth, clean surface is key![/p]
[ol]
[li]Clean Your Nails: Start with clean, dry nails. Remove any old polish with a non-acetone remover to avoid drying out your nails too much.[/li]
[li]Shape Your Nails: Use a nail file to shape your nails to your desired length and style. File in one direction to avoid damaging the nail edge.[/li]
[li]Gentle Buffing: Lightly buff the surface of each nail with a nail buffer. You don’t need to buff aggressively; just remove the natural shine. This creates a slightly rough surface for the gel to grip onto.[/li]
[li]Push Back Cuticles: Use a cuticle pusher or orange wood stick to gently push back your cuticles. Be careful not to push too hard or damage the nail bed. Clean cuticles make for a much neater finish.[/li]
[li]Cleanse the Nail Surface: Wipe each nail with a lint-free wipe and isopropyl alcohol. This removes any dust, oils, or residue, ensuring the gel adheres properly. Ensure nails are completely dry before proceeding.[/li]
[/ol]
[h2]Applying Gel Polish: The Basic Steps[/h2]
[p]Once your nails are prepped, it’s time for the exciting part – applying the gel color! We’ll follow a simple layer-by-layer process that’s easy to master.[/p]
[h3]Step-by-Step Gel Application:[/h3]
[ol]
[li]Apply Gel Base Coat: Apply a thin, even layer of the gel base coat to each nail. Cap the free edge (the tip of your nail) by running the brush along it. This helps prevent chipping. Cure under your UV/LED lamp according to the manufacturer’s instructions (typically 30-60 seconds for LED).[/li]
[li]Apply Gel Color: Apply your first thin coat of gel color polish. Again, cap the free edge. Avoid getting polish on your cuticles. If you do, clean it up with an orange wood stick before curing. Cure under the lamp.[/li]
[li]Second Coat of Color: For opaque coverage, apply a second thin coat of gel color polish. Cap the free edge and cure under the lamp.[/li]
[li]Apply Gel Top Coat: Apply a thin, even layer of gel top coat. Cap the free edge. Ensure you completely cover the color to seal it in. Cure under the lamp for the recommended time (usually 60 seconds for LED).[/li]
[li]Clean Up: After the final cure, there will likely be a sticky residue on your nails. This is called the “inhibition layer” and is normal. Wipe each nail gently with a lint-free wipe soaked in isopropyl alcohol to remove the stickiness and reveal your high-gloss finish.[/li]
[li]Hydrate: Apply a drop of cuticle oil around your nails and gently massage it in. This nourishes your cuticles and adds a final touch of pampering.[/li]
[/ol]
[h2]Effortless Gel Nail Designs for Beginners[/h2]
[p]Now that you’ve got the basics down, let’s get creative! These easy gel nail designs are perfect for beginners and require minimal tools. They offer a wonderful way to experiment with color and simple patterns.[/p]
[h3]1. The Chic French Manicure (with a Twist!)[/h3]
[p]A classic for a reason, the French manicure can be updated with gel polish for lasting elegance. For a beginner-friendly approach, try using striping tape or a fine brush.[/p]
[ol]
[li]Apply your base coat, color coats, and top coat as usual, but skip the final cure of the top coat for now if you’re adding the French tip in the same session.[/li]
[li]For a clean white tip:[/li]
[ul]
[li]Option A (Tape): Apply striping tape at an angle across the tip of your nail after your last color coat has been cured. Paint over the tape with white gel polish. Carefully remove the tape while the polish is still wet. Cure.[/li]
[li]Option B (Brush): Use a thin nail art brush dipped in white gel polish to carefully draw a smile line across the tip of your nail. Cure.[/li]
[/ul]
[li]Apply your gel top coat over the entire nail, cap the edge, and cure.[/li]
[li]Wipe off the sticky layer with alcohol.[/li]
[li]Pro-Tip: Try a colored French tip for a modern update! Use a contrasting color like black, nude, or metallic for the tip instead of white.[/li]
[/ul]
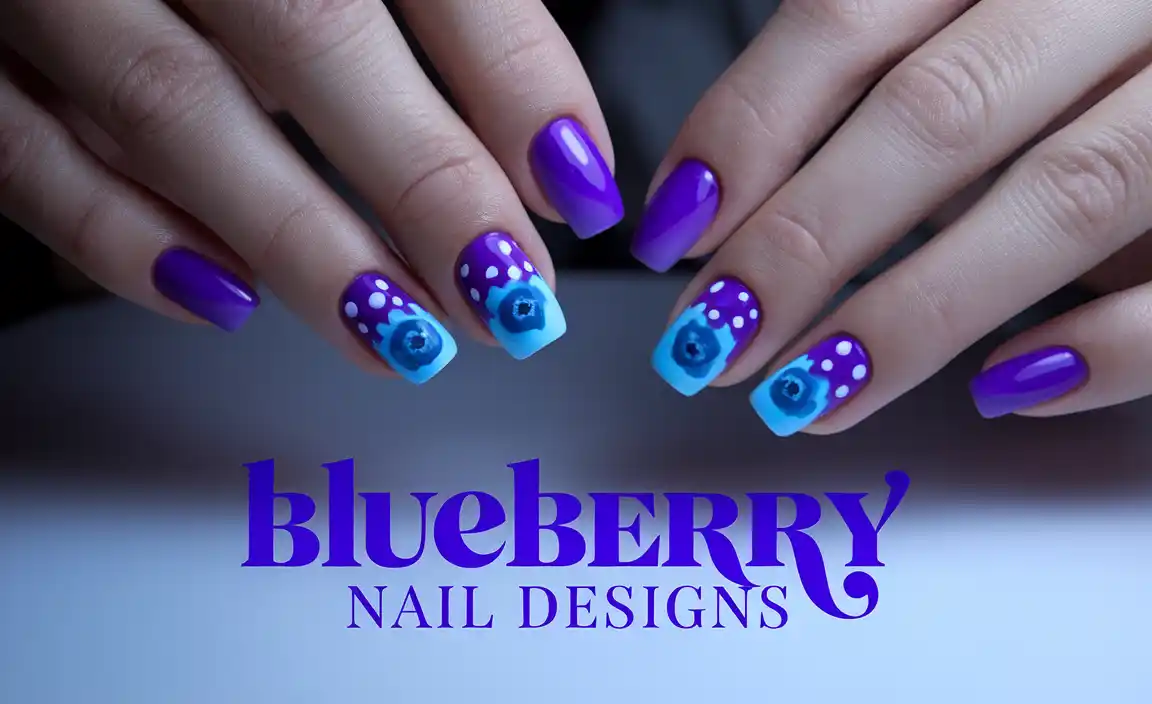
[h3]2. Simple Polka Dots[/h3]
[p]Polka dots are fun, playful, and incredibly easy with dotting tools.[/p]
[ol]
[li]Complete your gel manicure with base coat, color coats, and top coat (cured and sticky layer wiped off) as your base color.[/li]
[li]Dip a dotting tool (or the rounded end of an orange wood stick) into a contrasting gel polish color.[/li]
[li]Gently press the dotting tool onto the nail to create a dot. You can make dots of varying sizes by using different sized dotting tools or by pressing with varying pressure. Aim for even spacing.[/li]
[li]Continue creating dots across the nail, or place them strategically on the accent nail. You can cure after each dot if you’re worried about them spreading, but if you work quickly, you can do a full nail’s worth of dots before curing.[/li]
[li]Once you’re happy with your dots, cure the nail. For extra durability and shine, apply a thin layer of gel top coat over the entire nail, making sure to seal the dots, and cure again.[/li]
[li]Wipe off the inhibition layer with alcohol.[/li]
[li]Fun Variation: Try ombre dots by using shades of the same color, fading from dark to light, or mixing metallic dots with a solid color.[/li]
[/ul]
[h3]3. Minimalist Lines & Swirls[/h3]
[p]A thin nail art brush is all you need to create elegant, delicate designs.[/p]
[ol]
[li]Apply your base and color coats and cure them as usual. You can do these designs on a cured, non-sticky surface (top coat applied and cured, then wiped with alcohol) or directly over the uncured color layer if you are very precise and working quickly before curing the accent.
[li]You can outline parts of the nail, create intersecting lines, or form simple geometric shapes. Don’t overthink it – less is often more with this style![/li]
[li]Once your design is complete, cure the nail under your lamp. Apply a thin layer of gel top coat to seal the design, cap the free edge, and cure again.[/li]
[li]Wipe off the sticky layer with alcohol.[/li]
[li]Tip: Practice drawing lines on a piece of paper first to get a feel for the brush and polish consistency.[/li]
[/ul]
[h3]4. One-Color Accent Nail[/h3]
[p]Sometimes, the simplest designs make the biggest impact. An accent nail in a different color or finish is a super easy way to add interest.[/p]
[ol]
[li]Apply your chosen base color to all nails, following the standard base coat, color coats, and top coat application and curing steps. Perform the final alcohol wipe.[/li>
[li]For your accent finger (usually the ring finger), apply a different color gel polish. This could be a metallic, a glitter gel, or simply a contrasting shade from your main color.[/li]
[li]Apply as many coats as needed for opacity and cure each layer according to the gel polish instructions. Finish with a top coat on the accent nail, cure, and wipe away the sticky layer.[/li>
[li]Design Idea: Use a matte top coat on your accent nail while the rest have a glossy finish for a sophisticated textural contrast.[/li]
[/ol]
[h2]Nail Prep Products for Longevity: Dehydrators and Primers[/h2]
[p]For those wanting their gel manicures to last even longer, incorporating nail prep products can make a significant difference. These products help ensure the gel adheres strongly to your natural nail, preventing lifting and extending the wear time of your manicure. Understanding what they do can help you choose the right ones for your needs.[/p]
[table]
Comparison of Nail Prep Products
[thead]
[tr]
[th]Product[/th]
[th]Purpose[/th]
[th]When to Use[/th]
[th]Key Benefit[/th]
[/tr]
[/thead]
[tbody]
[tr]
[td]Nail Dehydrator[/td]
[td]Removes surface moisture and oils from the nail plate.[/td]
[td]After nail shaping and buffing, before base coat.[/td]
[td]Helps create a drier surface for improved adhesion.[/td]
[/tr]
[tr]
[td]Nail Primer (Acid-Free)[/td]
[td]Creates a sticky surface on the nail that “grips” the gel, enhancing adhesion without damaging the nail.[/td]
[td]After nail dehydrator, before base coat.[/td]
[td]Significantly improves gel adhesion and longevity, particularly for oily nail beds.[/td]
[/tr]
[tr]
[td]Nail Primer (Acid-Based)[/td]
[td]Slightly etches the nail surface on a microscopic level for maximum adhesion.[/td]
[td]Used with caution, typically for individuals whose gel lifts very easily. Best applied by professionals in a salon. Some argue against its use for at-home DIY due to potential for nail damage if misused.[/td]
[td]Maximum bond strength, but carries a higher risk of nail damage if not used correctly. For advanced users or professionals.[/td]
[/tr]
[/tbody]
[/table]
[p]For most beginners, a good nail dehydrator is sufficient to improve gel adhesion. If you find your gel lifts easily, an acid-free nail primer applied after the dehydrator can offer extra staying power. Always follow the specific instructions for any prep products you use, and ensure nails are completely dry before applying your base coat. You can find more information on nail health and care on resources like the [a href=”https://www.nailtech.com/nail-science/” target=”_blank”]NailTech.com Nail Science section[/a].[/p]
[h2]Maintaining Your Gel Manicure: Tips for Longevity[/h2]
[p]You’ve created a beautiful gel nail design – hooray! Now, let’s keep it looking fantastic for as long as possible. Proper care at home will help your manicure stay chip-free and glossy.[/p]
[h3]Daily Care:[/h3]
[ul]
[li]Wear Gloves: Protect your nails from harsh chemicals and prolonged water exposure by wearing rubber gloves when doing chores, washing dishes, or cleaning.[/li]
[li]Avoid Using Nails as Tools: Resist the urge to open cans or scratch surfaces with your nails. Gel polish is durable, but it’s not indestructible.[/li]
[li]Moisturize: Apply cuticle oil and hand lotion regularly, especially after washing your hands. This keeps your skin and cuticles healthy and prevents dryness, which can sometimes lead to lifting.[/li]
[/ul]
[h3]What to Avoid:[/h3]
[ul]
[li]Harsh Chemicals: Soaps, detergents, and cleaning agents can break down the gel’s bond over time.[/li]
[li]Picking or Peeling: Never pick at or peel off your gel polish. This can severely damage your natural nail. Always remove it properly.[/li]
[li]Excessive Heat: Prolonged exposure to high heat, like in saunas or hot tubs, can weaken the gel’s structure.[/li]
[/ul]
[h2]Removing Gel Polish Safely at Home[/h2]
[p]When it’s time for a new design, proper removal is crucial to keep your natural nails healthy. Ripping or peeling gel off can damage your nail bed. Here’s a gentle method to remove gel polish at home.[/p]
[h3]Safe Gel Polish Removal Steps:[/h3]
[ol]
[li]File the Top Coat: Gently file off the shiny top layer of the gel polish using a regular nail file. This allows the remover to penetrate the color layers.[/li]
[li]Soak in Acetone: Soak a cotton ball in 100% acetone (nail polish remover). Place the soaked cotton ball over your nail and wrap it tightly with a small piece of aluminum foil. Ensure the foil is snug around the fingertip.[/li]
[li]Wait: Let the acetone soak for about 10-15 minutes. The


