Fall nail art designs step by step: Get gorgeous, seasonal nails with easy tutorials and genius ideas perfect for beginners!
Autumn is here, and with it comes a desire for cozy sweaters, warm drinks, and a fresh, seasonal manicure! But sometimes, those picture-perfect fall nail art designs can seem a bit… complicated. Do you ever look at intricate leaf patterns or perfectly blended ombré and think, “There’s no way I can do that”? You’re not alone! Many of us want to join in on the fall nail fun without spending hours at a salon or struggling with tiny brushes. The good news is, beautiful fall nails are totally achievable right at home, even if you’re just starting out. Let’s dive into some simple yet stunning ideas that will make your nails look like they stepped right out of a fall magazine.
Your Ultimate Guide to Fall Nail Art Designs Step by Step
Welcome, fellow nail lovers! Lisa Drew here from Nailerguy, ready to help you embrace the beauty of autumn on your fingertips. This season is all about rich colors, cozy textures, and playful designs that capture the spirit of fall. Forget intimidating techniques; we’re focusing on easy-to-follow, step-by-step tutorials for fall nail art designs that anyone can master. Whether you’re a complete beginner or looking to add some new tricks to your nail art repertoire, we’ve got genius ideas that are both stylish and surprisingly simple to create. Let’s get those nails ready for pumpkin spice everything!
Gathering Your Fall Nail Art Essentials
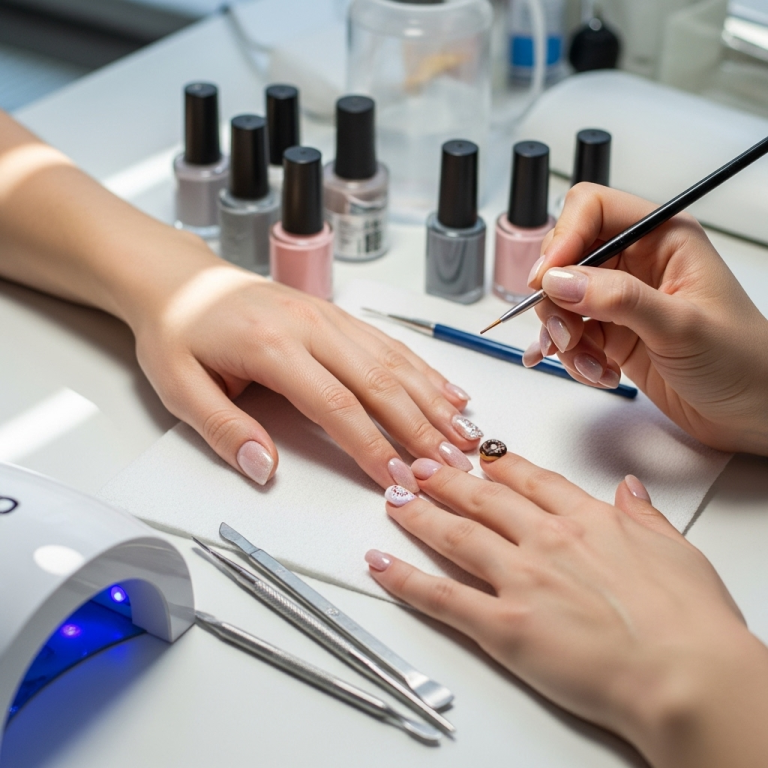
Before we start painting, let’s make sure you have the right tools. Having these handy will make the whole process smoother and more enjoyable. Don’t worry; you don’t need a professional kit to create stunning fall looks!
Must-Have Nail Polish Colors for Fall
- Deep Reds & Burgundies: Think cranberry, wine, and oxblood shades.
- Warm Oranges & Terracottas: Like pumpkin, rust, and burnt sienna.
- Earthy Browns: From chocolate to mocha and even a hint of tan.
- Muted Greens: Olive, forest green, and sage are perfect for nature-inspired designs.
- Creamy Neutrals: Beige, taupe, and soft grays are great bases or accents.
- Golds & Bronzes: For a touch of metallic shimmer and elegance.
- Deep Blues: Navy or midnight blue can add depth and sophistication.
Basic Nail Art Tools for Beginners
- Base Coat & Top Coat: Essential for protection and longevity.
- Nail Polish Remover & Cotton Pads: For clean-ups and corrections.
- Thin Nail Art Brush or Dotting Tool: For drawing lines, dots, and simple shapes. A toothpick can work in a pinch!
- Stencils or Tape: For creating clean lines and geometric patterns.
- Tweezers: Helpful for applying small embellishments like rhinestones or glitter.
- Clean-up Brush (optional): An angled brush with stiff bristles dipped in remover for tidying edges.
Genius Fall Nail Art Designs: Step-by-Step Tutorials
Now for the fun part! We’re breaking down some of our favorite fall nail art designs into super simple steps. Get ready to impress yourself (and everyone else!).
1. The Cozy Plaid Nails
Plaid is synonymous with fall fashion, and it’s easier to achieve than you think! This design uses simple lines to create a cozy, bundled-up look.
What You’ll Need:
- A neutral base polish (e.g., beige, cream, or light gray)
- Polishes in your favorite fall colors for the plaid lines (e.g., deep red, navy, forest green)
- A thin nail art brush or striping tool
- Top coat
Step-by-Step Instructions:
- Prep Your Nails: Start with clean, filed nails. Apply your base coat and let it dry completely.
- Apply Base Color: Paint all your nails with your chosen neutral base polish. Apply two thin coats for an even finish and let them dry thoroughly. Patience is key here!
- Create the Grid: Dip your thin brush into one of the plaid colors (e.g., deep red). Carefully paint a vertical line down the center of your nail. Then, paint a horizontal line to create a cross.
- Add More Lines: Using another plaid color (e.g., navy), paint a thinner vertical line slightly off-center from your first one. Repeat with a horizontal line.
- Add Accent Lines: With a third color (e.g., forest green), add even thinner lines to complete your plaid pattern. You can criss-cross these lines over the existing ones. Remember, perfect straight lines aren’t necessary; a slightly imperfect, hand-drawn look is part of the charm!
- Tiny Dot Accents (Optional): If your plaid has little squares, use a dotting tool or the tip of your brush to add a tiny dot of color in some of the squares for extra detail.
- Seal the Deal: Once all the lines are completely dry, apply a generous layer of top coat to seal your design and add shine.
Pro Tip: Clean your brush between color changes to keep your lines crisp. If you make a mistake, don’t panic! Use nail polish remover on a fine-tipped brush or cotton swab to carefully clean up the mistake before it dries.
2. The Elegant Ombré Fade
Ombré nails look sophisticated and are surprisingly simple with a cosmetic sponge. This technique creates a beautiful gradient effect using fall colors.
What You’ll Need:
- A base coat and top coat
- Two or three complementary fall nail polish colors (e.g., a deep orange and a rusty red, or a mustard yellow and a brown)
- A makeup sponge or a textured nail sponge
- A small amount of petroleum jelly or liquid latex (optional, for easy cleanup)
- Nail polish remover and a brush for cleanup
Step-by-Step Instructions:
- Prep and Base: Apply your base coat and let it dry. Then, paint your nails with the lightest shade you’re using as your background. Let it dry completely.
- Edge Cleanup (Optional): If using petroleum jelly or liquid latex, apply a thin layer around your nail bed to protect your skin from polish stains. This is a lifesaver for easy cleanup!
- Apply Polishes to Sponge: On your makeup sponge, create horizontal stripes of your chosen fall colors, starting with the lighter shade at the bottom and the darker shade above it. Work quickly, as the polish can start to dry.
- Dab onto Nail: Gently press the sponge onto your nail, dabbing it up and down a few times to transfer the color gradient. Don’t swipe!
- Repeat for Intensity: You might need to reapply polish to the sponge and dab your nail again to achieve the desired color intensity and blend.
- Clean Up: Before the polish fully dries, carefully remove the protective jelly or latex from your skin. Use a small brush dipped in nail polish remover to clean up any stray polish on your cuticles and skin.
- Add the Next Color (Optional): For a three-color ombré, repeat steps 3-6 with the third color, dabbing it onto the upper portion of the nail.
- Seal Your Masterpiece: Once the ombré design is dry, apply a generous layer of top coat. This will help meld the colors together for a smoother, more blended look.
External Link: For more on nail polish ingredients and safety, you can check out resources from the U.S. Food & Drug Administration (FDA), which regulates cosmetic products.
3. The Chic Leaf Accent Nail
A single accent nail with a fall motif is a subtle yet impactful way to show off the season. These simple leaves are surprisingly easy to paint.
What You’ll Need:
- A neutral base polish
- Polishes in fall leaf colors (e.g., a muted orange, a deep yellow, a rust red)
- A fine-tipped nail art brush
- A dotting tool or the tip of a toothpick
- Top coat
Step-by-Step Instructions:
- Base Polish: Apply your base coat and two coats of your chosen neutral polish to all nails. Let them dry completely.
- Choose an Accent Nail: Decide which nail you want to feature the leaf design (usually the ring finger).
- Paint the Leaf Shape: Dip your fine brush into one of your leaf colors (e.g., muted orange). On the accent nail, paint a simple, slightly elongated oval or teardrop shape. This will be the body of your leaf.
- Add Veins: With a darker shade (e.g., rust red) and your fine brush or a toothpick, carefully paint a line down the center of the leaf shape for the stem. Then, add a few smaller lines branching off from the center stem to represent veins. Jagged or imperfect lines are perfectly fine and add realism!
- Add Texture (Optional): For a bit more depth, you can gently dot a tiny bit of a third color (e.g., deep yellow) onto the leaf with your dotting tool.
- Top Coat: Once everything is dry, seal your accent nail with a top coat.
Beginner Tip: If painting freehand feels daunting, you can also use leaf-shaped nail stickers or stencils for a similar effect with less effort!
4. The Sparkly Glitter Gradient
Add a touch of sparkle to your fall nails with a glitter gradient. This is perfect for adding some festive flair without being over-the-top.
What You’ll Need:
- A base coat and top coat
- A neutral or deep fall-colored polish as your base
- A glitter polish in a fall shade (gold, bronze, deep red, or orange glitter works well)
- A makeup sponge or a clean cosmetic wedge
Step-by-Step Instructions:
- Prep and Base Coat: Apply your base coat, followed by one or two coats of your chosen base polish. Let it dry.
- Apply Glitter to Sponge: Take your makeup sponge and apply a stripe of the glitter polish directly onto it. If you want a more subtle gradient, you can dab the glitter polish onto the sponge multiple times until you reach the desired concentration.
- Dab for Gradient: Gently dab the glitter polish-covered part of the sponge onto the tips of your nails. The idea is to concentrate the glitter at the tips and have it fade down the nail.
- Build Up the Glitter: Repeat the dabbing process, focusing more on the very tips of your nails for a strong glitter effect, and then gradually dabbing higher up the nail for a fading look.
- Touch-Ups: Use a clean part of the sponge to blend the edges where the glitter meets the base color if needed.
- One-Color Base: For an even simpler look, apply a base color, and then use the glitter polish like a French tip, applying it to just the tips of the nails.
- Seal and Shine: Once the glitter polish is dry, apply a thick layer of top coat to create a smooth surface over the textured glitter and lock in your design.
5. The Minimalist Dot & Stripe
Sometimes, less is more! Simple dots and lines in fall colors can create a chic, modern look that’s effortlessly elegant.
What You’ll Need:
- A base coat and top coat
- A neutral polish for the base
- One or two accent polishes in deep fall colors (e.g., burgundy, forest green, navy)
- A dotting tool (or toothpick) and a thin nail art brush
Step-by-Step Instructions:
- Base Foundation: Apply base coat, then one or two coats of your neutral polish. Let it dry completely.
- Choose Your Accent Nail(s): Decide which nails will feature the minimalist art.
- Add Dots: Dip your dotting tool into an accent polish (e.g., burgundy). Place a few dots in a cluster or a line on your accent nail. Vary the size of the dots if you like, using the larger end of the tool or the smaller end.
- Add Stripes: With your thin nail art brush and a different accent color (e.g., forest green), paint a few delicate vertical or horizontal stripes across your nail. Keep them thin and playful.
- Combination Play: You can also alternate designs – dots on one nail, stripes on another. Or, even combine them on one nail for more impact!
- Final Seal: Once everything is dry, apply your top coat to protect the design.
Fall Nail Art Trends & Inspiration
Beyond these step-by-step ideas, here are a few trends and inspirations to spark your creativity this fall:
- Matte Finish: Swap your shiny top coat for a matte one to give your fall colors a velvety, rich texture. It instantly makes any design look more sophisticatedly autumnal.
- Jewel Tones: Deep emeralds, sapphire blues, and amethyst purples aren’t just for winter. They add a touch of luxury to fall palettes, especially when paired with gold accents.
- Nature-Inspired: Think abstract interpretations of wood grain, speckled designs like a bird’s egg, or subtle swirls reminiscent of fallen leaves.
- Cozy Textures: While tricky to DIY, visual texture can be mimicked. Think sheer washes of color that build up, or using a slightly textured top coat to give a subtle “cozy” feel.
- Color Blocking: Simple geometric shapes or blocks of different fall colors on each nail can create a modern and striking look.
Caring for Your Fall Manicure
To keep your gorgeous fall nail art looking its best, remember a few simple care tips:
- Wear Gloves: When doing chores, especially washing dishes or using cleaning products, wear gloves to protect your polish and nails.
- Hydrate: Keep your cuticles moisturized with cuticle oil daily. Healthy cuticles make your whole manicure look polished.
- Avoid Harsh Actives: Try to use your nails as tools (e.g., prying open things) as little as possible.
- Touch-Ups: If a tiny chip occurs, you can sometimes do a quick touch-up with your base color or top coat to extend its life.
- Reapply Top Coat: Every 2-3 days, a quick swipe of top coat can refresh your manicure and prevent chips.
Choosing the Right Base & Top Coat
Your base and top coats are more than just a protective layer; they’re crucial for the longevity and finish of your fall nail art. Investing in good quality ones makes a big difference.
Base Coat: A good base coat does more than prevent staining; it creates a smooth canvas for your nail polish, helping it adhere better and last longer. Look for formulas that strengthen or nourish your nails if they tend to be weak or dry.
Top Coat: This is your final seal. A high-shine top coat adds incredible gloss and depth to your colors, making them pop. For glitter designs, a thicker, leveling top coat can help smooth out the texture. A matte top coat, as mentioned, offers a completely different, sophisticated finish.
The effectiveness of nail polish can also be influenced by storage. Keeping your polishes away from direct sunlight and heat helps maintain their formula and prevents them from drying out or becoming clumpy. For more on optimal storage and formulation science, resources from cosmetic chemists can offer deeper insights, though for a beginner, simply keeping them upright in a cool, dark place is sufficient.
When to Seek Professional Help
While DIY fall nail art is fun and rewarding, there are times when a professional touch is best:
- Complex Designs: If you’re aiming for intricate, hand-painted portraits or incredibly detailed artwork that’s beyond your current skill level.
- Nail Health Concerns: If you have persistent issues like nail fungus, brittle nails, or infections, a salon professional can offer advice or steer you toward medical help.
- Special Occasions: For weddings, major events, or when you simply want to treat yourself and ensure flawless results without the stress.
- Acrylics or Gel Extensions: If you want to add length or significant strength to your nails, professional application of acrylics or gel extensions is recommended.
A good technician can also advise on the latest nail trends and product innovations.


