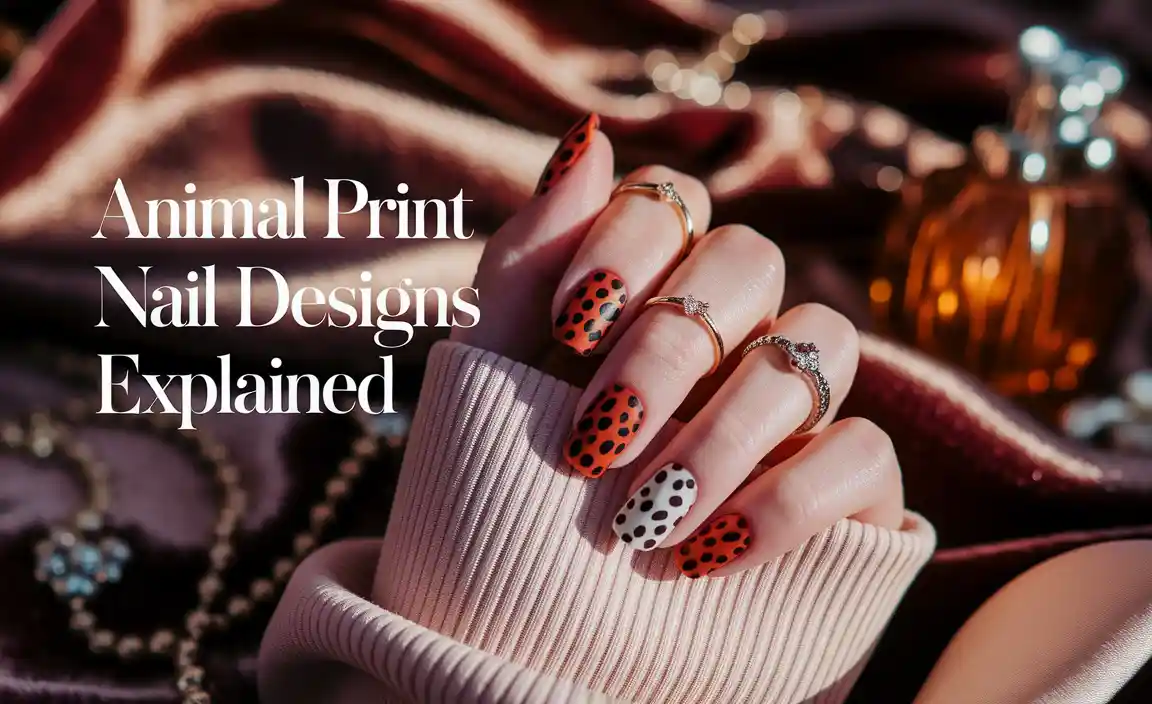
Want stunning animal print nails? This guide breaks down easy leopard, cheetah, zebra, and snake prints. Learn tools, techniques, and tips for gorgeous, DIY animal-inspired manicures that roar with style!
Hey nail lovers! Lisa Drew here from Nailerguy. Ever look at those fierce animal print nails and think, “Wow, that looks complicated!”? You’re not alone! Many of us admire the wild beauty of animal prints on our fingertips but feel intimidated by the idea of creating them at home.
It can seem like only pro artists can achieve those perfect leopard spots or sleek zebra stripes. But guess what? With a few simple tricks and the right mindset, you can totally rock these trendy designs yourself! Get ready to unleash your inner artist and transform your nails into a runway-ready statement.
There’s a whole jungle of fun waiting for you, and we’re going to explore it step-by-step!

Your Animal Print Nail Designs Explained: The Ultimate Beginner’s Guide
Animal prints on nails are like the little black dress of nail art – timeless, versatile, and always in style! They add a touch of daring sophistication to any look. Whether you’re a total beginner or looking to refine your skills, this guide will walk you through everything you need to know. We’ll demystify the techniques, highlight essential tools, and share tips to make your animal print nail designs a roaring success.

Why Are Animal Print Nails So Popular?
It’s no secret that animal prints are a fashion staple, and this trend translates beautifully to nails. They can be bold and edgy or subtle and chic, depending on how you wear them. They’re fun, eye-catching, and a fantastic way to express your personality. From a subtle accent nail to a full safari-inspired manicure, the possibilities are endless.
Essential Tools for Your Animal Print Toolkit
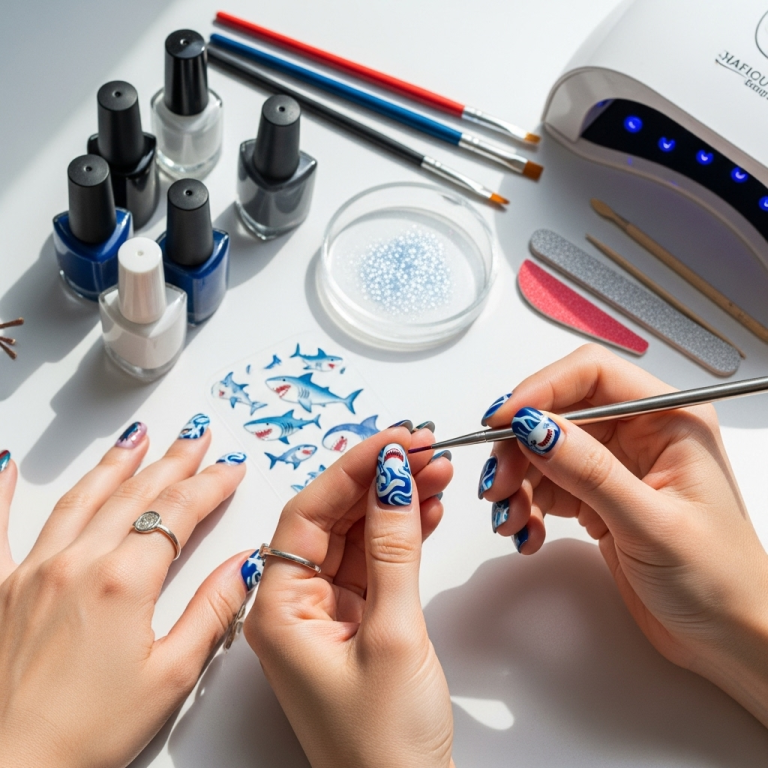
Before we dive into the designs, let’s gather your gear. You don’t need a professional salon setup to create amazing animal prints. Here are the basics:
Base Coat: Protects your natural nails and provides a smooth surface.
Top Coat: Seals your design, adds shine, and makes your manicure last longer.
Nail Polish Colors: Your main polish color and the colors for your print. Think neutrals like white, cream, beige, black, brown, or pops of color!
Dotting Tools: These are your best friends for creating spots and lines. They come in various sizes, which is perfect for different print scales.
Fine-Tipped Nail Art Brushes: For more intricate details or thinner lines.
Toothpicks or Balled-Up Foil: Great DIY alternatives for creating dots and irregular shapes.
Nail Polish Remover & Cotton Swabs: For cleaning up any smudges or mistakes.
A Steady Hand: (This is optional, but we’ll work on it!) Your patience is key.
Getting Started: Prep Your Nails Like a Pro
A great manicure starts with a great base. Properly prepping your nails ensures your design looks polished and lasts longer.
1. Cleanse: Start with clean, dry nails. Remove any old polish.
2. Shape: File your nails to your desired shape. Oval, square, or almond – whatever makes you feel fabulous!
3. Cuticle Care: Gently push back your cuticles. You can use a cuticle pusher or an orangewood stick. This gives you a cleaner canvas.
4. Buff (Optional): A light buff can smooth out any ridges, but be gentle! Over-buffing can weaken your nails.
5. Base Coat: Apply a thin, even layer of base coat. Let it dry completely. This step is super important for preventing staining, especially with darker polishes.
Mastering the Prints: Step-by-Step Guides
Let’s get to the fun part – creating the designs! We’ll break down four popular animal prints: leopard, cheetah, zebra, and snake.
1. The Classic Leopard Print
Leopard print is chic, a little wild, and surprisingly easy to achieve!
What you’ll need: Your base color (think nude, cream, or beige), dark brown or black polish for spots, and a dotting tool or toothpick.
Steps:
1. Base Color: Apply 1-2 coats of your chosen base color. Let it dry completely. This base is crucial for contrast.
2. Create the Spots: Dip your dotting tool (or the tip of a toothpick) into the dark brown or black polish.
3. Random Placement: Lightly dab irregular “spots” onto your nails. Don’t aim for perfect circles! Leopard spots are often crescent-shaped or irregular blobs. Place them randomly, varying the size and shape. Leave some areas of the base color showing through.
4. Outline (Optional but Recommended): Once the spots are dry, use a finer brush or toothpick dipped in a slightly lighter shade of brown (or black if your spots are dark brown) to outline some of the spots with thin, irregular lines or dots. This gives the print depth and definition. Again, randomness is key!
5. Let it Dry: Allow your design to dry thoroughly before applying a top coat.
6. Top Coat: Apply a generous layer of top coat to seal and add shine.
Pro Tip: For a more modern look, try leopard print in unexpected colors like pink, blue, or even metallics!
2. The Playful Cheetah Print
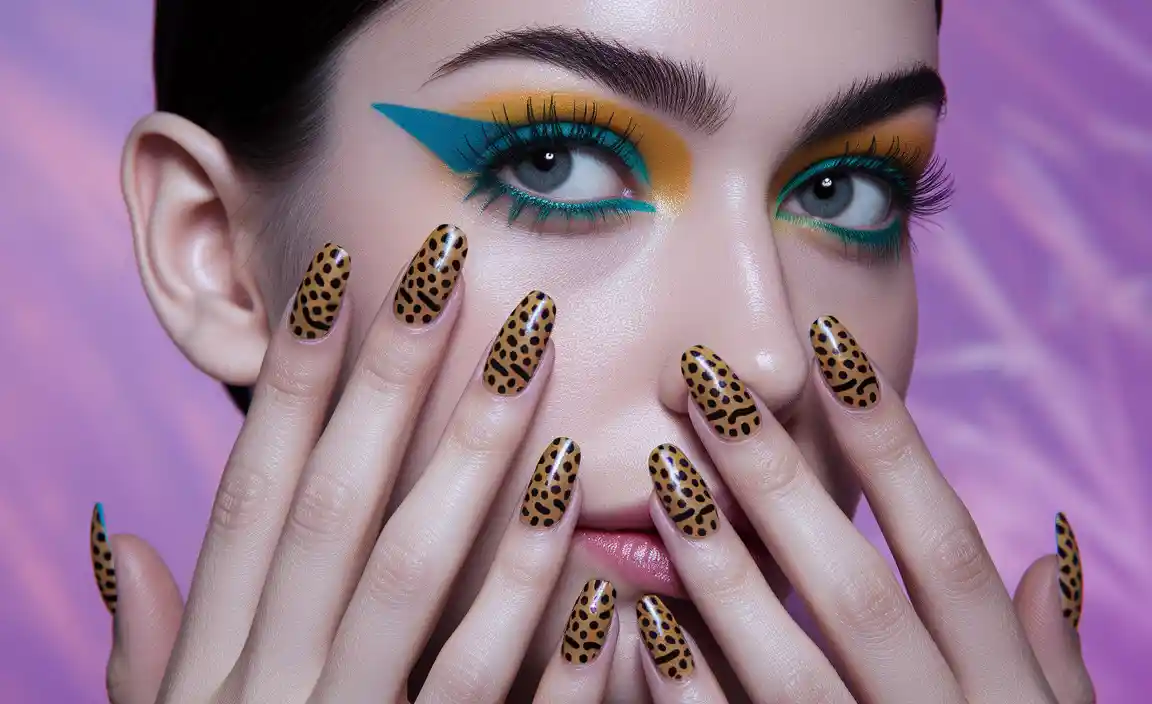
Cheetah print is similar to leopard but usually features smaller, more elongated spots with a distinct “comma” or “C” shape.
What you’ll need: Base color (similar to leopard), black polish, and a dotting tool or toothpick.
Steps:
1. Base Color: Apply and dry your base color (e.g., a soft yellow, cream, or nude).
2. Create the Spots: Dip your dotting tool or toothpick into black polish.
3. “C” and “J” Shapes: Instead of round spots, create elongated, curved shapes. Think of “C” shapes, “J” shapes, or even small dots. Keep them smaller and more defined than leopard spots.
4. Vary Placement: Sprinkle these shapes across your nail. You can make them more concentrated in some areas and sparser in others.
5. Outline: This is where cheetah print really stands out. Once the black shapes are dry, take a very fine brush or a clean toothpick dipped in black polish. Carefully outline about half to three-quarters of each “C” or “J” shape. This gives it that distinctive cheetah look.
6. Dry and Seal: Let it dry fully, then apply your top coat.
Pro Tip: For a subtler cheetah, use a dark brown instead of black for your spots and outlines!
3. The Sleek Zebra Print
Zebra print is all about clean lines and bold contrast. It’s minimalist and chic!
What you’ll need: Black and white nail polish, and a fine-tipped nail art brush or striping tool.
Steps:
1. Base Color: Apply 2 coats of white nail polish. Make sure it’s completely dry. White is the classic base, but you can experiment with other light colors!
2. Create Lines: Dip your fine brush or striping tool into black nail polish. Start near the cuticle or the free edge of your nail.
3. Diagonal Strokes: Draw thin, uneven, vertical or diagonal lines across your nail. Vary the thickness and spacing of the lines.
4. Overlapping and Curves: Let the lines run into each other slightly or curve them to mimic the natural flow of stripes on a zebra. Don’t make them perfectly straight or parallel; a little imperfection makes it look more authentic and artful.
5. Fill Gaps (Optional): If there are large gaps, you can add a few more thin lines.
6. Let it Dry: Ensure the black polish is completely dry.
7. Top Coat: Apply your top coat for a smooth, glossy finish.
Pro Tip: Try painting the stripes horizontally for a different effect. You can also use silver or gold polish for a metallic zebra twist!
4. The Chic Snake Print (or Python)
Snake print offers a more intricate, scaled pattern that looks sophisticated and high-fashion.
What you’ll need: 1-2 base colors (e.g., beige, grey, white), a contrasting polish for the scales (e.g., black, dark brown, metallic), and a fine-tipped nail art brush.
Steps:
1. Base Color: Apply your chosen base color (e.g., a creamy beige). Let it dry completely.
2. Create Scales: Dip your fine brush into the contrasting polish (e.g., black).
3. Irregular Ovals/Hexagons: Create a scattered pattern of irregular, slightly elongated oval or hexagonal shapes across your nail. Think of them as imperfect, stacked or overlapping scales.
4. Vary Size and Shape: Make some tiny, some medium, and some a bit larger. Don’t worry about perfect symmetry; real snake scales aren’t uniform.
5. Outline: Once the “scales” are dry, use a fine brush with the same contrasting color or a slightly lighter shade to outline and add dimension. You can add a second, thinner outline around some scales, or add tiny dots within some of the larger scale shapes.
6. Add Depth (Optional): For added realism, you can use a very fine brush to add minimal shading within some of the scales with a slightly darker shade of your accent color.
7. Dry and Seal: Allow everything to dry thoroughly and finish with your top coat.
Pro Tip: For a glamorous snake print, use a metallic polish like gold or silver as your accent color!
Animal Print Variations and Creative Ideas
Once you’ve mastered the basics, the world of animal print nails is your oyster!
Color Pops: Don’t stick to traditional colors! Try neon pink leopard spots on a black background, or turquoise zebra stripes on a white base.
Metallic Accents: Add metallic gold or silver details to any animal print for an instantly luxe feel.
Matte Finish: Swap a glossy top coat for a matte one for a sophisticated, velvety texture.
Mixed Prints: Combine different animal prints on different fingers for a truly wild look.
Gradient Backgrounds: Create a soft gradient on your base color before applying your print for an extra layer of detail.
French Tips with a Twist: Use an animal print design on the tips of your nails instead of a solid color.
Popular Base Colors for Animal Prints
The base color sets the stage for your animal print design. Here are some popular choices that work beautifully:
| Animal Print | Classic Base Colors | Trendy Base Colors |
|---|---|---|
| Leopard | Nude, Cream, Beige, Tan | Pastel Pink, Mint Green, Lavender, Soft Yellow |
| Cheetah | Soft Yellow, Cream, Peach, Light Brown | Coral, Turquoise, Light Grey, Baby Blue |
| Zebra | White, Black, Light Grey | Metallic Silver, Gold, Rose Gold, Deep Burgundy |
| Snake | Beige, Grey, White, Black, Taupe | Emerald Green, Deep Blue, Burgundy, Mauve, Metallic Copper |
Tools Comparison: Dotting Tools vs. Brushes vs. Toothpicks
Choosing the right tool can make a big difference in achieving the look you want.
| Tool | Best For | Pros | Cons |
|---|---|---|---|
| Dotting Tools | Creating uniform dots, small spots, and consistent sizers. | Easy to use, comes in various sizes, good for beginners. | Can be tricky for very fine lines or irregular shapes. |
| Fine-Tipped Nail Art Brushes | Creating thin lines, outlines, detailed patterns, and freehand designs. | Versatile, allows for precision and artistic freedom. | Requires a steadier hand, can be harder to clean. |
| Toothpicks | Quick dots, small irregular spots, and detailed touch-ups. | Readily available, inexpensive, good for organic shapes. | Tip can break easily, less control over size and consistency than dotting tools. |
Tips for Longevity and A Professional Finish
Want your amazing animal print nails to last? Follow these pro tips:
Thin Coats are Key: Apply thin, even coats of polish. Thick coats take longer to dry and are more prone to smudging or chipping.
Patience is a Virtue: Let each layer dry completely before adding the next. This is especially important after applying your printed designs. Rushing will lead to a mess!
Seal the Deal: Don’t skimp on your top coat! A good quality top coat will protect your design from wear and tear and add a beautiful shine. Consider a gel-like top coat for extra durability.
Wrap Your Free Edge: When applying your top coat, sweep a little bit over the free edge (the tip) of your nail. This helps seal the polish and prevent chipping.
Clean Up Mistakes: Use a small brush dipped in nail polish remover to carefully clean up any polish that gets on your skin or cuticles before applying your top coat. This makes a huge difference in the finished look.
Troubleshooting Common Animal Print Nail Problems
Even the best of us run into little hiccups. Here’s how to fix them:
Smudged Design: If you smudge a spot or line, don’t panic! Gently dab it back into place with a clean orangewood stick or a very fine brush. If it’s a big mess, carefully remove it with polish remover and start that nail again.
Uneven Lines: If your zebra stripes are wobbly, embrace the imperfection! It adds character. If they’re too uneven, you can sometimes carefully paint over them with your base color to create a cleaner line, or simply retry.
Too Much Polish on Brush/Tool: Wipe off excess polish on the rim of the bottle or a piece of paper before applying it to your nail. This prevents blobs.
* Prints Look Messy: Remember, animal prints are naturally organic. Perfection isn’t the goal! Focus on the overall pattern and vibe. Less is often more when it comes to detail.
Frequently Asked Questions About Animal Print Nail Designs
Q1: How do I make my animal print nail designs last longer?
A1: Ensure your nails are clean and prepped, use a good base coat, allow each layer and design element to dry completely, and finish with a high-quality, chip-resistant top coat. Wrapping the free edge of your nail with the top coat also helps prevent chipping.
Q2: Can I do animal print nails with regular nail polish, or do I need gel?
A2: You can absolutely do animal print nails with regular nail polish! Gel polish offers longer wear and a harder finish, but standard polish works perfectly well and is easier for beginners to work with, especially for fixing mistakes. The techniques described here are for regular polish.
Q3: What are the best colors to use for animal print nail designs?
A3: Classic animal prints use browns, blacks, creams, and whites. However, the beauty of nail art is experimentation! Try fun color combinations like hot pink leopard, electric blue zebra, or metallic green snake print to express your personal style.
Q4: My spots and lines are coming out too big. How can I make them smaller?
A4: Use a smaller dotting tool or a very fine, clean toothpick tip. For brushes, use only the very tip. Dip lightly into the polish and try to use less polish on your tool. You can also thin out the polish slightly with a drop of thinner if it’s too thick, but be careful not to make it too watery.
Q5: How do I clean up mistakes without ruining the rest of the nail?
A5: Keep a small brush (like an old, clean makeup brush or a fine art brush) handy. Dip it in nail polish remover, wipe off the excess, and carefully clean up any polish on your skin or cuticles around the nail. For smudged designs, a clean orangewood stick or a pointed cotton swab can sometimes gently fix it.
Q6: Is there a specific order for animal prints (e.g., spots first, then outline)?
A6: Yes! For most animal prints, you’ll apply your base color first, let it dry, then add the main pattern elements (spots, lines, scales), let those dry, and then add any outlines or details. Finishing with a top coat is always last. For example, with leopard, you do the spots, let them dry, then add outlines.
Embracing Your Wild Side
Creating animal print nail designs is such a rewarding way to amp up your style. It’s about confidence, creativity, and having fun with your look. Whether you’re aiming for a subtle accent or a full-on fierce statement, these techniques put the power in your hands.
Remember, nail art is a journey. Don’t be discouraged if your first attempt isn’t perfect. Every practice session gets you closer to that salon-worthy finish. Experiment

