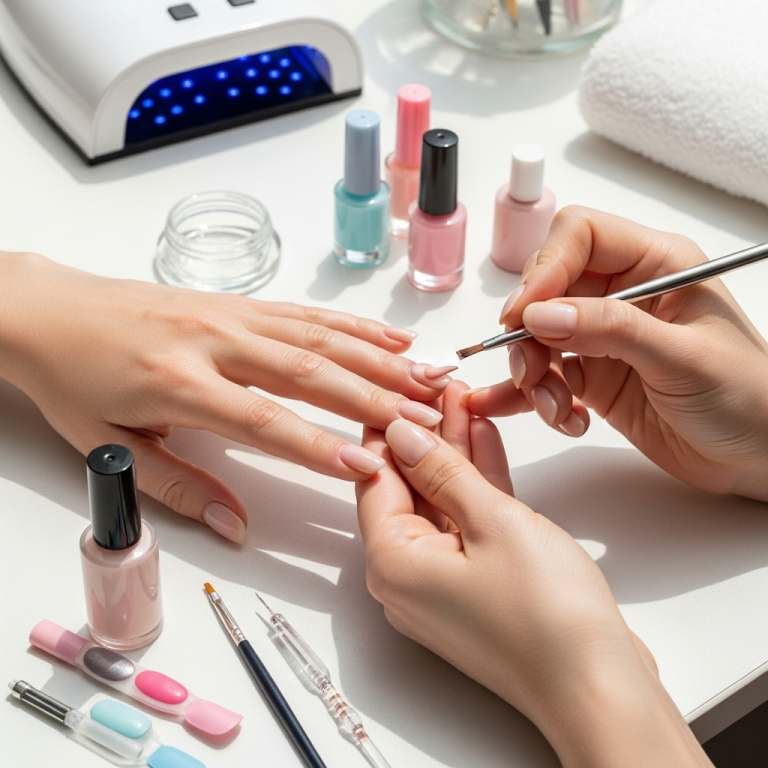
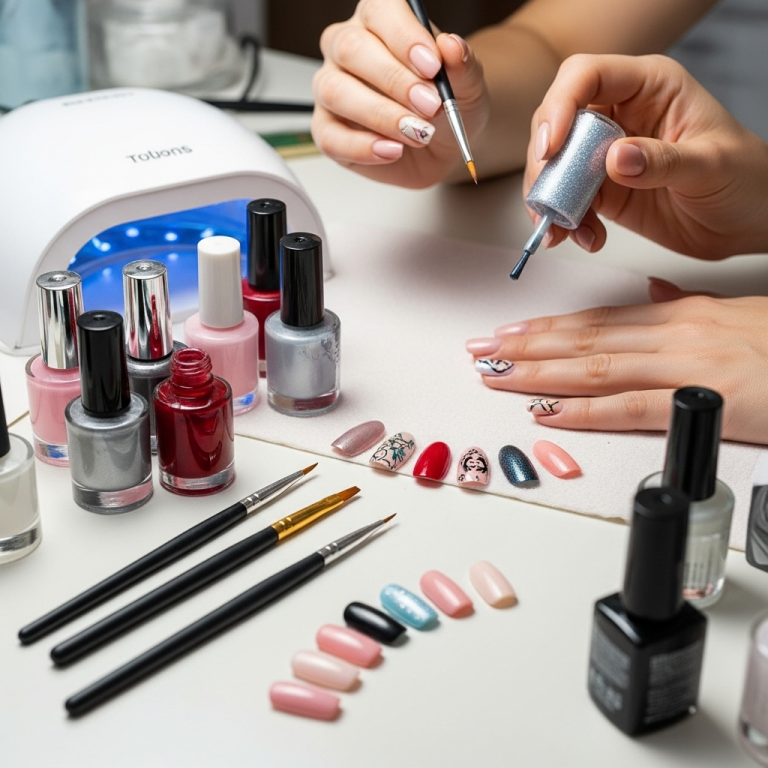
Want gorgeous 3D nails without breaking the bank? This beginner-friendly tutorial shows you how to create stunning, dimensional nail art using affordable materials and simple techniques. Get ready to elevate your manicure game with easy-to-follow steps and clever hacks!
Ever scrolled through Instagram admiring those incredible 3D nails and thought, “That looks amazing, but it must cost a fortune and be super hard to do”? You’re not alone! Many of us wish we could rock those eye-catching, sculptural nail designs without needing a professional artist or expensive supplies. The good news is, achieving beautiful 3D nail art is totally within your reach, even if you’re just starting out.
We’re going to unlock the secrets to creating fantastic dimensional manicures that look like you spent a fortune, but are actually super kind to your wallet and totally doable at home. Get ready to discover your inner nail artist! With a few clever tricks and readily available materials, those Pinterest-worthy 3D designs are no longer just a dream.
We’ll guide you through simple techniques that add depth and dimension to your nails, making them pop. Think elegant flowers, chic geometric shapes, and playful embellishments – all created with minimal fuss and maximum impact. So, grab your polish, and let’s dive into this fun and affordable 3D nail design adventure!
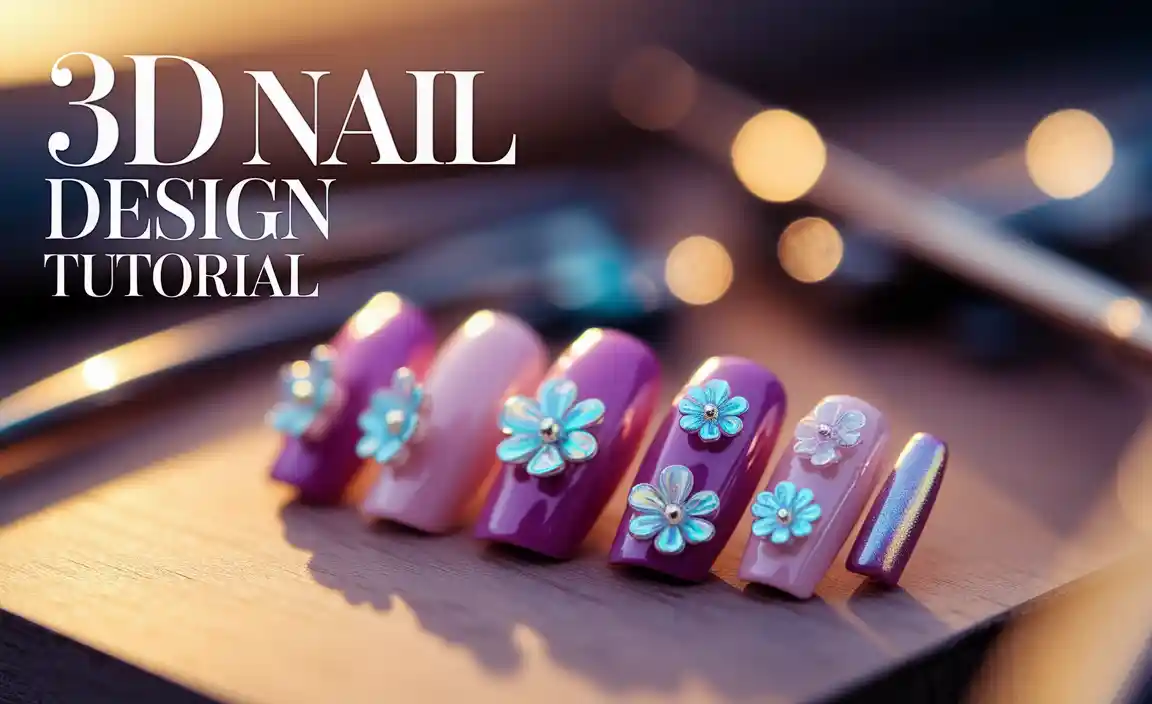
Unlock Your Inner Nail Artist with Genius & Affordable 3D Designs
3D nail art is all about adding a tactile, dimensional element to your manicure. Instead of just flat color or simple designs, 3D elements “pop” off the nail, creating a visually striking and sophisticated look. While professional services can be pricey, the beauty of DIY 3D nail art is its versatility and cost-effectiveness. We’ll focus on techniques and materials that are easy to find and simple to use, ensuring you can achieve salon-worthy results at home.
This tutorial is designed for absolute beginners. We’ll break down each step, explain the basic tools you’ll need, and offer tips to make your 3D nail art experience enjoyable and successful. You don’t need to be a Picasso, just willing to have a little fun and get creative!
The Essential Toolkit for Affordable 3D Nail Art
Before we start layering on the magic, let’s gather our supplies. The best part about affordable 3D nail art is that you likely already have some of these things, or they can be found at any drugstore or online at a great price. We’re focusing on budget-friendly essentials that deliver maximum impact.
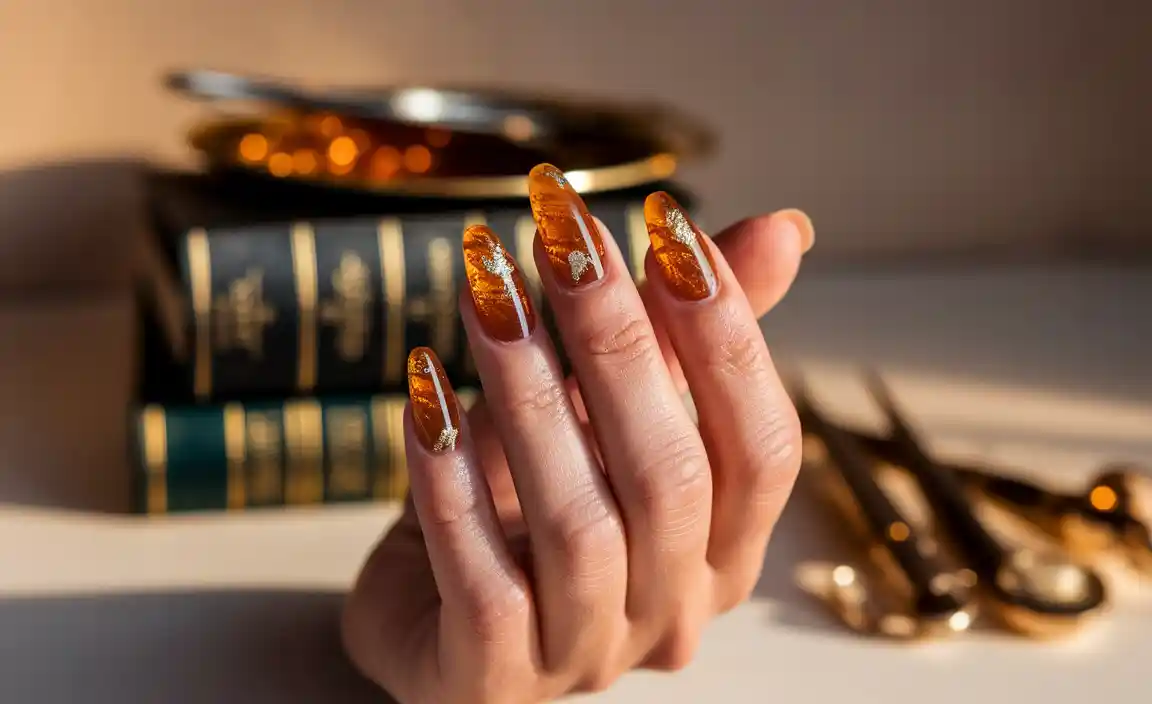
Must-Have Tools and Materials:
- Nail Polish: Your favorite base colors, plus bold colors for your 3D elements.
- Top Coat & Base Coat: Crucial for polish longevity and nail health. A good top coat will also help seal your 3D elements.
- Nail Art Brush Set: You don’t need fancy ones! A few fine-tipped brushes or even toothpicks can work wonders for detail and placement.
- Adhesive Builder Gel or Clear Polish: This will be your “glue” to attach 3D elements. Builder gel offers a stronger hold and more dimension. You can find these affordably online.
- Acrylic Powder (Optional but Recommended): For some techniques, a small pot of clear or colored acrylic powder is a game-changer for creating sturdy, sculpted elements.
- Embellishments: This is where the fun begins! Think small rhinestones, glitter, caviar beads, small charms, or even tiny dried flowers. Look for bulk packs online for the best value.
- Tweezers: For precise placement of small embellishments.
- Nail File & Buffer: For prepping your nails.
- Rubbing Alcohol or Nail Polish Remover: To clean your brush and nail surface.
- Small Dish or Palette: To mix colors or hold acrylic powder.
Remember, you don’t need every single item for every design. We’ll highlight which tools are most important for each technique as we go.
Technique 1: The Simple Stone & Glitter Accent
This is the most beginner-friendly way to add a touch of 3D flair. It’s easy, quick, and adds instant sparkle and texture. It’s perfect for adding a focal point to an otherwise simple manicure.
Steps:
- Prep Your Nails: Start with clean, dry nails. File them to your desired shape and gently buff the surface. Apply a base coat and let it dry completely.
- Apply Base Color: Paint your nails with your chosen polish color and let it dry thoroughly. For a long-lasting manicure, consider using a gel polish and UV/LED lamp if you have one, but regular polish works perfectly too.
- Strategize Your Accent: Decide which nail(s) you want to decorate. Typically, the ring finger or accent nail looks best.
- Apply Adhesive: On the accent nail, apply a small bead of your clear polish or builder gel where you want your gems or beads to go. Don’t spread it too thin, as it needs to hold the weight of the embellishments.
- Place Embellishments: Using your tweezers, carefully pick up your chosen rhinestones, caviar beads, or tiny charms and place them onto the wet adhesive. You can create patterns, clusters, or a single statement piece. For a more pronounced 3D effect, layer a few larger stones slightly overlapping.
- Add Glitter (Optional): If using glitter, you can either use glitter polish over the wet adhesive, or gently press loose glitter onto the wet adhesive with a brush.
- Seal the Deal: Once your embellishments are in place and you’re happy with the design, carefully apply a thin layer of top coat around the embellishments, being careful not to flood them. Let this dry completely. For extra security, you can apply a second thin layer of top coat once the first is fully dry.
Pro Tip: For an even more professional look, consider using 3D nail charms from craft stores. They come in countless shapes and are designed to be glued onto nails. Just ensure they lie relatively flat to avoid snagging.
Affordability Factor: Small rhinestones and caviar beads can be purchased in large multi-sized packs for just a few dollars online or at craft stores. A bottle of clear polish or builder gel lasts a long time.
Sample Gemstone & Glitter Placement Ideas
| Design Style | Description | Best For | Affordability Tip |
|---|---|---|---|
| Single Statement Gem | One large, eye-catching rhinestone placed strategically (e.g., at the cuticle or tip). | Elegant, minimalist look. | Buy mixed packs of rhinestones; use your favorite large one. |
| Gem Cluster | A small group of varied-sized gems clustered together. | Glamorous, attention-grabbing. | Mix small and medium stones for fullness without overspending. |
| Caviar Bead Line | A line of tiny metallic or colored beads along the smile line or cuticle. | Chic, modern, textured. | Caviar beads are inexpensive in bulk. |
| Glitter Gradient with Gems | Apply glitter to the tip or cuticle area and place a few gems within the glitter. | Sparkling, festive. | Use inexpensive loose craft glitter. |
Technique 2: The Sculpted Flower (Using Acrylic Powder)
This technique uses acrylic powder and a gel or liquid monomer (though for beginners, we’ll stick to gel for simplicity and less fumes) to create dimensional flowers and shapes directly on the nail. It sounds advanced, but it’s surprisingly simple once you get the hang of it!
What You’ll Need (Specific to this technique):
- Clear Builder Gel or a UV/LED Gel Top Coat (thick consistency is best)
- Acrylic Powder (clear or colored)
- A gel brush or a clean, stiff brush (like a watercolor brush, but dedicated to nails)
- Tweezers (for placing details like glitter centers)
- UV/LED Lamp (if using gel products – highly recommended for this technique’s longevity)
Steps:
- Prepare Nail & Apply Base: Start with your prepped, polished, and dry nails. Apply a thin layer of builder gel or gel top coat to the area where you want your flower to be. If you have a UV/LED lamp, cure this layer briefly (about 10-15 seconds, depending on your lamp) – this makes it slightly tacky, perfect for picking up powder.
- Dip & Create: Dip your brush into the acrylic powder. Gently tap off any excess.
- Form the Petals: Pick up a small “bead” of the gel from your nail onto your brush. Then, dip the brush tip lightly into the acrylic powder. You’ll see the powder start to combine with the gel, creating a workable, slightly stiff paste. Use your brush to dab and shape this mixture into petal shapes on the nail. Think of it like tiny dabs and pulls. You’re building the shape layer by layer.
- For simple petals: Dab small blobs of the gel/powder mixture where you want them, then gently press and shape them into curves with your brush.
- For a more sculpted look: You can pick up a slightly larger amount of the gel/powder mix and use your brush to sculpt and define the edges of your petals.
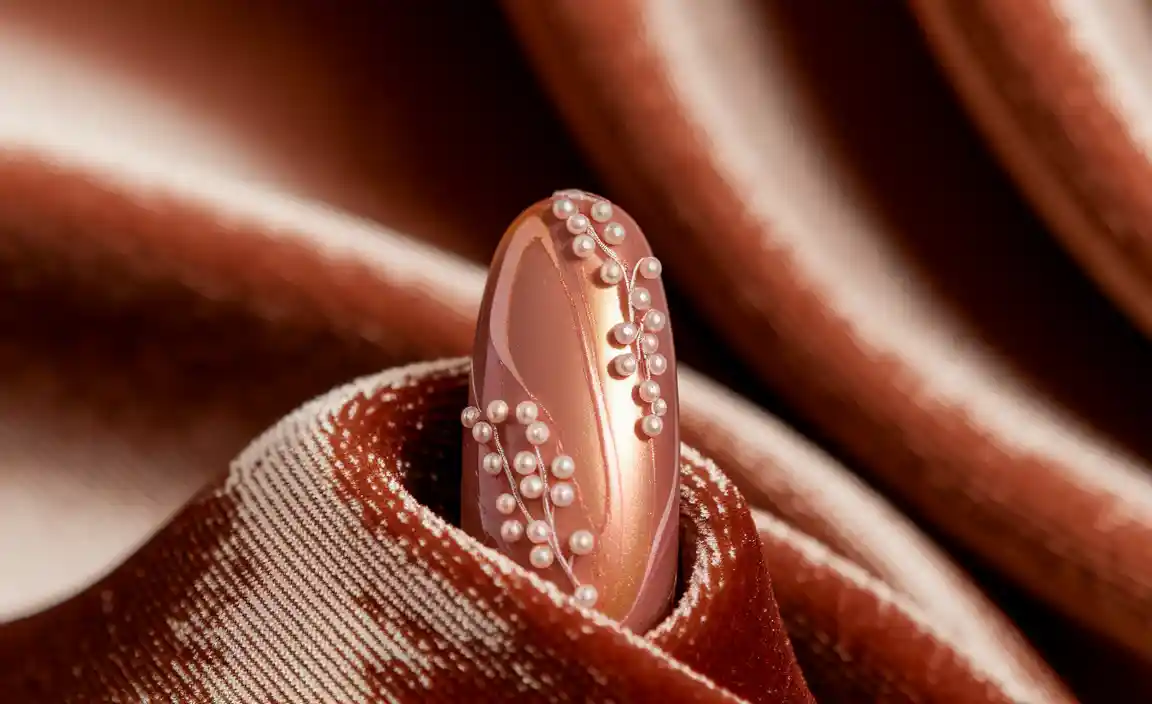
- Build the Flower: Continue adding gel/powder “petals” until you’ve formed your desired flower shape. You can make a simple daisy with 5-6 petals or a more complex rose by layering and curling petals.
- Add Details: For the center of the flower, you can use a tiny dab of gel and carefully place a small rhinestone, a few micro beads (caviar), or some fine glitter onto it using tweezers.
- Cure: Once your flower is shaped and detailed to your liking, cure your nail under your UV/LED lamp for the recommended time (usually 30-60 seconds for most gels). This hardens the entire structure.
- Seal (Optional but Recommended): For extra durability and a glossy finish, apply a thin layer of your gel top coat around the sculpted flower, making sure not to cover its texture too much. Cure again.
Pro Tip: Practice on a spare nail tip or a piece of paper first! Getting a feel for the gel-to-powder ratio and how the mixture behaves is key. Don’t be afraid to wipe away and try again. For even easier flower shapes, you can buy silicone 3D nail molds and fill them with the gel/powder mixture before applying to the nail.
Affordability Factor: A small pot of acrylic powder is incredibly inexpensive and lasts for dozens of applications. Builder gels and gel top coats, while an initial investment, are used sparingly for 3D effects and last a long time, making your 3D art cost-per-design incredibly low.
3D Sculpted Design Considerations
| Design Element | Technique | Pros | Cons | Affordability Notes |
|---|---|---|---|---|
| Simple Flower Petals | Dabbing gel/powder mix | Easy to learn, quick results. | Can look a bit basic if not carefully shaped. | Uses minimal materials. |
| Sculpted Petals/Shapes | Using brush to shape gel/powder mix | More defined and professional look. | Requires a bit more practice and brush control. | Gel and powder are cost-effective staples. |
| 3D Charms | Adhesive placement | Instant 3D effect, wide variety available. | Can be bulky, might snag. | Small charms can be expensive individually; buy bulk packs. |
| Geometric Shapes | Using gel/powder mix or applying pre-made shapes | Modern and chic. | Can be tricky to get perfect symmetry. | DIY shapes are cheap; pre-made can vary in cost. |
Technique 3: The Decal Overlay
This is another fantastically simple way to get 3D-like effects. You create a design on a smooth surface (like a plastic sheet or silicone mat) and then peel it off to place it onto your nail when it’s dry. It gives a raised, layered look that’s really eye-catching.
What You’ll Need:
- Thick Nail Polish or Gel Polish (for the design)
- A Non-Stick Surface: A silicone mat (like a baking mat, but dedicate one for nails!), a plastic stencil sheet, or non-stick craft paper.
- Nail Polish or Gel Top Coat (as adhesive)
- Your prepared nails
- Tweezers
Steps:
- Prepare Your Surface: Ensure your silicone mat or plastic sheet is clean and smooth.
- Create Your Design: Using your polish and a fine-tipped brush or toothpick, paint your desired design onto the non-stick surface. This could be abstract swirls, floral patterns, or even simple dots. Let the polish dry completely. If using gel polish, cure each layer as you go or cure the whole design once it’s painted.
- Build Layers (Optional): For a thicker, more prominent 3D effect, you can add another thin layer of polish over the dried design and let it cure (if gel) or dry.
- Peel Away: Once the design is fully dry (or cured), it should peel away from the non-stick surface cleanly. If using gel, you might need to gently lift an edge with a thin tool.
- Apply to Nail: Apply a layer of clear polish or builder gel to your nail where you want the decal to go. While it’s still wet (or tacky if using gel), carefully position the decal using tweezers. Gently press it down to adhere.
- Seal: Apply a thin layer of top coat around the decal, gently covering the edges to secure it without flattening the design. If you want a completely smooth finish, you can apply a thicker top coat or builder gel over the entire nail, ensuring the decal is fully encased, then cure and file/buff for a seamless look.
Pro Tip: Experiment with different polish formulas! Some thicker, more opaque polishes work best for decals. You can also embed small glitters or beads into the wet polish on your mat before it dries to create intricate, layered decals.
Affordability Factor: This is one of the most budget-friendly techniques. You can use up old nail polishes you might not wear otherwise, and a silicone mat is a one-time purchase that you’ll use for countless designs. Basic craft paper or plastic stencils are also very cheap.
Decal Overlay Design Inspiration
| Design Idea | How to Create | Best For | Affordability Bonus |
|---|---|---|---|
| Swirls & Curls | Paint thin swirls and dots of complementary colors on your mat. | Bohemian, artistic, playful. | Uses up small amounts of leftover polishes efficiently. |
| Miniature Flowers | Paint tiny flower shapes, then peel and cluster them on the nail. | Dainty, romantic, sweet. | Great for practicing small painting details. |
| Abstract Geometric | Paint lines and simple shapes, then layer them. | Modern, edgy, chic. | Easy to create sharp lines with a steady hand. |
| Textured Dots | Apply polish dots, then add a top coat and press micro-beads into them on the mat before drying. | Textured, chic, unique dimension. | Caviar beads are inexpensive in bulk and add significant flair. |
Making 3D Nail Art Last
No matter which 3D technique you choose, proper application and sealing are key to making your designs durable. Here are a few tips:
- Start with a Clean Canvas: Ensure your nails are clean, dry, and free of oils.
- Proper Base Coat: A good base coat provides adhesion and protects your natural nail.
- Don’t Skimp on Top Coat (or Gel Top Coat): This is your sealant. Apply it carefully around your 3D elements. If using gel, ensure the entire nail surface, including the 3D elements, is fully encased and cured properly.
- Avoid Harsh Chemicals: Try to wear gloves when doing chores that involve prolonged exposure to water or chemicals,

