Discover easy nail design ideas for beginners! Start with simple techniques, essential tools, and a little practice to create beautiful DIY manicures that boost your confidence and style.
Hey there, fellow nail enthusiasts! Are you dreaming of gorgeous, artful nails but feel a bit overwhelmed by all the fancy designs you see online? You’re not alone! Many of us start with basic polish, wishing we could add a little flair without needing a nail art degree. The good news?
Beautiful, creative nails are totally within reach, even if you’re just starting out. We’re going to break down everything you need to know, from the must-have tools to super simple design ideas that anyone can master. Get ready to unleash your inner nail artist!
Nail Design for Beginners: Getting Started
Starting your nail design journey should be fun, not frustrating! Think of it like learning any new skill – a little patience and the right approach go a long way. We’ll cover the basics to ensure you have a solid foundation for all your creative endeavors.
Your Beginner Nail Art Toolkit: Essentials
Before we dive into designs, let’s gather your essential tools. You don’t need a professional salon’s worth of gadgets to create stunning looks. These items will be your best friends as you explore the world of nail art.
Must-Have Nail Polish
- Base Coat: Protects your natural nails from staining and helps polish adhere better.
- Top Coat: Adds shine and seals your design, making it last longer.
- Color Polishes: Start with a few of your favorite shades! Neutrals, pastels, and classic cremes are great for beginners.
Essential Nail Art Tools
- Fine-Tipped Brush: Perfect for drawing lines, dots, and simple shapes. You can find dedicated nail art brushes or repurpose a clean, fine eyeliner brush.
- Dotting Tools: These come with various sized ball tips. They are fantastic for creating perfect dots and swirls. A toothpick can be a makeshift substitute in a pinch!
- Nail File: For shaping your nails to your desired look.
- Cuticle Pusher: To gently push back your cuticles for a clean canvas.
- Nail Polish Remover & Cotton Pads: For cleaning up mistakes and switching colors.
- Paper Towels or Old Fabric: To protect your workspace and clean excess polish from brushes.
Helpful (But Not Essential Yet)
- Nail Art Pens/Stickers: Offer quick and easy decorative elements.
- Rhinestones/Gems: For adding a touch of sparkle.
- Striping Tape: For creating clean, geometric lines.
Preparing Your Nails for Design
A successful nail design starts with a well-prepped nail. This is the foundation that makes your art look polished and last longer.
Step-by-Step Nail Prep:
- Cleanse Your Nails: Wash your hands thoroughly and make sure your nails are free from old polish, oils, and lotions.
- Shape Your Nails: Use a nail file to gently shape your nails. Filing in one direction helps prevent weak, split edges.
- Cuticle Care: Gently push back your cuticles with a cuticle pusher. You can also apply a nice cuticle oil to keep them moisturized and healthy. A healthy cuticle area makes your polish look so much cleaner!
- Buff (Optional): A gentle buffing can smooth out ridges and give your nails a nice surface for polish to adhere to.
- Apply Base Coat: This is crucial! Apply one thin layer of your base coat and let it dry completely. This prevents staining and provides a smooth surface.
Easy Nail Design Ideas for Beginners
Here are some of our favorite, super-achievable nail design ideas that will have you feeling like a pro in no time!
1. The Classic French Tip (Reimagined!)
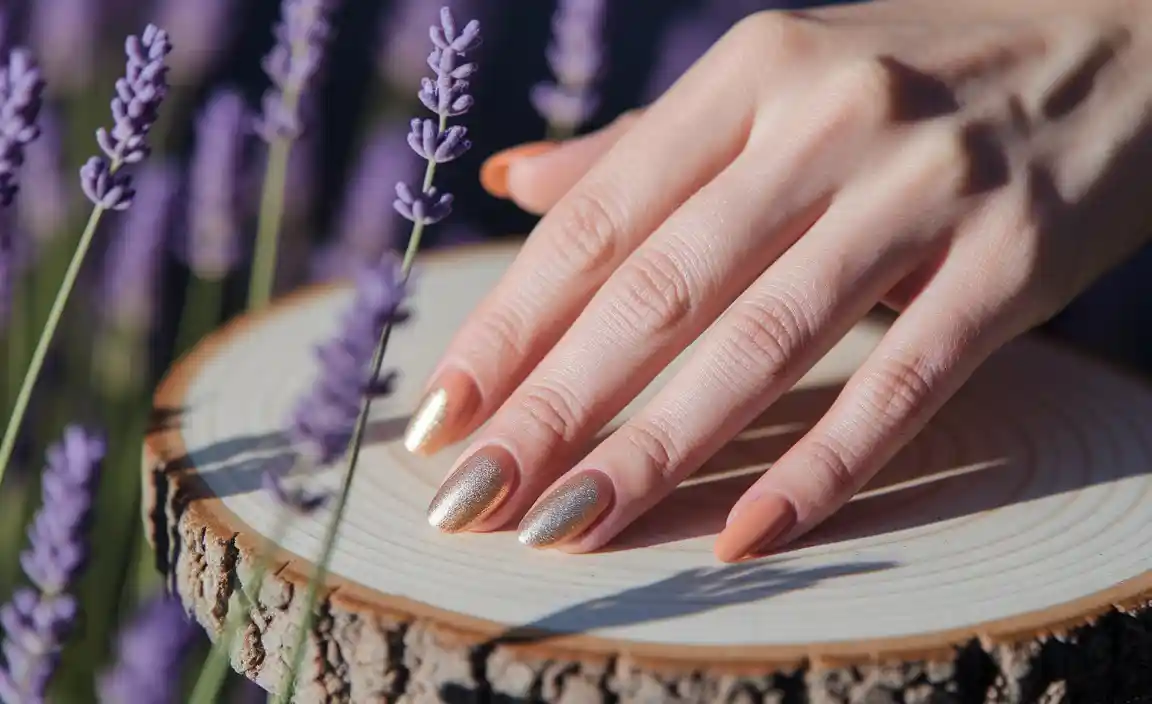
The French manicure is a timeless classic, but we can give it a beginner-friendly twist. Instead of perfect white tips, try a subtle colored tip or just a thin line.
How to Do It:
- Paint your nails your desired base color and let it dry completely.
- Using a fine-tipped brush or even the edge of another polish applicator if you’re feeling brave, carefully paint a thin line along the free edge of your nail.
- For a trendy look, use a pastel color or a metallic shade instead of white.
- Seal with a top coat.
2. Easy Dot Mani
Dots are a beginner’s best friend! They are forgiving and can be made in any size or color combination.
How to Do It:
- Apply your base color and let it dry.
- Dip your dotting tool (or toothpick) into a contrasting polish color.
- Gently press the dotting tool onto your nail to create a dot.
- Repeat to create patterns! You can make a single large dot, cover the whole nail, create flowers, or even spell out initials.
- Seal with a top coat.
3. Simple Stripes and Lines
Clean lines can elevate your manicure instantly. You don’t need steady hands for this if you use a little help!
How to Do It:
- Paint your nails your base color and let them dry thoroughly.
- Method 1 (Freehand): Use a very fine-tipped brush dipped in a contrasting color to draw thin lines. Go slow!
- Method 2 (Tape): Once your base color is completely dry, carefully apply scotch tape or nail striping tape across your nail at an angle. Paint over the tape with a contrasting color. Immediately peel off the tape while the polish is still wet.
- Repeat on other nails or add more lines.
- Seal with a top coat.
4. Gradient or Ombre Effect
This looks much harder than it is! It creates a beautiful, seamless blend of colors.
How to Do It:
- Start with a light base color on your nails, let it dry.
- Grab a makeup sponge (a clean one!).
- Apply two or three coordinating polish colors in stripes onto the sponge.
- Quickly dab the sponge onto your nail, pressing gently to transfer the colors. You might need to reapply polish to the sponge and dab a few times to get a good blend.
- Clean up any polish that got onto your skin with nail polish remover.
- Seal with a top coat.
5. The Accent Nail Concept
This is the easiest way to dip your toes into nail art. Simply decorate just one nail on each hand while the others remain a solid color.
How to Do It:
- Paint all your nails with your chosen base color.
- On one nail (usually the ring finger), apply a simple design like dots, stripes, or even a sticker once the base color is dry.
- Ensure the accent nail is fully dry before using your hands for anything too vigorous.
- Seal with a top coat on all nails.
6. Half-Moon Manicure
This retro-inspired look is super chic and surprisingly simple.
How to Do It:
- Paint your nails your chosen base color and let it dry completely.
- Once dry, use a small circular sticker or guide (like a coin or hole punch reinforcement sticker) placed at the base of your nail, near the cuticle, to act as a shield.
- Paint the rest of your nail with a contrasting color.
- Carefully remove the sticker while the polish is still wet.
- Let dry and seal with a top coat.
Tips for Success and Avoiding Mistakes
Even with the simplest designs, a few pro tips can make a world of difference. These are the secrets to making your beginner nail art look salon-worthy!
Technique and Application Tips:
- Thin Coats are Key: Always apply polish in thin, even coats. Thick coats take longer to dry and are more prone to smudging and chipping. You can always add another thin coat if needed.
- Start Simple: Don’t try a 10-step marbling design on day one. Master dots, lines, and solid colors first.
- Patience is a Virtue: Let each coat of polish dry completely before adding the next layer or design element. This is the most common cause of smudges! A quick-drying top coat can be a lifesaver here. You can also use a fan or cool air from a hairdryer (on a cool setting) to speed things up.
- Clean Up As You Go: Keep nail polish remover and a fine-tipped brush or orangewood stick handy for immediate clean-up of any stray polish. This makes a huge difference in the final look. Dip your clean-up brush in remover, wipe off excess on a paper towel, and then carefully trace around your cuticle and nail edges.
- Practice on Paper First: If you’re trying a tricky line or dot pattern, sketch it out on a piece of paper or even a plastic baggie first to get a feel for the pressure and movement.
- Workspace Prep: Always protect your surface with old newspapers or paper towels. Nail polish spills happen!
- Good Lighting: Ensure you have good, natural light or adequate artificial lighting when doing your nails. This helps you see details and apply polish evenly.
Understanding Nail Articulation and Longevity
Nail art isn’t just about the look; it’s also about how long it lasts. Understanding a few basic principles can help your designs stay pristine.
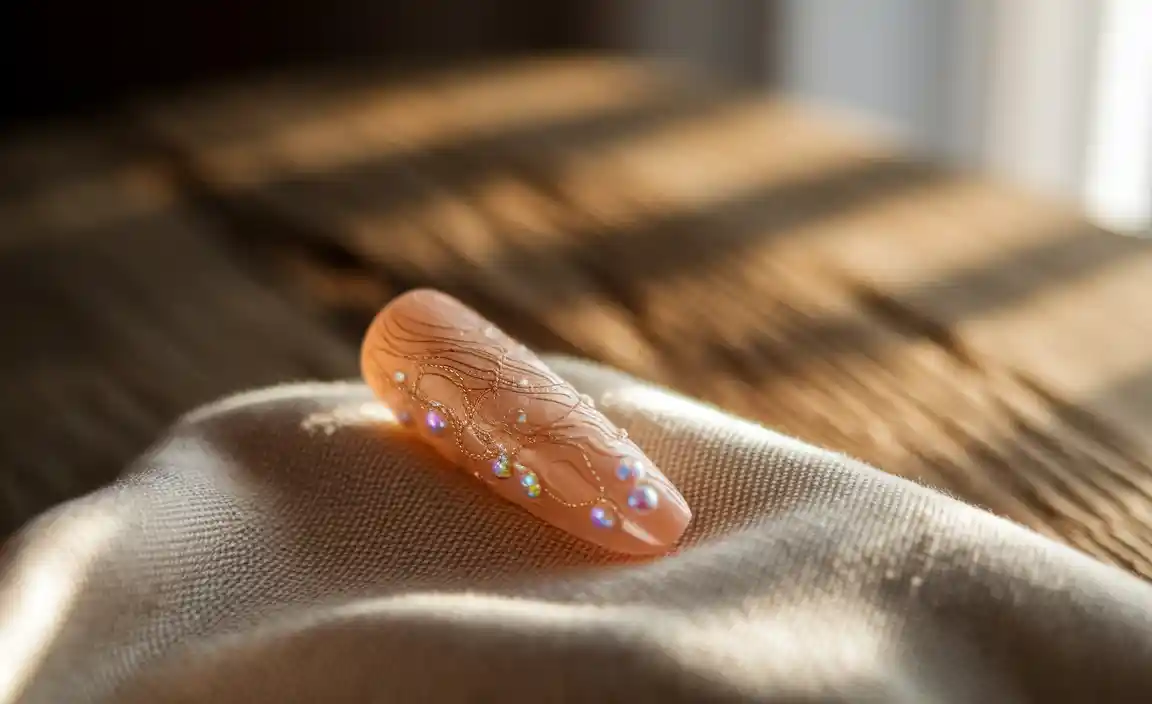
Nail Health and Design
Healthy nails are the best canvas for any nail art. If your nails are prone to breaking or peeling, they might not hold intricate designs as well. Maintaining good nail health can improve the longevity of your manicures. For more on keeping your nails strong and healthy, the WomensHealth.gov Nail Care Tips offer some excellent advice.
Common Nail Art Problems and Solutions
| Problem | Cause | Solution |
| :———————– | :—————————————- | :——————————————————————————————————————————————————————————————————————————- |
| Smudging | Not letting coats dry sufficiently. | Allow ample drying time between coats and layers. Use quick-dry drops or top coats. |
| Chipping | Thin polish coats; weak nail edges. | Apply polish in thin, even coats. Seal the free edge of your nail with polish and top coat. Ensure your base and top coats are fresh. |
| Uneven lines/dots | Inconsistent pressure; old tools. | Use light, consistent pressure. Ensure your dotting tools and brushes are clean and in good condition. Practice strokes on paper. |
| Polish not drying hard | Polish formula; humidity; thick coats. | Use a good quality, quick-drying top coat. Avoid very thick coats, which can take days to fully harden. Ensure good ventilation. |
| Bubbles in polish | Shaking the bottle vigorously; thick coats. | Roll polish bottles gently between your hands instead of shaking. Apply polish in thin coats. |
| Staining | Lack of base coat; dark polish usage. | Always use a base coat, especially with dark or vibrant polishes. Remove polish promptly and don’t let it sit on nails for extended periods. |
Trends to Try for Beginners
Nail trends are constantly evolving, but many can be adapted for easy DIY manicures. Focus on techniques that are forgiving and allow for personalization.
Minimalist Designs
Less is often more! Think single dots, tiny hearts, simple lines, or geometric shapes applied to a nude or pastel base. These look sophisticated but are incredibly easy to recreate.
Color Blocking
This involves using distinct blocks of color on one nail. You can achieve this with tape for clean lines between colors or by simply painting different sections clearly. Think contrasting bold colors or complementary shades.
Subtle Glitter
Instead of full glitter nails, try adding a hint of sparkle. A glitter gradient at the tip, a strip of glitter polish along the cuticle, or a few strategically placed glitter accents can elevate a simple mani.
Animal Print Inspired
You don’t need to be an expert to create chic animal-print-like patterns. Think simple dots and dashes in leopard or snake patterns. For leopard print, try dabbing a few brown dots, then smaller black dots around a few of them, or drawing small, irregular lines resembling tortoise shell.
Negative Space Designs
These designs intentionally leave parts of your natural nail visible. For example, you could create a simple V-shape design at the tip, leaving the rest of the nail bare, or paint a stripe down the middle. This is forgiving as any imperfections are less noticeable!
Beyond the Basics: Next Steps
Once you feel comfortable with these introductory designs, you can start experimenting with more complex techniques.
Investing in Better Tools
As your skills grow, you might consider investing in a higher-quality set of detail brushes or a professional dotting tool kit. This can make intricate designs easier to execute. Brands like Étam offer a lovely range of polishes that can serve as excellent bases or design colors.
Learning New Techniques
Watch tutorials, follow nail artists whose work you admire, and don’t be afraid to try new things. Look into water marbling, stamping, or simple freehand florals as your confidence builds.
Experimenting with Textures
Consider adding different finishes, like matte top coats over glossy polish, or incorporating textured polishes like flocking powder or sugar effects.
Frequently Asked Questions About Beginner Nail Designs
Q: What are the easiest nail designs for beginners?
A: The easiest designs involve simple elements like dots, stripes, French tips, half-moons, and accent nails. Using nail art stickers or pre-made guides can also simplify things greatly.
Q: How long does beginner nail art usually take?
A: Depending on the design and your inexperience, a simple design can take anywhere from 20 minutes to an hour, including prep and drying time. Patience is key!
Q: What is the most important tool for nail art?
A: For beginners, a good quality base coat and top coat are paramount for longevity and nail health. For design itself, a fine-tipped brush or a dotting tool is incredibly versatile and easy to use.
Q: How do I prevent my nail designs from smudging?
<p
