Polygel nail designs offer a durable, beautiful, and versatile way to express your style. Whether you prefer simple elegance or intricate art, polygel provides a fantastic canvas. This guide will walk you through stunning design ideas and essential tips to achieve salon-worthy results at home, making it easier than ever to create gorgeous, long-lasting manicures. Get ready to elevate your nail game!
Are you dreaming of beautiful, strong nails that last? Maybe you’ve seen gorgeous polygel nail designs online and wondered if you could achieve them yourself. It’s totally normal to feel a little overwhelmed at first! Polygel can seem a bit tricky, but with the right guidance, it becomes super manageable. We’re here to break it all down, making it fun and easy to create stunning polygel nails you’ll love. Get ready to unleash your inner nail pro!
What is Polygel and Why is it Amazing for Nail Designs?
So, what exactly is polygel? Think of it as a hybrid between acrylic and hard gel – the best of both worlds! It’s a thicker, putty-like substance that you sculpt onto your nails (or nail forms) and then cure under a UV or LED lamp. This unique formula gives you more control than traditional gel polish, allowing you to build structure and create beautiful shapes.
Why is polygel such a star for nail designs? Let’s count the ways:
- Durability: Polygel nails are incredibly strong and less prone to chipping or breaking compared to regular nail polish or even some gel polishes. This means your stunning designs will stay flawless for weeks!
- Flexibility: Despite its strength, polygel remains somewhat flexible, mimicking the natural nail. This reduces the risk of a full breakage.
- Lightweight Feel: It feels more natural and less heavy on the nail than traditional acrylics.
- Odorless: Unlike acrylics, polygel has no harsh chemical smell, making the application process much more pleasant.
- Easy to Work With: The thicker consistency means it doesn’t run or self-level as quickly as gel polish, giving beginners more time to shape and perfect their application.
- Versatile Canvas: Polygel is perfect for creating nail extensions, overlays, or just adding strength to your natural nails. It provides a smooth, even surface ideal for any type of design.
Essential Tools and Supplies for Polygel Nail Designs
Before we dive into the fun part – the designs! – let’s make sure you have the right tools. Think of these as your artist’s supplies for creating beautiful nail art.
The Must-Haves:
- Polygel: You’ll need a starter kit or individual polygel colors. Don’t be afraid to pick up a few shades to play with!
- Nail Forms or Tips: These are crucial for creating extensions if you want to add length. Nail forms are stickers that go under the free edge of your natural nail, and you build the polygel onto them. Tips are pre-shaped plastic pieces.
- Slip Solution: This special liquid (often alcohol-based) helps prevent the polygel from sticking to your brush and makes it easier to shape. You can often buy specific slip solutions or use 70% isopropyl alcohol.
- Polygel Brush/Spatula Tool: One side is usually a spatula for scooping and placing the polygel, and the other is a brush for spreading and shaping it.
- UV or LED Lamp: This is essential for curing (hardening) the polygel. Make sure your lamp wattage is sufficient for polygel; a minimum of 36W is usually recommended for faster curing. You can find good nail lamps on sites like Amazon.
- Nail File and Buffer: You’ll need these for shaping, smoothing, and preparing your natural nails, as well as for refining the polygel shape after curing. A 100/180 grit file is a good starting point.
- Cuticle Pusher and Nippers: For proper nail prep, you’ll want to gently push back and trim any overgrown cuticle.
- Nail Prep Dehydrator/Primer: These products help ensure the polygel adheres well to your natural nail by removing moisture and oils.
- Top Coat and Base Coat: A good base coat protects your natural nail and helps polygel adhere. A no-wipe top coat will seal your design and provide a glossy finish without needing to be wiped off after curing.
- Rubbing Alcohol (for cleaning): Useful for cleaning your brush and tools.
Optional but Helpful:
- Nail Dust Brush: For sweeping away any dust after filing.
- Cuticle Oil: To nourish your cuticles after the manicure is complete.
- Nail Art Supplies: Glitter, rhinestones, stud, nail polish pens, stamping plates, etc., depending on the design you want to create.
Step-by-Step Guide to Your First Polygel Nail Design
Ready to get started? Let’s make your first polygel experience a success!
Step 1: Prep Your Nails
This is the MOST important step for longevity! Gently push back your cuticles using a cuticle pusher. If needed, carefully trim any hangnails or excess cuticle skin with nippers. Then, lightly buff the surface of your natural nail with a fine-grit file (around 180-240 grit) to remove shine. This creates a surface for the product to adhere to.
Next, apply a nail dehydrator and then a primer to ensure all oils and moisture are gone. Make sure to follow the product instructions carefully.
Step 2: Apply Nail Forms or Tips (if adding length)
If you’re using nail forms, carefully slide one under the free edge of your natural nail, ensuring a snug fit. If you’re using tips, select the correct size tip for each nail and apply it to the free edge using nail glue, then trim and shape it to your desired length. Most people find forms easier for polygel as you can sculpt the entire nail structure.
Step 3: Apply the Polygel!
Dip your polygel brush into the slip solution briefly, then wipe off excess on a lint-free wipe or paper towel. This makes the polygel non-sticky. Scoop a small bead of polygel with the spatula end of your tool. Place it onto your nail.
Using the brush end, slightly dampened with slip solution, gently pat and spread the polygel. Start from the cuticle area and move outwards. You’re aiming for an even layer, building a slight apex (the highest point of the nail) for strength. If using forms, extend the polygel out to create the desired nail shape.
It’s a bit like playing with playdough! Take your time. You can always add more polygel if needed. Ensure the product doesn’t touch your skin or cuticles, as this can cause lifting.
Step 4: Cure Under the Lamp
Once you’re happy with the shape, place your hand under your UV or LED lamp. Follow the recommended curing time for your specific polygel product and lamp (usually 30-60 seconds for LED, or 2-3 minutes for UV). It’s a good idea to cure one hand at a time.
Step 5: Shape and Refine
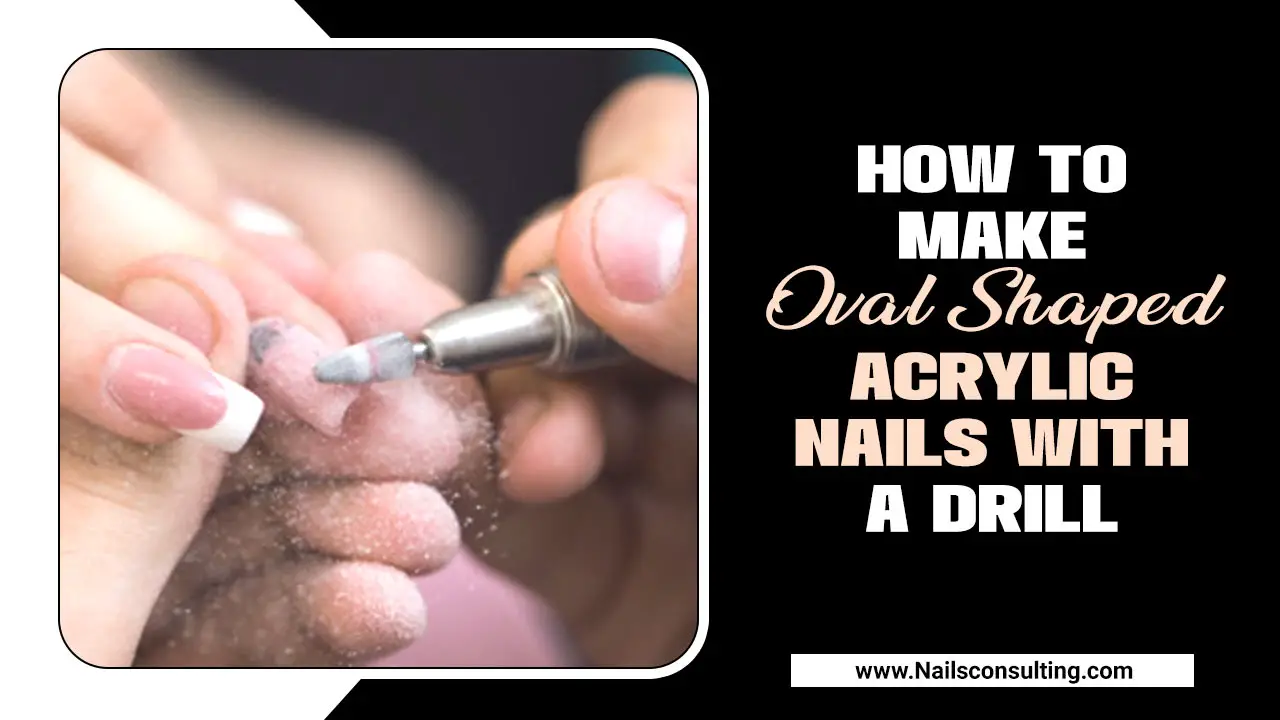
After curing, the polygel will be hard. Remove the nail form (if used). Use a nail file to perfect the shape and smooth out any bumps. A 100-grit file is good for removing bulk, and a 180-grit file is great for refining. You can also use a buffer to make the surface super smooth. Don’t forget to file the underside of the nail tip if you created extensions.
Step 6: Add Your Design!
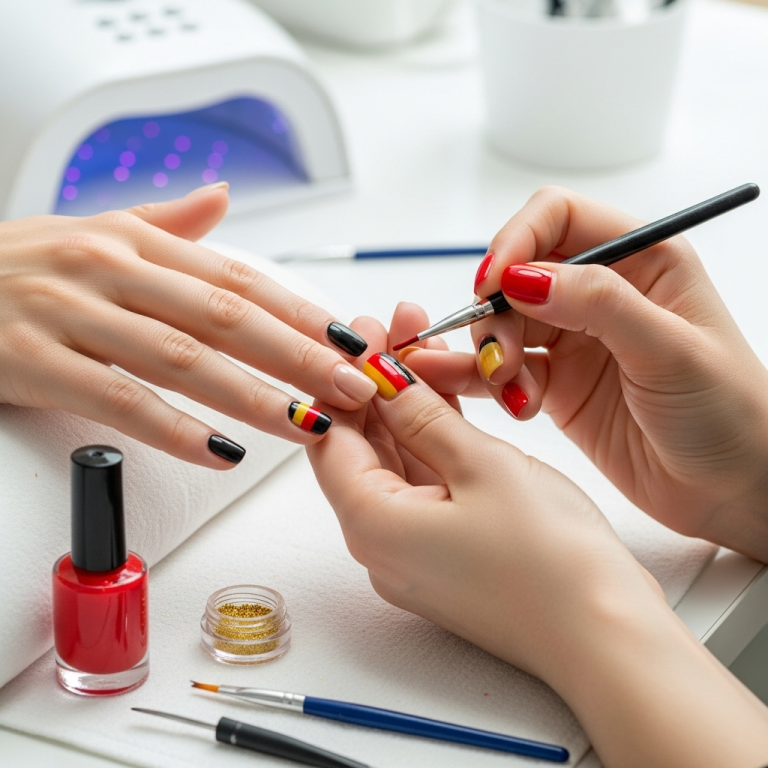
Now for the fun part! You can apply gel polish colors, draw with nail art pens, add glitter, or use other decorative elements. If you’re applying gel polish, remember to cure each layer according to the polish instructions.
Step 7: Apply Top Coat and Cure
Once your design is complete, apply a layer of no-wipe top coat over the entire nail, making sure to cap the free edge to prevent chipping. Cure this layer under your lamp as directed. After curing, you’re done! If your top coat requires wiping, use a lint-free wipe with isopropyl alcohol.
Step 8: Nourish Your Cuticles
Apply a drop of cuticle oil to each nail and gently massage it in. This hydrates your skin after the process.
Stunning Polygel Nail Design Ideas for Everyone
Polygel is a dream for creating all sorts of looks. Let’s explore some popular and achievable design ideas!
1. Classic French Manicure with a Polygel Twist
The French manicure is timeless, but polygel makes it even better. Instead of painting the white tip, you can sculpt it using a white or milky polygel for a perfectly defined, durable smile line. Or, try a colored French with vibrant tips!
- How-to: Apply nude or pink polygel as your base. Once cured and filed, use a fine brush and a contrasting colored gel polish or a smaller amount of colored polygel to carefully paint or sculpt the tip. Cure and top coat.
2. Ombre & Gradient Effects
Ombre nails are super popular and look fantastic with polygel’s smooth finish. You can create subtle or bold transitions between colors.
- How-to: Apply two different colored gel polishes to the nail, then use a special ombre brush or a thin brush with slip solution (or alcohol) to gently blend the colors together where they meet as they’re still wet. Cure. Alternatively, you can build up colors with polygel layers, blending each layer before curing.
3. Glitter & Sparkle Paradise
Who doesn’t love a bit of sparkle? Polygel is an excellent base for embedding glitter, powders, or even larger embellishments.
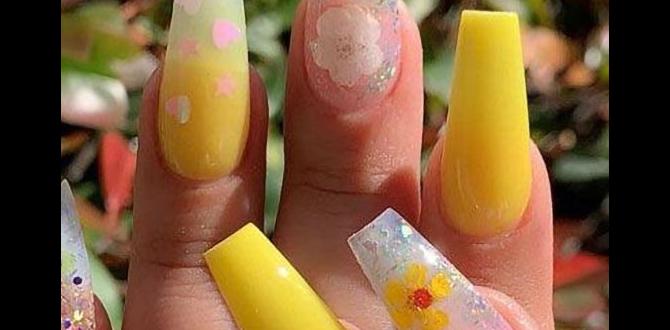
- How-to: Apply a thin coat of polygel or gel polish. While it’s still wet, sprinkle your chosen glitter or pigment powder over the nail. Gently pat it in with your finger or tool to embed it slightly. You can also mix glitter directly into clear polygel for a marbled effect. Cure and seal with a top coat. For full glitter coverage, use glitter polygel directly.
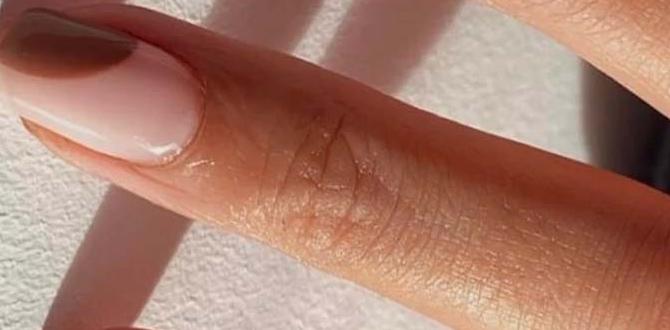
4. Simple & Chic Nude or Milky Nails
Sometimes, less is more! A perfectly executed nude, milky white, or soft pink polygel nail is elegant and sophisticated. The key here is the flawless application and shaping.
- How-to: Focus on nailing the application technique: achieving a smooth, even surface, perfect cuticle blend, and well-defined free edge. Ensure your chosen nude or milky polygel has excellent opacity.
5. Geometric & Line Art
Use fine nail art brushes and gel paints or polish to create sharp lines, patterns, or abstract geometric designs on top of your cured polygel base.
- How-to: After curing your base polygel color, sketch out your design lightly with a pencil if needed. Use a detail brush and contrasting gel polish or paint to draw your lines and shapes. Cure each color layer if using gel polish. Seal with a no-wipe top coat. Precision is key!
6. Gemstones & Jewels
Add some bling! Polygel provides a strong base for securing rhinestones, crystals, and other nail jewels.
- How-to: Apply a small bead of top coat or builder gel where you want to place the jewel. Use tweezers or a wax pencil to pick up and place the jewel. Press it gently into the sticky layer to secure. You can then carefully apply top coat around the jewel, avoiding flooding its surface, or encapsulate it fully with a final layer of clear polygel or top coat.
7. Encapsulated Designs
This technique involves encasing elements like glitter, dried flowers, sequins, or even 3D charms within layers of clear polygel.
- How-to: Apply a thin layer of clear polygel, place your decorative element on top, and then apply another layer of clear polygel to cover it completely. Ensure there are no air bubbles and the surface is smooth. File and shape as needed, then apply a final top coat. This method is great for protecting delicate items.
Polygel vs. Acrylic vs. Hard Gel: A Quick Comparison
It can be helpful to see how polygel stacks up against other popular nail enhancement options.
| Feature | Polygel | Acrylic | Hard Gel |
|---|---|---|---|
| Application | Putty-like, less self-leveling, good control, odorless. | Liquid monomer and powder, quick curing time, strong odor. | Thicker gel, self-leveling, requires precise application, odorless. |
| Durability | Very durable, strong, but flexible. | Very durable and strong, can be rigid. | Durable and strong, can be more prone to cracking than acrylic if not applied correctly. |
| Removal | Soaked off with acetone or filed off. | Soaked off with acetone or filed off. | Must be filed off (cannot be soaked off). |
| Feel | Lightweight and natural feeling. | Can feel heavier, more rigid. | Lightweight, similar to natural nails. |
| Best For | Beginners, strong extensions, ease of use, no strong odor. | Strong extensions, quick application once mastered, affordability. | Extensions, overlays, natural nail strength, durable gloss finishes. |
As you can see, polygel offers a great balance of ease of use, strength, and a comfortable wear experience, making it an excellent choice for beginners and pros alike. For more on nail enhancement safety, you can check out resources from organizations like the U.S. Food & Drug Administration (FDA) which provides consumer updates on cosmetic products.
Tips for Flawless Polygel Nail Designs
Achieving salon-quality results at home comes down to practice and a few key tips:
- Don’t overload your brush: Start with a small bead of polygel and add more if needed. Too much product can lead to thicker nails and potential lifting.
- Keep your brush slightly damp: A little slip solution on your brush is your best friend for smooth application. Too much will make the polygel slide around uncontrollably; too little will make it stick to your brush.
- Work in thin layers: It’s better to build up your nail structure with 2-3 thin layers of polygel than one thick, uneven layer.
- Clean your cuticle area thoroughly: Ensure no polygel touches your skin. This is crucial for preventing lifting and ensuring a natural look.
- File patiently: Don’t rush the shaping process. Take your time to get the perfect apex and sidewalls.
- Cap your free edge: When applying your base, color, and top coat, always swipe a little product along the very edge (tip) of your nail. This seals the edges and prevents chipping.
- Proper Curing is Key: Make sure your lamp is working correctly and that you’re curing for the full recommended time. Under-cured polygel will be weak and prone to damage.
- Practice, Practice, Practice! Your first attempt might not be perfect, and that’s totally fine! The more you practice, the better you’ll become at controlling the product and achieving your desired shapes and designs.
Frequently Asked Questions About Polygel Nail Designs
Q1: How long do polygel nails typically last?
A1: With proper application and care, polygel nails can last anywhere from 2 to 4 weeks. Longevity depends on factors like your nail growth rate, how well you followed prep steps, and how rough you are with your hands.
Q2: Can I apply regular nail polish over polygel?
A2: Yes! You can apply regular nail polish over a cured polygel nail. However, once the regular polish dries, it will be more prone to chipping than if you used gel polish. For best results and long-lasting color, gel polish is recommended.
Q3: Do I need a special base coat for polygel?
A3: While some polygel brands offer their own specific base gels, a good quality builder gel or gel polish base coat usually works perfectly fine. The most important

