Get the viral glazed donut nails look with 6 stunning and easy-to-achieve designs. From classic chrome to trendy color twists, learn how to get this shiny, mirror-like manicure at home for a professional finish that screams chic.
Dreaming of that irresistible, glossy finish on your nails? You know, the one that looks like a perfectly frosted donut? Glazed donut nails have taken the beauty world by storm, and it’s easy to see why! They’re super chic, surprisingly versatile, and can add a touch of effortless glamour to any outfit. But getting that perfect mirror-like shine might seem a little intimidating if you’re new to nail art. Don’t worry, I’m here to guide you! We’ll break down how to achieve this trending look with simple techniques and stunning design ideas. Get ready to elevate your manicure game!
***
What Exactly Are Glazed Donut Nails?
Glazed donut nails are a manicure style that mimics the shiny, almost reflective surface of a freshly glazed donut. The key element is a lustrous, pearlescent finish achieved by applying a chrome powder over a solid base color, usually a milky white or soft pink. This creates an ethereal, subtly iridescent effect that’s both eye-catching and sophisticated. It’s less about bold patterns and more about a luminous, smooth sheen that catches the light beautifully.
Why Are Glazed Donut Nails So Popular?
The surge in popularity for glazed donut nails, famously showcased by Hailey Bieber, can be attributed to a few factors:
- Elegance and Simplicity: They offer a sophisticated yet understated look that’s perfect for everyday wear or special occasions.
- Versatility: The basic concept can be adapted to almost any color base, allowing for endless customization.
- The “Clean Girl” Aesthetic: They align perfectly with the current trend for polished, minimalistic beauty.
- Instagrammable Appeal: That gorgeous, glossy finish photographs exceptionally well!
Essential Tools for Glazed Donut Nails
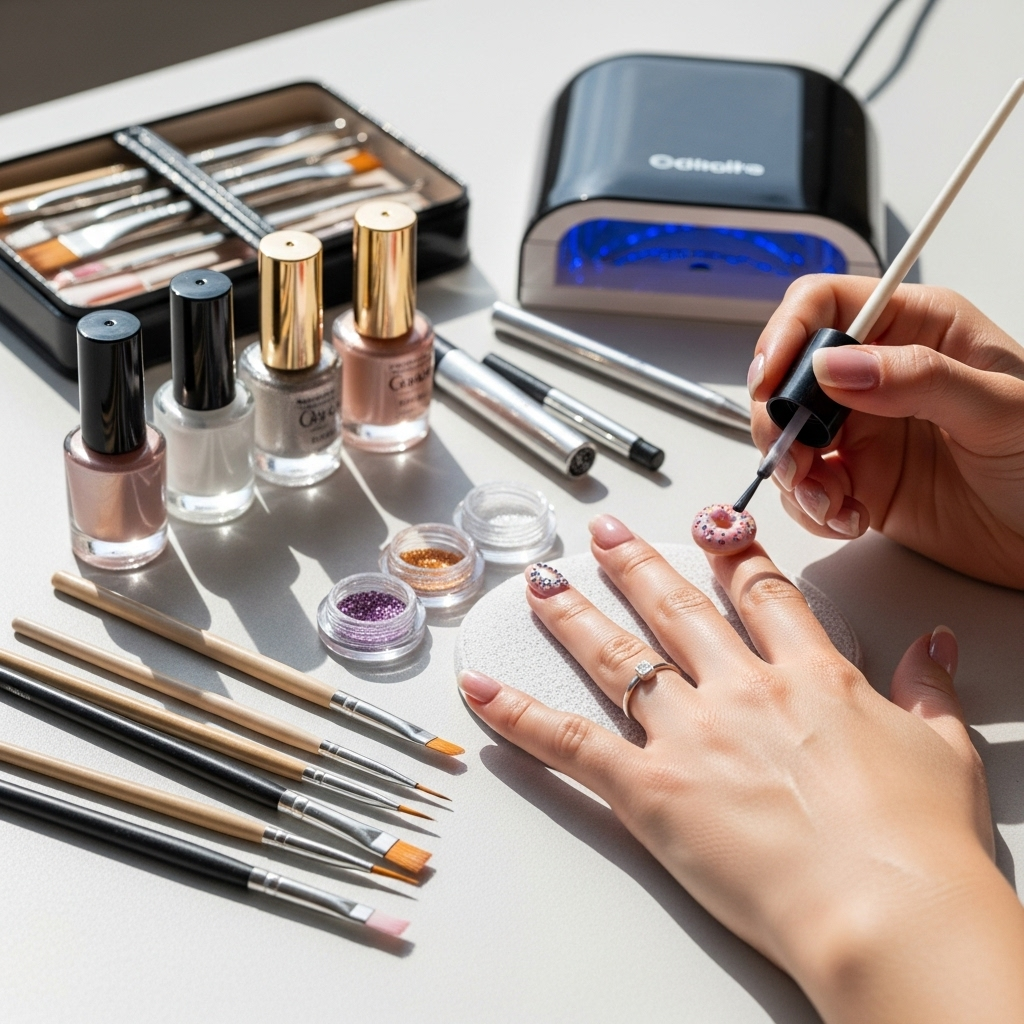
Before we dive into the designs, let’s make sure you have the right gear. Don’t worry, you don’t need a nail salon’s entire setup! Here’s a basic list:
- Base Coat: Essential for protecting your natural nails and ensuring polish adhesion.
- Your Chosen Polish Color: Opaque milky white, pale pink, or nude shades are popular, but any color can work!
- No-Wipe Gel Top Coat: This is crucial for the chrome powder to adhere properly. Regular top coats won’t work.
- Chrome Powder: Look for iridescent or pearlescent chrome powders. Many come with small applicators.
- UV/LED Nail Lamp: Gel polish and no-wipe top coats require curing under a lamp.
- Nail File and Buffer: For shaping and smoothing the nail surface.
- Cuticle Pusher: To prep your nail beds.
- Lint-Free Wipes: For cleaning excess powder.
For a deeper dive into nail care tools, check out NailCareHQ’s comprehensive guide to manicure and pedicure tools. It’s packed with info on what you really need!
The Basic Glazed Donut Technique (Step-by-Step)
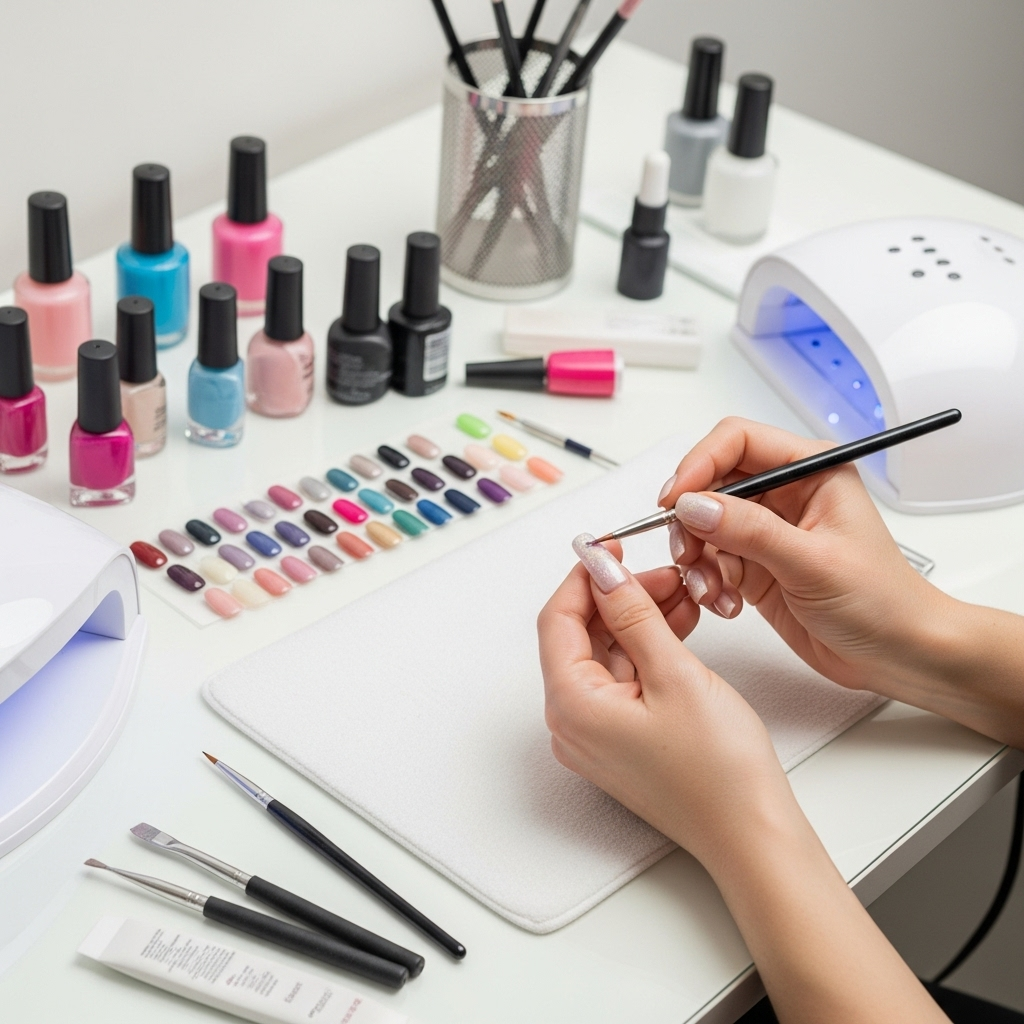
Mastering the base glaze is key before exploring different designs. Here’s how to do it:
- Prep Your Nails: Start by filing your nails to your desired shape, buffing gently to create a smooth surface. Push back your cuticles.
- Apply Base Coat: Apply a thin layer of your chosen base coat and cure under your UV/LED lamp according to the product instructions.
- Apply Your Color: Paint your nails with your chosen base color (e.g., milky white). Apply one or two thin coats for full opacity, curing each layer under the lamp.
- Apply No-Wipe Gel Top Coat: Apply a thin, even layer of the no-wipe gel top coat. This is the canvas for your glaze! Cure this layer under the lamp. Do not wipe it off!
- Apply Chrome Powder: Dip your applicator (often a small eyeshadow-style sponge or brush) into the chrome powder. Gently rub the powder onto the uncured gel top coat in a circular or back-and-forth motion until the nail is fully covered and has a mirror-like sheen.
- Brush Off Excess: Use a soft brush or lint-free wipe to gently remove any loose chrome powder from the nail and surrounding skin.
- Seal with Top Coat: Apply another layer of the no-wipe gel top coat to seal in the chrome effect and add extra shine. Cure this final layer under the lamp.
- Clean Up: Wipe away any stray powder from your skin with a lint-free wipe, and you’re done! You’ve got that gorgeous glaze.
This process creates the signature shiny, almost holographic finish that makes glazed donut nails so special. The “no-wipe” top coat is essential because it leaves a sticky surface that the pigment from the chrome powder can adhere to.
6 Stunning Glazed Donut Nail Designs to Try
Now that you’ve got the basic technique down, let’s get creative! Here are 6 beautiful ways to rock the glazed donut trend.
1. The Classic Milky White Glaze
This is the OG, the look that started it all! It’s pure, simple, and incredibly chic.
- Base Color: A soft, opaque milky white or a very light, almost translucent nude.
- Chrome Powder: A classic iridescent white or silver chrome powder.
- Why it Works: It’s the cleanest, most polished look. It elongates the fingers and works with literally any outfit or occasion. It’s subtle yet impactful.
- Perfect For: Beginners, everyday wear, formal events, or anyone who loves a minimalist aesthetic.
2. Rosy Pink Glaze
A sweet and feminine take on the classic, this version adds a touch of rosy warmth.
- Base Color: A light, sheer pink polish. Think “ballet slipper” pink.
- Chrome Powder: White iridescent or a soft rose gold chrome powder.
- Why it Works: The pink undertone adds a healthy flush and a softer glow compared to pure white. It feels youthful and fresh.
- Perfect For: Those who want a bit more color than milky white, spring and summer vibes, or a romantic look.
- DIY Tip: You can mix a tiny drop of pink gel polish into your white base, or simply use a sheer pink gel as your base color.
3. Peachy Nude Glaze
This warm and inviting shade offers a sophisticated, sun-kissed glow.
- Base Color: A creamy nude polish with subtle peachy or beige undertones.
- Chrome Powder: Gold chrome powder, a soft bronze chrome, or an iridescent pearl chrome.
- Why it Works: It’s incredibly flattering on a wide range of skin tones, giving a warm, healthy appearance. It’s subtle enough for work but glamorous enough for a night out.
- Perfect For: All seasons, warmer skin tones, or when you want a “my-nails-but-better” polished look.
4. Pastel Color Glaze
Inject some fun and personality by applying the glaze over a soft pastel hue!
- Base Color: Any light pastel shade you love – think baby blue, mint green, lilac, or pale yellow.
- Chrome Powder: White iridescent chrome powder is usually best for showing through the pastel, but experiment with subtle colored chromes!
- Why it Works: It’s a playful yet still sophisticated way to wear color. The glaze softens the pastel and gives it a dreamy, ethereal quality.
- Perfect For: Spring, summer, nail art enthusiasts who like a bit of color, or adding a whimsical touch to your look.
- Pro Tip: For lighter pastels, the glaze will be more pronounced. Deeper pastels might have a subtler sheen.
Here’s a quick comparison of base colors and the glaze effect:
| Base Color | Typical Glaze Effect | Best Chrome Powder Match | Overall Vibe |
|---|---|---|---|
| Milky White | High-shine, pure mirror | Silver/White Iridescent | Classic, Elegant, Minimalist |
| Sheer Pink | Soft, rosy luminescence | White Iridescent / Rose Gold | Feminine, Fresh, Romantic |
| Peachy Nude | Warm, sun-kissed glow | Gold / Pearl Iridescent | Sophisticated, Natural, Warm |
| Pastel Blue | Dreamy, soft blue sheen | White Iridescent | Playful, Ethereal, Fun |
| Lavender | Mystical, pearlescent shimmer | White Iridescent / Pink Chrome | Whimsical, Chic, Unique |
| Mint Green | Cool, refreshing glow | White Iridescent / Silver Chrome | Modern, Clean, Trendy |
5. Subtle Color Shift Glaze
Get ready for a little magic! These powders change color slightly depending on the light.
- Base Color: Can be milky white, a nude, or even a deeper opaque color like burgundy or navy if you want a more dramatic shift.
- Chrome Powder: Look for “color shift,” “duochrome,” or “holographic” chrome powders. These often shift between pink, blue, green, or gold.
- Why it Works: It adds an unexpected element of surprise and visual interest. It’s like a subtle shimmer with an extra layer of dimension.
- Perfect For: Those who love a bit of sparkle and dynamic effect, nail art adventurers.
- Tip: White or nude bases will show the most dramatic color shifts.
6. Glazed French Tips
A modern twist on a timeless classic, this design combines the crispness of French tips with the shimmer of the glaze effect.
- Base Color: A sheer nude or milky white base polish.
- French Tip Design: Apply a thin line of opaque white gel polish to the tips of the nails, or use a white gel paint. Cure.
- Glaze Application: Apply the chrome powder only over the white tips. You can either carefully do this with a small brush, or protect the rest of the nail with tape before applying. Alternatively, apply a top coat to the entire nail, then apply chrome powder all over, wipe excess, and then add white French tips with gel polish and cure. This creates a glazed-over-white effect.
- Why it Works: It’s sophisticated, elegant, and adds a subtle shimmer to a beloved nail style. It’s a great way to ease into chrome if you’re a French tip devotee.
- Alternative: You can also do a full glazed nail and then add French tips over the top using a regular polish color.
Maintaining Your Glazed Donut Nails
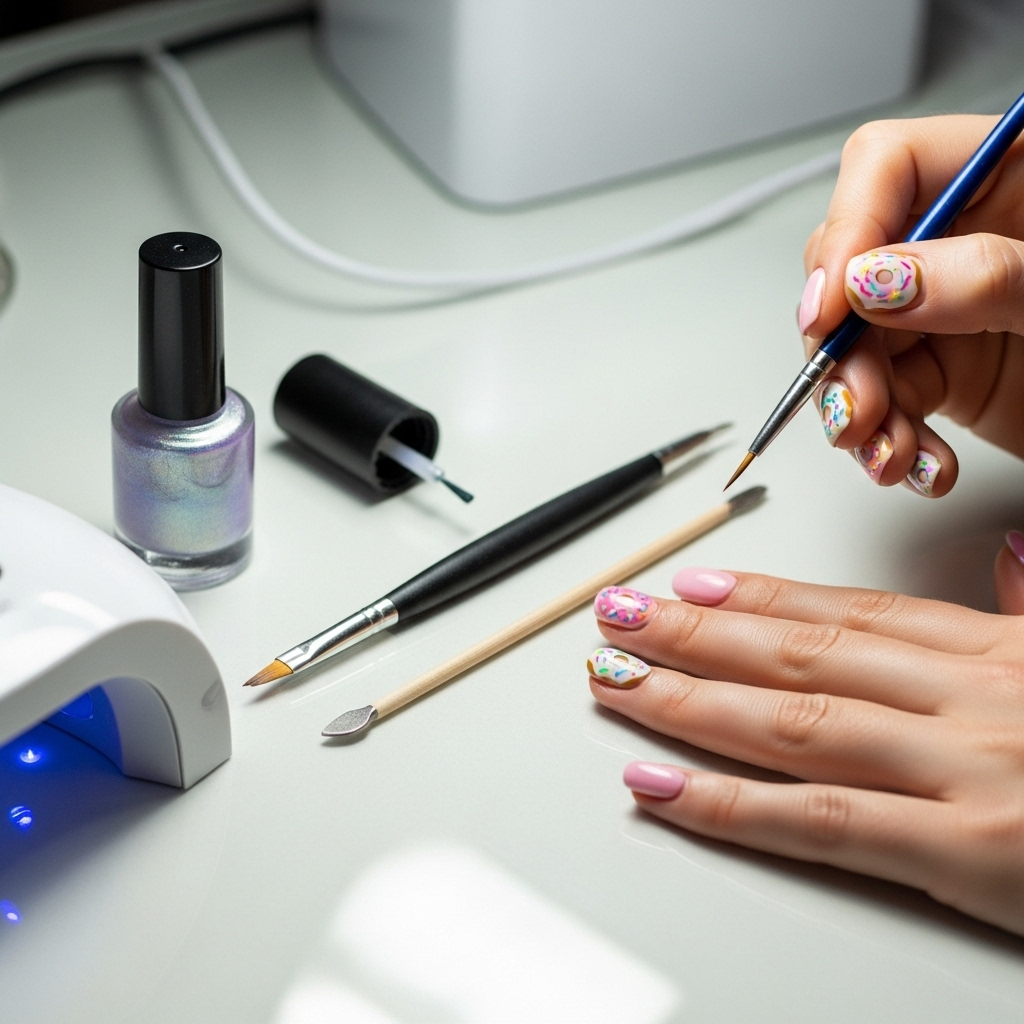
To keep your gorgeous glaze looking its best, follow these simple care tips:
- Avoid Harsh Chemicals: Just like any manicure, try to wear gloves when doing chores or handling cleaning products to protect the polish.
- Moisturize: Keep your cuticles and hands hydrated with cuticle oil and hand cream. Dry skin can make any manicure look less polished.
- Be Gentle: Don’t use your nails as tools!
- Top Coat Touch-Ups (for regular polish): If you’re not using gel, you might need a quick top coat refresh every few days to maintain shine. For gel, this isn’t usually necessary if applied correctly.
Common Glazed Donut Nail Questions
Here are some questions beginners often have about achieving this look:
Q1: Can I do glazed donut nails without a UV/LED lamp?
A: Unfortunately, no. The key to the longevity and shine of glazed donut nails relies on gel polish and the “no-wipe” gel top coat, which both require curing under a UV/LED lamp. Regular polishes won’t adhere to the chrome powder in the same way.
Q2: My chrome powder looks patchy. What did I do wrong?
A: This usually happens for a couple of reasons: either the layer of no-wipe top coat was too thin and cured unevenly, or you didn’t apply enough pressure when rubbing in the powder. Ensure your top coat is smooth and evenly applied, and rub the powder in with firm, consistent strokes until you see the full chrome effect.
Q3: How long do glazed donut nails last?
A: When done correctly with gel products, glazed donut nails can last anywhere from 2-3 weeks. Proper application, preparation, and cuticle care are key to maximizing their lifespan. Avoid picking at them to prevent lifting.
Q4: Can I wear chrome powder over any color?
A: Yes! While milky white and pastels are popular, chrome powder can be applied over almost any opaque gel polish color to create unique looks. Darker bases will produce a more muted, smoky chrome effect, while lighter bases give a brighter, more reflective finish.
Q5: Is the chrome powder safe for my nails?
A: Yes, chrome powders are generally safe when used correctly with gel polish. The powder itself is primarily pigment and doesn’t directly contact your natural nail. Ensure you’re always using a base coat and sealing it all in with a top coat for maximum protection.
Q6: Can I achieve this look with press-on nails?
A: Absolutely! Many press-on nails are available in a glazed donut finish. If you’re applying your own press-ons, you can often find kits that include the necessary chrome powder and instructions, or you can carefully replicate the glaze technique on the press-on nail before application.
Q7: How do I remove glazed donut nails?
A: For gel-based glazed donut nails, you’ll need to use acetone. Soak cotton balls in 100% acetone, place them on your nails, wrap with foil, and let sit for about 10-15 minutes. The gel should then be soft enough to gently scrape off with a cuticle pusher. Always follow up with a good moisturizer and cuticle oil.
Conclusion
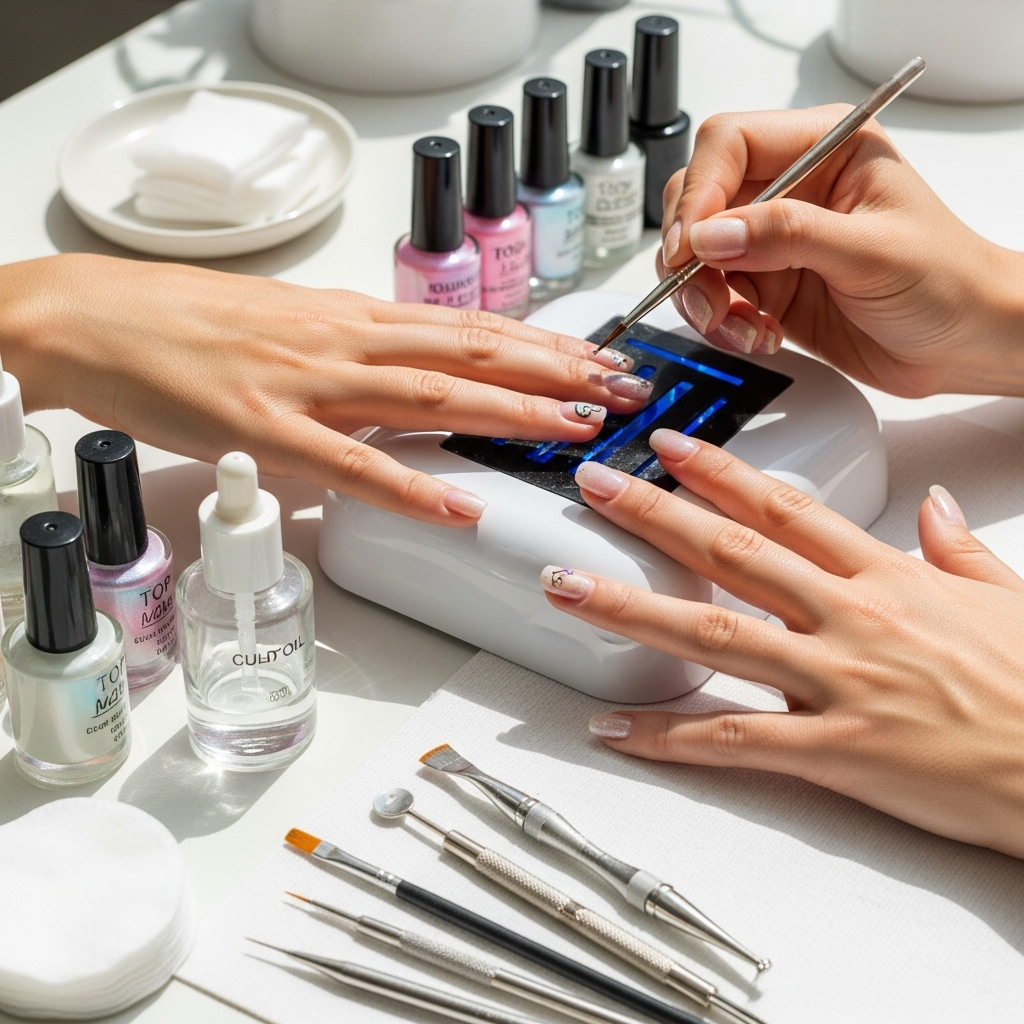
There you have it – 6 gorgeous ways to achieve the viral glazed donut nail trend! From the classic milky white to playful pastels and chic French tips, this look is incredibly adaptable and surprisingly easy to recreate at home with the right tools and a little practice. Remember, the magic lies in that beautiful, lustrous finish created by the chrome powder and a good no-wipe gel top coat. Don’t be afraid to experiment with different base colors and chrome shades to find your perfect personalized glaze. So grab your supplies, follow the steps, and get ready to rock nails that are as sweet and stunning as a freshly glazed donut. Happy polishing!


