Achieve luminous, dewy “glazed skin” nails with these 6 essential secrets. Learn simple techniques and product picks to get that effortless, fresh-from-the-spa glow right at home.
Ever scrolled through your feed and stopped dead at that unbelievably shiny, almost wet-looking nail polish? That’s the magic of the “glazed skin” nail trend! It’s that perfect balance of subtle shine and a healthy, plump appearance, like your skin after a good skincare routine. But how do you get that high-gloss, effortlessly chic look without a professional appointment? Don’t worry, achieving this sought-after manicure is simpler than you think. We’re going to break down the secrets to a perfect glazed skin nail finish that will have everyone asking for your nail secrets.
Unlocking the “Glazed Skin” Nail Look: Your Beginner’s Guide
The “glazed skin” nail trend might sound high-tech, but at its core, it’s all about achieving a healthy, hydrated, and luminous finish. Think of it as the nail equivalent of your favorite dewy-skinned makeup look. It’s minimalist, chic, and surprisingly versatile. Whether you’re a complete beginner or have dabbled in nail art, these secrets will help you master the look. We’ll cover everything from the base prep to the final top coat, ensuring your nails look like they’ve just had a luxurious spa treatment.
Secret #1: The Power of Prep is Paramount
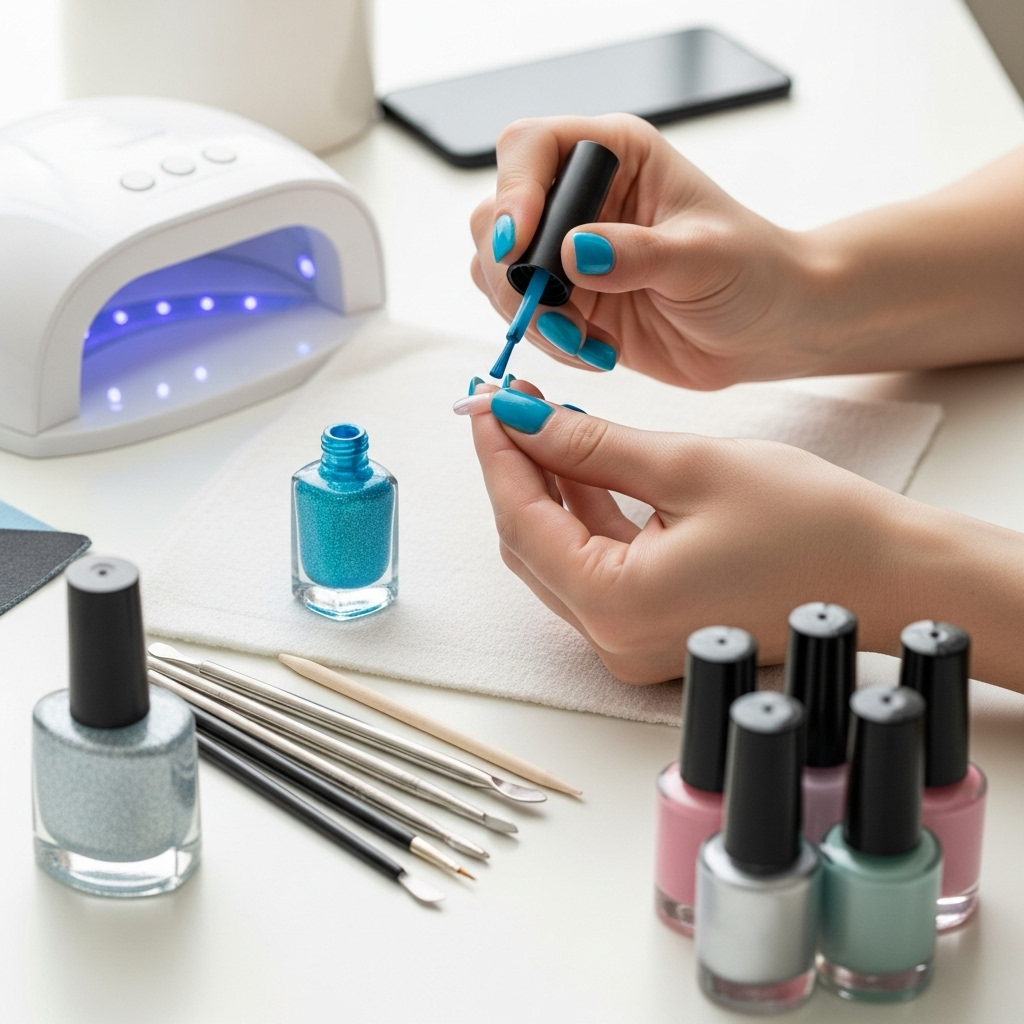
Just like with any great beauty look, the foundation is everything. For glazed skin nails, this means impeccably prepped nails. This isn’t just about tidying up; it’s about creating a smooth, even canvas that will hold onto that glossy finish. Skipping this step can lead to uneven application, premature chipping, and a duller final look. Let’s dive into what that prep actually entails:
Nail Shaping and Buffing: The Smooth Start
- Shape Up: Start by filing your nails into your desired shape. A classic oval or soft square shape works beautifully with the glazed look. Always file in one direction to prevent snagging and weakening the nail.
- Cuticle Care: Gently push back your cuticles using a cuticle pusher. You can also apply a cuticle remover and then use an orangewood stick to gently nudge them back. Healthy cuticles frame your nails perfectly and allow for a cleaner polish application.
- Buffing Bliss: This is a crucial step for the glazed effect. Use a fine-grit buffer (around 200-300 grit) to gently buff the surface of your nail. The goal isn’t to remove layers of the nail, but to create a slightly roughened surface that the polish can adhere to evenly. This also helps to smooth out any natural ridges, giving you that polished base. Aim for a soft, satin finish, not a shiny one.
Cleanliness is Key
Before applying any polish, ensure your nails are completely free of oils and debris. Oil from your fingertips can prevent polish from adhering properly, leading to lifting and a less shiny finish. Wash your hands thoroughly with soap and water, and then use a nail cleanser or rubbing alcohol on a lint-free pad to wipe down each nail. This removes any lingering oils and ensures a long-lasting manicure.
Secret #2: The Perfect Base Coat – Your Secret Weapon
A good base coat is non-negotiable for any manicure, but for the glazed skin look, it’s especially vital. It’s the first layer of armor for your nails, protecting them from staining and providing a smooth, even surface for your color. For the glazed effect, you want a base coat that offers a bit of smoothing and perhaps a hint of pearlescence.
Choosing the Right Base Coat
- Smoothing Base Coats: Look for base coats specifically designed to smooth out nail ridges. These often contain ingredients that fill in unevenness, creating a perfectly flat surface for polish application, which is essential for that seamless glazed finish.
- Nourishing Formulas: If your nails tend to be dry or brittle, opt for a base coat that also nourishes. Ingredients like biotin or vitamin E can help strengthen your nails over time, contributing to healthier-looking nails overall.
- Sheer or Pearlescent Options: For an extra boost of that subtle glazed glow, consider a sheer, milky, or lightly pearlescent base coat. These can add a hint of luminosity even before your color goes on, enhancing the final effect.
Application Technique
Apply one thin, even layer of your chosen base coat. Make sure to cap the free edge of your nail by running the brush lightly across the tip. This helps to seal the polish and prevent chipping. Let it dry completely – this usually takes about 60 seconds.
Secret #3: The Art of the Sheer Color
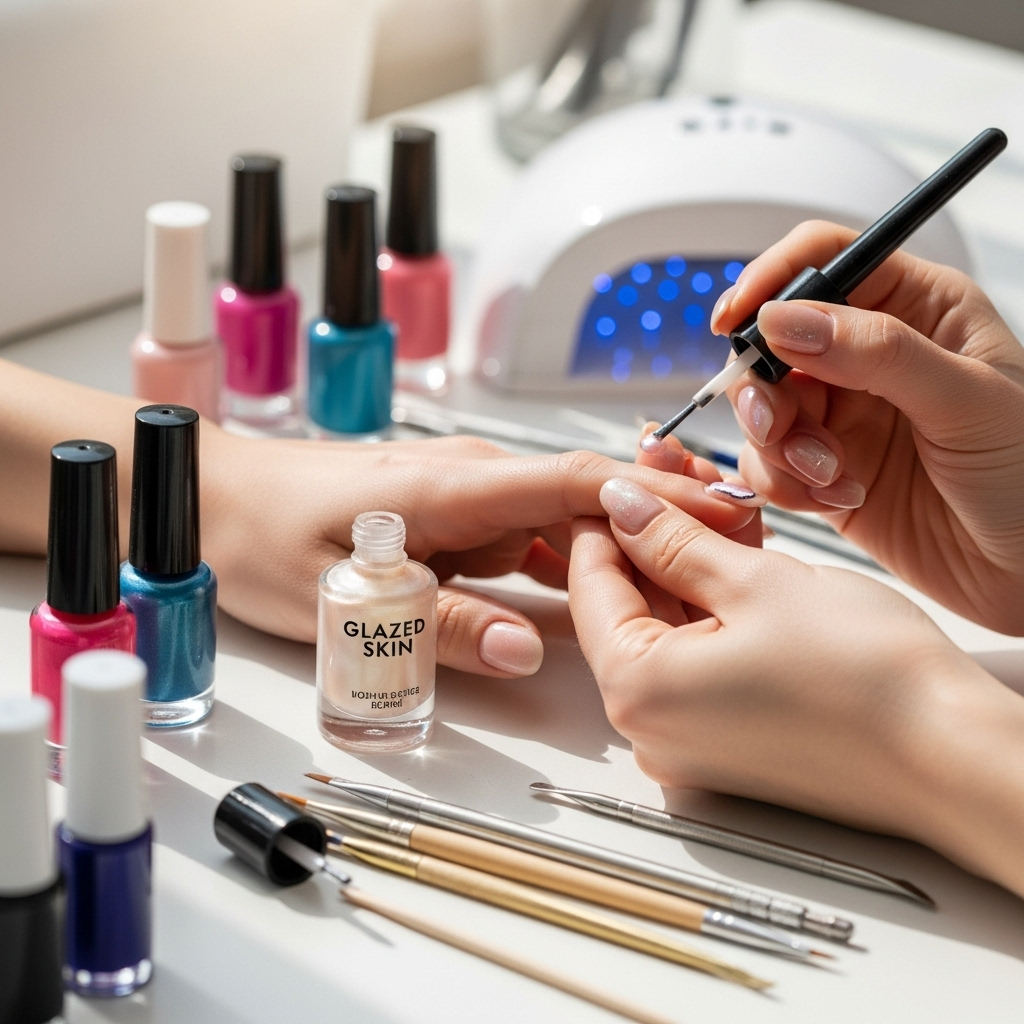
The “glazed skin” aesthetic isn’t about opaque, vibrant color. It’s about a sheer, luminous wash that hints at the natural nail color underneath, enhanced with a subtle sheen. Think of the soft, translucent glow of healthy skin.
Selecting Your Sheer Polish
- Milky Whites and Soft Pinks: These are classic choices. A milky white can create a soft, ethereal look, while a delicate pink adds a touch of natural flush.
- Translucent Nudes and Peaches: For a more natural, “your nails but better” vibe, go for sheer nudes or peachy tones. They enhance the natural color of your nails without looking like you’re wearing heavy polish.
- Subtle Shimmers: Some sheer polishes come with a hint of fine shimmer or a pearlescent finish. These are excellent for amplifying the glazed effect and adding that quintessential glow.
Layering for the Perfect Hue
The beauty of sheer polishes is their buildability. You can achieve different levels of opacity and intensity by applying multiple thin coats. How many coats you need will depend on the specific polish and your desired look. For a true glazed skin effect, aim for 2-3 thin coats. Apply each coat thinly and evenly, allowing each layer to dry for at least 60 seconds before applying the next. This prevents air bubbles and ensures a smooth, streak-free finish.
| Polish Type | Recommended For | Glazed Skin Effect |
|---|---|---|
| Milky White | Ethereal, clean look | Creates a soft, opaque-like sheen with 2-3 coats. |
| Sheer Pink | Natural flush, youthful | Enhances nail bed with a healthy, subtle color. |
| Translucent Nude | “Your nails but better,” subtle | Offers a barely-there enhancement with ultimate naturalness. |
| Pearlescent/Shimmer Sheer | Luminous, glowy | Directly imparts that signature glazed sheen. |
Secret #4: The Chrome Powder Illusion
This is where the real “glazed” magic happens for many! While sheer polish alone can achieve a subtle glow, the true trending glazed look often involves a delicate dusting of chrome powder. This powder catches the light and creates that iconic, almost iridescent, ethereal sheen that makes nails look exceptionally polished and luminous.
Understanding Chrome Powder
Chrome powders are ultra-fine pigments that, when rubbed onto a specific nail surface, create a reflective, metallic, or iridescent finish. For the glazed skin look, we’re not aiming for a full, mirror-like chrome. Instead, we want a subtle, diffused shimmer.
Application for a Subtle Glow
The key here is subtlety. You don’t want a blinding chrome effect; you want a soft, diffused glow. This typically requires applying the chrome powder over a specific type of top coat.
- No-Wipe Top Coat: This is essential. A “no-wipe” top coat is crucial because it remains slightly tacky after curing under a UV/LED lamp. This tackiness is what allows the chrome powder to adhere and create the diffused effect. Regular top coats or those with a sticky inhibition layer won’t work for this specific look.
- Application Process:
- Apply your sheer polish color (from Secret #3) as usual, allowing the final coat to dry completely.
- Apply a thin, even layer of a good quality “no-wipe” gel top coat over your color.
- Cure this layer under your UV/LED lamp according to the lamp manufacturer’s instructions. Do not wipe off any residue.
- Using a silicone applicator tool or a fluffy eyeshadow brush, gently pick up a tiny amount of chrome powder (a pearly white or iridescent shade is perfect for the glazed look).
- Lightly and gently rub the powder onto the tacky surface of the nail. Use a light hand and build up the shimmer slowly. You are aiming for a soft, luminous veil, not a full metallic coverage. Think of it like dusting a highlighter on your cheekbones – you want glow, not an opaque layer.
- Once you have the desired subtle sheen, gently brush away any excess powder with a clean, soft brush.
- Important Note: Applying chrome powder typically requires gel polish and a UV/LED lamp, as the powder needs the tacky surface created by a no-wipe gel top coat. If you prefer traditional nail polish, you can achieve a similar, though less intense, effect using fine iridescent glitter polishes over your sheer color.
For more information on how UV/LED lamps work and their safety, you can refer to resources like the FDA’s guidance on UV products.
Secret #5: The Sealing Top Coat Matters
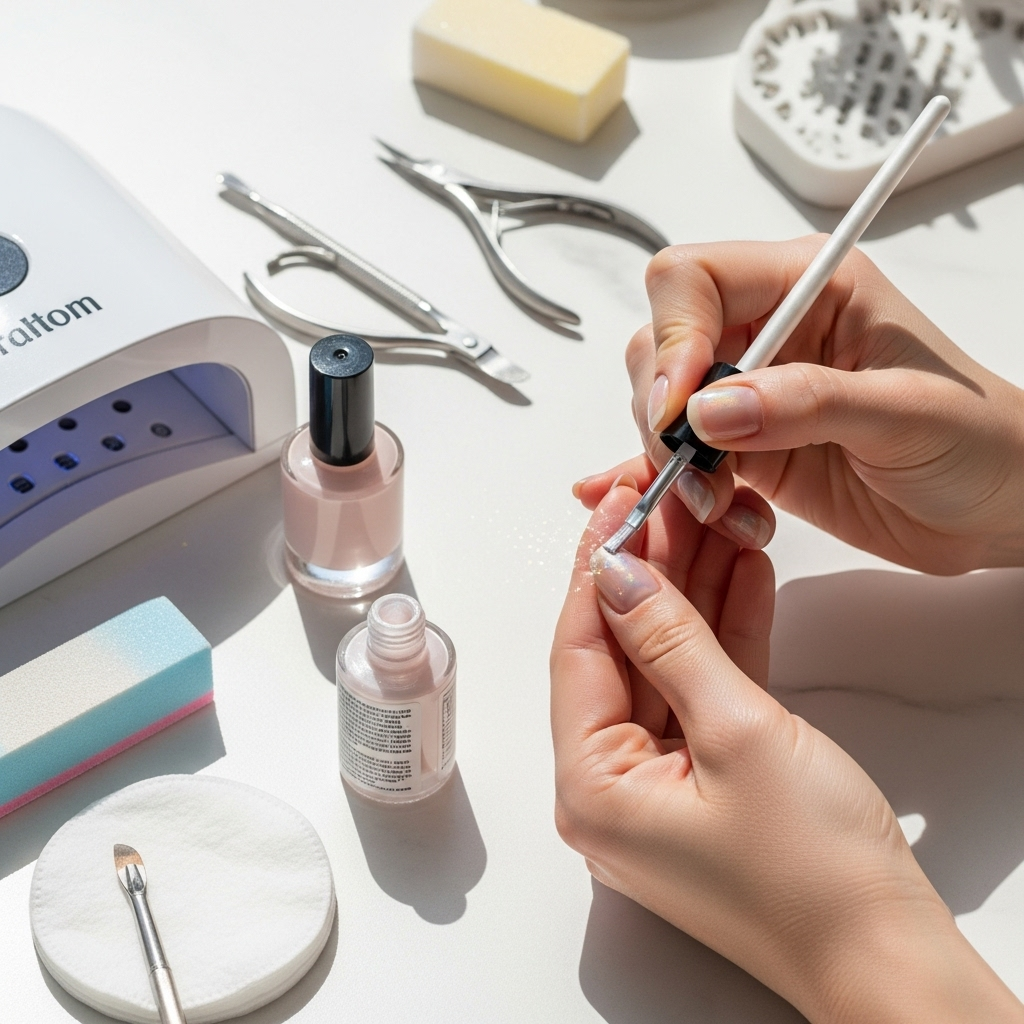
The final step in achieving that long-lasting, high-shine glazed look is a superior top coat. This isn’t just about sealing in your color and chrome effect; it’s about providing that final mirror-like finish that screams healthy, luminous nails.
Choosing Your Top Coat
- Gel Top Coat (Highly Recommended): For the most durable and high-shine finish, a gel top coat is the way to go. Look for one specifically labeled “high shine” or “glossy.” These, when used with the proper curing lamp, provide an unparalleled long-lasting, chip-resistant, and super-shiny finish that perfectly complements the glazed skin aesthetic. Remember to use a “no-wipe” top coat if you’ve applied chrome powder.
- Regular Top Coat: If you’re sticking with traditional nail polish, opt for a “quick dry” or “gel-like” top coat. While it won’t be as durable or as intensely shiny as a gel top coat, a good quality formula can still give you a beautiful gloss and help your manicure last longer.
Application for Maximum Shine
Apply your top coat in one slightly thicker, smooth layer. As with the base coat, make sure to cap the free edge of your nail. This is crucial for preventing chipping and extending the life of your manicure. If you used chrome powder, ensure you’ve brushed off all excess before applying your final top coat (which can be a regular or gel top coat over the no-wipe layer). Let it dry completely, and try not to use your hands for anything too demanding for at least an hour to allow the polish to fully harden.
Secret #6: Hydration is the Ultimate Finish
The “glazed skin” look is intrinsically linked to the appearance of hydration and health. Therefore, the final secret to maintaining that luminous, plump look is consistent hydration.
Nail and Cuticle Care
- Cuticle Oil is Your Best Friend: Once your manicure is completely dry and cured, apply cuticle oil generously. Massage it into your cuticles and the surrounding skin. This not only moisturizes but also softens cuticles, making them look neater and healthier, far more than any polish could achieve alone. Reapply cuticle oil throughout the day, especially after washing your hands.
- Hand Cream: Keep your hands moisturized with a good quality hand cream. A well-moisturized hand contributes to the overall polished and healthy appearance of your nails.
Ongoing Maintenance
To keep your glazed skin nails looking their best, continue to apply cuticle oil daily. This will help prevent dryness, keep your nails nourished, and maintain that overall healthy glow that the trend is all about. Healthy nails are naturally more beautiful and luminous!
Frequently Asked Questions About Glazed Skin Nails
Q1: What exactly are “glazed skin” nails?
Glazed skin nails are a manicure trend characterized by a sheer, luminous, and smooth finish. They mimic the healthy, dewy glow of well-hydrated skin, achieved with sheer polishes and often a subtle dusting of chrome powder for an ethereal sheen.
Q2: Can I achieve the glazed skin look with regular nail polish?
Yes, you can! While the most intense “glazed” effect often uses gel polish and chrome powder, you can still achieve a beautiful, subtle glow with regular polish. Focus on using sheer, milky, or pearlescent polish colors and finish with a high-shine, quick-dry top coat. For a hint of that chrome magic, look for sheer polishes with fine iridescent glitter.
Q3: How many coats of sheer polish should I use?
For the glazed skin look, 2-3 thin coats of sheer polish are typically recommended. This allows you to build up the color and luminosity gradually, avoiding streaks and ensuring a smooth finish. Let each coat dry completely before applying the next.
Q4: Do I need a special lamp for glazed skin nails?
A special UV/LED lamp is generally needed if you want to use gel polish and apply chrome powder. The powder adheres to the tacky layer of a “no-wipe” gel top coat after it’s cured under the lamp. If you’re using traditional nail polish, no special lamp is required; just let your polish and top coat air dry.
Q5: What color chrome powder is best for the glazed skin look?
For the classic glazed skin look, a pearly white or iridescent chrome powder is ideal. These shades provide a soft, ethereal sheen that catches the light beautifully without being overly metallic or opaque. Avoid strong, solid chrome colors like silver or gold if you’re aiming for the subtle “skin-like” glow.
Q6: How long do glazed skin nails typically last?
The longevity depends on the type of polish used. Gel manicures with chrome powder and a gel top coat can last 2-3 weeks with proper care. Traditional nail polish manicures will typically last 5-7 days, with potential for chipping sooner depending on your daily activities.
Q7: My chrome powder looks streaky, what did I do wrong?
Common causes of streaky chrome powder application are using too much powder, not having a tacky enough surface (ensure your no-wipe top coat is indeed no-wipe and properly cured), or rubbing the powder too roughly. Try using a lighter touch, a smaller amount of powder, and ensure your nail surface is perfectly smooth before applying the chrome.
Conclusion: Your Path to Luminous Nails
There you have it – the 6 essential secrets to achieving those coveted “glazed skin” nails! From the meticulous prep work and the choice of a perfect base and sheer color, to the subtle magic of chrome powder application and the sealing power of a top coat, you now have all the knowledge to recreate this trend. And remember, the final touch of hydration is key to maintaining that healthy, dewy glow. Mastering the glazed skin nail look is all about embracing simplicity, subtle luminosity, and healthy-looking nails. So go ahead, experiment with these tips, and let your nails shine with that effortlessly chic, glass-like finish. You’ve got this!


