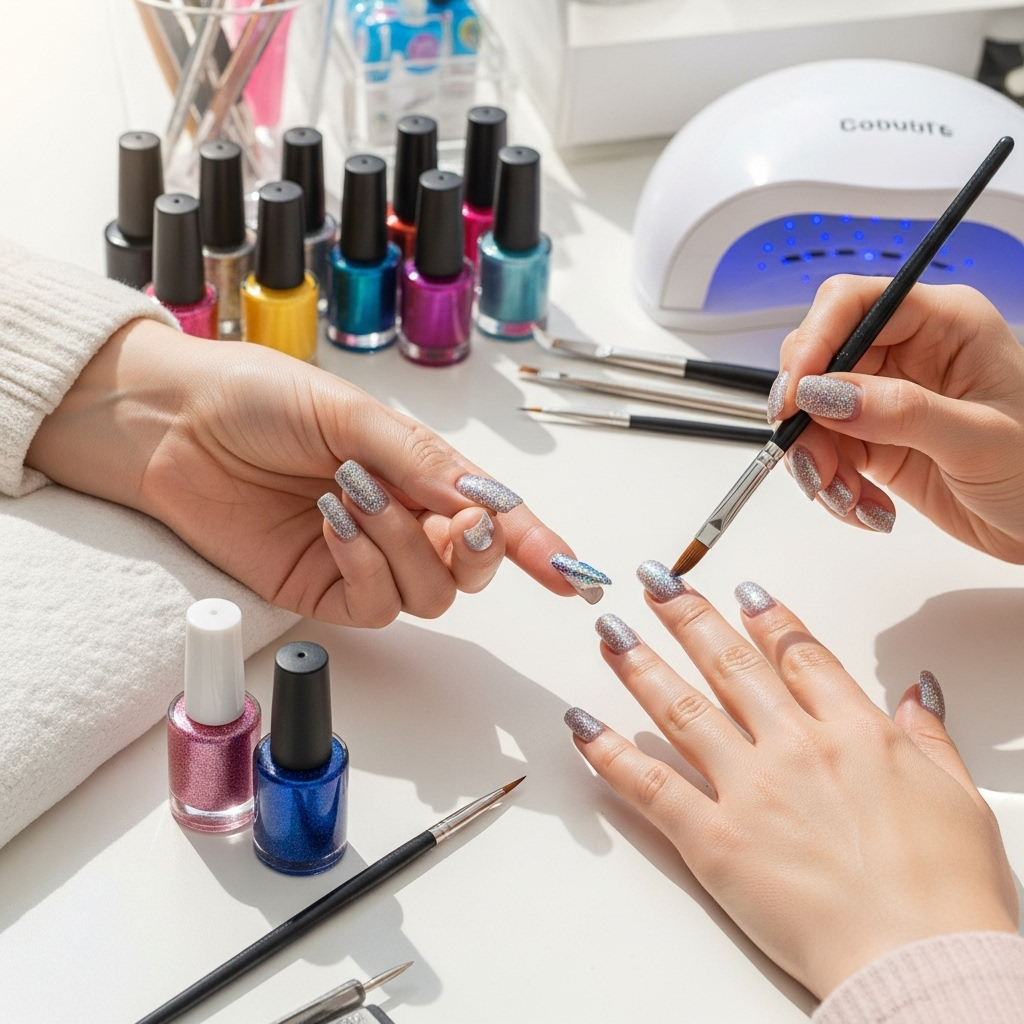
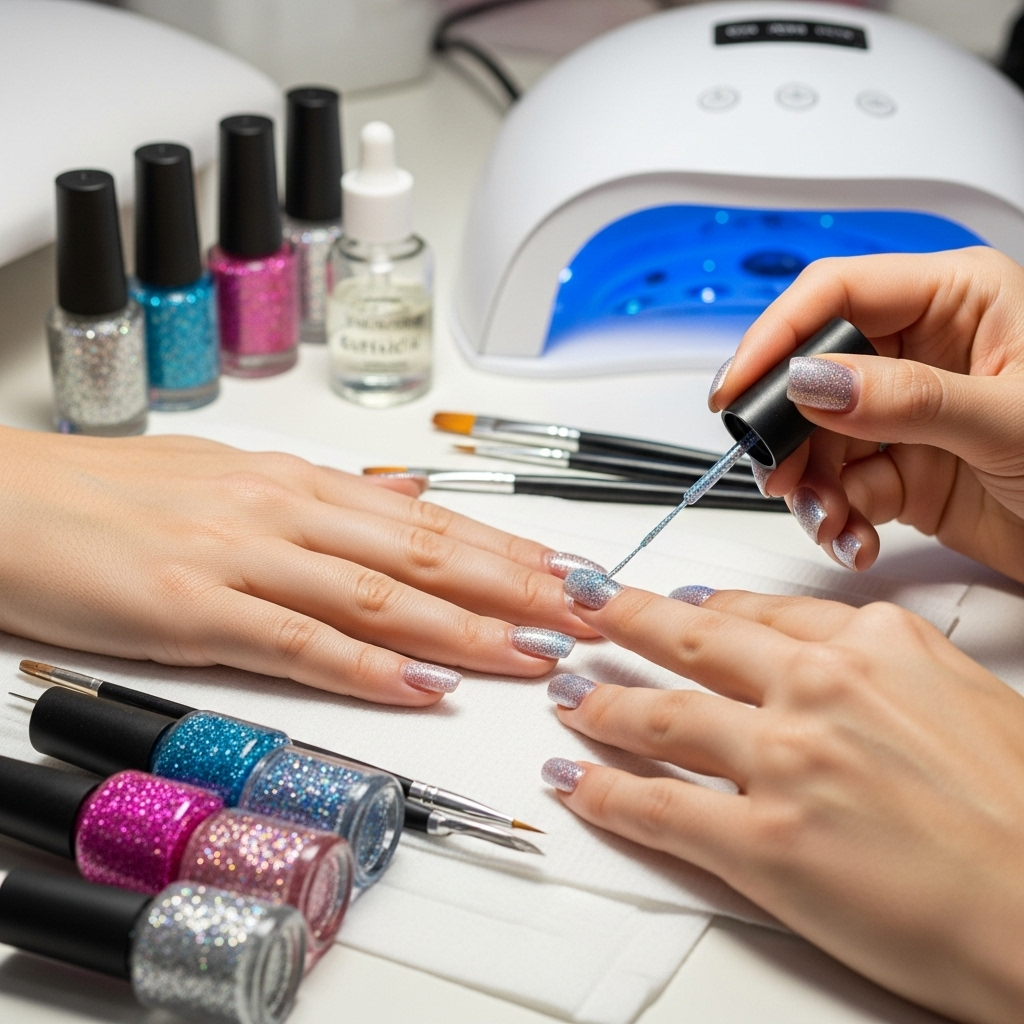
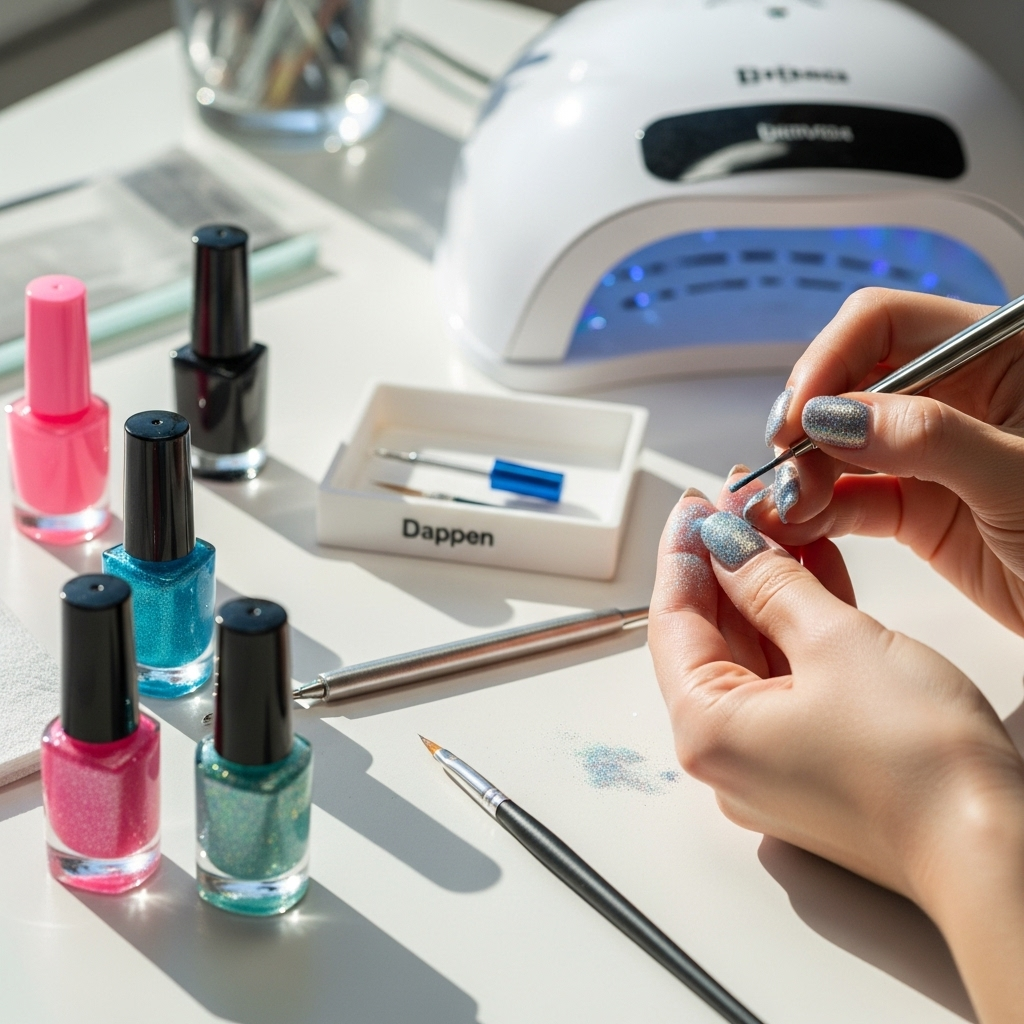
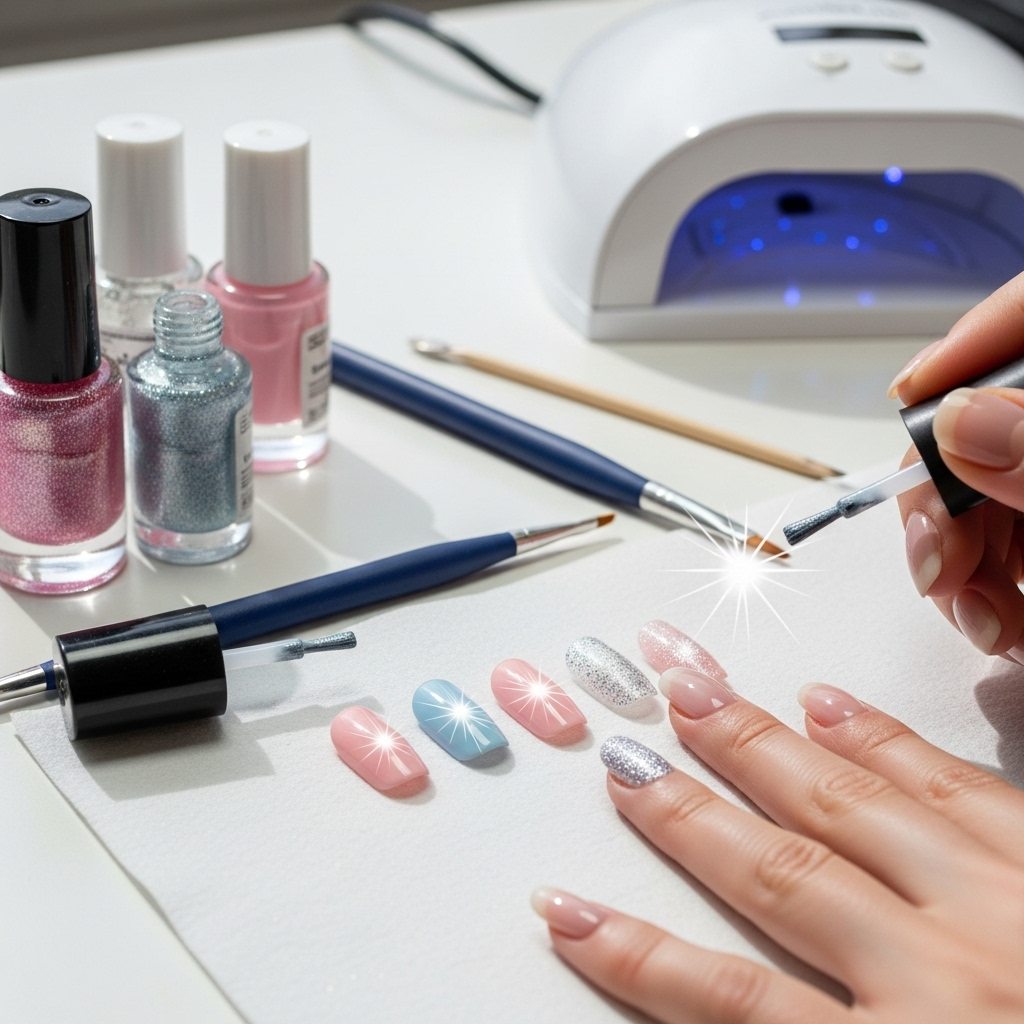
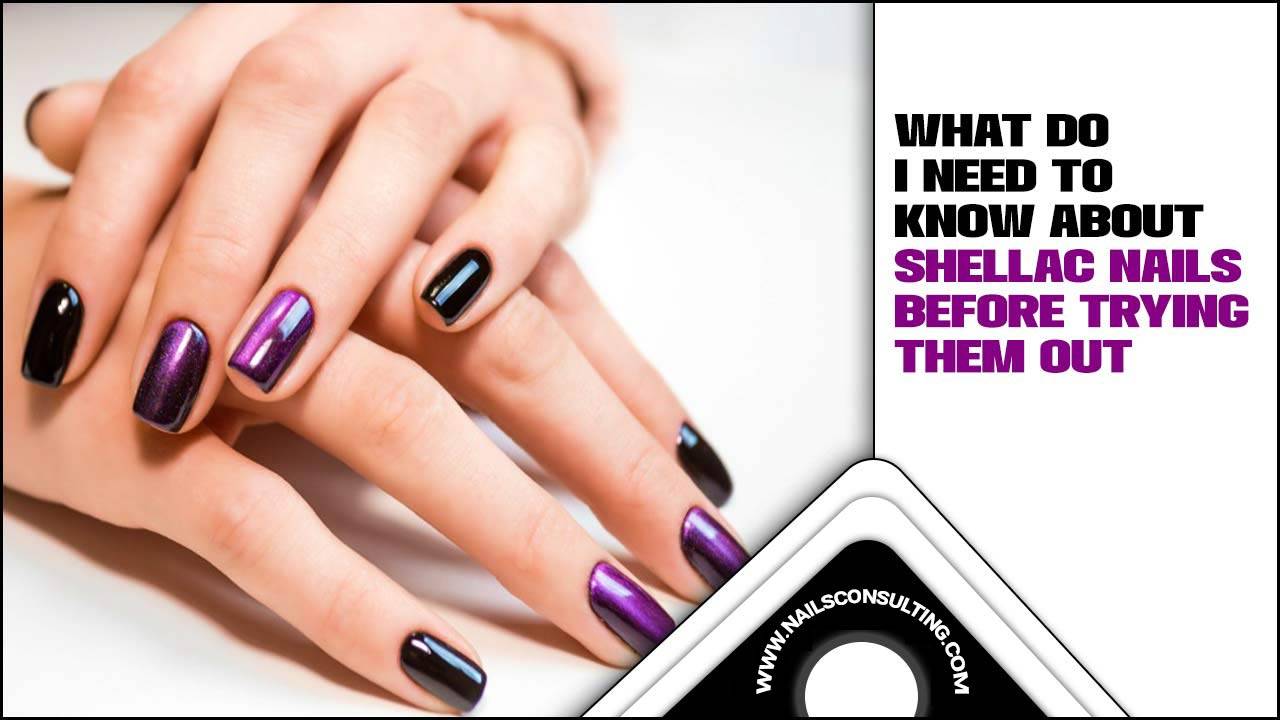
Glitter aura nails offer a dazzling, sophisticated twist on the popular aura manicure trend, combining ethereal color blends with shimmering glitter for a truly captivating look. This beginner-friendly guide unlocks 6 essential design ideas to help you easily achieve this trendy style, making your nails shine with confidence and creativity.
Hey nail lovers! Lisa Drew here from Nailerguy, and I’m so excited to talk about a nail trend that’s been lighting up our feeds: Glitter Aura Nails! Have you ever seen those gorgeous gradient nails with a shimmery pop? That’s the magic we’re diving into today. It might sound fancy, but trust me, it’s totally achievable for anyone wanting to add a little sparkle to their everyday. We’ll walk through simple ways to get this eye-catching look right at home, so your fingertips can shimmer and shine with effortless style.
What Exactly Are Glitter Aura Nails?
Before we dive into the fun designs, let’s unpack what a glitter aura nail is. Think of the classic aura nail: a soft, blended gradient of two or more colors, often lighter in the center and darker towards the tips or cuticle. Now, imagine sprinkling that with a generous amount of glitter, or even incorporating glitter into the color blend itself! The result is a luminous, dimensional effect that catches the light beautifully. It’s like having a little galaxy on your fingertips, but with a delicate, dreamy vibe. This technique adds a glamorous yet ethereal touch, making it perfect for both special occasions and adding a bit of everyday magic.
Why You’ll Love Glitter Aura Nails
This trend is so popular for a reason! It’s incredibly versatile and forgiving, making it a fantastic option for beginners. If your blending isn’t perfectly seamless, the glitter often does a great job of masking any imperfections. Plus, the glitter adds an undeniable wow factor that elevates simple color combinations into something truly special. Whether you prefer subtle shimmer or a full-on disco ball effect, there’s a glitter aura nail design that will speak to your personal style. It’s a fun way to experiment with color and sparkle without harsh lines or complicated art.
Getting Started: Essential Tools You’ll Need
To achieve those stunning glitter aura nails, you’ll want to have a few key items on hand. Don’t worry, most of these are likely already in your nail kit!
Base Coat: To protect your natural nails and help polish adhere.
Top Coat: To seal your design, add shine, and make your manicure last longer.
Nail Polish Colors: Choose at least two complementary or contrasting shades for your gradient.
Glitter Polish or Loose Glitter + Top Coat: Your secret weapon for that signature sparkle!
Small Makeup Sponge or Cosmetic Wedge: This is crucial for creating the blended gradient effect.
Tweezers (Optional): If you’re using loose glitter, tweezers can help with precise placement.
Cuticle Oil: For a finishing touch to keep your nails and skin looking healthy.
Nail Polish Remover and Cotton Pads: For those inevitable little clean-ups.
Clean-up Brush or Orange Stick: For tidying up any polish that gets on your skin.
Understanding the Aura Effect: The Blending Technique
The heart of any aura nail, glittery or not, is the blending technique. The most common and beginner-friendly method uses a makeup sponge. Here’s the basic idea:
1. Apply your base color to your nails and let it dry completely.
2. Dab your polish colors onto the sponge. You can do this side-by-side or in a circular pattern, depending on the effect you want.
3. Gently dab the sponge onto your nail. Start from the center and work outwards. The goal is to transfer the polish and create a soft transition between the colors.
4. Reapply colors to the sponge as needed and continue dabbing until you achieve your desired gradient.
5. Add glitter! This is where you can either use a glitter polish over the gradient or carefully apply loose glitter while the polish is still slightly tacky, then seal with a top coat.
6 Essential Glitter Aura Nail Design Ideas
Now for the fun part! Let’s explore some fantastic ways to bring glitter into your aura manicures. These ideas are designed to be simple to follow and look absolutely fabulous.
1. The Classic Pink & Gold Shimmer
This is a timeless combination that’s perfect for beginners. It’s elegant, feminine, and the gold glitter adds just the right amount of glam.
Colors: A soft pastel pink for the base and a slightly deeper rose or fuchsia for the outer edge/tip halo.
Glitter: Fine gold glitter.
How-to:
Apply a good base coat.
Paint your nails with the pastel pink, letting it dry thoroughly. This will be your center color.
On your makeup sponge, dab a bit of the rose/fuchsia polish around the edge of where you want the “aura” to be – typically around the cuticle area or tips.
Gently dab the sponge onto the nail, focusing on blending the rose into the pink. Don’t press too hard; light dabbing is key.
Once the gradient is set, apply a layer of gold glitter polish over the entire nail. For extra sparkle, you can do a second coat or use a glitter top coat.
Finish with a generous layer of top coat to smooth everything out and seal in the sparkle.
This design is incredibly versatile and works for any occasion, from a casual day out to a wedding!
2. The Sunset Orange & Yellow Sparkle
Capture the magic of a sunset with this warm and vibrant design. It’s cheerful, eye-catching, and the glitter gives it that extra fiery glow.
Colors: A soft yellow for the center and a warm peachy-orange for the outer halo.
Glitter: Chunky or fine holographic glitter that catches orange and gold tones.
How-to:
Start with a clear base coat.
Apply your yellow polish as the center color and let it dry completely.
On your sponge, apply the peachy-orange around the yellow.
Dab the sponge onto the nail, blending the orange smoothly into the yellow. Repeat as needed for a seamless transition.
While the polish is still a bit tacky, carefully dab on your holographic glitter, focusing on the edges where the colors meet. Alternatively, apply a layer of glitter polish.
Seal everything with a shiny top coat.
This one feels like a vacation in a manicure!
3. Dreamy Lavender & Silver Haze
For a touch of ethereal elegance, try this soft purple and silver combination. It’s delicate, sophisticated, and perfect for those who love a cooler color palette.
Colors: A pale, almost sheer lavender for the center and a deeper violet for the halo.
Glitter: Fine silver glitter.
How-to:
Apply base coat.
Paint your nails with the sheer lavender polish. You might need 2-3 coats for good opacity. Let it dry completely.
On your sponge, place the deeper violet around the lavender.
Gently dab to blend the violet into the lavender, creating a soft, dreamy gradient.
Once the gradient is dry, apply a layer of fine silver glitter polish. For a more intense sparkle, use a glitter top coat over the gradient.
Finish with a clear top coat.
This design is particularly lovely for spring and summer.
4. Cosmic Blue & Iridescent Glow
Dive into the depths of space with this captivating blue gradient and iridescent glitter. It’s mysterious, chic, and offers a stunning visual effect.
Colors: A light, sky blue for the center and a deep navy or royal blue for the halo.
Glitter: Iridescent glitter that shifts through blue, purple, and pink hues.
How-to:
Start with your base coat.
Apply the sky blue polish as your center color and let it dry completely.
On your sponge, dab the darker blue around the edges of the sky blue.
Lightly dab the sponge onto the nail to blend the colors. Build up the gradient gradually.
While the polish is still slightly wet, carefully apply the iridescent glitter. You can use a glitter polish or gently press loose glitter onto the blended area.
Once dry, seal with a generous top coat.
This look is simply out of this world!
5. The Subtle Nude & Rose Gold Sparkle
For those who prefer a more understated elegance, this nude and rose gold design is perfect. It’s sophisticated, chic, and the rose gold glitter adds a touch of warmth and luxury.
Colors: A milky nude or beige for the center and a soft, rosy pink for the halo.
Glitter: Fine rose gold glitter.
How-to:
Apply your base coat.
Paint your nails with the milky nude polish and let it dry thoroughly.
On your sponge, dab the rosy pink polish around the edges of the nude.
Gently dab the sponge onto your nail, blending the rosy pink into the nude to create a soft halo effect.
Apply a layer of rose gold glitter polish over the entire nail, or use a glitter top coat.
Seal your manicure with a clear top coat.
This is a fantastic everyday option that adds a touch of glamour to a neutral palette.
6. Bold Berry & Silver Crushed Ice
If you’re feeling a bit more daring, this deep berry and silver combination is stunning. It’s rich, opulent, and the silver glitter adds a dramatic, “crushed ice” sparkle.
Colors: A medium berry shade for the center and a deep, almost black berry for the halo.
Glitter: Chunky silver glitter mixed with fine silver glitter.
How-to:
Apply base coat.
Apply the medium berry polish and let it dry completely.
On your sponge, add the deep berry around the edges of the medium berry.
Dab gently to blend. You might need a couple of passes to get the gradient smooth.
While the polish is still wet, carefully apply the chunky and fine silver glitter mixture over the gradient, focusing on the blend line for maximum impact. You can also use a glitter polish containing larger flecks.
Apply a thick, glossy top coat to encapsulate the glitter and create a smooth finish.
This design is perfect for evenings out or when you want your nails to make a statement.
Pro Tips for Perfect Glitter Aura Nails
While these designs are beginner-friendly, a few extra tips can help you achieve salon-worthy results every time.
Work in Thin Layers: It’s always better to apply multiple thin coats of polish and glitter rather than one thick, gloopy layer. This allows for smoother blending and drying.
Let Each Layer Dry Slightly: Give each polish color and the glitter a moment to become slightly tacky before blending or applying the next element. This helps prevent colors from becoming muddy.
Clean Up is Key: Don’t be afraid to use a small brush dipped in nail polish remover to clean up any stray polish around your cuticles and sidewalls. A clean canvas makes the design pop!
Sponge Technique: Experiment with different pressure levels when dabbing with the sponge. Lighter pressure creates a more delicate blend, while firmer pressure can build up color more intensely.
Glitter Placement: For loose glitter, apply it while the polish is still wet. For a more controlled glitter effect, apply glitter polish as a top coat over the dried gradient.
Top Coat Power: A good, thick top coat is essential for smoothing out glitter textures and making your design last.
Maintaining Your Glitter Aura Manicure
To make your beautiful glitter aura nails last as long as possible, follow these simple care tips:
Wear Gloves: When doing household chores, especially washing dishes, wear rubber gloves to protect your manicure from water and harsh chemicals.
Moisturize: Keep your hands and cuticles hydrated with regular application of cuticle oil and hand cream. Healthy cuticles make any manicure look better.
Avoid Using Nails as Tools: Resist the urge to pick, scrape, or pry things with your nails. This can chip polish and even damage your natural nail.
* Touch-Ups: If you notice a small chip, you can often fix it with a careful application of top coat or a bit of glitter polish to disguise the area.
Frequently Asked Questions About Glitter Aura Nails
Q1: Can I do glitter aura nails with regular nail polish?
Absolutely! All the techniques discussed here are for traditional nail polish. You’ll just need your chosen colors, a makeup sponge, glitter polish or loose glitter, and a good top coat.
Q2: Is glitter harder to remove than regular polish?
Glitter polish can sometimes be a bit more stubborn to remove. For best results, soak a cotton ball or pad in nail polish remover, place it on your nail, wrap it with a small piece of foil, and let it sit for a few minutes. This helps break down the glitter and makes it easier to wipe away.
Q3: How do I get a smooth glitter aura effect without bumpy glitter?
The key is to use a good top coat generously! Apply a thick, glossy top coat over the dried glitter. You might even need two layers of top coat to fully encapsulate the glitter and create a smooth surface. For loose glitter, try applying it to slightly wet polish and then sealing with multiple top coats.
Q4: Can I use gel polish for glitter aura nails?
Yes, you can! The blending technique with a sponge works similarly with gel polish. You’ll need to cure each layer under a UV/LED lamp. Glitter gel polishes are also widely available and offer a long-lasting, high-shine finish.
Q5: What are the best color combinations for glitter aura nails?
The beauty of aura nails is their versatility! For beginners, stick to complementary colors or shades within the same color family. Some popular pairings include: pink and white, blue and purple, yellow and orange, nude and pink. Don’t be afraid to experiment with your favorite colors and glitters!
Q6: How can I make my glitter aura nails look more professional at home?
Focus on clean lines and a smooth finish. Using a clean-up brush dipped in nail polish remover to define the cuticle and sidewall area makes a huge difference. A high-quality, glossy top coat is also crucial for that professional salon look. Practicing the blending technique on artificial nails or paper first can also help build confidence.
Conclusion: Shine Bright with Your Glitter Aura Nails
There you have it – 6 dazzling glitter aura nail design ideas that are totally achievable, even for beginners! You’ve learned how this trendy manicure combines the soft beauty of the aura effect with the captivating sparkle of glitter. From the classic pink and gold to the bold berry and silver, there’s a style out there for everyone to express their unique personality.
Remember, the most important thing is to have fun with it! Don’t stress about perfection. Embrace the process, experiment with different color combos and glitter types, and enjoy the beautiful results. With these tips and inspiration, your nails are sure to radiate confidence and style. So grab your polishes, your sponge, and let your creativity shine bright with these gorgeous glitter aura nails. Happy polishing!
