Achieve flawless glitter French tips with these 6 essential nail products and tools for an easy, sparkling manicure at home.
Dreaming of those elegant French manicures with a touch of sparkle? You’re not alone! The classic French tip is beautiful, but adding glitter takes it to a whole new level of glamour. It can feel a little intimidating to get those crisp lines and dazzling glitter just right, especially if you’re new to at-home nail art. But don’t worry! With the right essentials, creating stunning glitter French nails is totally achievable and super fun. Get ready to elevate your nail game with a few key items that make all the difference.
Frequently Asked Questions
What exactly is a French manicure?
A French manicure is a nail style that features a clear or nude base with a white tip on the fingernail. It’s known for its clean and elegant look.
Why add glitter to French tips?
Glitter adds a fun, festive, and glamorous touch to the classic French manicure, making it perfect for special occasions or when you just want to feel a little extra sparkly!
Can I really do glitter French nails at home?
Absolutely! With the right tools and a little practice, you can create beautiful glitter French nails right in your own home. We’ll guide you through it.
What’s the difference between glitter polish and loose glitter?
Glitter polish has glitter suspended in a clear or colored polish formula. Loose glitter is typically applied with a brush and topcoat to adhere it to the nail, offering more control over placement and intensity.
How do I get a clean glitter French tip line?
Using stencils, guide strips, or a fine brush can help create a crisp, clean line between your base color and glitter tip. Patience is key!
How long do glitter French nails last?
When applied correctly with a good base coat and topcoat, glitter French nails can last as long as a regular gel or regular polish manicure, typically 1-3 weeks depending on the product and care.
What if I mess up my glitter line?
Don’t worry! You can often clean up stray glitter with a small brush dipped in nail polish remover before the polish dries completely. For bigger mistakes, a quick clean removal and reapplication is always an option.
6 Stunning Glitter French Nail Essentials
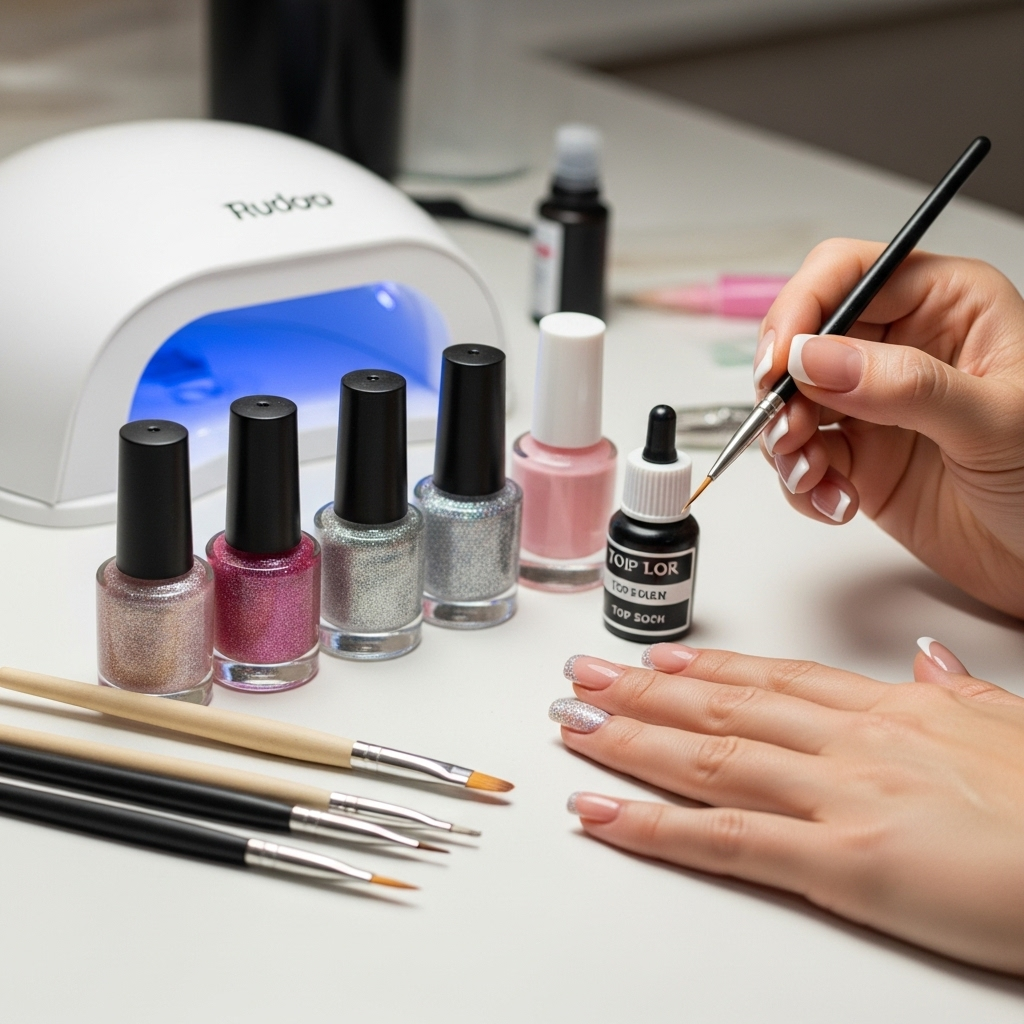
Creating dazzling glitter French nails is all about having the right team of products. Forget complicated techniques; it’s about simple tools that do the heavy lifting for you. I’ve handpicked the must-haves that will make your at-home manicure shine, giving you salon-quality results without the fuss. Let’s dive into the 6 glitter French nail essentials that will transform your nails from everyday to extraordinary!
1. A High-Quality Base Coat
Think of your base coat as the foundation of a beautiful home – it’s absolutely crucial! For glitter French nails, a good base coat does more than just protect your natural nail from staining; it ensures your manicure grips properly and lasts longer. A smooth, even base is key to a flawless finish. If you’re using regular polish, a good base coat will prevent chipping. If you’re opting for gel polish, a dedicated gel base coat is indispensable for proper adhesion and a durable manicure.
Why it’s essential:
- Protects natural nails by creating a barrier.
- Improves polish adhesion for longer wear.
- Helps prevent staining from dark or glitter polishes.
- Creates a smooth surface for polish application.
2. Your Perfect Nude or Pink Base Polish
The classic French manicure relies on a beautiful, sheer nude or soft pink polish for the nail bed. This subtle color provides a polished look on its own and creates a perfect canvas for your glitter tips. Choosing a shade that complements your skin tone will make your glitter French nails look even more sophisticated. Opt for a formula that isn’t too streaky and levels out nicely. This is where the elegance of your French manicure truly begins!
Tip: Sheer polishes are great because they allow your natural nail to show through slightly, giving a more natural and delicate appearance. For a boost of strength and a lovely sheen, consider a ridge-filling base coat if your nails have uneven surfaces.
3. Your Glitter of Choice (Polish or Loose)
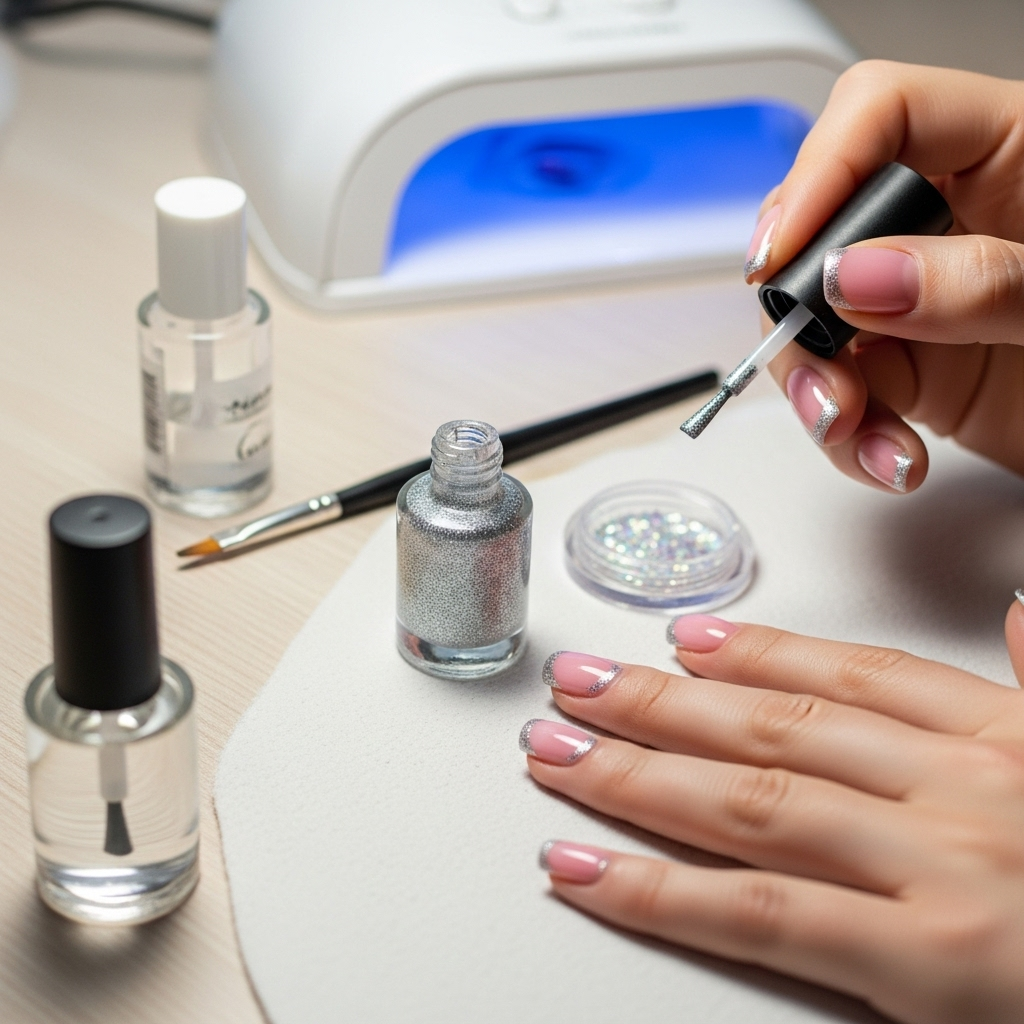
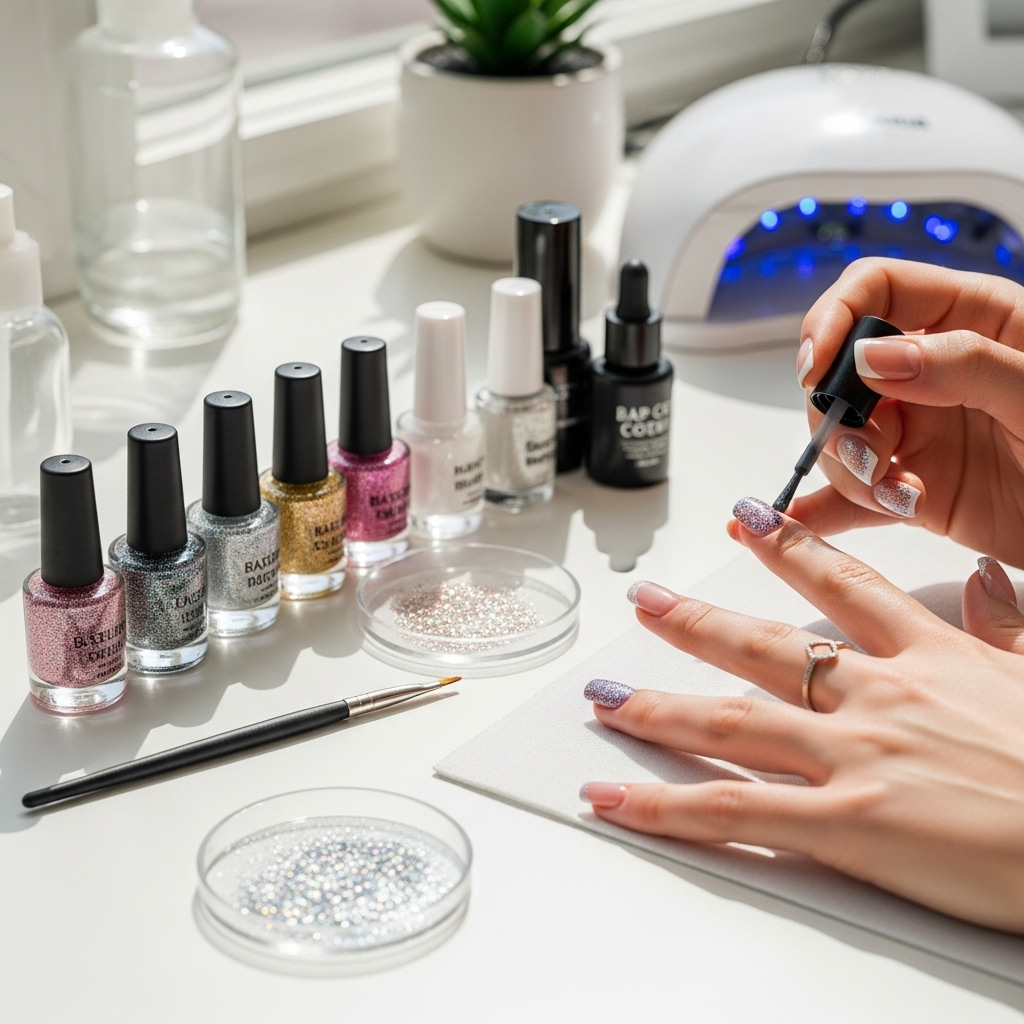
This is where the magic happens! You have two main options for glitter, and each offers a slightly different effect. For beginners, glitter nail polish is often the easiest to work with. It’s straightforward: apply it like any other polish. For more control and intense sparkle, loose glitter is fantastic. You can dip your brush directly into the glitter or use a fine brush to pick it up and place it precisely where you want it. Popular choices include fine holographic glitter for a subtle shimmer, chunky glitter for a bold statement, or fine metallic glitters for a sophisticated shine.
Glitter Polish vs. Loose Glitter:
| Feature | Glitter Polish | Loose Glitter |
|---|---|---|
| Ease of Use | Very easy, like regular polish. | Requires more precision, but offers more control. |
| Sparkle Intensity | Builds up with layers, can be subtle to bold. | Can be incredibly intense and customized. |
| Application | Brush included in the bottle. | Requires a separate brush and base/top coat. |
| Best For | Quick application, everyday sparkle. | Detailed designs, maximum sparkle. |
Using fine glitter like holographic or silver can give a beautiful, ethereal look, while a bolder gold or rose gold works wonders for festive occasions. Experiment with different colors and sizes to find your favorite!
4. A Fine-Tipped Brush or Glitter Applicator Tool
Precision is key for those crisp French tips, especially when working with glitter. A fine-tipped brush or a specialized glitter applicator tool is your secret weapon. A thin, precise artist’s brush (often called a liner brush) is perfect for drawing clean lines with glitter polish or for applying loose glitter precisely. Some crafters also use small, stiff-bristled brushes to dust loose glitter onto the nail. If you’re using glitter polish and want a sharp line, a brush can help clean up edges too. Look for brushes with synthetic bristles that are easy to clean and won’t fray.
Why this tool is a game-changer:
- Allows for precise application of glitter onto the tips.
- Helps create clean, sharp lines between colors.
- Great for detailing and fixing any mistakes.
- Versatile for other nail art designs too!
You can find these at most beauty supply stores or online. Many artists recommend brushes specifically designed for nail art, as they are made to handle polish and cleaning agents well.
5. French Tip Stencils or Guide Strips
If freehand application feels too daunting, stencils or guide strips are your best friends for achieving perfectly uniform French tips. These adhesive stickers are applied to your nail, creating a barrier for your glitter. You paint the glitter over the stencil, peel it off carefully while the polish is still slightly wet, and voilà—a crisp, clean line! They come in various shapes, like the classic smile line or straight edges, giving you options for your design. This is one of the easiest ways for beginners to get that professional-looking French tip.
How to use them:
- Apply your base coat and colored base polish, letting it dry completely.
- Carefully apply the stencil along the free edge of your nail, creating the desired tip shape.
- Apply your glitter polish or loose glitter over the stencil area.
- Remove the stencil gently while the glitter polish is still a bit wet, ensuring a clean break.
- Let the glitter dry completely before applying a topcoat.
According to nail art experts, proper placement of the stencil is crucial for a symmetrical look. Take your time lining it up!
6. A Reliable Topcoat (Glossy or Matte)
Never, ever skip the topcoat! This is the final seal of approval that locks in your glitter, smooths out any texture, and adds incredible shine (or a chic matte finish). A good topcoat will also protect your manicure from chipping and fading. For glitter French nails, a slightly thicker topcoat can be beneficial as it helps to encapsulate the glitter, creating a smoother surface and preventing the glitter from feeling rough. Consider a gel topcoat if you’re using gel polish for maximum longevity and a high-gloss finish. If you prefer a modern, understated look, a matte topcoat can create a stunning contrast with the glitter.
Topcoat Benefits:
- Seals and protects the nail polish.
- Adds shine or a matte finish.
- Smooths out any texture from glitter.
- Prevents chipping and extends manicure life.
- Helps to encapsulate glitter for a longer-lasting effect.
For those using loose glitter, a “float” application of the topcoat is often recommended. This means applying the topcoat without touching the brush directly to the nail; let the polish flow over the glitter to avoid smearing or dislodging the particles. Brands like NIST (National Institute of Standards and Technology) provide research on the chemical properties of nail polish components, highlighting the importance of a well-formulated topcoat for durability and finish.
Your Step-by-Step Guide to Glitter French Nails
Ready to put these essentials to work? It’s easier than you think! Follow these simple steps, and you’ll be rocking gorgeous glitter French tips in no time. Remember, practice makes perfect, so enjoy the process!
Step 1: Prep Your Nails
Start with clean, dry nails. Push back your cuticles gently using an orange stick or cuticle pusher. Shape your nails to your desired length and style with a nail file. Buff the surface lightly to remove any natural shine, which helps polish adhere better. Make sure to wipe away any dust with a lint-free cloth or alcohol wipe.
Step 2: Apply Base Coat
Apply a thin, even layer of your high-quality base coat to each nail. Let it dry completely (usually 1-2 minutes for regular polish, or cure under a UV/LED lamp if using gel). This step is crucial for protecting your nails and ensuring a smooth, lasting manicure.
Step 3: Apply Colored Base Polish
Apply one or two thin coats of your chosen nude or pink base polish. Ensure each coat is fully dry before applying the next. This creates the clean, subtle base for your glitter tips. If using gel polish, cure each layer under your lamp as directed.
Step 4: Create Your Glitter Tips
This is where you’ll use your glitter and applicator!
- Option A (Glitter Polish & Stencils): Apply your French tip stencils. Paint your glitter polish over the stencils. Carefully and slowly peel off the stencils while the glitter polish is still slightly wet.
- Option B (Glitter Polish Freehand): Apply glitter polish directly onto the tips of your nails, aiming for a crisp line. Use your fine-tipped brush dipped in nail polish remover to clean up any wobbly edges for a sharp line.
- Option C (Loose Glitter): Apply a thin layer of clear polish or topcoat to the tip area. Using your fine brush, pick up loose glitter and carefully press or dust it onto the wet area, building up your desired coverage and thickness. Alternatively, fully paint the tip with a clear base and dip the damp tip directly into the glitter pot.
Let your glitter tips dry completely. If using loose glitter, you might apply a thin layer of clear polish or topcoat over the dry loose glitter to secure it before the next step.
Step 5: Clean Up Edges
If any glitter or polish strayed onto your skin, use a small brush dipped in nail polish remover to carefully clean up the edges around your nails. This makes a huge difference in the professional appearance of your manicure.
Step 6: Apply Topcoat
Once the glitter tips are completely dry, apply a generous, smooth layer of your topcoat. Ensure you cap the free edge of the nail by running the brush along the very tip. This helps prevent chipping. If using gel polish, cure the topcoat under your lamp. For regular polish, let it air dry completely, which can take 5-15 minutes depending on thickness and ventilation. A second layer of topcoat can add extra shine and durability!
Troubleshooting Common Issues
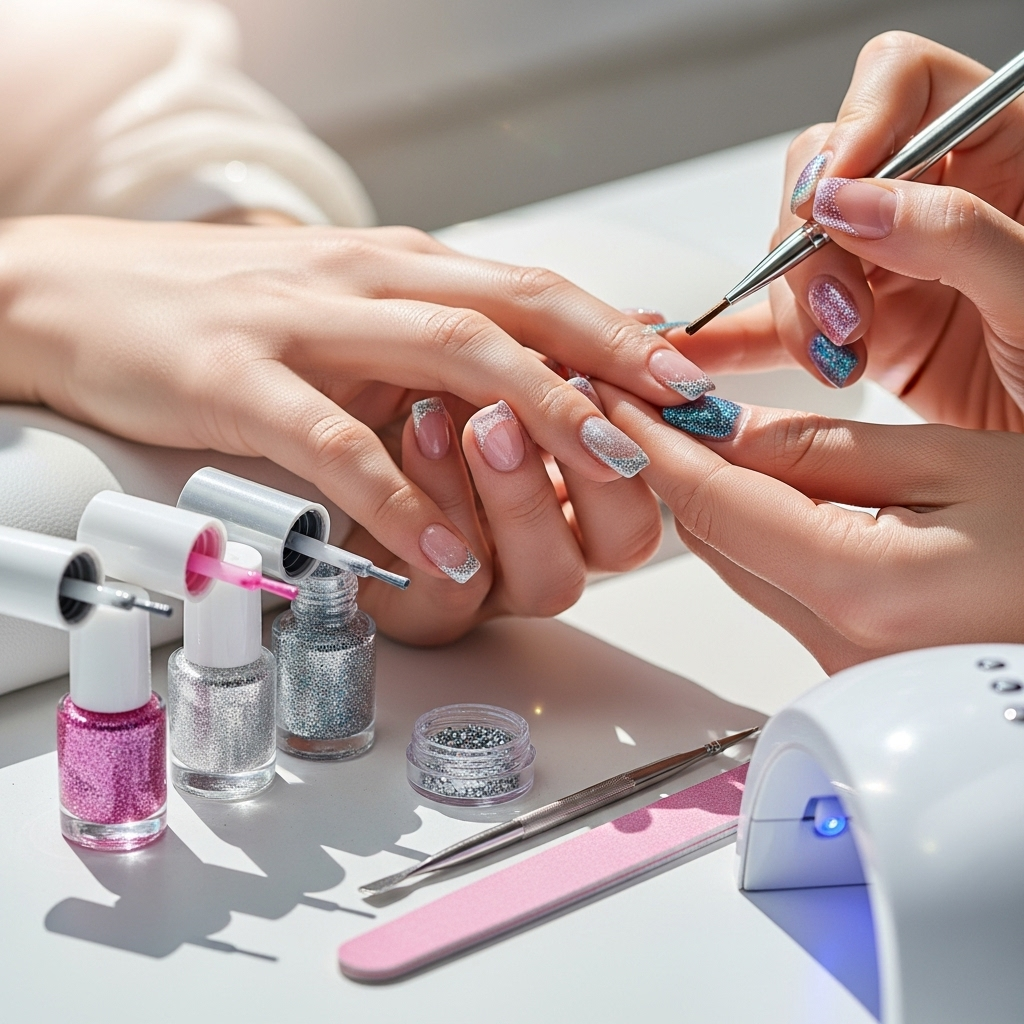
Even with the best tools, nail art can sometimes throw us a curveball. Here are some tips to help you overcome common challenges when creating your glitter French nails:
- Streaky Glitter Polish on Tips: Apply glitter polish in thinner layers. You can build up opacity gradually. If it’s still streaky, consider using loose glitter with a clear base for a more uniform sparkle.
- Uneven Glitter Line: Patience is key! For freehand application, use your fine brush with remover to perfect the line. If using stencils, ensure they are pressed down firmly and removed carefully. A tiny bit of clear polish applied with a fine brush can sometimes smooth slight bumps.
- Glitter Transferring/Smudging: Make sure each layer is fully dry before moving to the next. When applying topcoat over loose glitter, use a “float-coat” method where you don’t press the brush down hard, allowing the polish to flow over the glitter.
- Glitter Feels Rough After Topcoat: This usually means the topcoat isn’t thick enough to fully encapsulate the glitter. Apply a second, slightly thicker layer of topcoat, making sure to cap the edges.
- Nails Not Lasting: Ensure your nails are clean and free of oils before starting. A good base coat and thorough application and curing (for gel) of the topcoat are vital for longevity. Avoid harsh chemicals and prolonged water exposure if possible.
Embrace Your Sparkle!
And there you have it! With these 6 essential glitter French nail essentials – a great base coat, a perfect nude or pink polish, your chosen glitter, a precise application brush, helpful stencils, and a reliable topcoat – you’re fully equipped to create stunning, sparkling French manicures right at home. Don’t be afraid to experiment with different glitter colors and finishes. The true beauty of nail art is self-expression, and a touch of glitter is a wonderful way to add personality and flair to your look. So grab your supplies, put on some music, and have fun transforming your nails into dazzling works of art. You’ve got this!
