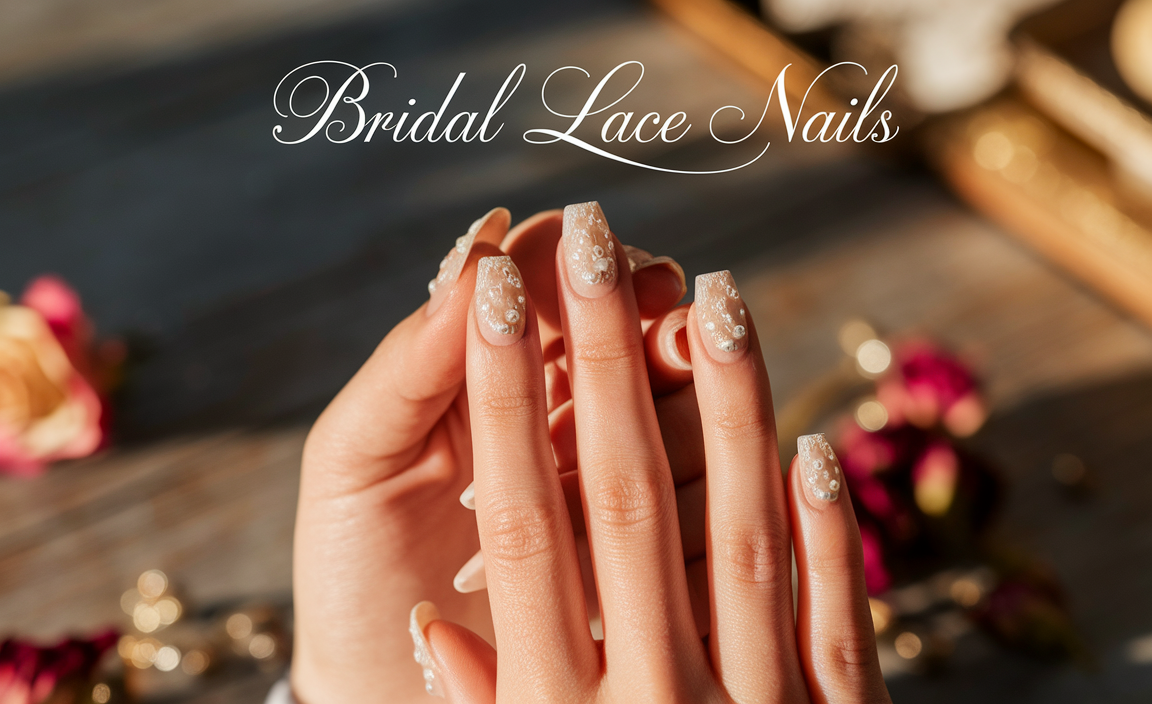
Unlock adorable nail art with these 6 stunning Kawaii nail secrets! Learn simple techniques and essential tools to create cute, playful manicures perfect for beginners.
Hello, fellow nail lovers! Are you dreaming of nails that are as cute and cheerful as your favorite cartoon characters? We all love those adorable, eye-catching designs that add a pop of fun to our day. But sometimes, recreating that magic at home can feel a little… daunting. Don’t worry, it’s totally achievable! Whether you’re just starting out or looking to elevate your nail game, discovering a few key secrets can make all the difference. Get ready to transform your nails into tiny works of art that are sure to bring a smile to your face. Let’s dive into the wonderful world of Kawaii nails!
Frequently Asked Questions About Kawaii Nails
What exactly is Kawaii nail art?
Kawaii nail art is all about embracing cuteness! Think of sweet characters, pastel colors, tiny hearts, stars, and playful patterns. It’s inspired by Japanese pop culture and focuses on making your nails look adorable and fun.
Do I need special tools for Kawaii nails?
Not necessarily to start! You can begin with basic nail polish and a toothpick or dotting tool. As you get more into it, specialized brushes, dotting tools in various sizes, andnail art pens can help you achieve more intricate designs. But don’t let tool complexity stop you – simple is often super cute!
What colors are best for Kawaii nails?
Pastels are your best friends for Kawaii nails! Think baby pink, lavender, mint green, sky blue, and soft yellow. White and black are also great for outlines and details. Don’t shy away from pops of bright color for accents, either!
How can I make my Kawaii designs last longer?
Just like any manicure, starting with clean, prepped nails is key. Apply a good base coat, use thin layers of polish, and always finish with a high-quality top coat. Gently buffing the surface of your design before the top coat can also help it adhere better.
Are Kawaii nails difficult to do at home?
Not at all! The beauty of Kawaii is that many designs are simple and repetitive, like dots or stripes. We’ll cover easy techniques here, so you can definitely achieve stunning results even with no prior nail art experience.
Where can I find inspiration for Kawaii nail designs?
Pinterest and Instagram are treasure troves! Search for #kawaiinails, #cutenails, and #nailart. You can also look at cute stationery, plush toys, and anime characters for ideas. Don’t be afraid to combine elements you love!
What is a good beginner Kawaii design to try?
A simple design like pastel-colored nails with white polka dots is a fantastic starting point. Or try a gradient of soft colors with a tiny heart on the accent nail. These look super cute and are forgiving for new artists.
6 Stunning Kawaii Nail Secrets for Adorable Designs
Secret #1: Embrace the Pastel Palette
When you think Kawaii, you should immediately think soft, dreamy colors. Pastels are the cornerstone of this super cute aesthetic. They’re not just pretty; they’re incredibly versatile and create a sweet, gentle look that’s quintessentially Kawaii. Imagine baby pinks, sky blues, mint greens, soft yellows, and lavenders. These shades are forgiving, easy to layer, and create a beautiful canvas for adding those signature Kawaii details.
The best part? You don’t need a massive collection of polishes to start. A few key pastel shades can be mixed and matched to create endless combinations. They also look fantastic on any skin tone, adding a touch of playful charm without being overwhelming. They evoke a sense of innocence and sweetness, which is precisely what Kawaii is all about.
Choosing Your Pastels:
- Soft & Dreamy: Think about colors that remind you of candy floss, baby bunnies, or spring flowers.
- Mix & Match: Don’t be afraid to combine different pastel shades on different nails for a fun, eclectic look. A blue accent nail with pink tips? Why not!
- Consider Your Undertones: While pastels are generally universal, some shades might complement your skin tone more than others. Experiment to find your favorites. For cooler skin tones, blues and purples might pop, while warmer tones might love peaches and yellows.
Application Tips for Pastels:
Pastel polishes can sometimes be a little streaky. To achieve a smooth, opaque finish:
- Thin Coats are Key: Apply two (or sometimes three) thin coats rather than one thick, gloopy layer. This prevents streaking and ensures an even color.
- Let Each Coat Dry: Patience is a virtue here! Allow each thin layer to dry almost completely before applying the next. This prevents lifting and bubbling.
- Top Coat is Your Friend: A good top coat will not only seal your design but also add a beautiful glossy finish that makes those pastel colors pop.
Secret #2: Master the Dotting Tool Technique
Dots, dots everywhere! Polka dots are a fundamental element of Kawaii nail art. They’re simple, effective, and instantly recognizable. The absolute easiest way to create perfect little dots is by using a dotting tool. These are inexpensive and come in various sizes, allowing you to create everything from tiny freckles to larger, bolder dots.
Don’t have a dotting tool? No problem! A regular toothpick, the tip of a ballpoint pen, or even the end of a bobby pin can work in a pinch. The trick is to get a small bead of polish on the tip and then gently press it onto your nail. Practice makes perfect, and even slightly imperfect dots have a charming, handmade feel that fits the Kawaii vibe.
Your Dotting Toolkit:
Here’s what you might want to gather:
- Dotting Tools: Available online or at beauty supply stores. They have different-sized metal balls at the end.
- Toothpicks: A readily available and surprisingly effective tool for small dots.
- Nail Art Pens: These have a fine tip and a brush, offering more control for detailed dots and lines.
- A Palette: A piece of foil, a tile, or even a dedicated nail art palette to place small amounts of polish for dipping your tool into.
How to Dot Like a Pro:
- Prepare Your Nail: Ensure your base color is completely dry.
- Get Your Polish: Dip the tip of your dotting tool (or toothpick) into a small bead of polish on your palette. Don’t overload it!
- The Gentle Press: Lightly press the polish-laden tip onto your nail. You can twist it slightly as you lift to create a cleaner dot.
- Spacing is Key: Experiment with different spacing for your dots – close together for a classic polka dot, or scattered for a more playful look.
- Clean Up: Dip a clean toothpick or a small brush in nail polish remover to clean up any stray marks around your nail edge.
You can create patterns like classic polka dots, scattered dots, or even make them into shapes like candy hearts or stars. It’s a skill that opens up a world of design possibilities and is incredibly satisfying to master.
Secret #3: Cute Characters and Tiny Faces
What’s cuter than a little bear, a smiley face, or a happy cloud on your fingernails? This is where Kawaii truly shines! Adding tiny characters and expressive faces to your nails brings them to life and adds serious personality. Don’t be intimidated – you don’t need to be a master illustrator to pull this off.
The key is simplicity. Think about iconic Kawaii characters like Hello Kitty, Rilakkuma, or even just simple smiley faces. You can also create your own little pals! Using fine-tipped brushes or nail art pens makes drawing these tiny details much easier. Even if your lines aren’t perfectly straight, the charm of handmade art is part of the Kawaii appeal.
Essential Tools for Character Art:
To bring your little friends to life:
- Fine-Tip Nail Art Brushes: Look for brushes with very fine bristles for drawing delicate lines and details.
- Nail Art Pens: These are fantastic for beginners as they offer controlled application of color and lines.
- Dotting Tools: For eyes, cheeks, and other round elements.
- A Steady Hand (and patience!): Take your time. Resting your wrists on a stable surface can help immensely.
Step-by-Step Smiley Face Tutorial:
Let’s try a classic smiley face:
- Base Color: Apply your chosen base color and let it dry completely. A bright yellow or pastel shade works well.
- The Circle: Using a fine brush or nail art pen in white or black, carefully paint a perfect circle for the face. If you’re not confident with freehand circles, you could use the rim of a small bottle cap as a guide, or a round nail art brush to dab the polish.
- The Eyes: With a dotting tool or a tiny brush, add two small dots for the eyes. Black or a darker shade of your base color works great.
- The Mouth: Using a fine brush and black polish, draw a simple curved line for the smile underneath the eyes. You can make it wide or subtle.
- Optional Cheeks: Add two tiny pink dots for rosy cheeks.
- Seal the Deal: Once everything is completely dry, apply a clear top coat to protect your adorable face.
Remember, practice is key! Start with simple shapes and gradually try more complex characters as you gain confidence. Looking at reference images can offer great guidance.
Secret #4: The Magic of Stickers and Decals
For those days when you want stunning Kawaii nails fast, or you’re just building up your freehand skills, nail stickers and decals are an absolute lifesaver! They offer an instant design element that looks professional and incredibly cute, with minimal effort. They are a beginner’s best friend and a seasoned artist’s secret weapon for quick makeovers.
You can find an incredible variety of Kawaii-themed stickers and decals online and in beauty stores. From tiny fruits and animals to popular cartoon characters and glittery accents, there’s something for everyone. They adhere easily to your nail and are then sealed with a top coat for durability. It’s like a cheat code for amazing nail art!
Types of Nail Stickers and Decals:
- 3D Stickers: These have a little bit of thickness and often a raised texture, giving them a more dimensional look.
- Water Decals (Decal Paper): These require soaking in water, which loosens the design from the backing paper, allowing you to slide it onto your nail. They tend to lay very flat.
- Adhesive Stickers: Simply peel and stick! These are the easiest to use and come in countless designs.
- Nail Foils: While not strictly stickers, nail foils can create stunning, holographic, and patterned effects that fit the Kawaii theme.
How to Apply Nail Stickers for a Flawless Finish:
Applying stickers is super straightforward:
- Prep Your Nails: Apply your base color and two thin coats of top color, letting them dry completely. A perfectly smooth surface is crucial for sticker adhesion.
- Choose Your Sticker: Select your desired Kawaii sticker or decal.
- Peel or Soak: For adhesive stickers, carefully peel it from its backing using tweezers. For water decals, submerge it in water for about 10-20 seconds until the design loosens from the paper.
- Apply Carefully: Place the sticker or decal onto your nail. For water decals, gently slide it into position using a damp tool. If it’s an adhesive sticker, press it down firmly, but gently, from the center outwards to avoid air bubbles.
- Smooth it Out: For water decals, gently dab away excess water and smooth out any wrinkles with a small piece of plastic wrap or your fingertip.
- Seal the Deal: Apply a generous layer of clear top coat. Make sure to cap the free edge of your nail (paint the very tip) – this helps prevent the sticker from peeling up at the edges. A good top coat will meld the sticker into your nail, making it look like it’s painted on.
Using stickers can give you intricate designs in minutes, making it ideal for busy schedules or for those new to nail art who want impressive results.
Secret #5: Incorporate Sparkle and Shine
Kawaii doesn’t always mean soft and subtle! Sometimes, a little bit of sparkle can take your cute designs to a whole new level of magical. Think glitter, rhinestones, iridescent flakes, and holographic accents. These elements add a dazzling, eye-catching touch that makes your nails feel extra special and playful. They’re like the cherry on top of your adorable nail sundae!
The key is to use them strategically. You don’t want to overwhelm your design, but rather enhance it. A glitter accent nail, a few strategically placed rhinestones on a character’s bow, or a sprinkle of iridescent flakes over a pastel base can make a world of difference. It adds dimension and catches the light beautifully, making your Kawaii nails truly shine.
Sparkle Options to Try:
Elevate your nails with these dazzling additions:
- Fine Glitter: Perfect for full glitter nails or creating subtle ombre effects.
- Chunky Glitter: Adds more texture and a bolder sparkle. Use sparingly for accent nails.
- Rhinestones & Gems: Tiny gems can be used as eyes, flower centers, or just for a glamorous touch. Clear or pastel-colored ones work best.
- Iridescent Flakes: These tiny, paper-thin flakes shift color beautifully in the light and add a dreamy, ethereal quality.
- Holographic Polish/Flakes: For a futuristic, rainbow-like sheen that’s super trendy and fun.
Application Techniques for Sparkle:
Here’s how to apply these dazzling elements:
- Glitter Polish: Apply as you would any nail polish. For more intense glitter, use a dabbing technique or apply a glitter top coat over a solid color.
- Loose Glitter/Flakes: Apply a layer of nail glue or sticky top coat to the desired area of your nail. Carefully pick up loose glitter or flakes with tweezers or a damp brush and press them onto the sticky surface. Gently tap off any excess.
- Rhinestones: Apply a tiny dot of nail glue or a bit of your top coat to the spot where you want the rhinestone. Use wax-tipped tweezers or a dotting tool to pick up the rhinestone and place it carefully.
- Sealing is Crucial: Once your sparkle elements are in place and dry (or the glue is set), apply a thick, generous layer of top coat. Ensure you encapsulate the gems or glitter fully to prevent them from snagging or falling off. Pay extra attention to capping the free edge.
A touch of shimmer can make any simple Kawaii design feel more sophisticated and eye-catching. A little sparkle goes a long way in making your nails pop!

