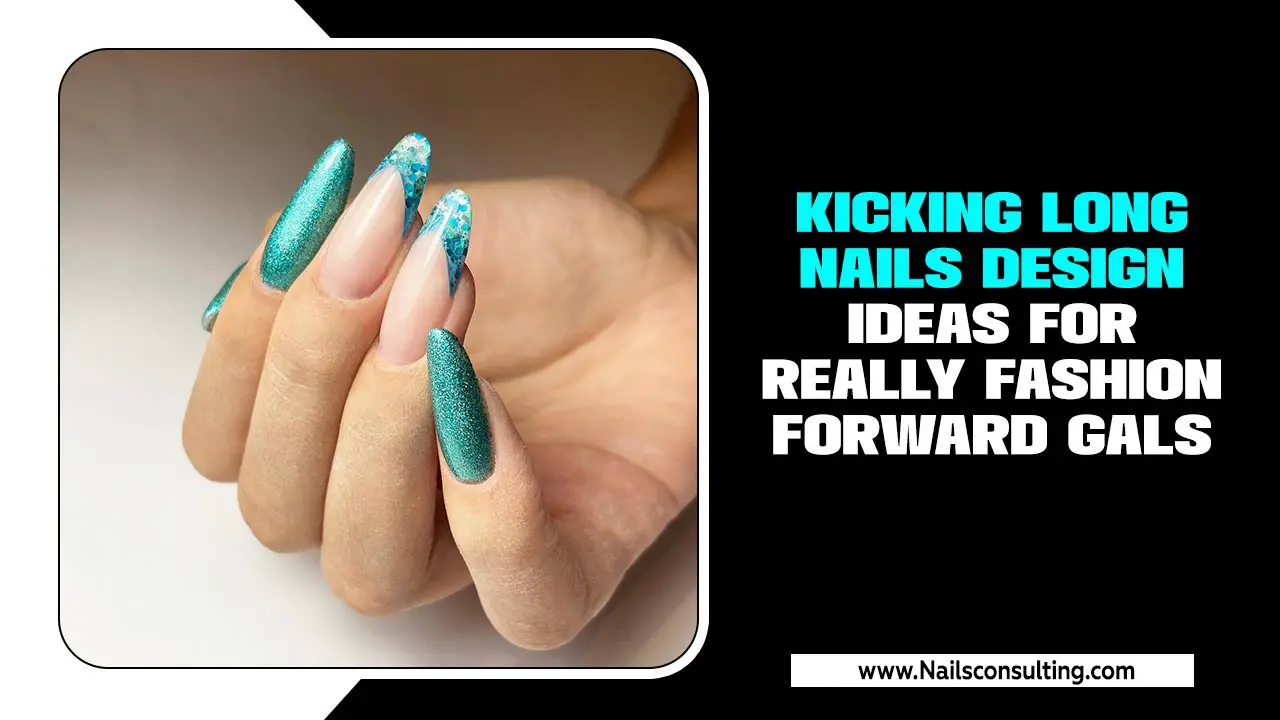
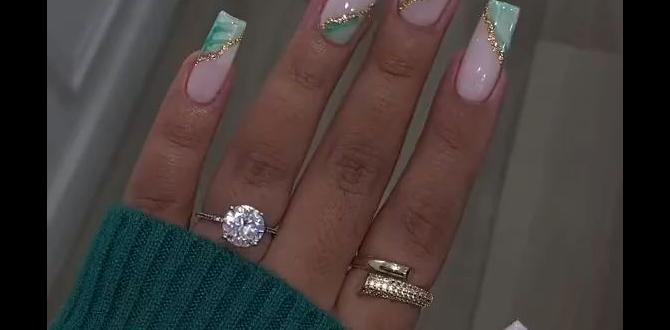
6 Glossy Nail Designs: Effortless & Stunning Looks for Everyone! Get ready to shine with these simple, chic glossy nail designs. Perfect for beginners, these ideas will elevate your manicure game with minimal effort and maximum impact. Discover your next favorite look that’s both easy to achieve and incredibly elegant.
Dreaming of salon-worthy nails but short on time or experience? You’re not alone! Many of us see dazzling, glossy manicures and think they’re out of reach. But guess what? Achieving that high-shine, polished look is totally doable right at home. Forget complicated art; we’re talking about designs that boost your confidence and make your hands look fabulous without a fuss.
This guide is your new best friend for getting stunning, glossy nails. We’ll walk you through six amazing designs that are super easy to master, even if you’re just starting out. Get ready to fall in love with your nails all over again!
What is a Glossy Nail Design?
A glossy nail design is essentially any nail art or solid color manicure that features a high-shine, reflective finish. Think of it as the opposite of a matte finish. The gloss comes from a top coat that creates a smooth, mirror-like surface. This finish makes colors pop, adds depth, and gives nails an overall look of being perfectly polished and healthy.
Why Choose Glossy Nails?
Glossy nails are incredibly versatile and always in style.
- Chic Appeal: They look sophisticated and elegant, instantly upgrading any outfit.
- Color Vibrancy: The shine makes nail polish colors appear richer and more intense.
- Healthy Look: A good gloss can make nails appear smoother and healthier.
- Durability: A quality glossy top coat can protect your manicure from chips and wear.
- Beginner-Friendly: Most glossy looks are achieved with simple application techniques.
Essential Tools for Glossy Nails
Before we dive into the designs, let’s gather your tools. You don’t need much to achieve these gorgeous looks!
Core Essentials:
- Nail File: To shape your nails.
- Nail Buffer: For smoothing the nail surface.
- Cuticle Pusher or Orange Stick: To gently push back cuticles.
- Nail Polish Remover: To clean up mistakes and prep nails.
- Base Coat: Protects your natural nails and helps polish adhere.
- Colored Nail Polish: Your chosen shade(s).
- High-Shine Top Coat: This is the magic ingredient for gloss! Look for one that promises a gel-like finish or superior shine. Brands often boast “no-wipe” or “quick-dry” features, which are great bonuses.
Optional (for specific designs):
- Thin Art Brush: For clean lines or small details.
- Dotting Tool: For creating dots.
- Stencils or Tape: For creating sharp lines or shapes.
Remember, proper nail preparation is key to a long-lasting, flawless glossy finish. Start with clean, shaped nails and ensure no oily residue remains before applying polish. For more on nail care, the American Academy of Dermatology provides excellent resources on maintaining healthy nails.
6 Effortless & Stunning Glossy Nail Designs
Let’s get to the fun part! Here are six glossy nail designs that are easy for beginners and deliver stunning results.
1. The Classic Monochrome Gloss
This is the ultimate foolproof glossy look. It’s elegant, simple, and works with any color you love. The key is a flawless application and a super shiny top coat.
How to Achieve:
- Prep: Shape and file your nails. Gently push back your cuticles. Cleanse your nails with nail polish remover to remove any oils.
- Base Coat: Apply one layer of base coat and let it dry completely.
- Color: Apply two thin coats of your chosen nail polish color. Allow each coat to dry for a minute or two before applying the next.
- Top Coat: This is where the magic happens! Apply a generous, smooth layer of your high-shine top coat. Be sure to cap the free edge of your nail by running the brush horizontally along the tip. This helps prevent chipping and seals in the shine.
- Dry: Let your nails dry completely.
Tips for Extra Shine:
- Use a quick-dry top coat to minimize smudging.
- Apply the top coat in a well-lit area to ensure even coverage.
- Reapply a thin layer of top coat every couple of days to maintain the gloss.
2. The Subtle Gradient (Ombre) Gloss
The ombre effect, where colors blend seamlessly, looks sophisticated and is surprisingly simple to achieve with a sponge. This design adds a touch of modern flair.
How to Achieve:
- Prep: Prepare your nails as usual (file, buff, clean). Apply a base coat.
- Base Color: Apply one full coat of your lighter nail polish color. Let it dry completely.
- Sponge Prep: Cut a makeup sponge into small pieces.
- Ombre Application: On a piece of foil or paper, apply stripes of your lighter color and your darker color next to each other. Gently dab the sponge onto both stripes to pick up the colors.
- Dab onto Nail: Lightly dab the sponge onto the tip of your nail, blending downwards. You might need to reapply polish to the sponge and repeat for more intensity or a smoother blend.
- Clean Up: Use a brush dipped in nail polish remover to clean up any harsh lines or polish on your skin.
- Glossy Top Coat: Once dry, apply a thick, glossy top coat to meld the gradient and add that beautiful shine.
Why It Works:
The sponge helps to create a diffused color transition that looks professional. The glossy top coat smooths out any porous texture from the sponge, making the gradient look seamless and high-definition.
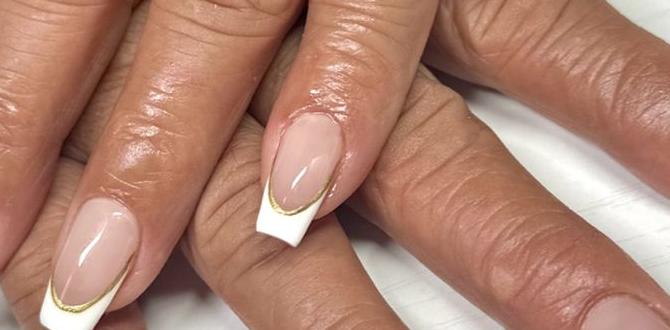
3. The Polished French Tip Gloss
The classic French manicure gets a glossy update. Instead of a flat white tip, we’re going for a sleek, high-shine line that screams elegance.
How to Achieve:
- Prep: Shape and clean your nails. Apply a sheer nude or pink base coat. Let it dry.
- Tip Color: Choose a contrasting color for your tips – think classic white, a bold red, or even a metallic.
- The Line: This can be done freehand with a steady hand or using guide stickers.
- Freehand: Dip a thin nail art brush into your tip color. Carefully paint a smile line across the tip of your nail.
- Stickers: Place French tip guide stickers on your nails, just below where you want the tip to start. Paint the tips, let them get slightly tacky, then carefully peel off the stickers.
- Second Coat: Apply a second thin coat of the tip color for opacity.
- Glossy Finish: Once the tips are dry, apply a generous, glossy top coat over the entire nail to seal everything in and add that signature shine.
Pro Tip:
For an ultra-modern look, try a “reverse French” where the color is at the cuticle line, or use two different glossy colors for the base and the tip!
4. The Chic Accent Nail Gloss
Elevate a simple solid glossy manicure by adding one eye-catching accent nail. This is perfect for anyone who wants a hint of drama without overpowering their look.
How to Achieve:
- Prep: Prepare all nails.
- Solid Glossy Nails: Apply your chosen color with a base coat and top coat to four of your nails as you would a classic monochrome gloss (Design 1).
- Accent Nail Design: For your accent nail (usually the ring finger), you can either:
- A Different Color: Apply the same color, but use a different texture, like a metallic polish or subtle glitter polish, topped with your glossy top coat.
- Simple Art: Use a dotting tool or fine brush to create a simple design like a few dots, a swirl, or a thin line in a complementary color. Finish with a glossy top coat.
- A Bold Statement: Use a vibrant, rich gem-toned color on the accent nail, finished with gloss.
- Balance: Make sure the accent nail’s finish is also glossy to tie the whole look together.
Design Idea:
Try a deep emerald green on four nails and a shimmering gold on the accent nail, both with a high-gloss finish.
5. The Glossy Negative Space Design
Negative space manicures are super trendy and sophisticated. They play with the natural nail or a clear polish, allowing parts of the nail to show through. Adding gloss takes it to the next level.
How to Achieve:
- Prep: Prep your nails. Apply a base coat.
- Tape Art: Apply nail tape or strips in a pattern (e.g., diagonal lines, a triangle at the tip, geometric shapes) onto your nails. Ensure the tape adheres well.
- Color Application: Paint over the taped areas with your chosen colored polish. You can use one color or multiple colors.
- Remove Tape: While the polish is still slightly wet (but not runny), carefully peel off the tape. This will leave the taped-off sections bare or showing your natural nail/base coat.
- Glossy Seal: Once completely dry, apply a generous glossy top coat over the entire nail. This will smooth the transition between the painted and unpainted sections and give everything a beautiful shine.
Why Negative Space Works:
It’s modern and allows for creative patterns. The glossy top coat makes the colored sections pop while giving the bare areas a healthy sheen.
6. The Single Bold Line Gloss
This design is all about precision and impact. A clean, single line of color across a nude or clear base, drenched in gloss, is incredibly chic.
How to Achieve:
- Prep: Shape and clean your nails. Apply a clear polish or a sheer nudie pink base coat. Let it dry.
- The Line: Using a very fine nail art brush or a striper polish, carefully draw a single, thin line across the nail. You can place it horizontally near the tip, vertically down the center, or diagonally. Metallic or neon colors work beautifully here.
- Second Coat (Optional): If needed for opacity, carefully apply a second thin line.
- Glossy Top Coat: Generously apply a high-shine top coat over the entire nail, ensuring the line is fully covered and sealed.
What Makes It Stunning:
The minimalism is key. The contrast between the subtle base and the bold, glossy line, enhanced by the overall shine, creates a very high-fashion look.
Glossy Nail Design Inspiration Table
Here’s a quick reference table for popular glossy nail color combinations and design ideas:
| Design Type | Color Palette Ideas | Occasion Suitability | Beginner Friendly |
|---|---|---|---|
| Monochrome Gloss | Deep Red, Classic Nude, Navy Blue, Black, Emerald Green | Everyday, Work, Evening Out | Yes |
| Subtle Gradient (Ombre) | Pastels (pink to peach), Neutrals (beige to cream), Cool Tones (light blue to lavender) | Spring/Summer, Casual Chic, Modern | Yes (with sponge) |
| Polished French Tip | Classic White/Nude, Metallic Gold/Silver Tips, Red Tips on Nude Base, Black Tips on Clear Base | Formal Events, Professional, All Occasions | Yes (with guides or steady hand) |
| Chic Accent Nail | Four Neutrals + One Metallic; Four Pastels + One Sparkly; Four Deep Tones + One Jewel Tone | Versatile, Adds a touch of flair | Yes |
| Negative Space | Geometric patterns with black/white/red; Lines with metallic gold; Half-moon at the cuticle with any color | Modern, Edgy, Artistic | Yes (with tape) |
| Single Bold Line | Thin gold line on nude; Thin black line on clear; Thin neon pink line on white | Minimalist Chic, Understated Glamour | Yes (with fine brush/striper) |
Maintaining Your Glossy Manicure
To keep your glossy nails looking fabulous for as long as possible, follow these simple care tips:
- Avoid Harsh Chemicals: Wear gloves when cleaning or washing dishes to protect your polish from detergents.
- Regular Top Coat Application: Apply a thin layer of glossy top coat every 2-3 days to refresh the shine and add protection.
- Moisturize: Keep your cuticles and hands moisturized with cuticle oil and hand cream. Healthy cuticles make your whole manicure look better.
- Be Gentle: Avoid using your nails as tools to open cans or scrape things.
- Quick Fixes: If you get a small chip, you can sometimes fix it by carefully filing the edge and reapplying a tiny bit of color and top coat.
For more insights on nail care and longevity, the Professional Nail Technicians Association offers professional advice.
Frequently Asked Questions (FAQ)
Can I get a glossy finish with regular nail polish?
Absolutely! While gel polishes naturally have a high shine, you can achieve a fantastic glossy finish with regular nail polish by using a high-quality, glossy top coat. The key is the top coat.
How long does a glossy nail design usually last?
With proper care and good quality products, a glossy manicure using regular polish can last anywhere from 5 to 10 days. Reapplying a top coat every few days can extend its life and maintain that shine.
Is it hard to do ombre nails at home?
The sponge method for ombre nails is surprisingly easy once you get the hang of it! It might take a little practice to get the blend perfect, but it’s a very forgiving technique for beginners.
What’s the best way to keep my glossy top coat shiny?
To maintain shine, always finish with a good, thick glossy top coat. Avoid top coats that claim to be “quick dry” as they sometimes sacrifice shine for speed. Reapplying a layer of top coat every couple of days also helps immensely.
Can I use different types of top coats for these designs?
Yes, you can! For these designs, a high-shine, non-wipe gel-like top coat (even for regular polish) will give you the best results. Avoid quick-dry formulas if maximum shine is your goal, as they can sometimes dull the finish.
I’m a total beginner. Which glossy design should I start with?
The Classic Monochrome Gloss is your best bet! It’s a fantastic way to practice your application technique and appreciate the beauty of a perfectly shiny, single-color nail. Once you’ve mastered that, you can move on to the accent nail or French tip.
Should I let each layer of polish dry completely before the next?
It’s best to let each coat of colored polish dry for at least a minute or two (or longer if using a traditional polish) before applying the next. This prevents “bubbling” or smudging. The top coat, however, can often be applied once the color polish is mostly dry, and it helps to seal those layers seamlessly.
Conclusion
See? Achieving stunning, glossy nails is well within your reach! We’ve explored six designs – from the fail-safe Classic Monochrome Gloss to the chic Single Bold Line – all designed with beginners in mind. Whether you love bold colors or subtle elegance, there’s a glossy look here to inspire you. Remember, the secret ingredient is a fantastic high-shine top coat and a little bit of patience during application.
Don’t be afraid to experiment with your favorite colors and adapt these ideas to your personal style. With these simple techniques and a few essential tools, you can confidently create beautiful, glossy manicures that will make you feel amazing. Happy polishing, and get ready to shine!

