Unlock stunning grape nail designs with ease! This guide offers 6 beginner-friendly, effortless, and chic grape-themed manicure ideas, perfect for adding a pop of fruity fun to your look. Get ready to impress with simple steps to beautiful grape nails.
Ever looked at your nails and thought, “I wish I could add a little something extra?” You’re not alone! Sometimes, we’re looking for a nail design that’s both fun and easy to do at home. Grape nail designs are a fantastic choice. They’re unique, a little whimsical, and can be surprisingly simple to create. Whether you’re new to nail art or just want a quick, cute update, these grape-inspired looks are perfect. Let’s dive into how you can create some absolutely stunning grape nails without needing to be a pro artist!
Why Grape Nails?
Grape nails are such a charming trend because they bring a touch of playful sophistication to your fingertips. They’re a delightful way to play with color, moving beyond classic reds and nudes to something a bit more unique and eye-catching. The beauty of grape-themed nail art lies in its versatility. You can go for a subtle, elegant nod to the fruit with soft purples and delicate leaf accents, or you can opt for a bolder, brighter look with glossy finishes and intricate cluster details. Plus, they’re perfect for any season, adding a burst of color in spring or a rich, decadent feel in fall. Ready to explore some sweet and stylish options?
Essential Tools for Grape Nail Designs
Before we get our hands (and nails!) dirty, let’s gather our supplies. You don’t need a professional salon setup to create amazing grape nails. Here’s a handy list of what you might find useful:
- Base Coat: Protects your natural nails and helps polish adhere better.
- Top Coat: Seals your design, adds shine, and makes your manicure last longer.
- Purple Nail Polish: A must-have! Consider a few shades – a deep violet, a lighter lavender, and maybe even a pinkish-grape hue.
- Green Nail Polish: For stems and leaves.
- Dotting Tools: These come in various sizes and are perfect for creating grape clusters and small details. You can find them easily online or at beauty supply stores. A great set is available from Amazon’s wide selection.
- Thin Nail Art Brush: For drawing stems, leaves, or fine lines.
- Toothpicks or Orange Sticks: Great alternatives for dotting if you don’t have dotting tools.
- Tweezers (Optional): For picking up small embellishments like glitter or tiny charms.
- Nail Polish Remover and Cotton Pads: For cleaning up mistakes.
6 Effortless Grape Nail Designs
Let’s get to the fun part! Here are six inspiring grape nail designs that are perfect for beginners, with simple steps to achieve them.
1. The Classic Grape Cluster
This design is all about creating those adorable, plump grape clusters that are instantly recognizable. It’s a classic for a reason!
- Prep: Start with a clean nail buffed smooth. Apply a thin layer of base coat and let it dry completely.
- Berry Base: Paint your nails with a nice shade of purple. You might need two coats for full coverage. Let it dry thoroughly.
- Forming Clusters: Using a dotting tool dipped in the same or a slightly darker shade of purple polish, create small circles or ovals (the grapes!) randomly on your nail. Don’t make them too perfect; real grape clusters have some overlap and variation.
- Add Depth: For a more realistic look, use an even darker purple or a hint of black on a smaller dotting tool to add tiny dots within some of the larger “grapes.”
- The Stem: With a thin nail art brush or a toothpick dipped in green polish, draw a small, delicate stem connecting a few of your grape dots.
- Finishing Touch: Once everything is dry, apply a generous layer of top coat to seal the design and give it a beautiful, glossy finish.
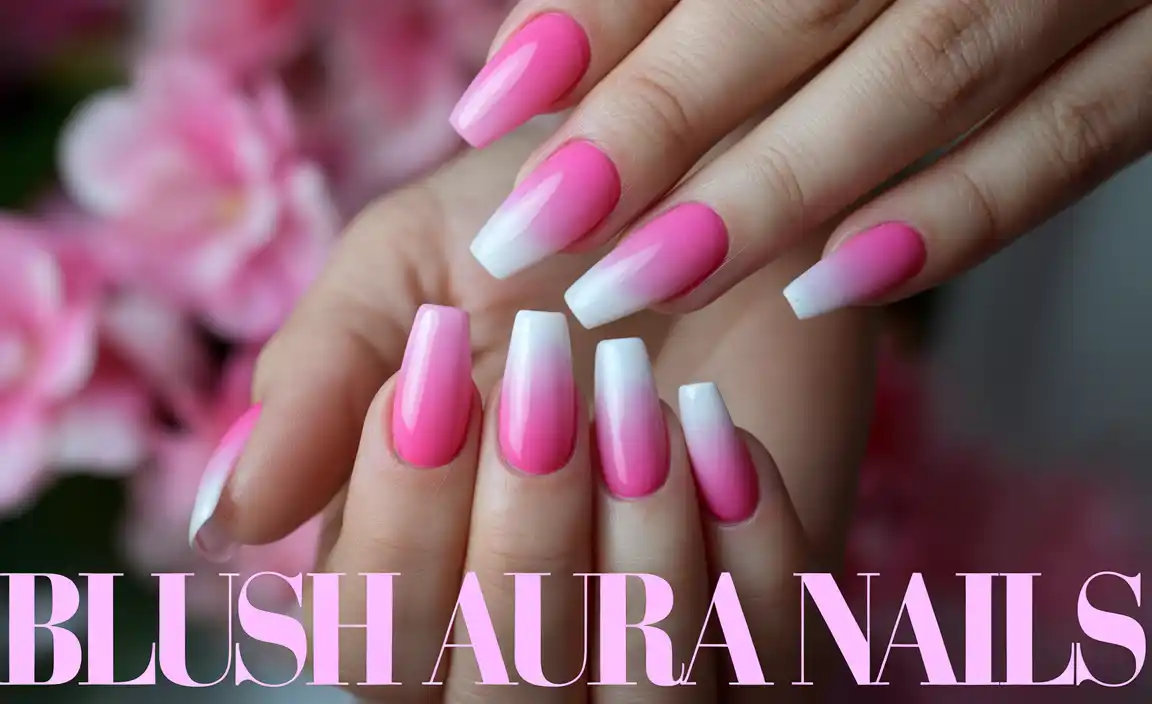
2. The Subtle Purple Ombre
This elegant design uses shades of purple to create a soft, blended look that hints at grapes without being too literal. It’s sophisticated and super easy!
- Base Prep: Apply base coat and let it dry.
- Layering Colors: Start with a lighter shade of purple on the tip of your nail, fading it downwards with a makeup sponge or another polish brush.
- Transition: Use a slightly darker purple and dab it onto the middle of your nail, blending it seamlessly into the lighter shade.
- Deepest Hue: Apply a deep, rich purple at the base of your nail, blending it upwards into the middle shade. The key here is to blend while the polish is still wet to create a smooth transition.
- Repeat & Refine: You might need to repeat this blending process a couple of times to get the gradient effect you desire.
- Seal It: Once satisfied with the ombre effect and it’s completely dry, apply a protective top coat.
Pro Tip: For a super smooth ombre, try the sponge method. Dab polish onto a makeup sponge and lightly dab it onto your nail to blend the colors.
3. The Grapevine Accent Nail
This design focuses on creating a delicate vine motif, perfect for an accent nail or if you prefer a more minimalist approach.
- Foundation: Apply your base coat and let it dry. Paint your entire nail with a nude, white, or a soft pastel color as your background.
- Drawing the Vine: Using a thin nail art brush and a dark purple or green polish, carefully draw a thin, winding vine line across your nail. Think of a delicate tendril.
- Grape Dots: On the vine, strategically place small dots of purple polish using a fine dotting tool or the tip of your brush to represent tiny grapes. You can add a few scattered ‘grapes’ near the vine as well.
- Leafy Accents: Add tiny, simple leaf shapes with green polish using your brush, branching off the vine.
- Shine On: Apply a clear top coat to protect your artwork and add a lovely sheen.
4. Glossy Grape Gemstones
Looking for something with a bit more glam? This design uses a glossy finish and the illusion of gemstones to create a luxurious grape look.
- Dark Elegance: Start with a dark, glossy purple polish. Apply one perfect coat and let it dry completely.
- Simulate Gems: Using a dotting tool and a lighter, more vibrant purple, place a few strategically sized dots on your nail. These will act as your “gemstones.” Don’t overdo it; a few well-placed dots are more impactful.
- Highlighting: With an even smaller dotting tool or the tip of a toothpick, add a tiny dot of white or a very light lavender polish to the edge of each purple “gem.” This creates a highlight and makes them look faceted and shiny.
- Optional Sparkle: For extra oomph, place a tiny speck of glitter or a small rhinestone near your “gemstones” using tweezers.
- Final Seal: Add a thick, glossy top coat to give everything a precious, gemstone-like shine.
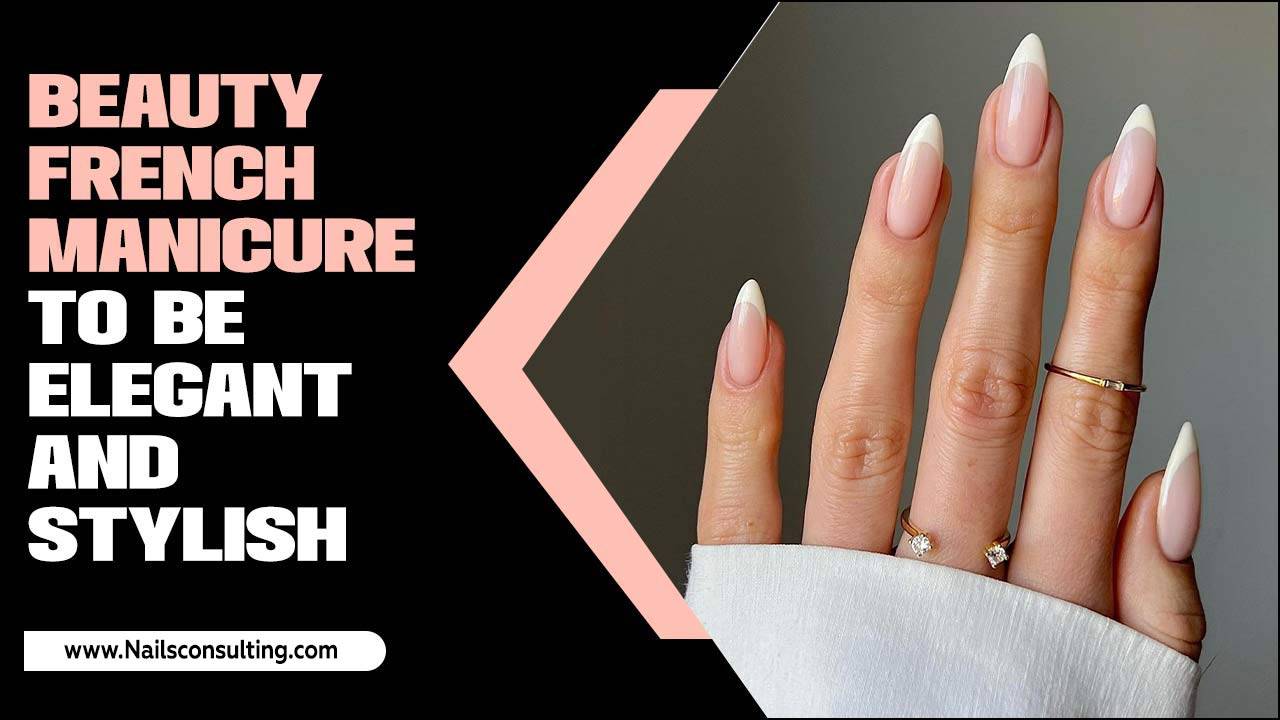
5. The French Tip Grape Twist
Put a fun spin on the classic French manicure by incorporating grape colors and shapes.
- Base: Apply base coat. Then paint your nails with a sheer nude or a very pale lilac polish.
- Purple Tips: Using a thin brush or a clean nail tip guide, paint a curved French tip in a rich grape purple.
- Grape Accents: On some of the purple tips, use a small dotting tool to add a couple of tiny purple dots, mimicking small grapes.
- Green Stems: Add tiny green stems connecting these dots or extending slightly onto the nail bed.
- Shiny Finish: Seal everything with a high-shine top coat.
6. The Gradient Cluster Effect
Combine the ombre trend with grape clusters for a look that’s both trendy and sweet!
- Ombre Base: Create a soft gradient of purples on each nail, as described in design #2. You could go from light to dark purple, or even from pinkish-purple to dark violet.
- Cluster Placement: Once the ombre base is dry, use a medium-sized dotting tool and a slightly deeper shade of purple than the base color at the tip of the nail. Create small clusters of dots along the “smile line” or freely on the nail.
- Varying Sizes: Use different-sized dotting tools to create clusters with grapes of varying sizes for a more natural look.
- Subtle Stems: With a very fine brush, add tiny green stems if desired, connecting a couple of the dots in your clusters.
- Seal and Shine: Apply a generous layer of top coat to smooth out the texture and lock in the design.
Adding Texture & Dimension
Want to take your grape nails to the next level? Consider these simple ways to add texture and dimension:
- Matte Top Coat: For a sophisticated twist, apply a matte top coat over your finished design. This gives a velvety, modern feel.
- Glitter Accents: A touch of fine purple or green glitter can add sparkle to your grape clusters or stems.
- 3D Gel Polish: If you’re feeling adventurous, use a 3D gel polish in purple to create raised grape clusters for a truly textured effect.
- Nail Charms: Tiny grape charms or small leaf-shaped charms can be adhered to accent nails for extra flair.
Maintaining Your Grape Nails
To keep your beautiful grape nail designs looking fresh and fabulous, follow these simple maintenance tips:
- Wear Gloves: When doing chores, washing dishes, or using cleaning products, wear rubber gloves to protect your manicure from harsh chemicals and excessive moisture.
- Moisturize: Keep your hands and cuticles moisturized. Regularly apply cuticle oil and hand lotion to prevent dryness, which can cause polish to chip.
- Avoid Using Nails as Tools: Try not to use your nails to open cans, pick at labels, or scrape things. This is a sure way to chip or break your polish.
- Touch-Ups: If you notice a small chip or wear on the edges, you can carefully touch it up with a matching polish color and a fine brush, then reapply top coat.
- Reapply Top Coat: Every few days, lightly reapply a layer of top coat to refresh the shine and add an extra layer of protection.
For more in-depth nail care advice, the Mayo Clinic offers excellent general guidelines on nail health and hygiene.
Grape Nail Designs: A Comparison Table
Choosing the right design depends on your style and how much time you have. Here’s a quick comparison:
| Design Name | Effort Level | Visual Style | Best For |
|---|---|---|---|
| Classic Grape Cluster | Easy | Literal, detailed clusters | Playful, fun look |
| Subtle Purple Ombre | Medium | Soft, blended color transition | Elegant, sophisticated, minimalist fans |
| Grapevine Accent Nail | Easy | Delicate vine and small dots | Minimalist, chic, unique accent |
| Glossy Grape Gemstones | Easy | Shimmering, faceted “gems” | Glamorous, eye-catching statement |
| French Tip Grape Twist | Easy | Classic French with grape color pop | Everyday wear, subtle trend update |
| Gradient Cluster Effect | Medium | Ombre base with overlaid clusters | Trendy, textured, modern appeal |
Frequently Asked Questions About Grape Nail Designs
What are the best polish colors for grape nails?
The best colors are various shades of purple, from deep violet and plum to lighter lavender and lilac. You’ll also need green for stems and leaves, and sometimes a touch of white or black for highlights and depth. A good base and top coat are essential for longevity.
How do I make my grape nail art look realistic?
To make grape nail art look realistic, vary the size of your “grapes” and add subtle highlights or darker dots within them to create dimension. Don’t aim for perfect symmetry; organic shapes and slight overlaps will look more natural.
Can beginners do these grape nail designs?
Absolutely! The designs listed are specifically chosen for their beginner-friendliness. Simple dotting tools, brushes, and clear steps make them achievable for anyone looking to try nail art at home.
How long do DIY grape nail designs typically last?
With proper prep (base coat), application, and a good top coat, DIY grape nail designs can last anywhere from 5 to 10 days. Following maintenance tips will help extend their life even further.
Are grape nail designs seasonal?
Not at all! While they can be perfect for autumn harvest themes, grape nails are a fun, fruity design that can be enjoyed year-round. The range of purples can fit any season’s color palette.
What if I make a mistake while doing my grape nails?
Don’t worry! Keep nail polish remover and cotton pads or swabs handy. You can gently dip a swab in remover to clean up small smudges or mistakes before the polish dries completely. For larger errors, you might need to gently remove the polish from that nail and start again.
Can I combine elements from different grape nail designs?
Yes, definitely! Feel free to mix and match. For example, you could do a purple ombre base and then add a single detailed grapevine stem on one accent nail. Personalize your grape nails to reflect your unique style!
Conclusion
There you have it – six fantastic and accessible grape nail designs to get your creativity flowing! From the classic, plump clusters to elegant gradients and chic French twists, these ideas prove that stunning nail art doesn’t have to be complicated. You have the tools, you have the inspiration, and you definitely have the capability to create beautiful grape-themed manis right at home. Remember, nail art is all about self-expression and having fun, so don’t be afraid to experiment with colors, tools, and techniques. Pick your favorite design, gather your polishes, and get ready to flaunt those gorgeous, fruity nails. Happy painting!

