Discover 6 genius greige nail designs for an effortlessly chic and versatile manicure. Greige, the perfect blend of grey and beige, offers a sophisticated neutral that complements any outfit and skin tone. These essential looks are beginner-friendly and perfect for everyday wear.
Hey nail lovers! Are you stuck in a nail color rut, always reaching for the same old shades? Do you wish you could achieve salon-worthy nails at home without all the fuss? You’re not alone! Finding that perfect neutral that’s both stylish and easy to wear can feel like a challenge. But what if I told you there’s a color that’s universally flattering, incredibly chic, and can be dressed up or down for any occasion? Enter greige – the magical mix of grey and beige that’s taking the nail world by storm. It’s the ultimate sophisticated neutral, and I’m here to show you exactly how to rock some gorgeous greige nail designs. Get ready to fall in love with this adaptable hue and discover your next favorite manicure look!
What’s the Big Deal About Greige?
Greige is more than just a color; it’s a feeling. It’s the sophisticated cousin of beige and the softer, warmer sibling of grey. This beautiful neutral shade offers a perfect balance, making it incredibly versatile.
Universally Flattering: Greige looks amazing on almost every skin tone. It’s not too stark like some greys or too muted like some beiges.
Chic & Sophisticated: It instantly elevates your look, adding a touch of understated elegance.
Perfect for Any Occasion: From a casual coffee date to a formal event, greige nails are always appropriate.
Easy to Style: It pairs effortlessly with virtually any outfit color.
Let’s Dive into 6 Genius Greige Nail Designs!
Ready to get your hands on these stunning looks? Grab your nail polish, and let’s create some magic!
1. The Classic Greige Mani
Sometimes, the simplest designs are the most effective. This is your go-to, everyday greige look that’s polished and chic.
Why it’s great for beginners: Requires minimal skills, just clean application.
What you’ll need:
A fantastic greige nail polish (look for shades with a creamy finish)
Base coat
Top coat
Nail file and buffer
Cuticle oil (optional, but good for prep!)
Simple Steps:
1. Prep is Key: Start by filing your nails to your desired shape. Gently buff the surface of your nails to create a smooth canvas. Push back your cuticles. Apply a small amount of cuticle oil and let it soak in.
2. Base Coat Power: Apply one thin layer of your favorite base coat. This protects your natural nails and helps the polish adhere better. Let it dry completely.
3. Greige Time! Apply your chosen greige polish. For the best coverage, use two thin coats rather than one thick one. Let each coat dry for a minute or two before applying the next.
4. Seal the Deal: Once the second coat of greige is dry, apply a generous layer of top coat. This adds shine, protects against chips, and makes your manicure last longer.
5. Finishing Touch: Apply a drop of cuticle oil to moisturize around your nails.
Pro Tip: For an extra smooth finish, use a ridge-filling base coat if you have any unevenness on your nail beds.
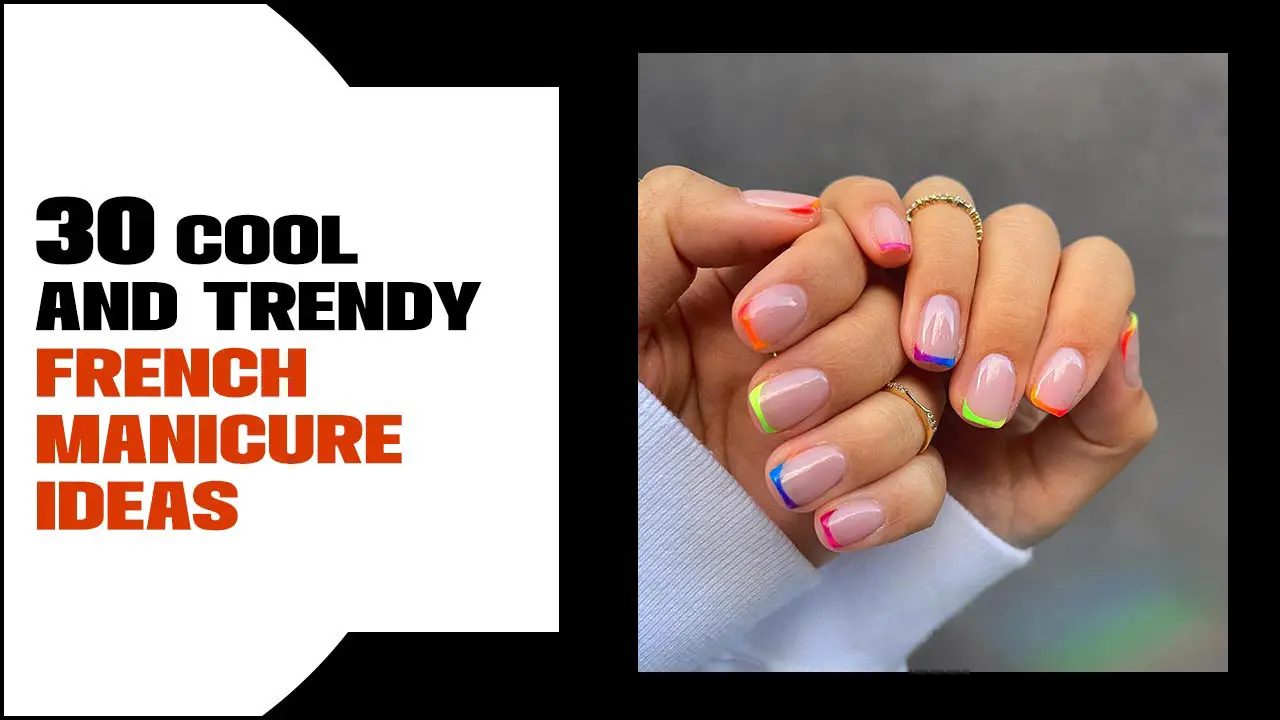
2. The Subtle Greige French Tip
The French manicure is timeless, and a greige twist is incredibly sophisticated. This design adds a modern, understated flair to the classic look.
Why it’s a beginner favorite: Focuses on precision with a small detail.
What you’ll need:
Greige nail polish
A sheer nude or milky white polish (for the base)
A fine-tipped brush or French tip guide stickers
Base coat and top coat
Easy-Peasy Steps:
1. Prep Your Nails: As always, ensure your nails are clean, filed, and buffed.
2. Sheer Base: Apply one or two thin coats of your sheer nude or milky white polish. Let it dry thoroughly. This creates a clean, soft base for the greige tips.
3. The Greige Line: This is where your artistry comes in!
With a Brush: Dip a fine-tipped nail art brush into your greige polish. Gently paint a thin line along the free edge of each nail. Try to keep it consistent!
With Stickers: Place French tip guide stickers along the edge of your nail, just above where you want the greige tip to be. Paint the greige polish over the exposed tip. Let it dry slightly before carefully peeling off the stickers.
4. Top Coat Shine: Once the greige tips are completely dry, apply a clear top coat over the entire nail to seal everything in and add that glossy finish.
Beginner Hack: If freehand lines are tricky, invest in some good quality French tip stickers. They make achieving a crisp line so much easier!
3. Greige Marble Magic
Want to add a touch of artistry? Marble nails are surprisingly achievable and look super high-end. Greige is a perfect base for this effect.
Why it’s a star design: Creates a unique, swirled pattern without needing perfect lines.
What you’ll need:
Greige nail polish
White or off-white polish
Black or dark grey polish (optional, for deeper veins)
A thin nail art brush or toothpick
Base coat and top coat
Clean-up brush and acetone
Let’s Get Marbling:
1. Nail Prep: File, buff, and clean your nails.
2. Base Greige: Apply two thin coats of your greige polish. Let them dry completely.
3. Create the Swirls:
On a piece of foil or a palette, add a few drops of your greige, white, and maybe a touch of dark grey polish.
Use your thin brush or toothpick to gently swirl the colors together for a marbled effect. Don’t over-mix; you want distinct veins!
Carefully pick up some of the swirled color with your brush and dab/paint it onto a section of your nail, creating organic-looking veins. Overlap slightly with the greige base. Focus on creating thin, wispy lines for a realistic marble look.
4. Clean Up: Use a clean-up brush dipped in acetone to carefully remove any polish mistakes around your cuticle and sidewalls.
5. Seal it Up: Apply a generous layer of top coat to lock in the design.
Expert Tip: For a more subtle marble, stick to just greige and white. For more drama, add a dark grey or even a hint of metallic gold or silver.
4. Minimalist Greige with a Golden Accent
Sometimes, less is more. This design pairs the sophisticated greige with a delicate touch of metallic gold for an elegant, modern look.
Why it’s perfect for busy bees: Quick to execute, big impact.
What you’ll need:
Greige nail polish
Metallic gold polish (or gold foil flakes)
Thin nail art brush or toothpick
Base coat and top coat
Chic & Simple Steps:
1. Prep: Nails clean, filed, and buffed.
2. Greige Base: Apply two coats of your greige polish. Let dry completely.
3. The Golden Touch:
Option A (Gold Line): Using a thin nail art brush dipped in gold polish, carefully draw a thin line across the base of the nail (at the cuticle) or diagonally across one corner.
Option B (Gold Dot): Use the tip of a toothpick or a fine brush to place a few small gold dots in a cluster near the cuticle or along the tip.
Option C (Gold Foil): Apply a small amount of top coat to the area where you want the foil. Gently press gold foil flakes onto the wet top coat. Brush away any excess.
4. Top Coat: Apply a clear top coat over the entire nail to protect your beautiful gold accent.
Beginner Advantage: This design is very forgiving. Even if your gold line isn’t perfectly straight, it often adds to the charm!
5. The Half-Moon Greige Manicure
This retro-inspired design is chic and contemporary. It creates a distinct visual separation on the nail, highlighting the greige color beautifully.
Why it’s a stylish statement: Offers a unique silhouette.
What you’ll need:
Greige nail polish
A contrasting nude, white, or metallic polish (optional)
Small dotting tool or the end of a toothpick
Round French tip guide stickers or a steady hand
Base coat and top coat
Creating the Half-Moon:
1. Prep Work: File, buff, and clean your nails.
2. Base Color (Option 1): Apply two coats of greige polish. Once completely dry, use a round sticker placed on the lower half of your nail (near the cuticle) as a shield. Apply your contrasting color to the visible upper part of the nail. Carefully peel off the sticker once the polish is nearly dry.
3. Base Color (Option 2 – Easier!): Apply your chosen base color (e.g., a sheer nude). Once dry, use a small dotting tool or dotting end of a toothpick dipped in greige polish to create a perfect half-circle shape at the base of your nail, touching the cuticle.
4. Greige Accent (Option 3 – Using Greige): Apply two coats of greige polish. Once dry, use a fine brush or toothpick to paint a thin curved line where the half-moon would be, or fill in the half-moon area with a contrasting color.
5. Sealing: Apply a clear top coat to smooth everything out and protect your design.
Styling Tip: For a chic look, use a nude polish as the base and a greige half-moon, or vice versa!
6. Greige Fade (Ombre) Nails
Ombre nails create a beautiful gradient effect, and a greige fade is incredibly elegant and modern.
Why it’s surprisingly easy: Blending is the key, not perfect lines.
What you’ll need:
Greige nail polish
A lighter shade of greige or a pale nude/off-white polish
Makeup sponge (the small kind works best)
Base coat and top coat
Clean-up brush and acetone
Gradient Goals:
1. Prep: Clean, filed, and buffed nails are a must.
2. Base Coat: Apply your base coat and let it dry. Then, apply one thin coat of your lighter greige or nude shade to the entire nail. Let it dry.
3. Ombre Sponge Time:
On a piece of foil, create stripes of your lighter shade and your main greige polish, side-by-side.
Lightly dab your makeup sponge into the stripes, picking up both colors.
Gently dab the sponge onto the nail, starting halfway down or two-thirds of the way up. Rock the sponge gently up and down to blend the colors. You want the lighter shade at the tip fading into the darker greige at the base.
Repeat dabbing to build up the color and blend.
4. Clean Up: Use your clean-up brush dipped in acetone to tidy up any stray polish around the cuticles.
5. Top Coat to Finish: Apply a thick, glossy top coat to meld the gradient and add shine.
Achieving the Blend: Don’t press too hard with the sponge, and build up the color gradually. A light hand is key to a seamless fade!
Essential Tools for Your Greige Manicure Journey
Having the right tools can make all the difference, especially when you’re starting out. Here’s a quick rundown of some helpful items:
| Tool Name | Why You Need It | Beginner Friendliness |
| :————— | :———————————————————– | :——————– |
| Nail File | For shaping your nails to your desired length and style. | Very High |
| Buffer Block | Smooths out ridges on the nail surface for a better polish base. | High |
| Base Coat | Protects natural nails and helps polish adhere longer. | Essential |
| Top Coat | Seals the polish, adds shine, and prevents chipping. | Essential |
| Cuticle Pusher| Gently pushes back cuticles for a cleaner nail appearance. | High |
| Cuticle Oil | Hydrates and nourishes the skin around your nails. | Recommended |
| Thin Nail Art Brush | For creating fine lines, details, and French tips. | Medium (Practice needed)|
| Dotting Tool | For creating dots, small designs, and half-moons. | High |
| Makeup Sponge| For creating ombre, sponging techniques, and textured effects. | Medium (Practice needed)|
| Clean-up Brush| A small, angled brush for precise polish removal around cuticles. | High (with acetone) |
Maintaining Your Greige Masterpieces
To keep your greige nails looking fabulous for as long as possible, follow these simple care tips:
Wear Gloves: When doing dishes or cleaning, always wear rubber gloves. This protects your polish from harsh chemicals and excessive water, which can cause chipping.
Moisturize: Keep your hands and cuticles hydrated. Dryness can lead to hangnails and can make your manicure look less polished. Regular application of cuticle oil is your best friend!
Touch-Ups: If you notice a small chip, you can often touch it up with a bit of your greige polish or a dab of top coat to extend its life.
Avoid Using Nails as Tools: Resist the urge to use your nails to open cans or scrape things. This is a fast track to broken nails and chipped polish.
Reapply Top Coat: Every 2-3 days, apply an extra layer of top coat to refresh the shine and add an extra protective barrier.
Frequently Asked Questions About Greige Nails
Q1: What exactly is “greige”?
A: Greige is a color that beautifully combines grey and beige. It’s a neutral shade that offers the sophistication of grey with the warmth of beige, making it incredibly versatile.
Q2: Is greige a good color for all skin tones?
A: Yes! Greige is a universally flattering neutral. Depending on the undertones of the specific greige shade, it can lean warmer or cooler, ensuring there’s a perfect greige for everyone.
Q3: How do I make my nail polish last longer?
A: Start with a good base coat and finish with a quality top coat. Reapply your top coat every two to three days. Also, remember to wear gloves when doing household chores to protect your polish.
Q4: Can I do marble nail art as a beginner?
A: Absolutely! While it might take a little practice, the marble effect is quite forgiving. Using a thin brush or toothpick and not over-mixing the colors are key. Watching a few video tutorials can also be very helpful!
Q5: What’s the best way to clean up polish mistakes?
A: A small, angled brush (like a lip brush or a dedicated clean-up brush) dipped in acetone is the easiest way to get crisp edges around your cuticles and sidewalls. Be precise and gentle!
Q6: How can I make my DIY French tips look professional?
A: Using French tip guide stickers is a game-changer for beginners. They help you create a perfectly straight line. Alternatively, practice with a steady hand and a fine-tipped brush, starting with thinner lines.
Q7: Are there any specific greige shades I should look for?
A: It depends on your preference! Some greiges have more grey undertones, appearing cooler, while others have more beige, giving them a warmer, almost rosy feel. Experiment with different shades to find what suits you best. For example, a shade like “Ballet Slippers” often has a soft, muted greige tone.
Embracing Your Inner Nail Guru
Greige is more than just a color; it’s a canvas for your personal style. Whether you’re opting for a simple, elegant solid coat or diving into the creative world of marble and ombre, these greige nail designs offer a sophisticated and accessible way to express yourself. Remember, nail art is all about having fun and experimenting. Don’t be afraid to try new techniques, mix and match designs, and most importantly, enjoy the process!
From the classic, foolproof greige mani to the artistic marble effect, there’s a greige look for every mood and every occasion. These designs prove that you don’t need to be a pro to have stunning, chic nails. So, go ahead, grab your polishes, and let those greige vibes shine! Your hands will thank you for it. Happy polishing!


