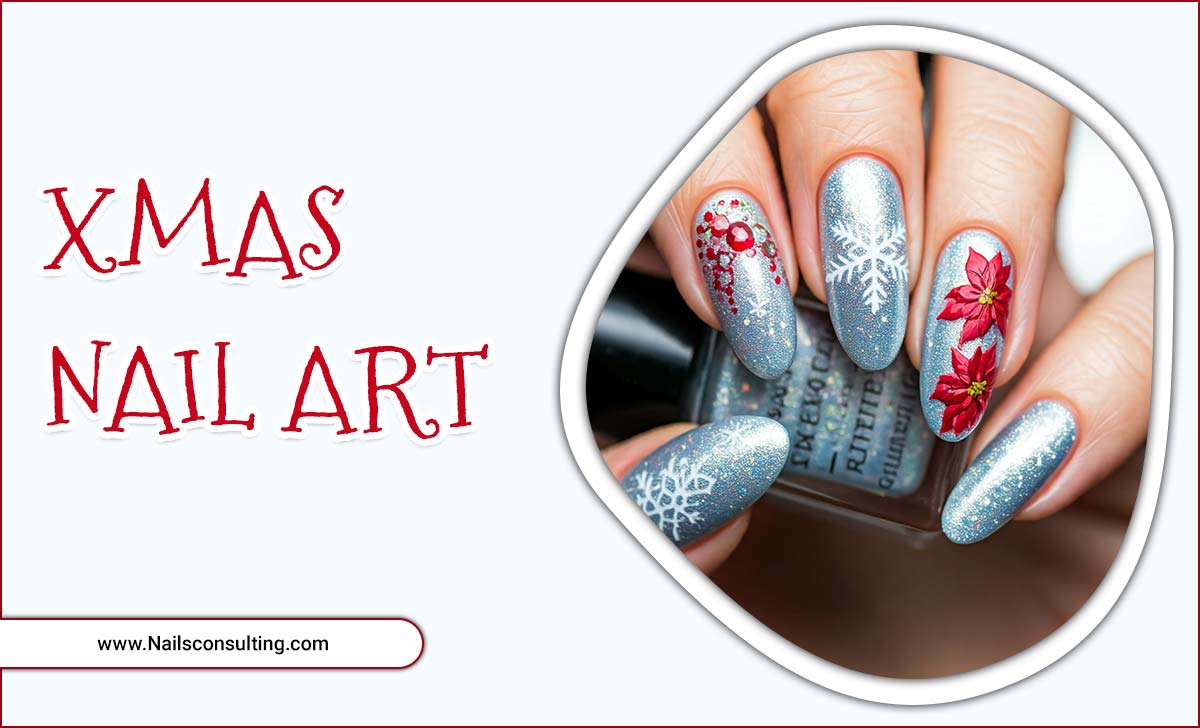
Quick Summary: Create stunning jelly glitter nails at home with a few simple steps! Achieve that captivating, light-catching radiance by layering translucent jelly polishes and fine glitter for a salon-worthy manicure accessible to beginners.
Dreaming of nails that sparkle and shine like no other? Jelly glitter nails are the answer! These translucent, gem-like manicures capture light beautifully, creating a mesmerizing effect that’s surprisingly easy to achieve right at home. If you’ve ever felt intimidated by nail art, don’t worry! We’re breaking down how to get these stunning looks with simple steps. Get ready to transform your nails into dazzling works of art that are perfect for any occasion.
What Exactly Are Jelly Glitter Nails?
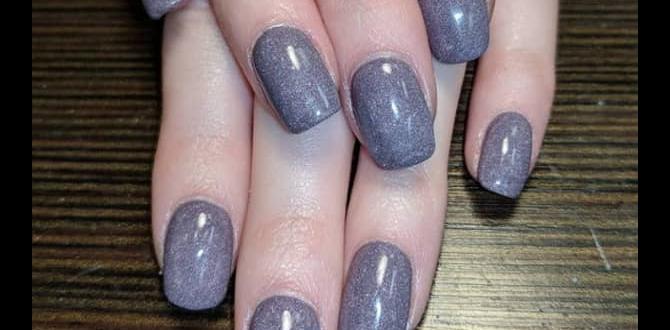
Jelly glitter nails combine two delightful elements: the sheer, translucent finish of “jelly” nail polishes and the dazzling sparkle of glitter. Think of a beautiful piece of stained glass or a shimmering gummy candy – that’s the vibe! Jelly polishes are typically more sheer than regular polishes, allowing light to pass through them and illuminating the glitter suspended within. This layering technique creates a multi-dimensional effect that’s far more captivating than just a simple glitter polish application. They offer a sophisticated yet playful sparkle that’s perfect for those who love a bit of glamour without being over-the-top.
Why You’ll Love Jelly Glitter Nails
- Unique Dimension: The sheer layers create a depth that flat-out regular polish can’t achieve.
- Customizable Sparkle: You control the amount and intensity of glitter.
- Versatile Glamour: Perfect for parties, holidays, or just adding a bit of everyday magic.
- Beginner-Friendly: With the right technique, they’re easier than you think!
- Stunning Visuals: They catch the light like a disco ball, but in a chic way.
Essential Tools and Supplies
Before we dive into the fun, let’s gather our supplies. Having the right tools makes all the difference, especially when you’re starting out. Don’t worry if you don’t have everything right away; you can build your nail art kit over time!
- Base Coat: Crucial for protecting your natural nails and helping polish adhere.
- Jelly Nail Polishes: Choose your favorite colors! Look for polishes specifically labeled “jelly” or “sheer” formulas. Think vibrant reds, captivating blues, ethereal pinks, or even clear with shimmer.
- Fine Glitter: Opt for fine-grain glitter rather than chunky craft glitter. This will distribute more evenly and create a smoother finish. You can find cosmetic-grade glitter online or at beauty supply stores.
- Top Coat: A good quality top coat seals everything in and adds a high-gloss shine.
- Small Nail Art Brush or Toothpick: For precise glitter application.
- Nail Polish Remover & Cotton Pads: For tidying up mistakes.
- Optional: Glitter Spacer/Tool: Some people prefer a dedicated tool for picking up and placing glitter.
Step-by-Step Guide to 6 Stunning Jelly Glitter Nail Designs
Now for the exciting part! Here are six dazzling jelly glitter nail designs that you can create yourself. We’ll guide you through each one. Remember, practice makes perfect, so have fun with it!
Design 1: Classic Glitter Ombre Jelly
This design is a foolproof way to get stunning results. The gradient effect makes the glitter look natural and sophisticated.
- Prep Your Nails: Start with clean, dry nails. Apply a thin layer of base coat and let it dry completely.
- Apply First Jelly Layer: Paint on one thin coat of your chosen jelly polish. Let it dry for a minute or two.
- Create the Ombre: Dip the tip of your nail art brush or toothpick into your fine glitter. Gently tap or brush the glitter onto the tip of your nail. Focus most of the glitter at the very edge and let it fade down the nail.
- Add More Jelly Layers: Apply another thin coat of jelly polish over the entire nail. This will encapsulate the glitter and smooth out the transition. You can go back and add more glitter at the tip if you want a more intense effect, layering it with more jelly polish.
- Seal the Sparkle: Once your jelly polish layers are dry, apply a thick, generous layer of top coat. This is key to smoothing out the glitter and achieving that high-shine, “jelly” look.
- Repeat on Other Nails: Replicate this process on your other nails for a cohesive look.
Design 2: Full Glitter Bed Jelly
Want maximum sparkle? This design covers your entire nail in a shimmering glitter foundation, topped with a translucent jelly color.
- Prep: Apply base coat and let it dry.
- Glitter Foundation: Apply a thin layer of clear polish or a very sheer nude jelly polish. While it’s still wet, carefully apply a generous amount of fine glitter all over the nail. You can pour glitter onto the nail or use a brush/tool to place it. Let this layer dry completely – it might take a little longer because of the glitter.
- Jelly Color Layer: Once the glitter is dry and set, apply one (or two, for deeper color) thin coat(s) of your chosen jelly polish over the entire glittered nail.
- Smooth and Seal: Apply a generous top coat to create a smooth, glassy finish and protect the glitter.
Design 3: Glitter Accents on Jelly Nails
This is for the minimalist who loves a touch of shimmer. It’s elegant and chic, perfect for everyday wear.
- Prep: Base coat, let dry.
- Jelly Base: Apply one or two thin coats of your chosen jelly polish to all nails. Let it dry completely.
- Glitter Placement: Decide where you want your accent. Popular spots include the cuticle line, a thin strip down the center, or just the tips. Using a fine nail art brush or toothpick, carefully apply a small amount of glitter to the desired area. You can do this by dabbing a tiny bit of clear polish or top coat onto the spot and then gently tapping glitter onto it, or by using a specialized glitter glue.
- Seal: Once your glitter accent is in place and dry, carefully apply top coat, making sure to smooth over the glitter edge.
Design 4: Glitter Underlay Jelly
This design creates a beautiful, subtle shimmer that peeks through the jelly color. It’s like a hidden treasure!
- Prep: Base coat, let dry.
- Subtle Glitter: Apply a very thin layer of clear polish. While it’s still wet, lightly dust a small amount of fine glitter over the nail. You want just a hint of sparkle, not a full glitter coat. Let this dry completely.
- Jelly Color: Apply one or two thin coats of your jelly polish over the glitter layer. The jelly polish will diffuse the glitter, making it appear as a soft glow beneath the color.
- Seal: Finish with a generous top coat to achieve that smooth, glossy jelly look.
Design 5: Two-Tone Jelly Glitter
Play with contrasting or complementary colors for a striking look. This is a bit more advanced but very impactful!
- Prep: Base coat, let dry.
- First Jelly Color: Apply one thin coat of your first jelly polish to all nails. Let it dry. For this method, having your glitter ready is key.
- Glitter Application: Decide on your glitter placement. You could do half and half, a French tip style, or even a geometric shape. Apply glitter strategically to create your design. For example, for a French tip, apply glitter only to the tip of the nail. For a half-and-half, apply glitter to one side. You can use a small brush dipped in clear polish to create a line or shape, then tap glitter onto it.
- Second Jelly Color: Once the glitter is dry and sealed with a clear coat or even just a light top coat in the glittered area, carefully apply your second jelly polish color. If doing a French tip, paint the second color over the rest of the nail. If doing half-and-half, paint the second color on the other side. Be careful to create a clean line where the colors meet.
- Seal and Refine: Once both jelly colors are completely dry, apply a generous top coat over the entire nail, smoothing out any lines and ensuring the glitter is fully encapsulated.
Design 6: Shattered Glass Jelly Glitter
This design mimics the effect of shattered glass, but with the added softness and depth of jelly polish and glitter. It’s incredibly eye-catching!
- Prep: Base coat, let dry.
- Jelly Base: Apply one or two thin coats of your chosen jelly polish. Let it dry completely.
- Create “Glass” Shards: Cut thin, irregular strips of holographic or iridescent cellophane (available at craft stores or online beauty suppliers).
- Apply Shards: Apply a sticky layer of clear polish or top coat to your nail where you want the “shards” to appear. Quickly place the cut cellophane pieces onto the sticky polish, arranging them irregularly.
- Add Glitter: While the clear polish/top coat is still tacky around the cellophane pieces, carefully tap a fine glitter of a complementary color onto the edges and in between the shards. This adds an extra layer of sparkle and helps blend.
- Encapsulate and Seal: Once the glitter is in place and the clear polish is slightly tacky, apply a generous top coat over the entire nail. You may need multiple layers of top coat to fully encapsulate the cellophane and glitter, ensuring a smooth, glassy finish. The jelly polish underneath will give the “shards” a beautiful depth.
Tips for Achieving the Best Jelly Glitter Nails
Even with a great tutorial, a few pro tips can elevate your jelly glitter game:
- Less is More (with layers): Apply thin coats of jelly polish. Thick coats can look streaky and may not dry properly.
- Glitter Quality Matters: Always use cosmetic-grade glitter for nails. Craft glitter can be too harsh and may not adhere well. Fine glitter is your best friend here.
- Patience is Key: Allow each layer to dry adequately before applying the next. Rushing can lead to smudging and a messy finish.
- Top Coat is Your Hero: Don’t skimp on the top coat! It’s essential for sealing glitter, smoothing out texture, and giving that coveted high shine.
- Clean Up Edges: Use a small brush dipped in nail polish remover to clean up any polish or glitter that gets on your skin or cuticles for a crisp, professional look.
- Experiment with Colors: Don’t be afraid to mix and match jelly polish colors and glitter shades. A deep blue jelly with silver glitter? A sheer pink with rose gold? The possibilities are endless!
Understanding Jelly vs. Regular Polish
It’s helpful to know the difference:
| Feature | Jelly Polish | Regular Polish | Glitter Polish |
|---|---|---|---|
| Opacity | Sheer, translucent | Opaque, solid color | Can vary, but contains glitter particles |
| Finish | Glass-like, allows light to pass through | Solid color coverage | Sparkly, textured or smooth depending on glitter size |
| Best Use | Layering, creating depth, stained-glass effect | Base colors, solid coverage | Adding sparkle, accent nails |
| Glitter Integration for Jelly Glitter Nails | Acts as the translucent “container” for glitter, enhancing its shimmer | N/A (unless glitter effects are added) | Glitter is already suspended in the polish |
Common Beginner Mistakes and How to Avoid Them
Even the most experienced nail lovers make mistakes, but for beginners, some are more common. Here’s how to troubleshoot:
- Too Much Glitter: Applying glitter too thickly can create a chunky, uneven surface that’s hard to smooth out. Solution: Use a light hand and build up glitter intensity gradually with thin layers of polish.
- Uneven Jelly Layers: Thick, streaky jelly polish application can ruin the translucent effect. Solution: Apply multiple thin coats, allowing each to dry partially before the next.
- Rough Surface: Not enough top coat can leave the glitter feeling bumpy. Solution: Apply at least two generous coats of top coat, ensuring each one dries fully.
- Color Mixing Issues: Sometimes, colors can become muddy when layered. Solution: Test color combinations on a nail wheel or a piece of paper first. Ensure the jelly color is complementary to the glitter. Some sources suggest to try using a clear acrylic powder as a strong base for glitter application before the jelly polish, which can help it adhere and lay smoother, especially for intricate designs.
- Smudged Designs: Not letting layers dry sufficiently leads to smudges. Solution: Be patient! Use a quick-dry top coat if you’re in a hurry, but still allow ample drying time between colored layers.
Maintaining Your Jelly Glitter Nails
Once your beautiful nails are done, you’ll want them to last! Here are some tips:
- Wear gloves for household chores like washing dishes or cleaning.
- Avoid using your nails as tools to pry or scrape things open.
- Reapply top coat every few days to maintain shine and protect the polish.
- Moisturize your cuticles regularly to keep the skin around your nails healthy.
- Be gentle! While they are durable, they aren’t indestructible.
Frequently Asked Questions (FAQ)
Q1: Can I use regular glitter polish instead of loose glitter?
Yes, you absolutely can! You can layer a translucent jelly polish over a glitter polish for a similar effect. For the ultimate control and a more “embedded” look, layering loose cosmetic-grade glitter between jelly polish coats is often preferred.
Q2: How long do jelly glitter nails typically last?
With proper application and care, jelly glitter nails can last anywhere from 7 to 14 days. This depends on your daily activities and how well you protect your nails.
Q3: Is loose glitter safe for nails?
Yes, as long as it’s cosmetic-grade glitter specifically designed for use on skin and nails. Avoid craft glitter, as it can be abrasive or contain harmful materials. You can find great options at beauty supply stores and online retailers.
Q4: Do I need a UV lamp for jelly glitter nails?
No, you do not need a UV (or LED) lamp for these jelly glitter nail designs. They use regular nail polish formulas that air dry. Gel polishes do require a lamp, but for this tutorial, we’re focusing on traditional polishes.
Q5: Can I create jelly glitter nails with just one color?
You can, but the true magic of jelly glitter nails comes from layering. Using one jelly color with glitter is great, but adding a second, sheer coat of the same jelly polish over the glitter will enhance the translucent, glass-like effect.
Q6: How do I remove jelly glitter nails without damaging my natural nails?
Soaking is key! Use 100% acetone remover on cotton balls. Place a soaked cotton ball over your nail, wrap it with foil, and let it sit for about 10-15 minutes. This helps break down the polish and glitter, making removal much easier and gentler.
Conclusion
There you have it – six stunning ways to create gorgeous jelly glitter nails right at home! From subtle shimmers to full-on dazzling displays, these techniques prove that beautiful, eye-catching manicures are within everyone’s reach. Remember, the most important ingredient is fun. Don’t be afraid to experiment with different color combinations, glitter types, and placements. Your nails are a canvas for self-expression, so go ahead, get creative, and let your personality sparkle through. Happy polishing!

