Want to get Jennifer Lopez’s iconic nail style? Discover 6 effortless glam nail designs inspired by J.Lo that are easy to recreate at home. From chic neutrals to dazzling accents, these looks will add instant star power to your manicure. Get ready to shine!
Jennifer Lopez. The name itself conjures images of music, movies, and of course, pure, undeniable glamour. And if there’s one accessory that consistently amps up her star power, it’s her fabulous nails! J.Lo’s manicure game is legendary – always polished, always on-trend, and always with that signature touch of effortless chic. Whether she’s hitting the red carpet or dropping a new hit song, her nails are always perfectly poised to complement her look.
Now, you might think achieving that A-list nail vibe is out of reach, reserved only for celebrity nail technicians. But guess what? It’s totally achievable for you too! We’ve broken down six of Jennifer Lopez’s most stunning and signature nail designs. These are the looks that scream “glam” without requiring a degree in nail art. We’ll cover everything from the colors she loves to the simple techniques that make them shine.
Ready to bring a little bit of that J.Lo magic to your fingertips? Let’s dive into these dazzling designs that are perfect for beginners and busy bees alike!
Why J.Lo’s Nails Are Always a Vibe
Jennifer Lopez has been a style icon for decades, and her nail choices are a huge part of her signature look. What makes her nail designs so consistently captivating? It’s a combination of several key factors:
- Sophistication: J.Lo often opts for classic, elegant colors and shapes that are universally flattering.
- Glamour: Even her simplest looks have a touch of luxury, whether through a subtle shimmer, a perfectly applied shade, or impeccable nail health.
- Trend Awareness: She’s not afraid to embrace current trends, but she always puts her own spin on them, making them feel timeless.
- Confidence: The way she carries herself, and her nails are no exception, exudes a powerful sense of confidence that makes any design look amazing.
- Versatility: Her nail styles can range from demure to daring, proving that glam can be versatile.
These are the elements we’ll tap into as we explore how to recreate some of her most iconic nail looks. Think of it as your DIY guide to channeling your inner J.Lo, one fabulous manicure at a time!
6 Jennifer Lopez Nail Designs: Effortless Glam
Let’s get to the good stuff! We’ve picked out six of J.Lo’s most recognizable and achievable nail designs. These are perfect for anyone looking to elevate their everyday style or add a touch of Hollywood sparkle to a special occasion. Each design focuses on impact with ease, ensuring you can recreate them yourself.
1. The Classic Nude/Beige Chic
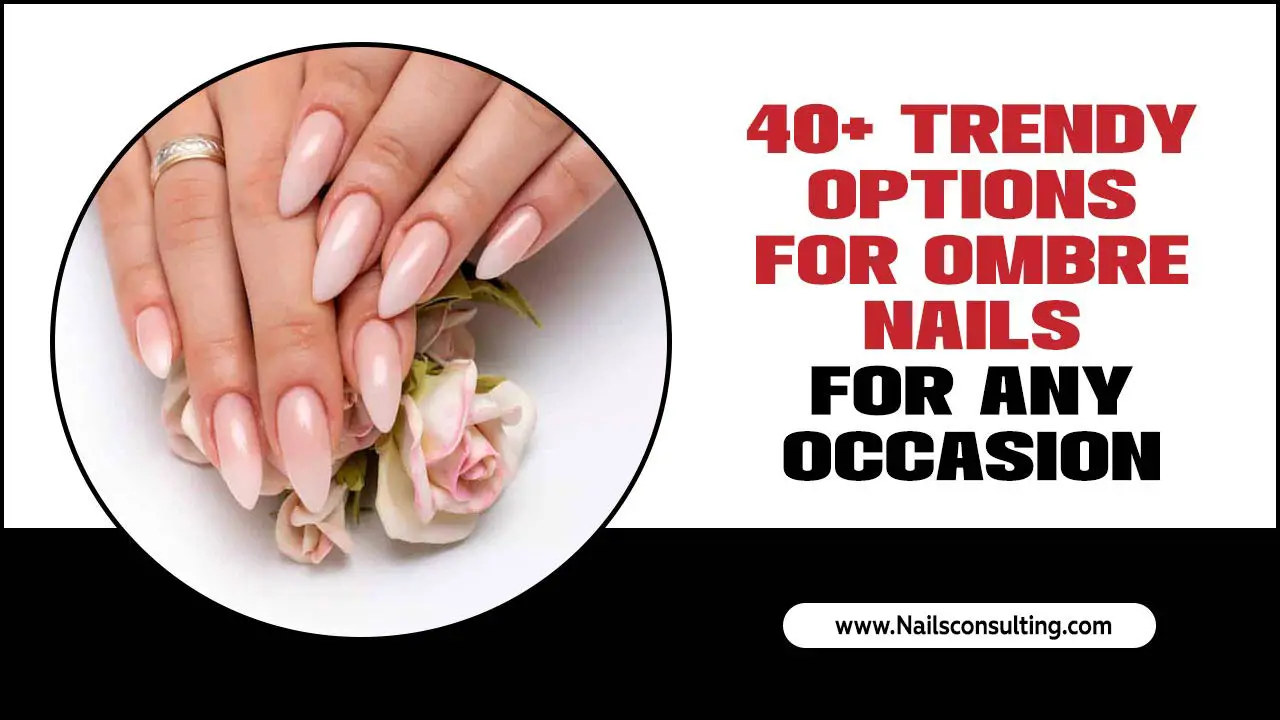
This is perhaps Jennifer Lopez’s most signature nail look. It’s the epitome of understated elegance and the perfect foundation for almost any outfit. A flawless nude or beige manicure is sophisticated, clean, and elongates the fingers beautifully. It’s a go-to for a reason – it simply always works.
Why it’s J.Lo: She’s frequently seen with perfectly polished nails in soft, neutral tones that complement her skin tone and her glamorous ensembles. It says “I’m effortless, but I’m also put-together.”
How to achieve it:
- Nail Prep: Start with clean, re-shaped nails. Buff any ridges smooth and push back your cuticles. A good nail file is key here to get a clean edge.
- Base Coat: Apply a clear, strengthening base coat. This protects your natural nail and helps the polish adhere better.
- The Perfect Shade: Choose a nude or beige polish that complements your skin tone. For fairer skin, lighter, cooler nudes work well. For deeper skin tones, warmer, richer beiges and caramels are stunning. (Tip: Many brands offer “skin tone finder” guides online!).
- Application: Apply two thin coats of your chosen nude or beige polish. Let each coat dry completely before applying the next. Thin coats prevent streaking and ensure a smooth finish.
- Top Coat: Seal the deal with a high-shine, quick-dry top coat. This adds gloss, prevents chipping, and makes your manicure last longer. Brands like OPI and Essie offer excellent top coats.
Pro Tip: For an extra touch of glam, opt for a shade with a subtle shimmer or pearlescent finish. This catches the light beautifully and adds that J.Lo sparkle.
2. The Bold Red Power Mani
When J.Lo wants to make a statement, a classic bold red is her weapon of choice. This color is synonymous with confidence, passion, and undeniable allure. It’s a timeless shade that demands attention and instantly elevates any look, making it perfect for those days you want to feel fierce.
Why it’s J.Lo: She often sports a vibrant, true red or a deep, vampy crimson. It’s a powerful choice that perfectly matches her magnetic stage presence and red-carpet glamour.
How to achieve it:
- Prep and Base: As always, start with clean, prepped nails and a good base coat.
- The Red Hue: Select a classic red or a deep crimson polish. A true red is bright and energetic, while a deeper shade offers a more sophisticated, vampy vibe. For inspiration on selecting the right red, consult resources on color theory for skin tones at Color Matters.
- Precise Application: Apply two thin coats. Red can sometimes be streaky, so patience is key. For a clean line at the cuticle, use a small brush dipped in nail polish remover to tidy up any mistakes after applying the polish.
- Glossy Finish: A brilliant top coat is essential to make that red pop. A gel-effect top coat can give an extra-plush, super-shiny finish that looks incredibly professional.
Nail Shape Focus: While red looks great on any shape, J.Lo often favors almond or soft square shapes with red polish, as these shapes enhance the polish’s boldness.
3. The Subtle Sparkle/Glitter Accent
J.Lo knows how to incorporate sparkle without going over the top. A popular way she does this is with a subtle glitter accent nail or a delicate shimmer polish. This design adds a hint of playful glamour, perfect for adding a touch of magic to a neutral base or a solid color.
Why it’s J.Lo: It’s her nod to tradition with a modern, dazzling twist. This allows her nails to be eye-catching without competing with her outfits – a true masterclass in balance.
How to achieve it:
- Choose Your Base: You can either use a neutral shade (like the nude above) or a solid color you love.
- The “Accent” Element:
- Option A (Glitter Polish): Apply one or two coats of a fine-glitter polish to one accent nail (usually the ring finger). You can wear this over a nude base for a softer look or apply it directly to the nail for more intensity.
- Option B (Shimmer Polish): Opt for a polish with an all-over subtle shimmer or duochrome effect. This gives a sophisticated glow that catches the light beautifully.
- Option C (Glitter Ombre): Apply a solid color to all nails. Then, on your accent nail, create a glitter gradient by dabbing glitter polish from the tip down, fading it towards the cuticle.
- Even Coats: If using glitter polish, apply thin layers. Glitter can be thick, so build it up gradually. A clean-up brush with remover is your best friend for glitter precision.
- Seal and Shine: A good top coat will smooth out any bumpy glitter texture and lock in the shine.
Tool Tip: A fine-tipped brush dipped in nail polish remover is invaluable for cleaning up any stray glitter or polish lines around your cuticles and sidewalls, ensuring a super neat finish.
4. The Long, Sculpted Stiletto/Almond Shape
While not a color or design in itself, J.Lo is famous for her elegant, often elongated nail shapes. The stiletto (a sharp, pointed tip) and the almond (a softer, rounded point) are her favorites for adding an extra dose of drama and sophistication. These shapes naturally elongate the fingers and add a touch of fierce femininity.
Why it’s J.Lo: These dramatic shapes are a signature element of her red-carpet looks. They are inherently glamorous and add a powerful, confident silhouette to her hands.
How to achieve it (with natural nails or tips):
If you have strong, long natural nails:
- File with Precision: Use a fine-grit nail file. Start by filing the sides of your nail straight up to create the point, then gently file the tip to your desired shape – sharp for stiletto, a softer curve for almond.
- Work Slowly: File in one direction to prevent snagging or weakening the nail. Keep checking the symmetry as you go.
- Smooth and Buff: Gently buff the surface to ensure a smooth finish, then apply your chosen polish color and top coat.
If using nail tips (for length and shape):
- Choose Your Tips: Purchase artificial nail tips in the stiletto or almond shape. You can often find them clear, natural, or even pre-decorated.
- Adhere Securely: Apply nail glue to both the tip and your natural nail, press firmly, and hold for the recommended time. Ensure there are no air bubbles.
- Blend and Shape: Once the glue is dry, carefully trim the tips to your desired length. Then, using your nail file, shape the sides and tip to achieve the perfect stiletto or almond point, blending the seam where the tip meets your natural nail.
- Color and Finish: Apply your chosen polish and top coat, just as you would on natural nails.
Important Note: To maintain the health of your natural nails, especially when growing them long or using tips, ensure proper application and careful removal techniques. Removing artificial tips incorrectly can damage your natural nail bed. For safe removal, consult resources from reputable sources like the Nails Magazine.
Table: Nail Shape Comparison for Effortless Glam
| Shape | Description | J.Lo Vibe | Best For |
|---|---|---|---|
| Stiletto | Sharp, pointed tip. Dramatic and bold. | Maximum impact, runway-ready. | Adding length and a fierce edge. May require more upkeep. |
| Almond | Softer, rounded point. Elegant and sophisticated. | Classic Hollywood glamour, elongates fingers. | A universally flattering and chic option. |
| Soft Square | Square shape with slightly rounded corners. Modern and clean. | Polished and contemporary. | Practical yet stylish, less prone to snagging than sharper shapes. |
5. The French Manicure, Reimagined
The French manicure has had a major comeback, and J.Lo’s take is anything but dated. Forget thick white tips! Her modern French manicure often features a super-thin white line, a “micro-French,” or even colored tips on a nude or sheer base. It’s all about sophisticated detail.
Why it’s J.Lo: It’s a subtle way to add a design element that feels elevated and chic. It shows attention to detail without being loud, perfect for her polished persona.
How to achieve it (Micro-French):
- Clean Canvas: Start with a sheer nude, pink, or milky white base polish. Apply one or two thin coats and let dry completely.
- The Fine Line Tool: The key here is precision. You can use:
- A very fine-tipped polish brush.
- A striping tool with white polish.
- A stamping plate with a French tip design.
- Steady Hand: Carefully paint an extremely thin, crisp line just along the free edge of your nail. Aim for a fine smile line that follows the natural curve of your nail tip. Practice makes perfect!
- Top it Off: Apply a clear or slightly shimmering top coat to seal everything in and add shine.
Modern Twist: Try a black tip or a pastel color for a bolder, trendier version. Or, opt for a clear base with a subtle holographic or metallic tip.
6. The Monochrome Masterpiece
Sometimes, the most impactful look is a simple, solid color applied flawlessly. J.Lo often rocks a stunning monochrome manicure, where every nail is painted in the same shade. This could be anything from a deep chocolate brown and a rich emerald green to a bright fuchsia. The key is perfect application and a beautiful finish.
Why it’s J.Lo: It’s bold, confident, and chic. A solid, well-executed color on perfectly shaped nails is a powerful statement that never goes out of style.
How to achieve it:
- Color Selection: Choose a color that you absolutely love and that suits your mood or occasion. Think jewel tones, deep berries, sophisticated grays, or even a vibrant pop. Brands like Essie offer a vast range of shades.
- Flawless Application: This is where technique shines.
- Prep: Ensure your nails are clean, filed, and have a base coat.
- Thin Layers: Apply two to three thin coats of your chosen color. Wait for each coat to become mostly dry before applying the next. This prevents streaking and bubbling.
- Even Strokes: Use smooth, even strokes, covering the entire nail surface.
- High Gloss Top Coat: Finish with a generous layer of a high-shine top coat. This is crucial for that professional, salon-perfect finish.
Color Inspiration: Look at J.Lo’s red carpet looks and music video styles for inspiration! She often matches her nails to elements of her outfit for a cohesive and stunning effect.
Essential Tools & Products for J.Lo-Worthy Nails
To recreate these looks, having the right tools and products on hand makes all the difference. You don’t need a whole salon in your bathroom; a few key items will set you up for success!
Must-Have Nail Care Essentials:
- Nail File: A good quality file (glass or fine-grit emery board) for shaping.
- Nail Buffer: To smooth ridges and create a polished surface.
- Cuticle Pusher/Orange Stick: For gently tidying cuticles.
- Base Coat: Essential for nail protection and polish adhesion.
- Top Coat: High-shine, quick-dry varieties are best for durability and gloss.
- Nail Polish Remover: Acetone-free is gentler on the nails.
- Cotton Pads/Balls: For remover application.
- Fine-Tipped Brush (optional but recommended): For cleanup around the cuticle line.
Key Polish Types:
- Nude/Beige Shades: A staple for classic glamour.
- Classic Red/Crimson: For a powerful statement.
- Glitter/Shimmer Polishes: For accent nails or subtle sparkle.
- Sheer or Milky Base Colors: For modern French manicures.
- Bold Solid Colors: For monochrome looks.
Investing in a few quality polishes in J.Lo-inspired shades and a reliable set of tools will allow you to experiment and find your signature style at home. Remember to explore reputable brands known for their color selection and longevity

