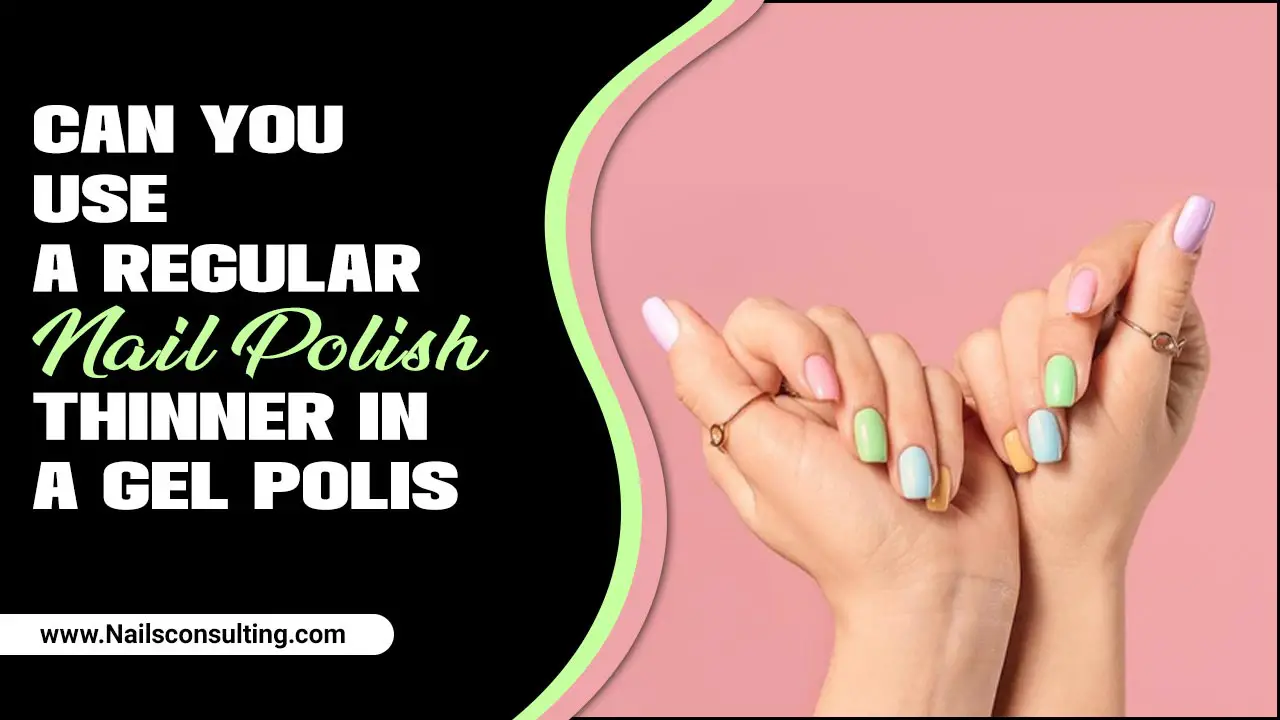
Looking for cute and easy nail art? These 6 kawaii nail designs are perfect for beginners! Learn simple, adorable ideas to express your style and bring a smile to your fingertips with our step-by-step guide.
Ever scrolled through nail art inspiration and felt a little intimidated? You love those super cute, playful designs, but wonder if you can actually do them yourself. Don’t worry! Achieving adorable nails is totally within reach, no matter your skill level. We’re here to show you how to rock some of the most lovable kawaii nail looks without needing a cosmetology degree.
Kawaii, the Japanese word for “cute,” is all about embracing charm, sweetness, and a touch of childlike wonder. Think pastel colors, tiny characters, and whimsical patterns. These designs are perfect for adding a pop of fun to your everyday look or for special occasions when you want your nails to sparkle with personality.
Get ready to transform your nails into miniature works of art. We’ve gathered six essential kawaii nail designs specifically chosen for their simplicity and undeniable cuteness. Each one is broken down so you can follow along with ease. Let’s dive into the world of adorable nail art and discover your new favorite look!
What is Kawaii Nail Art?
Kawaii nail art is everything cute, charming, and delightful for your fingertips! It draws inspiration from Japanese culture’s love for all things adorable. Imagine soft pastel colors, smiling characters like Hello Kitty or bunnies, tiny hearts, stars, and playful patterns. It’s about more than just pretty nails; it’s a way to express joy, sweetness, and a little bit of whimsical fun.
This style is perfect for anyone who wants to add a touch of playful innocence and vibrant personality to their look. It’s accessible for beginners because many of the techniques are simple, focusing on clean lines, careful placement of small details, and a joyful color palette.
Essential Tools for Kawaii Nail Art
Before we jump into the designs, let’s gather some handy tools! You don’t need a professional kit to start. Many of these are things you might already have or can easily find.
- Base Coat and Top Coat: Essential for protecting your natural nails and making your design last longer.
- Nail Polish Colors: Think pastels like pink, baby blue, mint green, lavender, and soft yellow. Don’t forget white and black for details!
- Dotting Tools: These have small metal beads at the end, perfect for creating dots, eyes, and small circles. You can find them online or at craft stores.
- Fine-Tipped Nail Art Brushes: For drawing thinner lines, outlines, and small details.
- Toothpicks: A great budget-friendly alternative for dots and small details if you don’t have dotting tools.
- Nail Polish Remover and Cotton Swabs: For cleaning up any mistakes (we all make them!).
- Nail File and Buffer: For shaping your nails and creating a smooth surface.
6 Kawaii Nail Designs You’ll Adore
Let’s get to the fun part! Here are six adorable and beginner-friendly kawaii nail designs. We’ll keep it simple so you can feel confident trying them out.
1. Sweet Strawberry Smiles
Who can resist a smiley strawberry? This design is super cheerful and surprisingly easy to execute.
What You’ll Need:
- Red nail polish
- Green nail polish
- White nail polish
- Black nail polish
- Dotting tool or toothpick
How to Create Them:
- Prep Your Nails: Start with clean, shaped nails. Apply a base coat and let it dry.
- Paint the Strawberries: Paint most of your nail with red nail polish. You can leave a small C-shaped area at the tip unpainted if you want to create a “bite” mark later, or just paint the whole nail red for a simpler version. Let it dry completely.
- Add the Green Leaves: Using green polish and a fine brush or toothpick, carefully paint a few small leaves or a calyx shape at the base of the red part of your nail.
- Draw the Seeds: Dip your dotting tool or toothpick into white polish and create tiny dots scattered across the red part of the nail to represent seeds.
- Bring on the Smiles: With black polish and a very fine brush or the tip of a toothpick, draw tiny, simple smile lines on each “strawberry.”
- Seal It In: Once everything is dry, apply a top coat to protect your adorable strawberry nails!
2. Whimsical Cloud Dreams
Floating on clouds sounds dreamy, right? This design is all about soft colors and fluffy shapes.
What You’ll Need:
- Sky blue nail polish
- White nail polish
- Pink or purple nail polish (optional, for accents)
- Fine-tipped nail art brush
- Dotting tool or toothpick
How to Create Them:
- Base Color: Apply a light sky-blue nail polish to all your nails. Let it dry thoroughly.
- Cloud Shapes: Using white nail polish and a fine brush or the rounded end of a dotting tool, create fluffy cloud shapes. You can dab the polish on, or use small strokes to create an uneven, puffy outline. Don’t aim for perfection; clouds are naturally irregular! You can cover a portion of the nail or make small clouds scattered around.
- Add a Touch of Pink/Purple (Optional): If you like, add a few tiny pink or purple polka dots or little heart shapes on one or two nails using a dotting tool for an extra bit of color and cuteness.
- Final Touches: Once completely dry, apply a clear top coat.
3. Cute Kitty Faces
Who doesn’t love Hello Kitty or a friendly feline face? This is a classic kawaii design that’s surprisingly easy to adapt.
What You’ll Need:
- White, pink, and black nail polish
- Fine-tipped nail art brush
- Dotting tool or toothpick
How to Create Them:
- White Base: Paint your nails with white nail polish. This is your canvas for the kitty face! Let it dry completely.
- Kitty Ears: Using pink nail polish and a fine brush, paint two small triangles at the tip of your nail for the ears. Or, paint a simple pink arch above each eye area if you’re placing the face lower on the nail.
- Facial Features: With black polish and a fine brush or toothpick, add two small dots for eyes. Then, add a tiny upside-down triangle or a small dot for the nose, placed between the eyes. Finish with a small, simple smile line below the nose.
- Optional Whiskers: For extra detail, use your fine brush with black polish to draw a couple of thin whisker lines extending from the nose area on each side.
- Seal It: Apply a top coat once all the details are dry.
4. Rainbow Brights
Radiate happiness with a cheerful rainbow! This design is vibrant and can be simplified for beginners.
What You’ll Need:
- Red, orange, yellow, green, blue, and purple nail polish
- Fine-tipped nail art brush
- Clear tape (optional)
- Base coat
- Top coat
How to Create Them (Simple Arc Method):
- Base Coat: Apply a clear base coat and let it dry.
- White Base for Contrast: Paint your nails with a thin layer of white nail polish. This will make the rainbow colors pop! Let it dry completely.
- Paint the Rainbow Arc: Using your fine-tipped brush, carefully paint an arc shape with each color across your nail. Start with red at the top, then orange, yellow, green, blue, and finally purple at the bottom. You can overlap the colors slightly.
- Clean Up: Use a cotton swab dipped in nail polish remover to clean up any messy edges.
- Seal: Apply a clear top coat to protect your vibrant rainbow.
Tip for Cleaner Lines: If you struggle with freehand painting, you can try using a piece of clear tape to create a straight edge. Paint one color, let it dry, place tape, paint the next color, and repeat. Peel off the tape carefully before the polish fully hardens.
5. Heart Confetti
Tiny hearts scattered all over your nails – what could be cuter? This design is all about playful patterns.
What You’ll Need:
- Pastel pink, lavender, or baby blue nail polish
- Red or bright pink nail polish
- Fine-tipped nail art brush or toothpick
- Small heart-shaped confetti stickers (optional, for easier application)
How to Create Them:
- Pastel Base: Apply your chosen pastel color as the base for all your nails. Let it dry.
- Paint Tiny Hearts: With your fine brush or toothpick and the second color (red or bright pink), carefully paint small heart shapes randomly all over your nails. Vary the size slightly for a more dynamic look.
- Or Use Stickers: If painting small hearts feels tricky, you can use tiny heart-shaped nail confetti stickers! Apply a tiny bit of top coat where you want to place a sticker, then carefully pick it up with tweezers and place it on your nail.
- Fill in Gaps: Add a few more dots or smaller heart shapes to fill any sparse areas.
- Top Coat: Once everything is dry, apply a generous layer of top coat to secure the hearts.
6. Girly Polka Dots
Polka dots are a timeless pattern that never goes out of style, and they are incredibly simple to do!
What You’ll Need:
- Your favorite pastel or bright nail polish color (e.g., pastel pink, baby blue, mint green)
- A contrasting color for the dots (e.g., white, black, or a brighter shade)
- Dotting tool or toothpick
How to Create Them:
- Base Color: Apply your chosen base color to all your nails. Let it dry completely.
- Create the Dots: Dip your dotting tool or the tip of a toothpick into the contrasting polish color.
- Place Your Dots: Carefully place dots on your nails. You can arrange them in a uniform pattern, scatter them randomly, or make them larger or smaller depending on your preference. For a classic look, place them evenly spaced across the nail. For a more playful feel, overlap them or place them in clusters.
- Experiment with Placement: Try a French tip style with polka dots, or place dots only on the tips of your nails.
- Seal the Deal: Once your dots are completely dry, apply a clear top coat.
Kawaii Nail Design Inspiration & Variations
The beauty of kawaii nails is how adaptable they are! Once you master these basics, you can start mixing and matching or adding your own creative twists.
- Character Charms: Try drawing simple character faces like bunnies, pandas, or bears using dotting tools and fine brushes. A yellow nail with googly eyes and a little mouth can be a happy sun!
- Sweet Treats: Think ice cream cones, donuts, or little cupcakes. A pink nail with a white swirl and a cherry on top is instantly adorable.
- Alphabet Fun: Spell out cute words like “LOVE” or “SWEET” using each letter on a different nail.
- Gem Accents: Add a tiny rhinestone or flat-back gem to the center of a flower or at the base of a French tip for a little extra sparkle.
- Glitter Accents: A touch of glitter polish on one nail or just at the tips can add a magical finish.
Maintaining Your Kawaii Nails
To keep your adorable creations looking their best, a little care goes a long way:
- Reapply Top Coat: Every 2-3 days, apply another layer of top coat to help prevent chipping and keep the shine.
- Moisturize: Keep your cuticles and hands moisturized with cuticle oil or hand cream. Healthy skin makes your nails look even better! Proper hydration is crucial for nail health.
- Be Gentle: Avoid using your nails as tools to open things or scrape. This can lead to chipping and damage.
- Touch-Ups: If a small chip occurs, you can try to carefully touch it up with polish and a fine brush.
FAQ: Your Kawaii Nail Questions Answered
Q1: Are kawaii nail designs difficult for beginners?
A1: Not at all! The designs we’ve shared are specifically chosen for their simplicity and use basic techniques like dots and simple lines, making them perfect for beginners. With a little practice and the right tools, anyone can create them!
Q2: What are the best colors for kawaii nails?
A2: Kawaii nails typically use soft pastel colors like pink, baby blue, mint green, lavender, and yellow. White and black are also essential for details. However, you can also use bright, cheerful colors for a bolder kawaii look!
Q3: How long do DIY kawaii nail designs usually last?
A3: With a good base coat, careful application, and a quality top coat, your cute nail designs can last anywhere from 5 to 10 days. Reapply top coat every few days to extend their life.
Q4: Can I use regular household items instead of nail art tools?
A4: Yes! Toothpicks are excellent for creating dots and small details if you don’t have dotting tools. Even the tip of a ballpoint pen (without ink!) can sometimes be used for small dots. Just make sure they are clean!
Q5: How do I prevent smudging my nail art?
A5: The key is patience! Ensure each layer of polish is completely dry before applying the next. For details, let the base color dry thoroughly. Always finish with a good top coat once all art is dry, and wait a few minutes afterward before touching anything.
Q6: Where can I find more kawaii nail inspiration?
A6: Pinterest and Instagram are fantastic resources! Search for hashtags like #kawaiinails, #cutenails, #nailartforbeginners, or #pastelnails. Many nail artists share tutorials and beautiful examples.
Q7: How should I remove nail art without damaging my nails?
A7: Use a good quality nail polish remover, preferably one with acetone for tougher polishes or glitter. Soak a cotton pad, press it onto your nail for about 10-15 seconds to dissolve the polish, and then gently wipe it away. Avoid harsh scrubbing.
Conclusion
See? Creating adorable kawaii nails is totally achievable and incredibly fun! From sweet strawberries and dreamy clouds to cheerful rainbows and classic polka dots, you have a whole spectrum of cuteness at your fingertips. Don’t be afraid to experiment with colors, play with patterns, and most importantly, let your creativity shine through.
Remember, nail art is a form of self-expression. These designs are just starting points. Feel free to adapt them, mix elements, and make them uniquely yours. So grab your polishes, gather your tools, and get ready to paint your nails with joy and personality. Happy decorating!

