Stunning Korean gel nail designs elevate your look with elegance and creativity. Discover easy-to-follow guides for chic, minimalist, and intricate styles perfect for beginners. Get ready to transform your nails into wearable art!
Korean nail trends are all about sophisticated beauty and playful artistry. If you’re looking to level up your manicure game with designs that are both trendy and achievable, you’ve come to the right place! Many of us want beautiful, stylish nails, but getting the perfect look can feel complicated. Don’t worry! We’re going to break down six absolutely stunning Korean gel nail designs that are perfect for beginners. You’ll be creating salon-worthy nails at home in no time. Get ready to find your next favorite mani!
Why Korean Gel Nails Are a Must-Try
Korean beauty, often called K-beauty, isn’t just about skincare; it’s a whole lifestyle that embraces innovation and aesthetic appeal. When it comes to nails, this translates into designs that are often subtle yet striking, incorporating delicate details, unique textures, and sophisticated color palettes. Gel nails themselves offer incredible durability, a high-gloss finish, and a professional look that lasts for weeks, making them ideal for anyone who wants their manicure to stay flawless.
The appeal of Korean nail designs lies in their versatility. They can be minimalist and chic for everyday wear, or they can be elaborate and eye-catching for special occasions. The focus is often on clean lines, harmonious color combinations, and a polished finish. Plus, with the rise of DIY gel nail kits, achieving these beautiful looks at home is more accessible than ever.
Essential Tools for Your Korean Gel Nail Journey
Before we dive into the designs, let’s gather your essential tools. Having the right supplies makes the process smoother and the results more professional. Don’t feel overwhelmed; many of these are likely familiar if you’ve ever done a basic manicure, and we’ll keep it beginner-friendly!
What You’ll Need:
- UV/LED Nail Lamp: This is crucial for curing (drying and hardening) your gel polish. LED lamps are generally faster and more energy-efficient.
- Gel Base Coat: Creates a smooth surface and helps the color adhere better.
- Gel Top Coat: Seals your design, provides a glossy finish, and protects against chipping. Choose between a no-wipe or regular top coat.
- Gel Nail Polish Colors: Select your desired shades. For Korean designs, think pastels, nudes, whites, soft blues, and muted tones, but don’t shy away from pops of color!
- Nail File and Buffer: To shape your nails and gently buff the surface for adhesion.
- Cuticle Pusher and/or Orange Stick: To gently push back and clean up cuticles.
- Lint-Free Wipes: Essential for cleaning the nails and removing the sticky inhibition layer after curing.
- Isopropyl Alcohol (90% or higher): Used with lint-free wipes to cleanse the nail and remove the sticky layer.
- Optional: Nail Art Brushes, Dotting Tools, Rhinestones, Glitter, Foils, Stencils: For more intricate designs.
Investing in a good quality UV/LED lamp and gel polishes will make a big difference in the longevity and appearance of your nails. You can often find beginner kits that include many of these essentials to get you started!
6 Stunning Korean Gel Nail Designs for Beginners
Now for the fun part! These designs are popular in Korea for their aesthetic appeal and relative ease of execution. We’ll walk through them step-by-step.
1. The “Clean Girl” Aura Nails
This trend embodies minimalist chic with a subtle, ethereal glow. It’s all about understated elegance that looks effortlessly put-together.
How to Achieve It:
- Prep Your Nails: File, buff, and push back cuticles. Cleanse with isopropyl alcohol.
- Apply Base Coat: Apply one layer of gel base coat and cure under your lamp.
- Apply Nude/Sheer Base Color: Paint 1-2 thin coats of a sheer nude, milky white, or soft pastel gel polish. Cure each layer.
- Create the Aura: Using a makeup sponge or a fine-tipped brush, gently dab a lighter or slightly contrasting shade (like a soft pink, peach, or iridescent color) in the center of the nail. Blend outwards softly, creating a gradient effect. Don’t aim for sharp lines; keep it diffused and dreamy.
- Add Top Coat: Apply a layer of gel top coat, ensuring full coverage, and cure.
- Clean Up: Wipe off the sticky layer with a lint-free wipe and isopropyl alcohol.
Pro-Tip: For an extra touch of Korean dewiness, consider using an iridescent top coat or a subtle shimmer powder over the nude base before creating the aura.
2. Delicate Floral Accents
Korean nail art often features small, intricate details. Tiny flowers add a touch of feminine charm without being overwhelming.
How to Achieve It:
- Prep and Base: Follow steps 1-3 from the “Clean Girl” Aura Nails. A clean, neutral base is key here.
- Paint the Flowers: Using a fine nail art brush and a gel polish color (white, pink, or even a light blue), carefully paint tiny dots or delicate petal shapes on one or two accent nails. You might want to use a toothpick or dotting tool to create small clusters of dots that form flower shapes.
- Add Centers: For a simple flower, add a tiny dot of a contrasting color (like yellow or a darker pink) to the center of your painted petals.
- Cure: Cure the design under the lamp.
- Seal with Top Coat: Apply a layer of gel top coat and cure.
- Clean Up: Remove the sticky layer with alcohol and a lint-free wipe.
Variations: Instead of painting, you can use tiny floral nail stickers or 3D embellishments for an easier approach. Always apply a top coat over stickers to secure them.
3. Subtle Glitter Gradient
This design adds a hint of sparkle. It’s chic, sophisticated, and perfect for adding a touch of glam without going overboard.
How to Achieve It:
- Prep and Base: Prepare your nails and apply your base coat, curing as usual.
- Apply Sheer Polish: Apply 1-2 coats of a sheer, milky, or nude gel polish. Cure each layer. This provides a smooth canvas.
- Gradient Glitter: Take a fine glitter gel polish or loose glitter. Using a small brush or sponge, apply the glitter starting heavily at the tip of the nail and gradually fading it towards the cuticle. Alternatively, use a glitter top coat and apply it concentrated at the tips.
- Cure: Cure the glitter layer.
- Smooth Over: Apply a thin layer of clear gel or a regular top coat over the glitter to create a smooth surface. Cure this layer.
- Final Top Coat: Apply another layer of your gel top coat for a high-gloss finish and durability. Cure.
- Clean Up: Remove the inhibition layer.
Tip: For a professional feel, ensure the glitter transition is smooth. A fine glitter works best for a subtle effect.
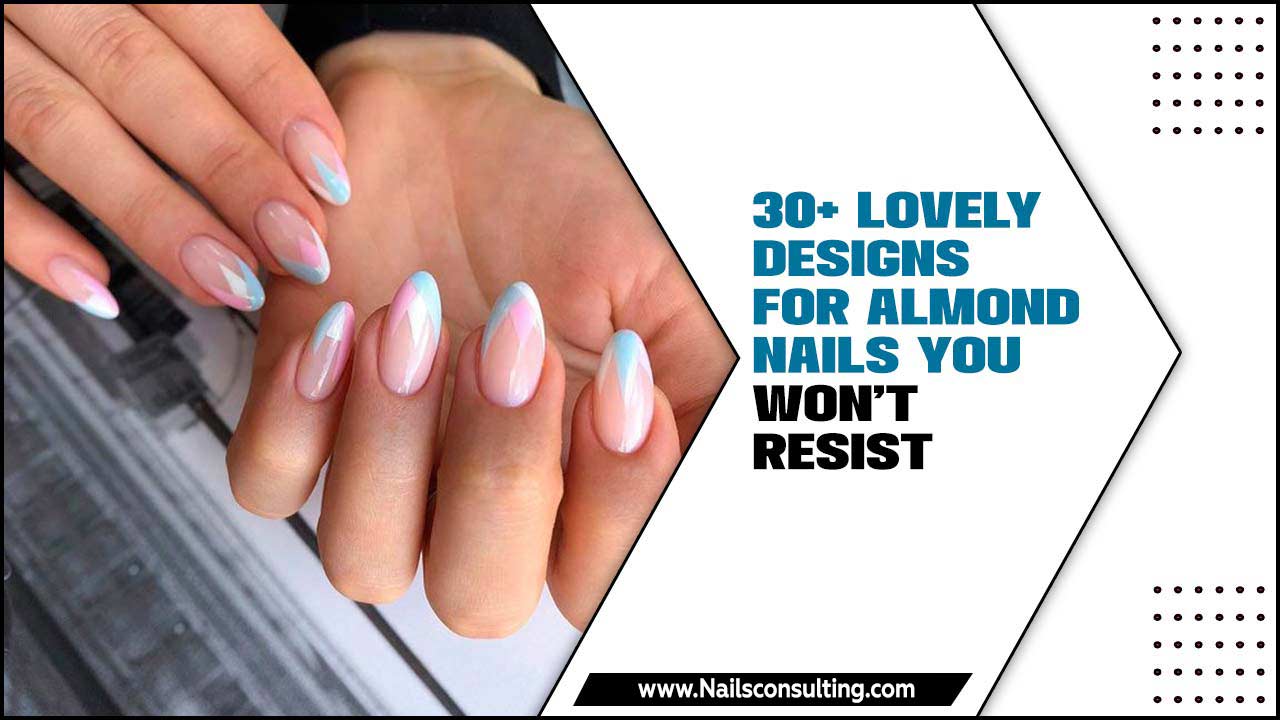
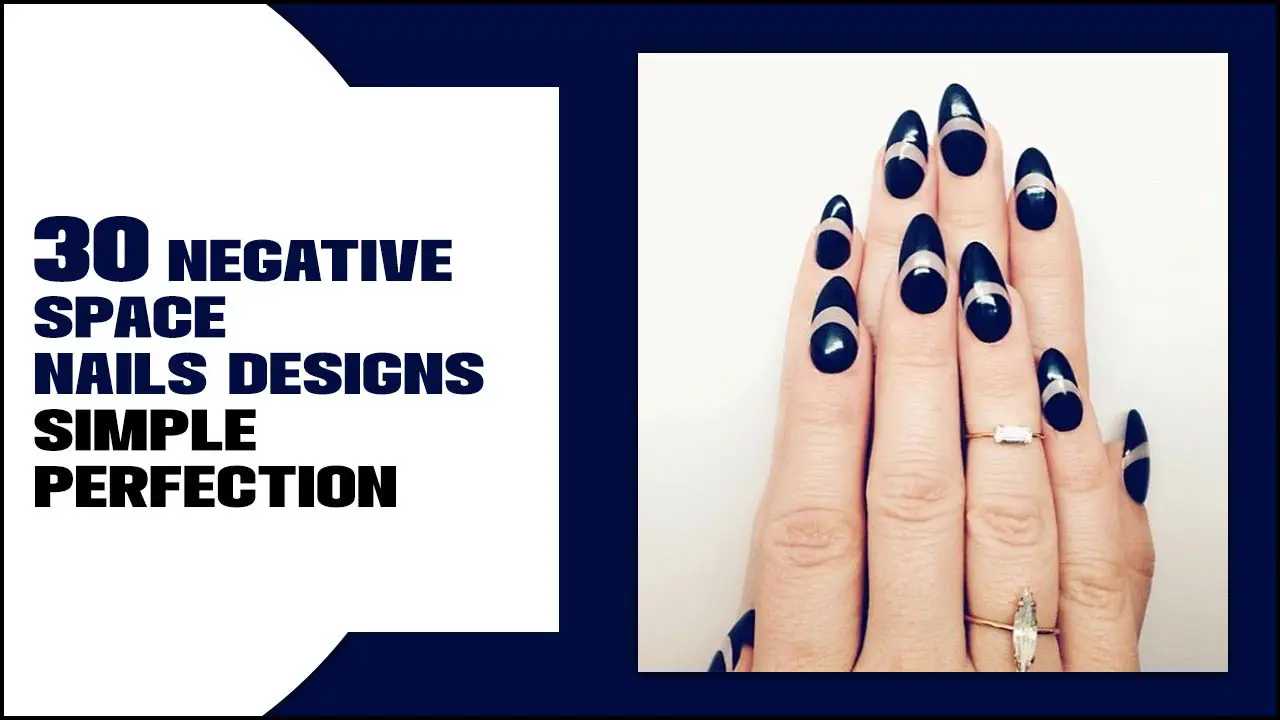
4. Minimalist Geometric Lines
Clean lines and simple shapes are a hallmark of Korean nail design. This style is modern, sharp, and incredibly adaptable.
How to Achieve It:
- Prep and Base: Prepare your nails, apply base coat, and then your chosen solid color (nudes, whites, pastels, or even black are great). Cure.
- Create the Lines: Using a fine-tip nail art brush or a striping tape, carefully draw thin geometric lines. Popular choices include single lines across the nail, simple V-shapes at the cuticle, or abstract intersecting lines. Use a contrasting color or a metallic gel polish (gold or silver). Work on one nail at a time or in small batches as gel polish can run.
- Cure: Cure each nail with lines as you complete them.
- Seal with Top Coat: Apply gel top coat to all nails and cure.
- Clean Up: Remove the sticky layer.
Tip: For perfectly straight lines without freehand skill, use striping tape. Apply the tape after the base color is cured, paint over it, cure, and then carefully peel the tape away before applying the top coat.
5. Milky White with Subtle Elements
The milky white shade is a K-beauty staple. It’s clean, sophisticated, and acts as a perfect backdrop for subtle embellishments.
How to Achieve It:
- Prep and Base: Prepare nails, apply base coat, and cure.
- Milky White Application: Apply 2-3 thin coats of a milky white gel polish. This shade typically offers a semi-opaque, soft finish. Cure each coat.
- Add Subtle Embellishments: On one or two accent nails, apply a tiny bit of your top coat (or a specialized art gel) and place a small element. Options include:
- A single small pearl or rhinestone near the cuticle.
- A tiny silver or gold stud.
- A delicate metallic accent sticker.
- Cure: Cure the nail with the embellishment.
- Seal Everything: Apply a final layer of gel top coat, ensuring you encapsulate any embellishments by coating over them to secure them. Cure.
- Clean Up: Remove the sticky layer.
Tip: Don’t overdo the embellishments. The beauty of this design is its restraint. A single, well-placed pearl or rhinestone can make a statement.
6. Two-Tone Ombre
Ombre, or gradient, nails remain a popular choice, and Korean designs often feature softer, more muted transitions.
How to Achieve It:
- Prep and Base: Prepare your nails and apply a gel base coat, curing as usual.
- Apply Base Color: Paint your primary color (e.g., a soft beige) on all nails and cure.
- Create the Ombre:
- Sponge Method: For a softer blend, use a makeup sponge. Apply your primary color and a secondary, slightly lighter or darker shade next to it on the sponge. Gently dab the sponge onto the nail, focusing on creating a gradient effect. You might need a couple of passes.
- Brush Method: With a clean, flat brush dampened slightly with gel polish remover (or a clear gel), gently blend the two colors where they meet on the nail. This requires a light touch.
- Cure: Cure the ombre layer.
- Refine if Needed: If the transition isn’t perfect, apply another thin layer of the primary color near the cuticle and blend upwards, or add a touch more of the secondary color at the tip. Cure again.
- Top Coat: Apply a gel top coat for shine and protection. Cure.
- Clean Up: Remove the sticky layer.
Color Combinations: Try muted pastels, soft nudes with a touch of white, greys with blues, or even a deep muted tone with a lighter hue. The key is a smooth, seamless transition.
Maintaining Your Gel Nails
Korean gel nails are known for their longevity, but a little care can extend their beauty even further!
- Avoid Harsh Chemicals: Prolonged exposure to strong cleaning agents can weaken the gel. Wear gloves when doing household chores.
- Moisturize: Keep your cuticles and surrounding skin hydrated with cuticle oil. Healthy skin makes for healthy-looking nails.
- Be Gentle: While gel is strong, avoid using your nails as tools (like to pry things open).
- Don’t Pick: Resist the urge to pick at or peel off the gel polish, as this can damage your natural nail underneath.
Table: Common Gel Nail Issues & Beginner Solutions
Even with the best techniques, beginners might face a few hurdles. Here’s how to troubleshoot:
| Issue | Potential Cause | Beginner Solution |
|---|---|---|
| Gel Polish Not Curing/Peeling Off Quickly | Too thick coats, insufficient curing time, UV/LED lamp issues, improper nail prep. | Apply thinly. Ensure lamp is working optimally (check bulb age). Cure for recommended time. Buff nail surface thoroughly. Cleanse well with alcohol. |
| Sticky or Uneven Surface After Top Coat | Did not cure top coat long enough, top coat applied too thickly, or didn’t clean inhibition layer (if not using no-wipe). | Ensure adequate curing time for top coat. Apply top coat thinly. Wipe uncured gel with alcohol and lint-free wipes if using regular top coat. |
| Bubbling in Polish | Polish applied too thickly, not fully dried between coats, exposure to heat/sunlight before fully cured. | Apply thin layers. Allow each layer to cure completely. Store gel polish away from direct light and heat. |
| Chipping at the Free Edge | Improper sealing of the free edge. | When applying each layer (base, color, top coat), “cap” the free edge by running the brush lightly across the tip of the nail. |
For more information on gel nail health and safety, the U.S. Food & Drug Administration (FDA) provides valuable consumer information on cosmetics, including nail products. Understanding the ingredients and potential reactions is always a good step for any beauty enthusiast.
FAQ: Your Korean Gel Nail Questions Answered
Got more questions? We’ve got answers!
- What makes gel nails “Korean”?
- Korean gel nail designs often emphasize aesthetics like minimalism, delicate details, soft color palettes, and a clean, sophisticated finish. They draw inspiration from natural beauty, subtle elegance, and current fashion trends.
- Do I need a special lamp for gel polish?
- Yes, gel polish requires a UV or LED lamp to cure and harden properly. Regular air-drying polish will not work with gel formulas.
- How long do Korean gel nails typically last?
- When applied correctly, gel nails can last anywhere from 2 to 4 weeks without chipping or losing their shine, depending on your lifestyle and nail care habits.
- Can I do gel nails at home if I’m a total beginner?
- Absolutely! With the right tools and a little practice, many Korean gel nail designs are very beginner-friendly. Start with simple designs and build your confidence.
- What’s the difference between gel polish and regular nail polish?
- Gel polish contains photopolymer compounds that harden under UV/LED light, providing a durable, long-lasting finish. Regular polish air-dries and is more prone to chipping.
- How do I remove gel polish safely?
- The safest way is to soak your nails in acetone or a gel polish remover. File off the top coat first, then soak cotton balls in remover, place them on your nails wrapped in foil, and wait about 10-15 minutes. Gently scrape off any remaining gel. Avoid peeling or picking!
Conclusion: Your Beautiful Nails Await!
There you have it – six stunning Korean gel nail designs that are perfectly achievable for beginners. From the ethereal glow of Aura nails to the subtle charm of floral accents and the modern edge of geometric lines, these styles prove that sophisticated nail art doesn’t have to be complicated.
Remember, the key to beautiful gel nails is preparation, patience, and having the right tools. Don’t be afraid to experiment with colors and placements to make these designs truly your own. Your nails are a fantastic way to express your personal style, so have fun with it!
Pick your favorite design, gather your supplies, and get ready to enjoy a gorgeous, long-lasting manicure. You’ve got this! Happy nailing!

