Looking for elegant nail designs? Discover 6 stunning lace nail art ideas perfect for beginners! These easy DIY manicures add a touch of sophistication to any look, proving that beautiful lace-inspired nails are totally achievable for everyone.
Ever admired those gorgeous, intricate lace patterns on nails and thought, “There’s no way I can do that”? You’re not alone! Many of us see delicate lace designs and feel a bit intimidated, assuming they require a professional artist and a steady hand we just don’t possess. But what if I told you that achieving that chic, elegant lace look is simpler than you think? It’s all about the right techniques and a little bit of practice. Get ready to elevate your manicure game with designs that are surprisingly easy and incredibly stunning.
In this guide, we’ll dive into six beautiful lace nail designs that you can create right at home. We’ll break down each concept into simple steps, using tools you likely already have or can easily get. So, grab your favorite nail polish, and let’s transform your nails into wearable works of art!
Why Choose Lace Nail Designs?
Lace is a timeless fabric known for its delicate beauty and intricate patterns. Translating this elegance to our nails offers a unique way to express sophistication and personal style. Whether you’re attending a special event like a wedding or simply want to add a touch of refinement to your everyday look, lace nail designs are incredibly versatile. They can be subtle and understated or bold and eye-catching, depending on the colors and patterns you choose.
Beyond their aesthetic appeal, lace nail designs are fantastic because:
- They add a touch of vintage charm and classic elegance.
- They complement a wide range of outfits and occasions.
- They can be surprisingly easy to recreate with simple tools and techniques.
- They offer endless possibilities for customization with different colors and styles of “lace.”
Your Lace Nail Art Toolkit
Before we jump into the designs, let’s make sure you have the basic tools. Don’t worry, you don’t need a full nail art studio! Here’s what will help you create these stunning looks:
- Base Coat: Essential for protecting your nails and helping polish adhere.
- Top Coat: Seals your design and adds a glossy finish.
- Nail Polish Colors: Your choice of base colors and white/black for the lace effect.
- Detail Nail Art Brush: A fine-tipped brush is key for drawing delicate lines.
- Dotting Tool: Great for creating small dots that can form lace patterns.
- Nail Art Stickers/Stencils: Pre-made lace designs for an instant effect.
- Tweezers: Handy for picking up small embellishments or stickers.
- Nail Polish Remover and Cotton Swabs: For cleaning up any mistakes.
6 Stunning Lace Nail Designs for Effortless Elegance
Let’s get creative! Here are six beautiful lace-inspired nail designs, explained step-by-step. We’ve chosen designs that are beginner-friendly and offer that chic, elegant vibe.
1. The Classic White Lace Accent Nail
This is perhaps the most iconic lace nail design. It’s elegant, timeless, and surprisingly easy to achieve on just one or two nails for a subtle statement.
What You’ll Need:
- Base coat
- Your favorite neutral or pastel polish (e.g., pale pink, nude, sheer white)
- White nail polish
- A fine-tipped nail art brush
- Top coat
Step-by-Step:
- Prep Your Nails: Start with clean, dry nails. Apply a base coat and let it dry completely.
- Apply Base Color: Paint your nails with your chosen neutral or pastel polish. Apply two thin coats for even coverage and let them dry thoroughly.
- Create the Lace Pattern: Dip your fine-tipped brush into the white nail polish. On your accent nail (e.g., ring finger), start by drawing a delicate outline around the cuticle. Then, carefully create small loops, swirls, or floral-like shapes connecting from the cuticle line towards the tip of the nail, mimicking a lace motif. Think of simple, repeating patterns.
- Refine the Design: Use the tip of your brush to add tiny dots or extra flourishes to enhance the lace effect. Don’t aim for perfection; slight imperfections add to the handmade charm!
- Clean Up: Dip a cotton swab in nail polish remover to clean up any stray marks around your nail.
- Seal the Look: Once the white polish is dry, apply a generous coat of top coat over all your nails to seal the design and add shine.
2. Simple Black Lace on Nude
This design offers a more dramatic yet still sophisticated look. The contrast between black and nude is chic and modern.
What You’ll Need:
- Base coat
- Nude or sheer beige polish
- Black nail polish
- A fine-tipped nail art brush
- Top coat
Step-by-Step:
- Apply Base and Color: After applying your base coat, paint all nails with the nude or beige polish. Allow to dry completely.
- Draw the Lace: Using your fine-tipped brush and black polish, start by drawing a simple curved line along your smile line (tip of the nail) or a delicate pattern from the cuticle. You can create small ‘X’ shapes, dots connected by thin lines, or a series of arches. For a classic look, try a single flowing vine-like pattern up the nail.
- Add Detail: Connect the main lines with tiny dots or short dashes. This creates the “netting” or delicate connection typical of lace.
- Clean Edges: Use a cleanup brush dipped in remover to sharpen any lines or remove excess polish around the nail.
- Finish: Apply a clear top coat to protect your beautiful black lace design.
3. Lace Stamping for Instant Elegance
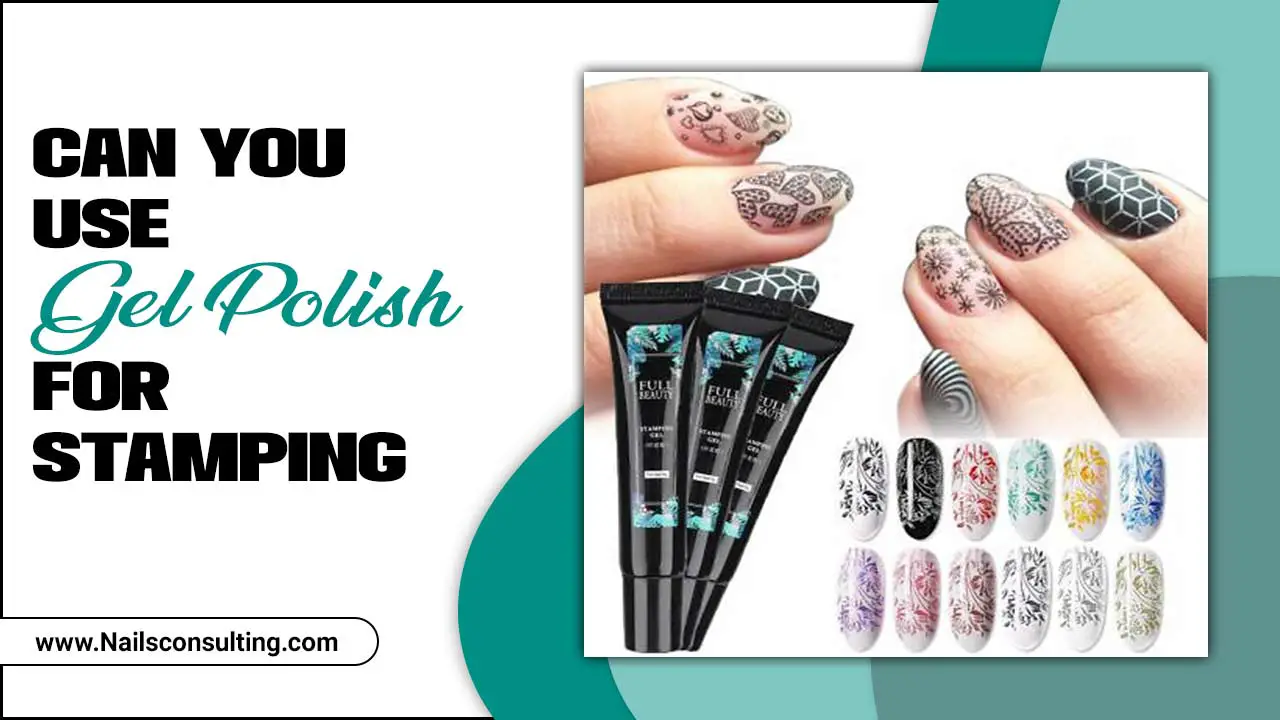
Nail stamping is a game-changer for intricate designs. With a lace-themed stamping plate, you can achieve professional-looking results in minutes!
What You’ll Need:
- Base coat
- Your desired base polish color
- Nail stamping polish (usually opaque black, white, or metallic works well)
- A lace-themed stamping plate
- A stamper and scraper tool
- Top coat
- Rubbing alcohol for cleaning
Step-by-Step:
- Prep and Polish: Apply base coat and your chosen color to all nails. Let it dry completely.
- Prepare the Stamping Plate: Apply a good amount of stamping polish over the desired lace pattern on the stamping plate.
- Scrape and Stamp: Immediately hold the scraper tool at a 45-degree angle and scrape off the excess polish with a quick, firm motion.
- Roll or Press: Gently roll the stamper over the etched design on the plate to pick it up.
- Transfer to Nail: Align the stamper over your nail and gently roll or press down to transfer the lace pattern.
- Clean and Seal: Clean any excess polish from your skin with a cotton swab and remover. Apply a top coat once the stamped image is fully dry—be quick with the top coat to avoid smudging!
Tip: Practice a few pulls on a piece of paper or tape before stamping on your nail to get the hang of the pressure and speed.
4. Delicate Lace French Tips
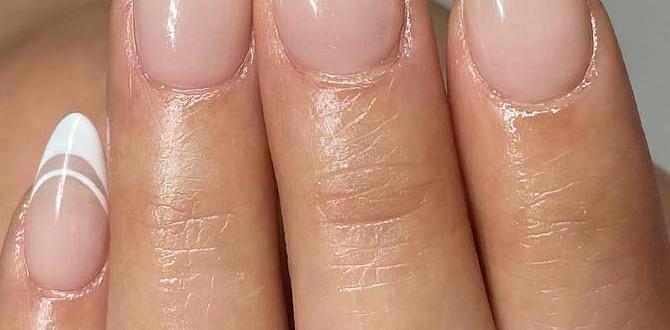
Give the classic French manicure a romantic twist with delicate lace details on the tips.
What You’ll Need:
- Base coat
- Sheer pink or nude polish
- White or black nail polish
- Fine-tipped nail art brush OR French tip guides
- Top coat
Step-by-Step:
- Apply Base and Sheer Color: After your base coat, apply two thin coats of your sheer polish, letting each layer dry.
- Create the French Tips: You can either carefully freehand the tips with your fine brush using white or black polish, or use French tip guides for a cleaner line.
- Add Lace Detail: Once the tips are dry, use your fine brush and contrasting lace color to draw delicate lace patterns onto the white/black tips. You can create small floral elements, simple swirls, or dotted lines along the edge of the tip.
- Clean and Seal: Clean up any mistakes and apply a top coat over all nails.
5. Romantic Rose & Lace Combination
Combine the classic elegance of roses with lace for a truly feminine and romantic look, perfect for special occasions.
What You’ll Need:
- Base coat
- Soft pink or ivory polish
- White polish
- Red or deep pink polish for roses
- Fine-tipped nail art brush
- Dotting tool (optional)
- Top coat
Step-by-Step:
- Base and Color App: Apply base and your chosen soft base color to all nails.
- Paint Simple Roses: On one or two accent nails, use red or deep pink polish and your fine brush to paint small, simple roses. You can create this by drawing a spiral or a few curved petals. Alternatively, use a dotting tool to create a few dots and connect them with swirls.
- Add Lace Elements: With white polish and your fine brush, carefully draw delicate lace patterns around the roses. Think of thin connecting lines, tiny dots forming a mesh, or small loops that frame the floral elements. This creates a beautiful contrast and frames the roses.
- Refine: Add small white dots around the roses or along the nail edges to enhance the lace texture.
- Finish: Clean up and apply a protective top coat.
6. Lace-Inspired Gel Stickers
For the ultimate in easy and stunning results, high-quality lace-inspired gel stickers offer a professional look with minimal effort.
What You’ll Need:
- Base coat
- Your base color polish
- Lace-design gel nail stickers
- Tweezers
- Top coat (UV/LED lamp if using true gel stickers)
Step-by-Step:
- Prep and Polish: Apply base coat and your desired color to your nails and let them dry completely. If using true gel stickers, you might cure a thin layer of base coat under the lamp first.
- Select and Apply Sticker: Using tweezers, carefully peel a lace sticker from its backing. Gently place it onto your nail, smoothing it down from the cuticle outwards to avoid air bubbles. For gel stickers, ensure they are well-adhered.
- Trim and File: If the sticker is too large, carefully trim the excess with small nail scissors or an X-Acto knife. File the edge gently to create a smooth line.
- Cure (if applicable): If using true gel nail stickers, cure them under a UV/LED lamp according to the manufacturer’s instructions. This hardens the sticker and seals it to your nail.
- Apply Top Coat: Apply a good quality top coat over the sticker and your entire nail. For non-gel stickers, ensure the top coat seals the edges well. If using gel stickers, cure the top coat as well.
Where to Find: High-quality nail stickers can be found at reputable beauty supply stores, online retailers, and sometimes even drugstores. Look for brands known for good adhesion and realistic designs.
Tips for Perfect Lace Nail Art
Achieving beautiful lace nails is all about patience and a few smart techniques. Here are some tips to help you:
- Thin Coats are Key: When painting your base color or drawing designs, always opt for thin, even coats. Thick polish is harder to control and takes longer to dry, increasing the chance of smudges.
- Practice on a Surface: Before attempting a design on your nail, practice drawing lines and patterns on a piece of paper or a nail tip to get a feel for your brush and polish consistency.
- Use Quality Tools: A good fine-tipped brush or a reliable stamping plate can make a huge difference. Invest in decent tools for easier application.
- Clean as You Go: Keep nail polish remover and cotton swabs handy. Cleaning up small mistakes immediately will save you a lot of frustration later.
- Don’t Fear Imperfection: Especially with freehand designs, tiny imperfections can add to the charm and handmade look. Embrace the slightly imperfect, romantic vibe!
- Let it Dry: Patience is a virtue in nail art! Ensure each layer is dry before moving to the next step. This is crucial to avoid smudging.
- Gel Polish for Longevity: If you want your lace nails to last longer, consider using gel polish and a UV/LED lamp. Gel polish adheres better and reduces the risk of chipping or smudging during the application process. For more information on gel nail safety, the U.S. Food & Drug Administration (FDA) provides guidance on UV radiation from nail lamps.
Lace Nail Designs: A Quick Comparison
To help you decide which design to try first, here’s a quick look at what makes each one special:
| Design Style | Technique Level | Effort | Look | Best For |
|---|---|---|---|---|
| Classic White Lace Accent | Beginner (Freehand) | Medium | Delicate, Romantic | Everyday chic, subtle elegance |
| Simple Black Lace on Nude | Beginner (Freehand) | Medium | Chic, Sophisticated | Modern look, evening events |
| Lace Stamping | Beginner-Intermediate (Stamping) | Low to Medium | Intricate, Professional | When you want complex patterns easily |
| Lace French Tips | Beginner (Freehand or Guides) | Medium | Elegant, Feminine | Weddings, bridal showers, special occasions |
| Rose & Lace Combo | Intermediate (Freehand) | High | Romantic, Detailed | Special romantic occasions, expressing artistry |
| Lace Gel Stickers | Very Beginner | Very Low | Polished, Instant | Achieving flawless results quickly |
Frequently Asked Questions About Lace Nail Designs
Q1: Can I really do lace nail art myself if I’m a beginner?
Absolutely! Many lace designs, especially those using stickers, stamping, or simple freehand strokes, are perfect for beginners. It just takes a little patience and the right tools. Start with simpler patterns and gradually build your confidence.
Q2: What colors work best for lace nail designs?
Classic combinations like white on nude, black on nude, or white on a pastel shade are incredibly popular and elegant. However, you can experiment! Black lace on a deep red, white lace on a metallic silver, or even a pastel lace on a contrasting pastel can look stunning. It all depends on the vibe you’re going for!
Q3: How do I prevent smudging when applying top coat over lace designs?
Thin, quick strokes are key! Make sure your polish or stamped design is completely dry before applying the top coat. Avoid dabbing or pressing the brush down hard; use a smooth, gliding motion. If you’re worried, applying a nail drying accelerator spray after the top coat can help it set faster.
Q4: My freehand lace lines are shaky. What can I do?
Don’t worry, shaky lines can add a charming, handmade feel! If you prefer sharper lines, try using French tip guides or nail vinyls as stencils. Practicing drawing on-and-off your nails first, using lighter pressure, can also help stabilize your hand. Ensure your brush is clean of excess polish, and rest your pinky finger on a stable surface for support.


