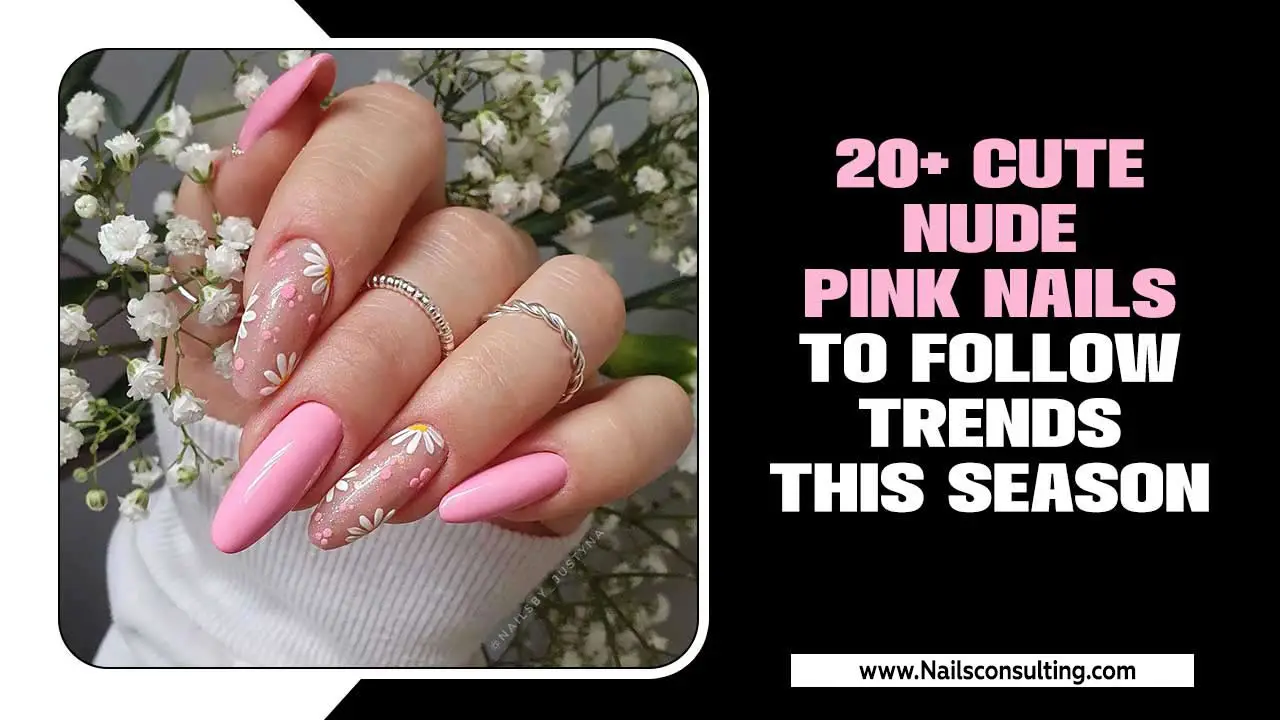
Want gorgeous latte French nails? This guide shows you how to achieve this chic, cozy look with easy-to-follow steps and stunning design ideas. Learn essential tips for beautiful, cafe-inspired manicures right at home!
Dreaming of nails that feel as warm and comforting as your favorite latte? Latte French nails are the perfect blend of classic elegance and cozy charm, bringing a touch of sophisticated warmth to your fingertips. This stylish twist on the traditional French manicure uses creamy, neutral tones reminiscent of coffee with milk, creating a look that’s both understated and incredibly chic. Whether you’re a nail art novice or a seasoned pro, mastering this trend is easier than you think!
Many find DIY manicures tricky, especially achieving that clean, crisp French tip. But don’t worry! We’re going to break down everything you need to know, from the essential tools to stunning variations you’ll love. Get ready to transform your nails into a work of art that’s perfect for any season and occasion.
Curious about how to get those perfect tips and which shades to choose? We’ve got you covered. Let’s dive into the delightful world of latte French nails and unlock your inner nail artist!
What Are Latte French Nails?
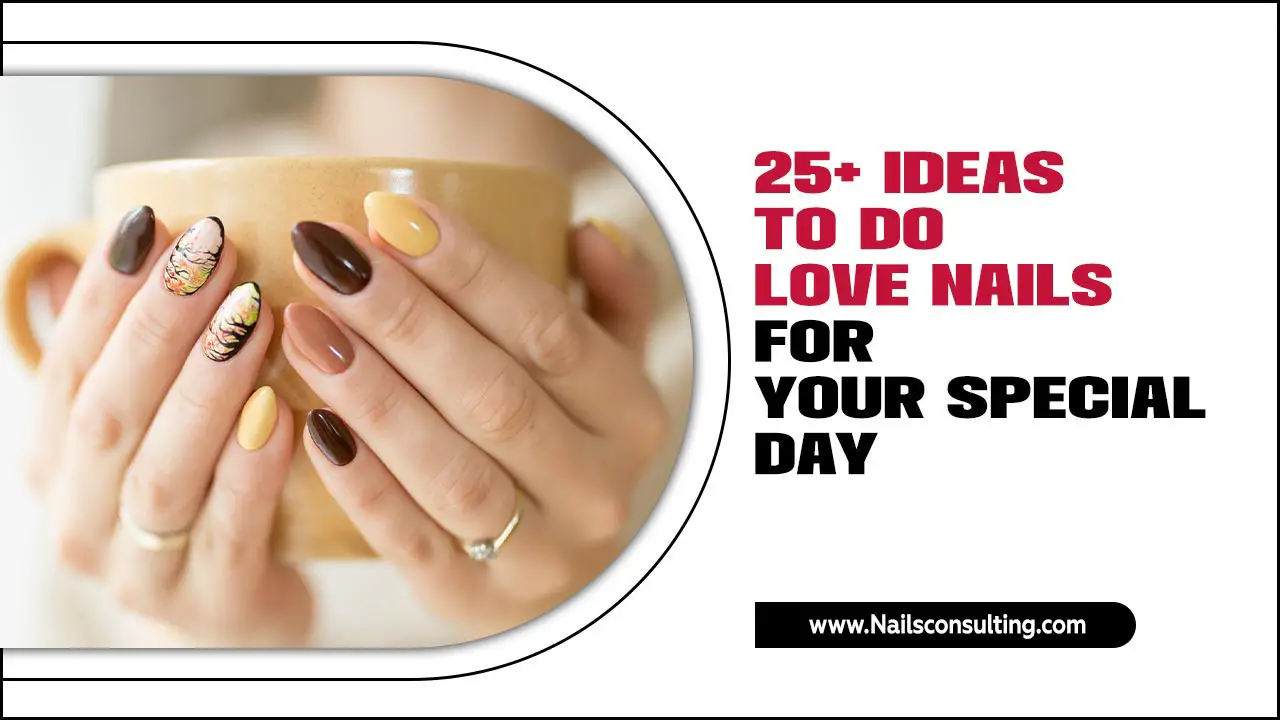
Latte French nails are a modern take on the classic French manicure. Instead of the stark white tips, they feature a palette of warm, creamy, and neutral shades that mimic the look of a latte. Think soft beiges, milky browns, caramel hues, and creamy whites. This color scheme creates a sophisticated, natural-looking, and incredibly versatile manicure that pairs beautifully with almost any outfit and skin tone. They offer a cozy, comforting vibe while maintaining a polished and elegant appearance.
Why You’ll Love Latte French Nails
This trend isn’t just about aesthetics; it’s about feeling good! Here’s why latte French nails are a must-try:
- Universally Flattering: The warm, neutral tones are incredibly versatile and complement a wide range of skin tones.
- Chic & Sophisticated: It’s a polished look that’s perfect for both everyday wear and special occasions.
- Cozy & Comforting: The latte-inspired colors evoke feelings of warmth and relaxation.
- Easy to DIY: With a few simple tools and tips, you can achieve this beautiful look at home.
- On-Trend: It’s a modern update to a timeless classic that’s popular across social media and fashion.
Essential Tools for Your Latte French Manicure
Before we get started, let’s gather our supplies. Having the right tools makes all the difference in achieving a professional-looking finish. Here’s what you’ll need:
| Tool | Purpose | Nailerguy Tip |
|---|---|---|
| Nail File | Shaping your nails to your desired length and form. | Opt for a fine-grit file (around 240 grit) for natural nails to avoid damage. For shaping, a medium grit (180) is good. |
| Nail Buffer | Smoothing the nail surface and adding a natural shine. | Use the smoothest side to avoid over-filing. A gentle buffing helps polish adhere better. |
| Cuticle Pusher/Orange Stick | Gently pushing back cuticles for a clean nail bed. | Always push gently after applying cuticle remover or soaking your nails. Never cut cuticles at home without proper training. |
| Base Coat | Protects your natural nails and helps polish adhere. | A good quality base coat prevents staining and prolongs your manicure. Look for ones with strengthening ingredients if your nails are weak. |
| Latte Cream Polish (2-3 shades) | The star of the show! Shades like beige, caramel, and creamy white. | Choose polishes with good pigmentation for opaque coverage in fewer coats. Consider gel polish for longer-lasting results. |
| Detail Brush or Thin Nail Art Brush | For creating the French tip line precisely. | A fine-tipped brush with firm bristles is ideal. You can also use an old, cleaned eyeliner brush in a pinch. |
| Top Coat | Seals the polish, adds shine, and protects against chipping. | A “quick-dry” or “gel-like” top coat can give a salon finish and speed up drying time. |
| Rubbing Alcohol or Nail Polish Remover | To clean the nail surface before applying polish. | Ensures no oils or residue interfere with polish adhesion. |
| Cotton Pads or Lint-Free Wipes | For applying the cleaner and removing any errant polish. | Lint-free wipes are best to avoid fuzzy nail surfaces. |
Having these on hand will streamline your DIY process and help you achieve salon-worthy results. If you plan on doing gel polish, you’ll also need a UV/LED nail lamp.
The 6 Stunning Latte French Nail Looks and How to Create Them
Let’s get creative! Each of these looks offers a unique take on the latte French manicure. We’ll cover the creation process for each, focusing on beginner-friendly techniques.
Look 1: Classic Latte Blend
This is your go-to for a timeless, elegant look. It uses the traditional French tip style but with our warm, latte-inspired color palette.
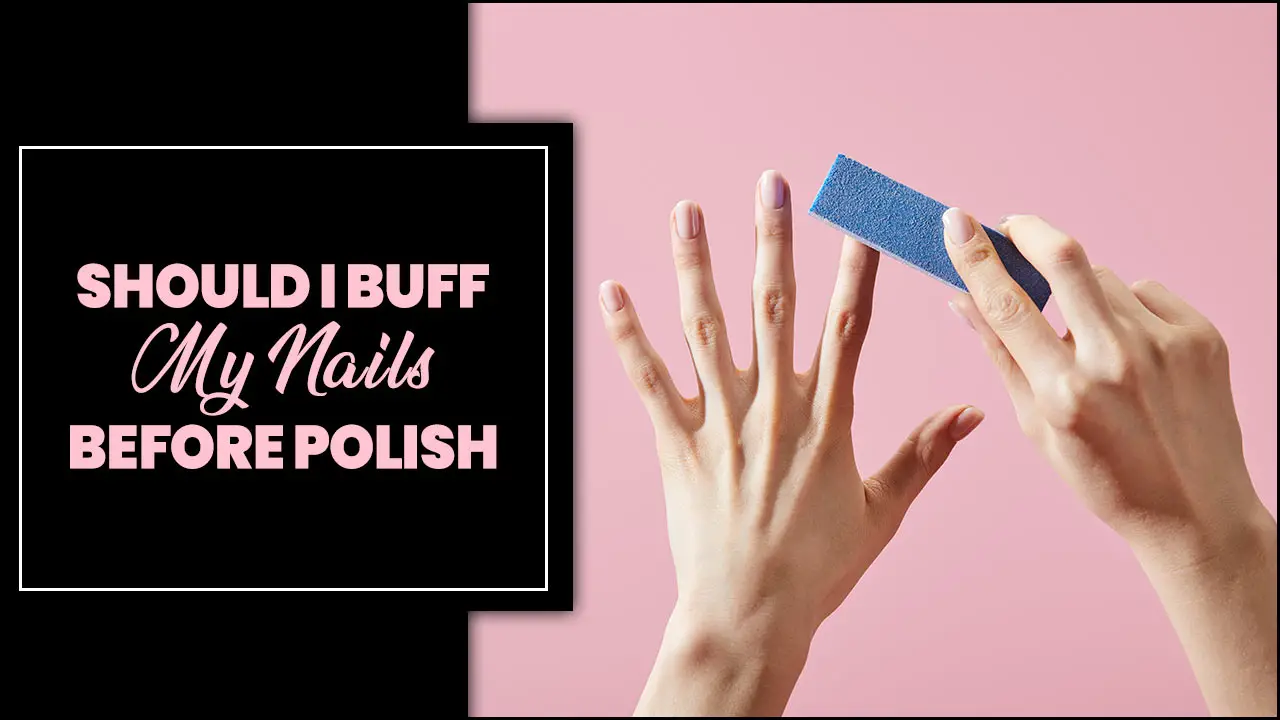
- Prep Your Nails: Start by filing your nails into your desired shape. Gently push back your cuticles and buff the nail surface to create a smooth canvas. Cleanse your nails thoroughly with rubbing alcohol or nail polish remover on a lint-free wipe.
- Apply Base Coat: Paint on one layer of your base coat and let it dry completely. This is crucial for nail health and polish longevity.
- Paint the Base Color: Apply two thin coats of your chosen latte base shade (e.g., a soft beige or light caramel). Ensure each coat is fully dry before applying the next.
- Create the Tip:
- Using a Brush: Dip your detail brush into your tip color (a creamy white or a deeper caramel). Carefully paint a curve along the free edge of your nail. For a cleaner line, start in the middle and work outwards towards the sides.
- Using a Stamp/Guide (Optional): For perfect curves, you can use a silicone stamper or French tip guide stickers. Apply polish to the stamper or under the sticker, then press onto the nail or peel off the sticker.
- Refine the Line: If you made any mistakes or want a sharper line, use a small brush dipped in nail polish remover to clean up the edges.
- Apply Top Coat: Once the tips are dry, apply a generous layer of top coat to seal the design and add a glossy finish.
Look 2: Ombre Latte Tips
This look adds a soft, gradient effect to your French tips, making them even more delicate and sophisticated.
- Prep and Base: Follow steps 1-3 from the “Classic Latte Blend” look: prep nails, apply base coat, and paint your latte base color.
- Create the Ombre:
- Sponge Method: Take a makeup sponge (a clean, dry one works best). Apply thin lines of your latte base color and your tip color (e.g., beige and creamy white) side-by-side onto the sponge. Gently tap the sponge onto the tip of your nail, blending the colors upwards. Repeat this tapping motion until you achieve your desired gradient.
- Brush Method: Using your detail brush, apply your tip color near the edge of the nail. With a slightly dampened (with cleaner) brush or a lighter shade, gently feather the color upwards to create a soft blend.
- Clean Up: Clean any excess color from your skin using a small brush dipped in nail polish remover.
- Apply Top Coat: Once the ombre tips are completely dry, apply your top coat. A thicker top coat can help smooth out any texture from the sponge application.
Look 3: Double French Tip Latte
Add a modern, graphic edge by layering two different latte shades for your French tips.
- Prep and Base: Prepare your nails as usual: shape, cuticle care, buff, cleanse, and apply base coat.
- Paint Base Color: Apply two coats of your primary latte shade (e.g., a warm caramel) and let it dry completely.
- First Tip Color: Using your detail brush, carefully paint the first French tip line. This could be a thinner line of a lighter shade like a creamy beige, positioned just above or below where you want your main tip to be. Let this dry thoroughly.
- Second Tip Color: Now, apply your second, bolder tip color (e.g., a richer brown or a creamy white) right over or slightly below the first line. Aim to create a distinct, layered effect. You might want to aim for a slightly thicker line with this second color.
- Clean Edges: Use a fine brush and nail polish remover to sharpen the lines between the two tip colors or where they meet the base.
- Seal with Top Coat: Once everything is dry, apply your top coat.
Look 4: Subtle Latte Accent Nail
Love the latte French tip but want a more minimalist approach? Make one nail an accent!
- Prep and Base: Prep all nails. For the accent nail, apply a sheer nude or milky white polish. For the other nails, you can opt for a simple nude polish or even leave them bare with just a clear coat and buffed shine.
- Apply Base Coat: Apply a base coat to all nails.
- Paint Main Nails: Apply one or two coats of your chosen subtle polish to your non-accent nails.
- Accent Nail Tip: On your accent nail, apply your latte base color. Once dry, use your detail brush to add a very fine, delicate French tip in one of your latte shades. Think of it as a whisper of color.
- Top Coat: Apply top coat to all nails.
Look 5: Latte Micro French Tips
These ultra-fine tips are incredibly chic and understated. Perfect for a sophisticated, minimalist vibe.
- Prep and Base: Follow standard prep: shape, cuticle care, buff, cleanse, and base coat.
- Paint Base Color: Apply two coats of your chosen latte base color—a soft beige or light caramel works beautifully. Let it dry completely.
- Micro Tip Application: This requires a steady hand! Dip your very fine detail brush into your tip color (creamy white or light beige). Gently touch the brush to the very edge of your nail, creating an incredibly thin line. The key here is “micro”—aim for a line that’s barely there, just a delicate smile line.
- Patience is Key: Take your time and do one nail at a time. If needed, use a cleanup brush to refine the lines.
- Top Coat: Apply a thin layer of top coat to preserve the delicate lines.
Look 6: Glitter Latte French Tips
Add a touch of sparkle to your latte French nails for a festive or glamorous twist.
- Prep and Base: Standard nail prep is essential. Apply a good base coat.
- Paint Base Color: Apply your favorite latte shade as the base color for all nails. Let it dry completely.
- Glitter Tip Technique:
- Loose Glitter: Apply your tip polish (e.g., creamy white) to the free edge of your nail. While the tip polish is still wet, carefully dip your nail into fine cosmetic glitter in a complementary shade (gold, rose gold, or iridescent). Gently tap off the excess.
- Glitter Polish: Apply your chosen latte tip color. Then, use a polish with fine glitter suspended in it to create the French tip. You might need two coats of the glitter polish for good coverage.
- Glitter Top Coat: Apply your latte French tip as usual, then finish with a top coat that contains glitter.
- Clean Up and Seal: Clean any stray glitter with a brush and remover. Apply a thick, smoothing top coat to encapsulate the glitter and ensure a smooth finish.
Achieving the Perfect Latte Colors
The shades you choose are key to the latte French nail look. Aim for a harmonious palette that evokes the creamy, comforting tones of your favorite coffee drink.
Essential Latte Color Families:
- Creamy Whites: Think of the foamy milk topping – soft, opaque whites that aren’t too stark.
- Beiges & Nudes: Natural, warm beiges that act as a perfect neutral base.
- Caramels & Toffees: Richer, warm brown tones for a deeper, more indulgent feel.
- Milky Browns: Lighter browns with a hint of creaminess, like a macchiato.
- Subtle Pinks/Peaches: A hint of a warm undertone can add dimension and flatter more skin tones.
Mixing Your Own Shades
Don’t have the exact shade you want? You can often mix your own! Start with a creamy white or a nude base polish and slowly add a touch of brown or caramel polish. Mix on a clean palette or a piece of foil until you achieve your desired creamy latte hue. Always test on a piece of paper first before applying to your nail.
Maintenance Tips for Your Latte French Nails
To keep your beautiful latte French nails looking fresh and fabulous, a little care goes a long way.
- Wear Gloves: Protect your nails and polish when doing chores. Harsh chemicals can dull the shine and weaken the polish.
- Moisturize: Apply cuticle oil and hand lotion daily. Well-hydrated cuticles and skin make any manicure look more polished.
- Avoid Using Nails as Tools: Resist the urge to pick, scrape, or pry with your nails.
- Reapply Top Coat: Every 2-3 days, swipe on an extra layer of top coat to refresh the shine and add protection against chipping.
- Touch-Ups: For minor chips, you can try to carefully touch them up with the polish color and then a fresh layer of top coat.
Expert Tips for Flawless Application
Even with the right tools, a few pro secrets can elevate your DIY game:
- Thin Coats Are Best: It’s always better to apply multiple thin coats of polish rather than one thick one. This ensures even drying and prevents bubbling or streaking.
- Cap the Free Edge: After applying your tip color and before your top coat, run a thin swipe of polish horizontally across the very edge of your nail tip. This seals the edge and helps prevent chipping.
- Cleanliness is Crucial: Ensure your nails are free of any oils or lotion before applying polish. Use rubbing alcohol or a nail cleanser.
- Steady Your Hand: Rest your elbows on a stable surface and use your pinky fingers to steady your hands as you paint.
- Don’t Rush Drying Time: Allow each coat to dry sufficiently before applying the next. This is especially important for regular polish. For gel polish, follow your lamp’s curing times precisely.
- Practice Makes Perfect: The more you practice creating French tips, the steadier your hand will become, and the cleaner your lines will be.
External Resources fornail care
For more in-depth information on nail health and care, consider these authoritative sources:
- American Academy of Dermatology Association: Their website offers comprehensive guides on nail health, common nail problems, and proper care. This is a great place to learn about maintaining healthy nail beds, which is the foundation of any beautiful manicure. You can find them at aad.org/nail-conditions.
- National Institutes of Health (NIH) – MedlinePlus: This resource provides reliable, easy-to-understand information on a wide range of health topics, including those related to skin and nails. Search for “nail health” on medlineplus.gov for accurate medical insights.
Understanding the science behind healthy nails can enhance your DIY experience and ensure your nails are as healthy as they are beautiful.

