Mastering the glassy nail trend is easier than you think! This guide reveals 6 stunning, beginner-friendly glassy nail designs that add a chic, polished touch to any look. Discover simple techniques and must-have styles to elevate your manicure game effortlessly.
Ever look at those perfectly glossy nails and wonder if you can achieve that dazzling effect at home? You’re not alone! Many of us dream of salon-worthy manicures, but the thought of complex nail art can feel overwhelming. The “glassy” look, with its high shine and almost ethereal quality, seems particularly tricky to master. But guess what? It’s totally achievable, even for beginners! We’re going to break down six gorgeous glassy nail designs that will make your fingers the star of the show. Get ready to transform your nails with these fun, simple, and totally stunning ideas.
What Exactly Are Glassy Nails?
Before we dive into the fun designs, let’s get clear on what we mean by “glassy nails.” Think of the smooth, reflective surface of a beautiful piece of glass. Glassy nails mimic this effect through a combination of ultra-shiny top coats and specific application techniques. They aren’t actually made of glass, of course! The magic lies in the products and how they play with light. The result is a manicure that looks sleek, sophisticated, and oh-so-modern. It’s a trend that’s everywhere, and for good reason – it’s versatile and looks incredibly high-end with minimal effort.
Why You’ll Love Glassy Nail Designs
This trend is a major win for a few key reasons:
Sophistication: They instantly elevate any outfit.
Simplicity: Many techniques are surprisingly easy to learn.
Versatility: They work for casual days or special events.
Durability: When done right, they can last, especially with gel polish.
Customization: You can play with colors and finishes to make them your own.
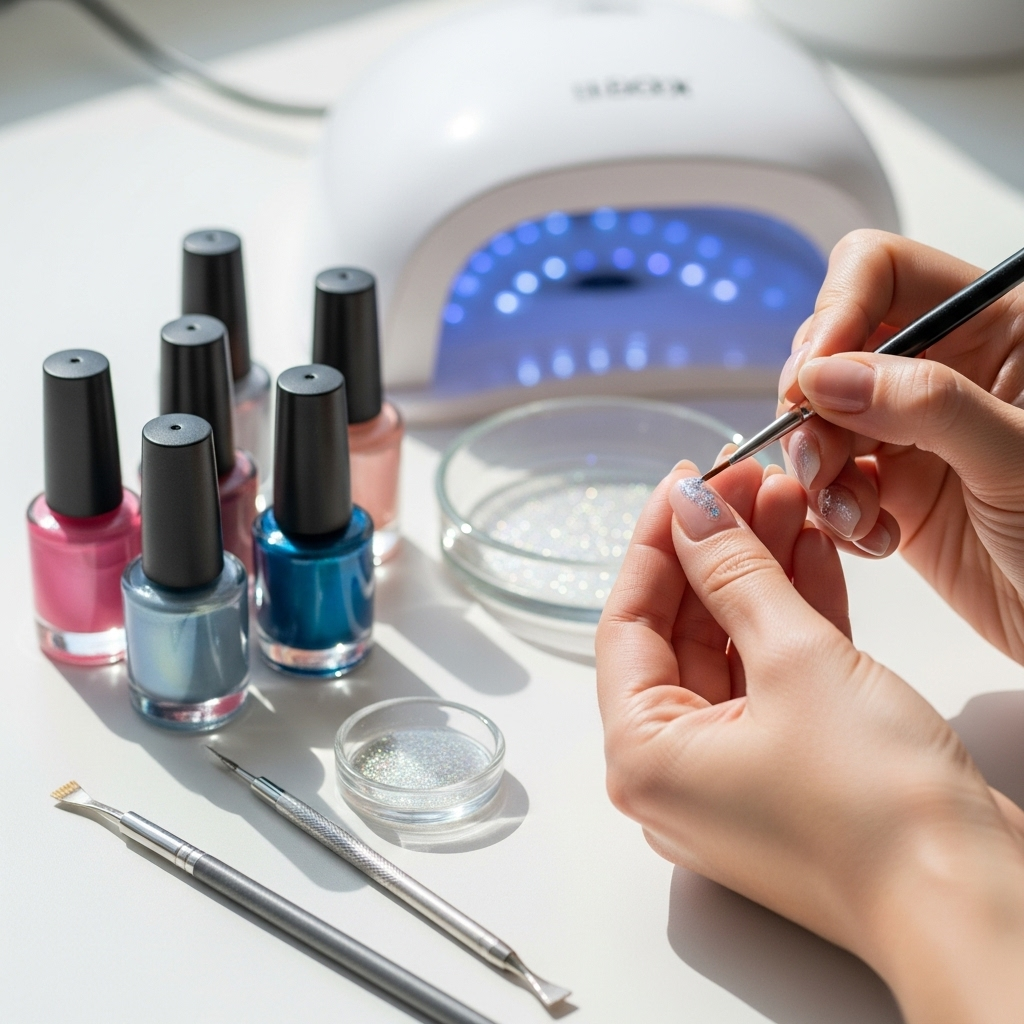
The Essential Tools for Your Glassy Manicure
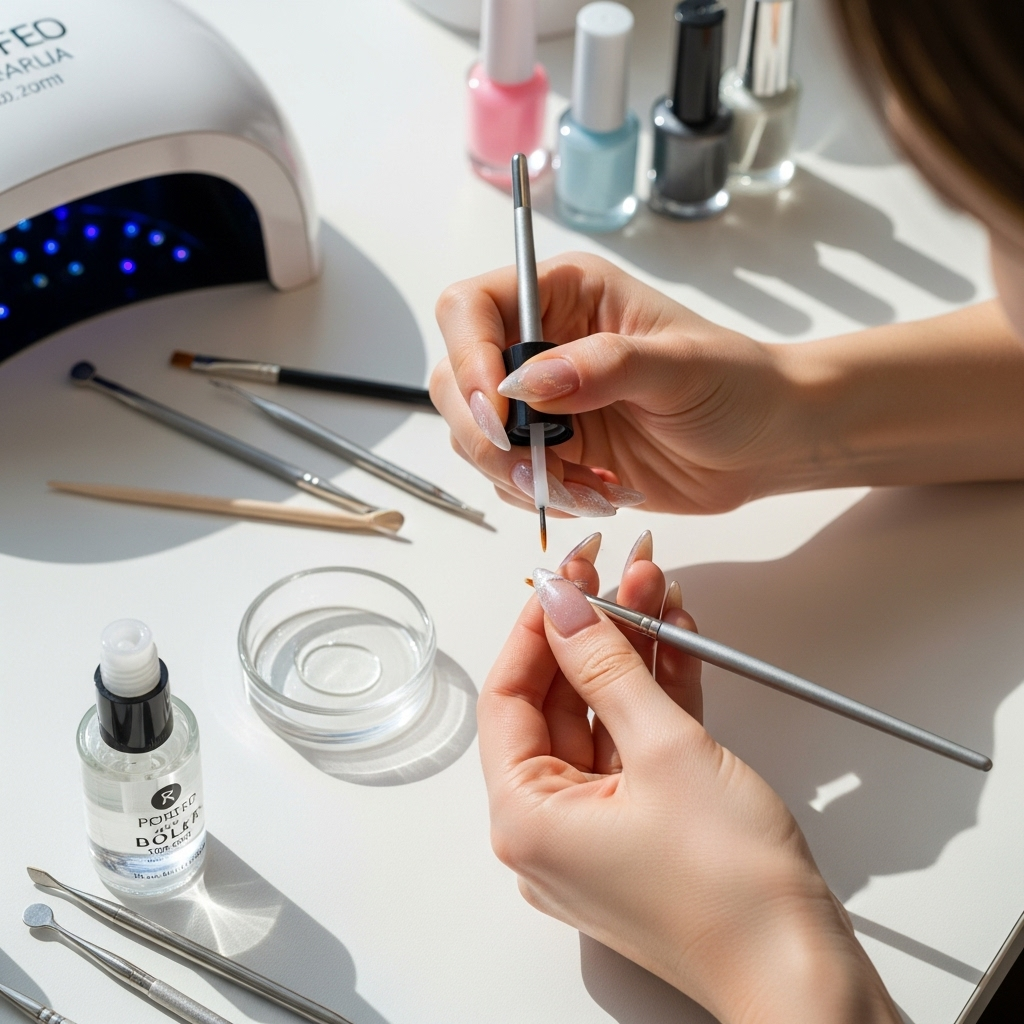
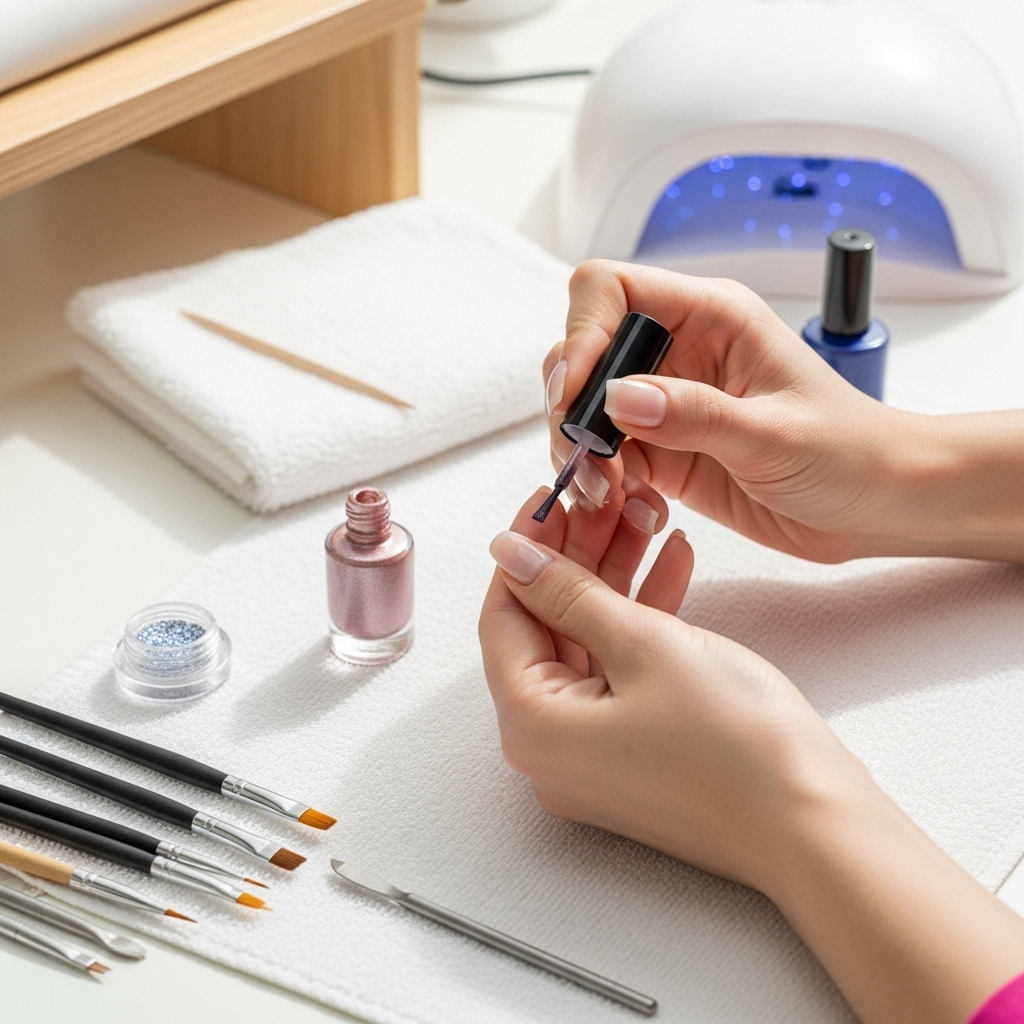
To achieve that perfect glassy finish, having the right tools makes all the difference. Don’t worry, you probably have some of these already!
| Tool | Why You Need It | Beginner Tip |
|---|---|---|
| Nail File & Buffer | To shape and smooth your nails perfectly. A smooth nail surface is key for an even glossy finish. | Use gentler pressure when buffing to avoid thinning your nails. |
| Cuticle Pusher/Orange Stick | To gently push back and tidy up your cuticles, creating a clean canvas. | Push gently; never cut your cuticles at home unless you’re experienced. |
| Nail Polish (Base Coat, Color, Top Coat) | The foundation! A good base coat protects, color adds your chosen hue, and a high-shine top coat seals the deal. | For a true “glassy” look, a no-wipe gel top coat is often best. |
| UV/LED Lamp (for gel polish) | Essential for curing gel polish, ensuring a hard, glossy, and long-lasting finish. | Cure each layer for the time recommended by the gel polish brand. |
| Lint-Free Wipes | To remove excess product and ensure there are no fuzzy bits on your nails. | These are crucial when working with gel to prevent contamination. |
| Alcohol Wipes or Isopropyl Rubbing Alcohol | Used for cleaning the nail surface before applying polish and for removing the sticky inhibition layer on gel polish. | A 70% concentration is generally effective. |
| Optional: Glitter/Chrome Powder | For adding extra dimension or specific glassy effects like a “glass-effect” sticker. | A little goes a long way! |
6 Genius Glassy Nail Designs to Try Now!
Let’s get to the fun part! Here are six stunning glassy nail designs that are surprisingly easy to achieve and will have everyone asking, “Where did you get your nails done?”
1. The Classic Crystal Clear
This is the ultimate minimalist glossy look. It’s all about achieving a perfectly smooth, ultra-high shine on your natural nails or over a sheer nude polish.
How to Achieve It:
- Prep: Start with clean, filed, and buffed nails. Gently push back your cuticles.
- Base Coat: Apply a thin layer of your favorite clear or nude base coat. Cure if using gel.
- Color (Optional): If you’re using a sheer nude or a very pale pink polish, apply one or two thin coats, curing after each if using gel. Aim for an even, streak-free finish.
- The Shine Factor: Apply a thick, generous layer of a high-gloss, no-wipe gel top coat. Make sure to cap the free edge of your nail to prevent chipping.
- Cure: Cure under your UV/LED lamp according to the product instructions.
- Admire: Once cured, there’s no sticky layer to wipe off! Just pure, unadulterated gloss.
This look is sophisticated, clean, and makes your nails look incredibly healthy and polished. It’s the perfect blank canvas for showing off perfectly shaped nails.
2. The Milky Quartz Glass
Inspired by the soft, dreamy look of rose quartz or milky quartz, this design uses a translucent, milky white or pink polish to create a delicate glassy effect.
How to Achieve It:
- Prep: Ensure nails are shaped, buffed, and cuticles are tidy.
- Base Coat: Apply a clear base coat. Cure if using gel.
- Milky Layer: Apply 1-3 thin coats of a milky translucent white or pink gel polish. The number of coats depends on the opacity. Cure each coat until you achieve your desired “cloudy glass” effect.
- Top Coat: Apply a thick, glossy gel top coat (no-wipe is ideal). Ensure even application and cap the edges.
- Cure: Cure under your lamp.
The beauty of this design is its subtle depth. It’s less about stark shine and more about a soft, diffused glow. It looks particularly chic in cooler months or for a softer bridal look. For tips on nail shapes that enhance this look, check out resources on nail anatomy and styling from reputable sources like the American Academy of Dermatology.
3. The Iridescent Glass Shard
This design plays with the light-refracting properties of iridescent finishes, creating a multi-dimensional, holographic-like shine. It’s like holding a piece of shattered rainbow in your hands!
How to Achieve It:
- Prep: Start with well-prepped nails.
- Base Color: Apply a base color. A solid white or a very pale pastel often works best to make the iridescence pop. Cure if using gel.
- Iridescent Top Coat: Apply a specialized iridescent or holographic top coat. These usually come in a clear gel formula infused with fine, shimmering particles. Apply one generous coat.
- Cure: Cure under your UV/LED lamp.
- For an Extra Pop: If your iridescent top coat isn’t quite “shardy” enough, you can use iridescent flakes or a fine iridescent glitter mixed into a clear gel before applying your top coat.
This look is incredibly dynamic. As your hands move, the colors shift and shimmer, making it a real head-turner. It’s perfect for adding some fun and visual interest without being over the top.
4. The Subtle “Glass Sandwich”
This is a fun technique that involves layering elements between a sheer base and a glossy top coat, giving a sense of depth and capturing light within the nail.
How to Achieve It:
- Prep: Clean, shape, and buff your nails.
- Base Coat: Apply a thin layer of clear gel base coat. Cure.
- “Filling”: This is where the magic happens! Gently place tiny pieces of iridescent foil, glitter, or even small, flat holographic stickers onto the uncured base coat. Don’t let them overlap too much; think of creating thin, delicate layers.
- Seal the Deal: Apply another thin layer of clear gel base coat over the foil/glitter to encapsulate it completely and create a smooth surface. Cure this layer.
- Top Coat: Apply your high-gloss, no-wipe gel top coat, ensuring it smooths over the encapsulated elements perfectly. Cure one last time.
The “sandwich” effect means the iridescent elements are sealed within your nail, giving them a unique, captured light quality. It’s more subtle than a full chrome but offers a beautiful, embedded shimmer.
5. The Jelly Glass Effect
Jelly polishes are inherently vibrant and translucent, making them perfect for achieving a “stained glass” or “gummy candy” glassy look.
How to Achieve It:
- Prep: Standard nail prep applies – clean, shape, buff.
- Base Coat: Apply a clear base coat. Cure if using gel.
- Jelly Polish: Apply 1-3 coats of your chosen translucent jelly polish. The more coats, the deeper the color. Cure each layer if using gel.
- Glassy Finish: Top everything off with a super-high gloss, no-wipe gel top coat. Cap the edges well.
- Cure: Cure under your lamp.
You can achieve this with a classic red jelly, a cool blue, or even a vibrant pink. For an extra touch, consider applying a sheer jelly color over a white or nude base for a more opaque, candy-like sheen. This method is brilliant for bold, vibrant colors that still maintain that smooth, reflective finish.
6. The “Glass Mirror” Chrome Overlay
While traditional chrome nails have a full mirror effect, this variation focuses on a partial chrome application over a sheer or milky base, creating a “cracked glass” or “shattered mirror” illusion.
How to Achieve It:
- Prep: Clean, file, and buff nails.
- Sheer/Milky Base: Apply 1-2 coats of a clear, sheer nude, or milky white gel polish. Cure each coat.
- Apply Chrome Powder (Strategic): Instead of a full coat, use a “flame” or “splatter” technique with your chrome powder. You can do this by:
- Applying a sticky, no-wipe top coat over parts of the nail, then gently pressing chrome powder onto those sticky areas with a brush or silicone tool.
- Or, for a more diffused look, apply a regular no-wipe top coat, cure it, and then gently rub chrome powder over it, focusing on specific areas.
- Seal the Shine: Apply a final, generous layer of a high-gloss, no-wipe gel top coat, carefully going around the chrome elements and ensuring everything is covered and smooth.
- Cure: Cure under your lamp.
This design gives the illusion of delicate glass fragments or a mirror that has been artfully cracked. It’s a more abstract and trendy take on chrome, offering a sophisticated edge. For the best chrome effect, ensure your base layer is completely smooth.
Maintaining Your Glassy Shine
Once you’ve achieved your stunning glassy nails, you’ll want to keep them looking their best!
Wear Gloves: When doing household chores, especially those involving water or harsh chemicals, wear gloves. This protects your polish from damage and keeps your nails from drying out.
Moisturize: Keep your hands and cuticles hydrated with cuticle oil and hand cream. Healthy cuticles contribute to the overall polished look.
Avoid Harsh Activities: Try not to use your nails as tools – for scraping, prying, or opening things. This is a common culprit for chips and damage.
* Carry a Clear Top Coat: For non-gel manicures, a quick swipe of a clear, high-shine top coat every few days can refresh the gloss and add a protective layer.
Glassy Nails FAQs
<h3>What is the difference between a regular top coat and a glassy top coat?</h3>
<p>A “glassy” top coat, particularly a gel top coat, is designed to provide an extremely high-shine, smooth, and almost reflective finish. While regular top coats add shine, glassy ones amplify it significantly, creating that signature look. Many no-wipe gel top coats are considered glassy top coats because they leave a perfectly smooth and shiny surface after curing, without any sticky residue to remove.</p>
<h3>Can I achieve glassy nails with regular nail polish?</h3>
<p>Yes, you can achieve a very glossy finish with regular nail polish, but it might be more challenging to get the ultra-smooth, durable “glass” effect that gel polish provides. For regular polish, focus on applying thin, even coats and using the best high-shine top coat you can find. Adding a quick-dry top coat and letting the polish cure fully (which can take 12-24 hours for maximum hardness) will help maintain the shine.</p>
<h3>How do I prevent bubbles in my glassy nail polish?</h3>
<p>Bubbles can ruin the smooth glassy finish. To prevent them: Avoid shaking your polish bottles vigorously; gently roll them instead. Apply polish in thin, even coats, rather than thick ones. Ensure your brushes aren’t overloaded with polish. Additionally, give your nails enough time to dry between coats, especially if not using gel polish, as rushing this step can trap air.</p>
<h3>Are glassy nail designs difficult for beginners?</h3>
<p>Not at all! The beauty of many glassy nail designs is their simplicity. The techniques for Classic Crystal Clear, Milky Quartz Glass, and Jelly Glass are very straightforward and primarily rely on good application of base, color (if any), and a high-shine top coat. Designs involving foil or chrome powder might require a little more practice, but they are still very beginner-friendly with the right instructions.</p>
<h3>How long do glassy gel nails typically last?</h3>
<p>When applied correctly using gel products and a UV/LED lamp, glassy gel nails can last anywhere from two to four weeks. The hard, durable finish of gel polish is excellent at maintaining its shine and resisting chips, which is perfect for this high-gloss trend.</p>
<h3>Can I add embellishments to glassy nails?</h3>
<p>Absolutely! Glassy nails serve as a beautiful, sleek base for embellishments. You can add subtle rhinestones, pearls, or even small 3D charms. Just be mindful of the overall aesthetic you’re going for. Applying embellishments with a strong nail glue or gel glue will ensure they stay put and don’t disrupt the smooth finish.</p>
Conclusion
There you have it – six fantastic ways to rock the glassy nail trend, all achievable right at home! From the minimalist elegance of the Classic Crystal Clear to the dazzling shimmer of the Iridescent Glass Shard, there’s a glassy look to suit every style and occasion. Remember, the key is a smooth nail surface, quality products (especially a fantastic top coat!), and a little patience. Don’t be afraid to experiment with colors and finishes. Your nails are a wonderful canvas for self-expression, and these glassy designs are sure to make them shine. So grab your polishes, get creative, and let your nails make a statement! Happy polishing!
