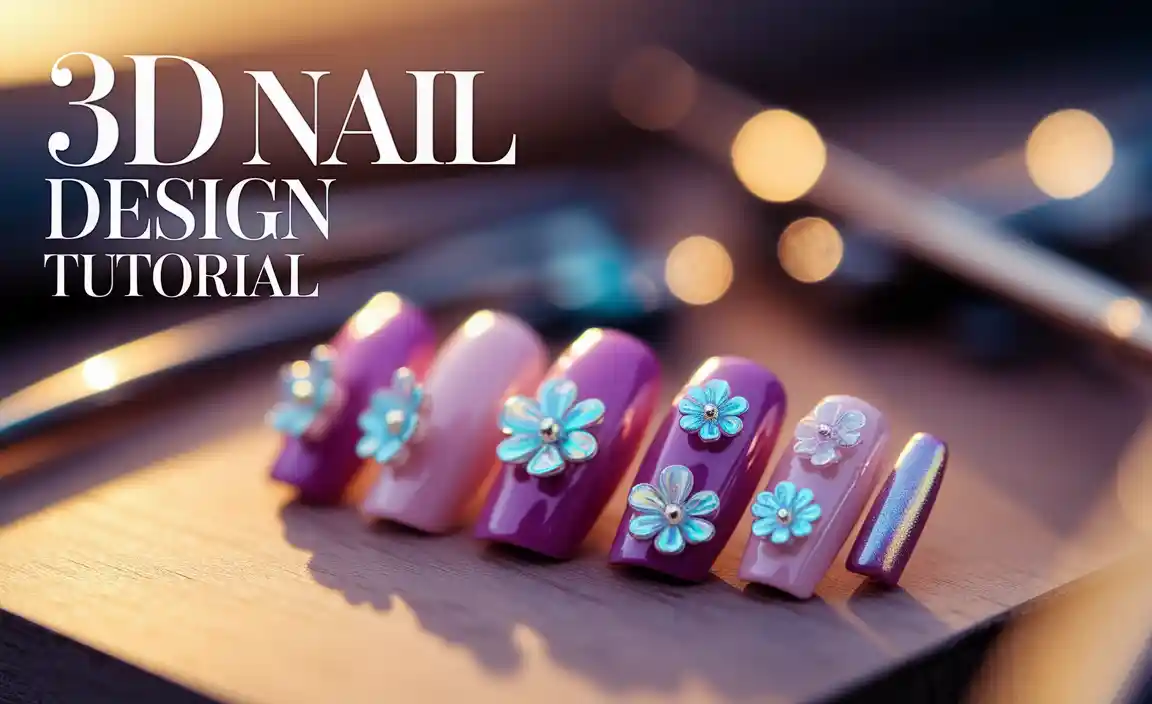
3D nail art design with rhinestones adds dazzling dimension and sparkle to any manicure. Learn how to easily apply rhinestones for stunning, eye-catching looks that elevate your nail game. This guide breaks down the process, making it simple for beginners to create professional-quality designs at home.
Dreaming of nails that truly sparkle and stand out? 3D nail art with rhinestones can seem a little intimidating, but it’s actually super achievable! Many of us have looked at those dazzling designs and thought, “I could never do that.” But guess what? You absolutely can! We’re going to walk through how to create these stunning looks step-by-step, making it easy and fun. Get ready to transform your nails into tiny works of art!
Why Rhinestones for 3D Nail Art?
Rhinestones are like the fairy dust of the nail art world. They instantly add glamour, dimension, and that unforgettable “wow” factor to any design. When we talk about 3D nail art, we mean designs that pop out and catch the light, creating texture and depth. Rhinestones are perfect for this because they are inherently three-dimensional. They catch and reflect light beautifully, making your nails look like they’re covered in tiny jewels. They can be used to create everything from delicate floral patterns to bold geometric statements and sophisticated accents, offering endless creative possibilities.
Getting Started: Your Rhinestone Nail Art Toolkit
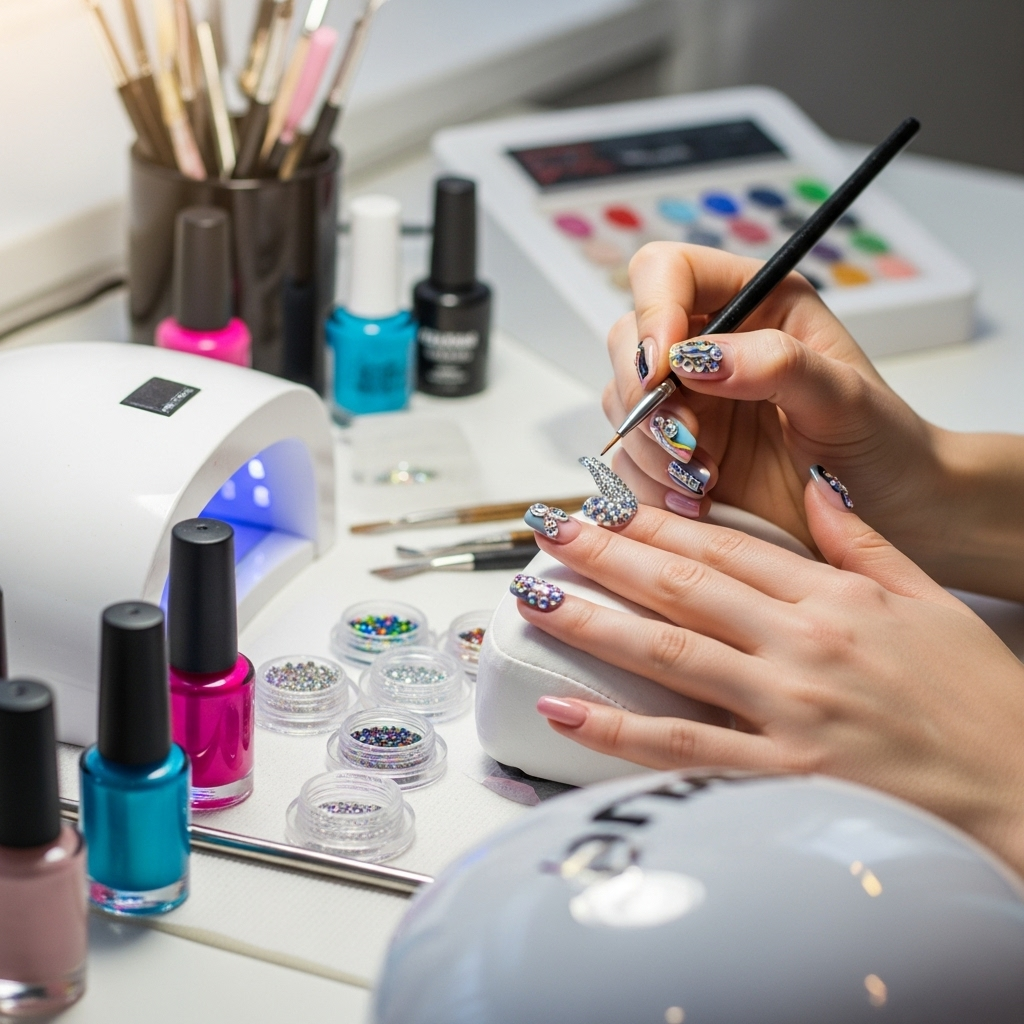
Before we dive into the creative process, let’s make sure you have everything you need. Having the right tools makes all the difference, turning a potentially messy task into a smooth and enjoyable one. Think of this as gathering your art supplies – the better the tools, the better the masterpiece!
Essential Tools for 3D Nail Art with Rhinestones
- Nail Polish/Gel Polish: Your base color is crucial! Choose shades that complement your rhinestones. For gel polish, you’ll need a UV/LED lamp for curing.
- Top Coat: A good quality top coat is essential for sealing your design and adding shine.
- Rhinestones: These come in all sorts of sizes, shapes (round, oval, teardrop, marquise), and colors. Start with a mixed pack to explore!
- Rhinestone Picker Tool: These tools have a sticky or wax tip that makes picking up tiny rhinestones incredibly easy.
- Nail Glue or Top Coat (as adhesive): For stronger adhesion, especially with larger stones, nail glue is recommended. For smaller stones, a thick top coat can often work.
- Tweezers: Fine-tipped tweezers are great for precise placement and adjustments.
- Dotting Tools: These have little balls at the end and are perfect for applying small dots of glue or top coat where you want to place your rhinestones.
- Cuticle Pusher or Orangewood Stick: Useful for pressing down rhinestones and ensuring they’re secure.
- Isopropyl Alcohol (for gel nails): To wipe away the tacky layer of gel polish before applying top coat.
- Nail File and Buffer: For preparing your nails.
Choosing Your Rhinestones
The world of rhinestones is vast and exciting! For beginners, starting with a few key types can be less overwhelming and more rewarding. Here’s a little guide:
- Acrylic vs. Glass: Acrylic rhinestones are lightweight and affordable, great for covering larger areas or if you’re just starting. Glass rhinestones are heavier, more durable, and offer superior sparkle and clarity – they look closer to real crystals!
- Flat-back vs. Pointed-back: Most nail art rhinestones are flat-backed, designed to adhere easily to the nail surface. Pointed-back crystals are less common for nails but can be used with specialized techniques.
- Sizes and Shapes: A variety pack with mixed sizes (like SS4, SS6, SS10, SS16) is perfect for creating dynamic designs. Shapes like rounds, squares, and teardrops offer different aesthetics.
Step-by-Step: Creating Your First 3D Rhinestone Nail Design
Let’s get hands-on! This guide focuses on a simple yet stunning floral-inspired design that’s perfect for beginners. We’ll use a combination of polish and strategically placed rhinestones to create a beautiful 3D effect.
Method 1: Using a Thick Top Coat as Adhesive (Best for Smaller Stones)
This method is fantastic for lighter designs and smaller rhinestones. It’s a great way to get started without extra products.
- Prepare Your Nails: Start with clean, dry nails. File them to your desired shape and push back your cuticles. Buff the nail surface gently for better polish adhesion.
- Apply Base Coat and Color: Apply a base coat, followed by two thin coats of your chosen nail polish or gel polish color. Let each coat dry completely or cure under a UV/LED lamp if using gel.
- Apply Top Coat Strategically: This is where the magic happens! Apply a thick-but-even layer of top coat only where you want to place your rhinestones. Don’t apply it over the entire nail, as it needs to remain slightly tacky to grip the stones. If using gel polish, cure this layer of top coat for a shorter time than usual, or not at all if it’s a no-wipe top coat.
- Pick Up and Place Rhinestones: Use your rhinestone picker tool or tweezers to carefully pick up a rhinestone. Gently press it into the wet or uncured top coat on your nail.
- Create Your Design: Continue placing rhinestones to form your design. For the floral look, you might place a larger stone in the center and smaller ones around it like petals, or create a delicate vine pattern. Work relatively quickly so the top coat stays sticky.
- Gentle Press: Once all stones are placed, use a dotting tool or the end of an orangewood stick to gently press each rhinestone down, ensuring it’s well-adhered.
- Seal the Deal: If you used regular polish, let it dry completely. For gel polish, apply a final layer of top coat. Be careful not to cover the rhinestones themselves with this final layer if you want them to maintain their full sparkle. Apply it around the edges of the stones to secure them without dulling their shine. Cure under the lamp if necessary.
- Clean Up: Use a fine brush dipped in isopropyl alcohol to clean up any stray polish or glitter around your cuticle and sidewalls.
Method 2: Using Nail Glue for Extra Hold (Best for Larger Stones or Longevity)
For designs that need a bit more staying power, or if you’re using larger, heavier rhinestones, nail glue is your best friend.
- Prepare Nails: Perform steps 1 and 2 from Method 1. Ensure your polish is fully dry or cured.
- Apply Adhesive: Use a dotting tool to place a small bead of nail glue where you want your first rhinestone. It’s best to apply glue for one or two stones at a time so it doesn’t dry out.
- Place Rhinestone: Immediately pick up the rhinestone with your picker tool or tweezers and press it gently into the drop of nail glue. Ensure it’s positioned as desired.
- Build Your Design: Continue applying small dots of nail glue and placing rhinestones to build your pattern. Tweezers are excellent for fine-tuning placement.
- Secure the Stones: Once all stones are placed, gently press each one down with a dotting tool or orangewood stick to ensure maximum contact with the glue.
- Optional Sealing: For extra security, you can carefully apply a very fine layer of top coat around the base of the rhinestones. Avoid coating the top surface of the stone itself. If using gel, cure the top coat.
- Final Touches: Clean up any excess glue or polish with a brush and isopropyl alcohol.
Achieving That “3D Effect”: Tips and Tricks
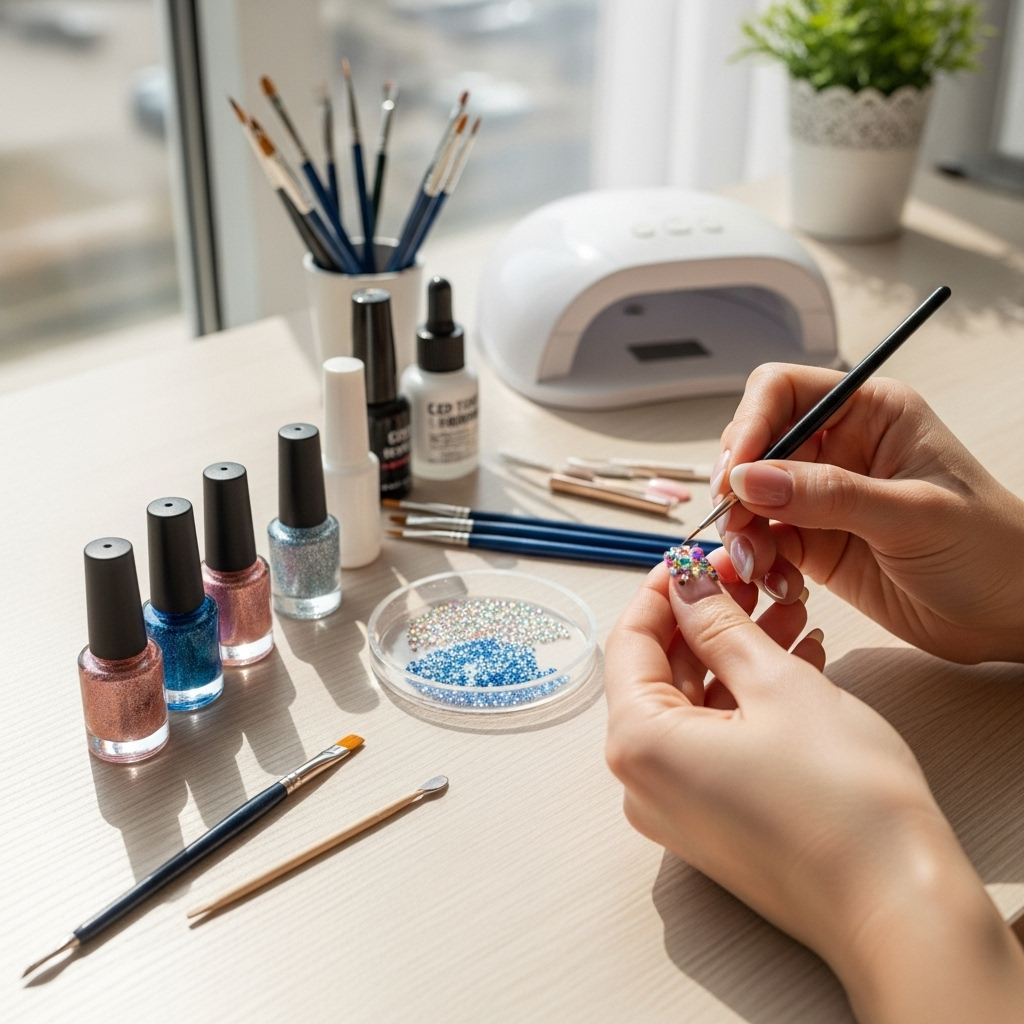
The “3D” in 3D nail art with rhinestones isn’t just about the stones themselves popping up. It’s also about how you use them to create depth and visual interest. Here are some pro tips:
- Layering: Don’t be afraid to layer stones slightly on top of each other, or place smaller stones in the gaps between larger ones to create a cluster effect.
- Size Variation: Using a mix of different-sized rhinestones within one design can create a natural, flowing look, much like real flowers or patterns. A larger “center” stone with progressively smaller “petal” stones is a classic example.
- Strategic Placement: Think about where light will hit your nails. Placing rhinestones along the curve of your nail or at the tip can maximize their sparkle.
- Color Play: Use rhinestones in colors that complement or contrast with your base polish. Clear stones are versatile, while colored stones can add a statement.
- Texture Play: Combine rhinestones with other nail art elements like glitter, small charms, or hand-painted details to add even more dimension.
Popular Rhinestone 3D Nail Art Designs for Beginners
Ready for some inspiration? These popular designs are stylish, achievable, and perfect for honing your rhinestone application skills.
The Classic Crystal Cluster
This is a go-to for a reason! It’s simple but incredibly effective. Apply a few dots of your adhesive, then place a larger rhinestone, surrounded by smaller ones, on the nail’s sidewall, tip, or cuticle area. You can do this on one accent nail or all of them!
Delicate Flower Power
Use one larger rhinestone for the center of the flower. Then, arrange 4-6 smaller rhinestones around it in a petal shape. This looks beautiful on a nude or pastel base.
Simple Sparkle Stripe
Create a clean, straight line of rhinestones down the center of your nail or along the smile line of a French tip. This adds a touch of elegance with minimal effort.
Geometric Glam
Use tweezers to create geometric patterns with small rhinestones – think triangles, squares, or chevrons. This modern look is chic and eye-catching.
Maintaining Your Dazzling Designs
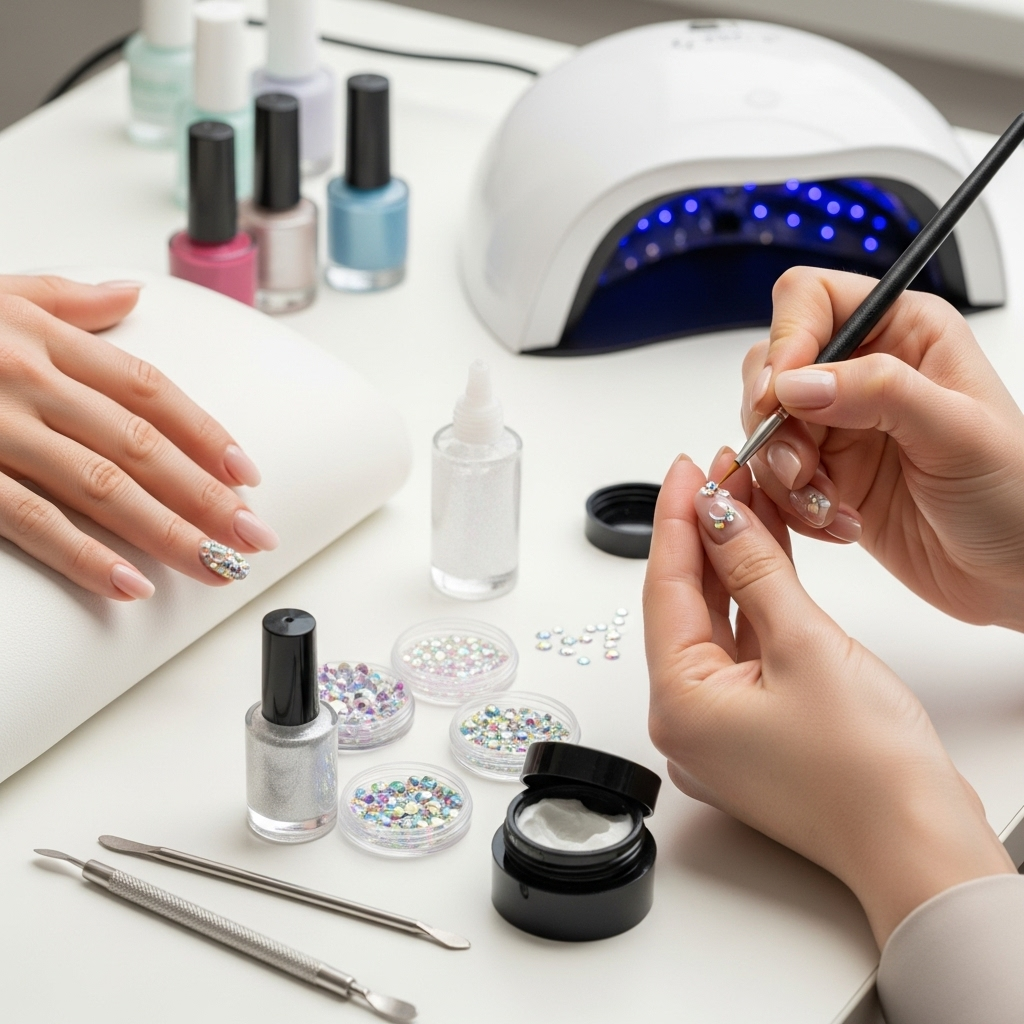
You’ve done a fantastic job creating beautiful rhinestone nail art! To keep it looking its best, here are a few tips:
- Be Gentle: Avoid picking at your rhinestones or using your nails as tools for rough tasks.
- Moisturize: Keep your nails and cuticles hydrated, but try to avoid getting excessive moisturizer directly on the rhinestones, as it can sometimes affect the adhesive over time.
- Top Coat Care: If you notice any stones loosening, you can try adding a tiny dot of clear polish or nail glue around their base to re-secure them.
Troubleshooting Common Rhinestone Nail Art Issues
Even the best nail artists run into little hiccups! Here’s how to fix some common problems:
Issue: Rhinestones Won’t Stick
Solution: Ensure your surface is clean and free of oils. If using top coat, make sure it’s thick enough and hasn’t been cured for too long (or at all, if using a no-wipe top coat). For stubborn stones, switch to nail glue. Make sure the glue is fresh and not dried out.
Issue: Rhinestones Look Dull or Cloudy
Solution: This often happens if you cover them with too much top coat. For regular polish, wait until the base polish is completely dry before applying stones, and then let the whole thing dry fully without sealing over the stones. For gel, be very careful when applying the final top coat, using a fine brush to go around the stones, not over them. Clean rhinestones with a soft brush and an alcohol wipe if they get smudged.
Issue: My Design Looks Messy
Solution: Practice makes perfect! For cleaner application, use a good rhinestone picker tool. Work in smaller sections, applying adhesive and stones one at a time rather than prepping multiple spots at once. Use fine-tipped tweezers for precise adjustments. A clean-up brush with a little alcohol or acetone can help tidy up any stray bits.
The Beauty of 3D Nail Art with Rhinestones
Rhinestone 3D nail art is a fantastic way to express your personal style and add that extra touch of luxury to your look. It transforms a simple manicure into a statement piece. The versatility of rhinestones means you can go from subtle elegance with a few strategically placed gems to full-on glamorous sparkle with intricate designs.
Are Rhinestones Bad for Your Nails?
When applied and removed correctly, rhinestones are not inherently bad for your natural nails. The key is proper application using appropriate adhesives (like nail glue or a good top coat) and gentle removal to avoid damaging the nail plate. Using a good quality base coat and top coat also helps protect your natural nails. For expert advice on nail health, organizations like the U.S. Food & Drug Administration provide guidelines on cosmetic safety. Always prioritize nail health and gentle techniques.
Adding rhinestones to your nails is a fun and creative process. It allows for personalization and can make you feel incredibly polished and put-together. Don’t be afraid to experiment with different colors, shapes, and placement ideas to find what you love most.
As you continue to explore nail art, remember that practice is your best teacher. Enjoy the journey of creating beautiful, sparkling nails. You’ve got this!
Frequently Asked Questions About 3D Nail Art with Rhinestones
How do I make rhinestones stick to my nails?
You can use a thick layer of top coat (especially a no-wipe one for gel) or a specialized nail glue. For smaller stones, a sticky top coat often suffices. For larger or trickier stones, nail glue is more secure.
Can I put top coat over rhinestones?
It’s best to avoid covering the top surface of the rhinestones with top coat, as it can dull their sparkle and make them look cloudy. Instead, apply top coat around the base of the stones to secure them without obscuring their shine. If using regular polish, let it dry completely before applying stones and seal around them.
How do I remove rhinestones from my nails without damaging them?
Soak your nails in acetone-based nail polish remover. For nail glue, this might take longer. You can also try gently soaking a cotton ball with remover, placing it over the rhinestone, and wrapping it in foil for a few minutes. Once softened, gently nudge the rhinestone off with an orangewood stick or tweezers.
What kind of glue should I use for rhinestones?
Specialized nail art glue designed for rhinestones is the best option for strong adhesion. Regular nail glue can also work, but be sure it’s a good quality, fast-drying formula.
How long do rhinestone nails last?
With proper application using nail glue and careful sealing, rhinestone nails can last from a few days up to two weeks, depending on your nail care habits and the type of adhesive used.
What is the best way to pick up tiny rhinestones?
A rhinestone picker tool with a slightly sticky or wax tip is ideal. Tweezers with fine, pointed tips can also work well, especially for precise placement once the stone is near its intended spot.

