3D Acrylic Flower Nail Art: Easy Steps to Stunning Blooms! Create gorgeous, dimensional floral designs on your nails with this beginner-friendly guide. Learn essential techniques and discover beautiful styles to elevate your manicure game.
Dreaming of beautiful flowers blooming right on your fingertips? 3D acrylic flower nail art can look super intricate, making it seem like only pros can achieve it. But guess what? You absolutely can create these stunning designs at home, even if you’re just starting out! It’s a fantastic way to add a unique, artistic touch to your look. This guide will walk you through everything, making complex techniques feel totally doable. Get ready to unleash your inner artist and make your nails bloom!
What is 3D Acrylic Flower Nail Art, Anyway?
3D acrylic flower nail art is a technique where you sculpt small, three-dimensional floral elements using acrylic nail products. Instead of just painting a flat design, you build up layers of colored acrylic powder mixed with monomer liquid to create actual petals, leaves, and buds that have depth and dimension. These little sculptures are then strategically placed onto your nails, giving them a gorgeous, eye-catching, and incredibly realistic floral look that literally pops!
Why You’ll Love 3D Acrylic Flower Nails
Embracing 3D acrylic flowers for your nails offers a delightful mix of artistry and personal expression. It’s a fantastic way to stand out and showcase your creativity. Plus, they add a touch of elegance and charm that’s perfect for any occasion, from a casual day out to a special event. Here’s why this trend is a favorite:
- Unique Dimension: Unlike flat nail art, these flowers have real height and depth, creating a captivating visual effect.
- Endless Creativity: You can customize colors, petal shapes, and arrangement for truly unique designs.
- Long-Lasting Beauty: Acrylics are durable, so your beautiful floral art can last for weeks.
- Conversation Starter: Get ready for compliments! These intricate designs are sure to turn heads.
- Skill Building: It’s a rewarding way to develop your nail art skills and impress yourself with what you can create.
Essential Tools and Materials for 3D Acrylic Flowers
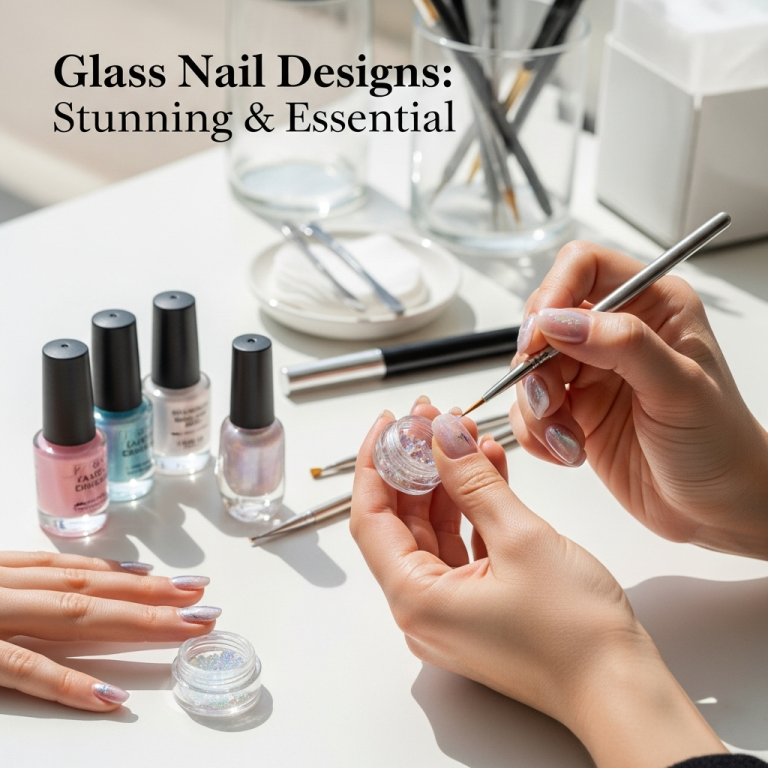
Getting started with 3D acrylic flower nail art might seem a bit daunting with all the supplies, but think of it like gathering paints and brushes for an artist! Having the right tools makes all the difference. Here’s a breakdown of what you’ll need:
The Acrylic System
- Acrylic Powder (Various Colors): You’ll need clear, white, and your chosen flower colors (pink, red, yellow, purple, etc.). Some specialized colored powders are perfect for petals and leaves.
- Monomer Liquid: This is the liquid that activates the acrylic powder to create a moldable bead. Look for an EMA (ethyl methacrylate) monomer for best results, but be aware of the strong fumes and ensure good ventilation.
- Dappen Dishes: Small glass or ceramic dishes to hold your monomer and acrylic powder. You’ll likely want at least two – one for liquid, one for powder.
Application Tools
- Acrylic Nail Brush: A good quality brush is crucial. Look for one with a fine, tapered tip (e.g., size 6 or 8 is a great starting point for beginners) and natural Kolinsky sable bristles for optimal control and shaping.
- Tweezers: For picking up and precisely placing your sculpted acrylic flowers onto the nail.
- Nail Clippers and Files: For shaping the natural nail or your acrylic base.
- Buffer: To smooth out the nail surface before and after application.
- Cuticle Pusher/Orange Stick: To prepare the nail surface.
Finishing Touches
- Top Coat: A gel or regular top coat to seal and add shine to your finished nail art.
- UV/LED Lamp (for gel top coat): If you opt for a gel top coat, you’ll need a lamp to cure it.
- Alcohol Wipes or Cleanser: For cleaning your brush and the nail surface.
Workspace Essentials
- Paper Towels: For wiping excess product and cleaning your brush.
- Ventilation: Crucial! Work in a well-ventilated area or use a nail dust collector to manage fumes from the monomer. You can find portable nail dust collectors online that help significantly.
- Good Lighting: A well-lit space is essential for detailed work.
Getting Started: Basic Acrylic Flower Techniques
Ready to dive in? Let’s start with the fundamental techniques for creating simple, beautiful acrylic flowers. It’s all about mastering the ‘bead’ and shaping it just right!
Understanding the Acrylic Bead
The magic of acrylic nail art lies in the “bead” – a perfect mix of liquid monomer and acrylic powder. Getting the right bead consistency is key to smooth sculpting.
- Dip your brush into the monomer liquid.
- Gently touch the wet brush to your acrylic powder.
- Pull the brush out slowly, allowing the powder to absorb the liquid. You’re aiming for a size that holds its shape without being too wet or too dry.
- A good bead should be firm enough to hold its shape but still pliable enough to sculpt. If it’s too wet, it will be runny; if too dry, it will be crumbly. Practice makes perfect here!
Creating Simple Petals
This is your building block for any flower!
- Prepare your bead: Create a small, firm bead of colored acrylic.
- Place the bead: Gently place the bead onto your palette (or a piece of paper towel) and lightly press down with the belly of your brush to flatten it into a petal shape.
- Shape the edges: Use the tip of your brush to gently pinch and pull the edges of the flattened bead, creating a more defined petal shape. You can make them rounded or slightly pointed.
- Repeat: Make several of these individual petals. You’ll assemble them into a flower later.
Sculpting Leaves
Leaves add a lovely touch of green and definition to your floral designs.
- Create a bead: Use a green acrylic powder to create a bead, slightly larger than your petal bead.
- Place and flatten: Place the bead and flatten it slightly with your brush.
- Shape the leaf: Use the side of your brush to create a central vein and taper the sides to form a leaf shape.
- Add detail (optional): You can use the tip of your brush or a fine tool to add texture to the leaf surface.
Assembling a Basic Flower
Now, let’s put those petals together!
- Start with the center: Create a small bead of a contrasting color (like yellow or white) and place it in the desired spot on your nail. This will be the flower’s center.
- Add the first petal: Take one pre-made petal and place it next to the center bead, pressing gently to adhere it.
- Continue arranging: Add more petals around the center, slightly overlapping them, until you achieve the desired fullness.
- Add leaves: Place your sculpted leaves around the base of the flower.
- Blend: Use your brush to gently blend the edges where the petals and leaves meet, creating a seamless look.
Stunning 3D Acrylic Flower Design Ideas
Once you’ve got the hang of the basics, it’s time to get creative! These designs are popular for a reason – they’re chic, elegant, and totally customizable.
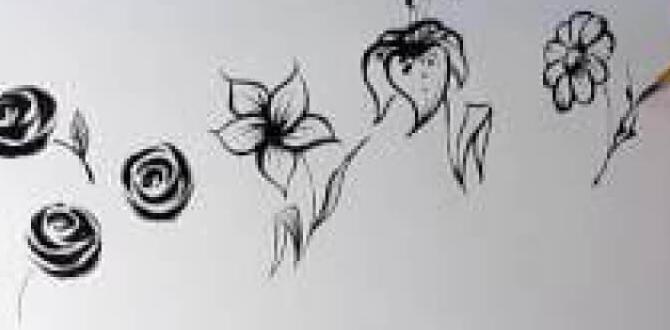
The Classic Rose
A timeless favorite, the rose signifies love and beauty. Getting the spiral effect is easier than it looks!
- Center swirl: Create a tiny bead of pink acrylic. Place it and twist your brush to create a small swirl – this is the rosebud’s center.
- Petal layers: Make slightly larger beads. Place each one next to the swirl, flattening and shaping it with your brush into a curved petal. Overlap each new petal slightly over the last, building outwards to create a blooming effect.
- Add green: Sculpt small leaves and place them at the base of the rose.
- Tip: Don’t aim for perfection on the first try! Embrace the organic look of a real rose.
Delicate Daisies
Daisies are cheerful and sweet, perfect for a fresh, bright look.
- Center dot: Place a small yellow bead in the middle of your nail, flattening it slightly.
- White petals: Create small, oval beads of white acrylic.
- Arranging petals: Place each white bead around the yellow center, using your brush to lightly flatten and shape each one into a petal. Overlap them slightly.
- Optional leaf: Add a small green leaf or two at the base.
- Pro-tip: For a more dynamic daisy, vary the size of your petals slightly.
Elegant Orchids
Orchids bring a touch of exotic sophistication to your nails.
- Base shape: Create a larger, flatter bead of your chosen orchid color (often pinks, purples, or whites). Shape it into a wider, slightly curved petal.
- Smaller petals: Make two to three smaller beads and shape them into narrower, more elongated petals.
- Assemble: Place the larger petal first, then arrange the smaller ones around it, angling them to mimic orchid’s unique structure.
- Center details: You can add a tiny contrasting dot or a few delicate lines for the orchid’s throat.
- Enhance: Consider adding subtle shading with a slightly darker acrylic powder for more depth.
Charming Chrysanthemums
With their many delicate petals, chrysanthemums can create a full, textured look.
- Start with a medium bead: Place a bead of your main flower color in the center of your nail.
- Build outward: Create many small, thin beads. Carefully place and press each one around the central bead, tilting your brush to flatten them into thin, feathery petals.
- Layer and stack: Continue adding these thin petals in layers, both horizontally and slightly vertically, to create the chrysanthemum’s multi-layered effect.
- Center finishing: You can press a tiny bead into the very center once you’re happy with the petal arrangement.
3D Flower Placement and Combinations
Don’t limit yourself to just one flower! Here are some ideas for placing and combining them:
- Accent Nail: A stunning 3D flower or a small bouquet on just one nail (like the ring finger) can be incredibly impactful.
- Full Set: If you’re feeling adventurous, a pattern of smaller flowers or one larger bloom on each nail can create a truly statement-making manicure.
- Mixed Media: Combine your 3D acrylic flowers with painted designs! For instance, a delicate painted vine with a 3D rose at the end.
- Seasonal Blooms: Think pastel roses for spring, vibrant sunflowers for summer, rich reds and oranges for autumn, or icy whites and blues for winter.
- Gem Accents: Add a little sparkle! Small rhinestones or glitter can be incorporated into the center of a flower or placed around it.
Step-by-Step Full Manicure Tutorial
Let’s walk through creating a complete 3D acrylic flower nail set. We’ll aim for a lovely rose design on an accent nail.
1. Prep Your Nails
- Clean: Ensure your natural nails or existing enhancements are clean and free of old polish or oils. Use an alcohol wipe.
- Shape: File your nails to your desired shape and length.
- Cuticle Care: Gently push back or trim cuticles for a clean canvas.
- Buff: Lightly buff the nail surface to remove shine. This helps the acrylic adhere better. If applying to a natural nail, a thin layer of clear acrylic or a base coat is recommended.
2. Create Acrylic Flowers
You can either create your flowers directly on the nail or sculpt them on a palette and then transfer them. Creating them on a palette first can be easier for beginners.
- Make Petals: Using pink acrylic powder and monomer, create 5-7 small petal shapes as described in the “Creating Simple Petals” section. Place them aside on a clean surface.
- Make Leaves: Create 2-3 small leaf shapes using green acrylic powder. Place them aside.
3. Apply Base Color (Optional but Recommended)
- If you want a colored base beneath your flowers, apply a coat of your chosen polish or gel polish and cure if necessary. A nude, white, or soft pink often works beautifully. Let it dry completely if using regular polish.
4. Place Flowers on the Nail
- Start with the center: Create a small bead of white or yellow acrylic. Place it on your nail where you want the flower’s center.
- Attach first petal: Pick up one of your pre-made pink petals with tweezers. Apply a tiny bit of monomer to the back of the petal. Gently press it against the nail, next to the center bead.
- Build the rose: Continue attaching petals around the center, slightly overlapping each one, using the technique described in the “Assembling a Basic Flower” section.
- Add leaves: Place your green leaf shapes around the base of the flower.
- Blend: Use a clean, slightly moist brush to gently blend the edges of the petals and leaves where they meet each other and the nail, ensuring they are securely attached and look natural.
5. Cure and Finish
- Allow to dry thoroughly: Acrylic needs time to harden completely on its own.
- Apply Top Coat: Once the acrylic is hard, apply a generous layer of your favorite high-shine top coat over the entire nail, ensuring it seals the edges of the acrylic flowers.
- Cure (if using gel top coat): Place your nails under a UV/LED lamp according to the top coat instructions.
- Wipe off inhibition layer: If you used a gel top coat, wipe off the sticky layer with alcohol or a cleanser.
Touch-ups and Maintenance
If any part of the acrylic flower seems loose, you can carefully apply a tiny bit of acrylic liquid and powder to re-adhere it, or use a strong nail glue. To maintain the shine, reapply top coat every week or so.
Tips for Beginners
Don’t get discouraged if your first few attempts aren’t salon-perfect. Everyone starts somewhere! Here are some tips to make your journey smoother:
- Practice, Practice, Practice: Spend time just making beads and shaping petals and leaves on a flat surface or a nail tip before trying on a full set.
- Smaller is Better: Start with making very small flowers. They are easier to control.
- Brush Control: Keep your brush clean and find that perfect balance of monomer and powder. Don’t overload your brush with liquid.
- Work Wet: Acrylic cures relatively quickly. Try to shape the bead while it’s still pliable. If it starts to harden too much, start


