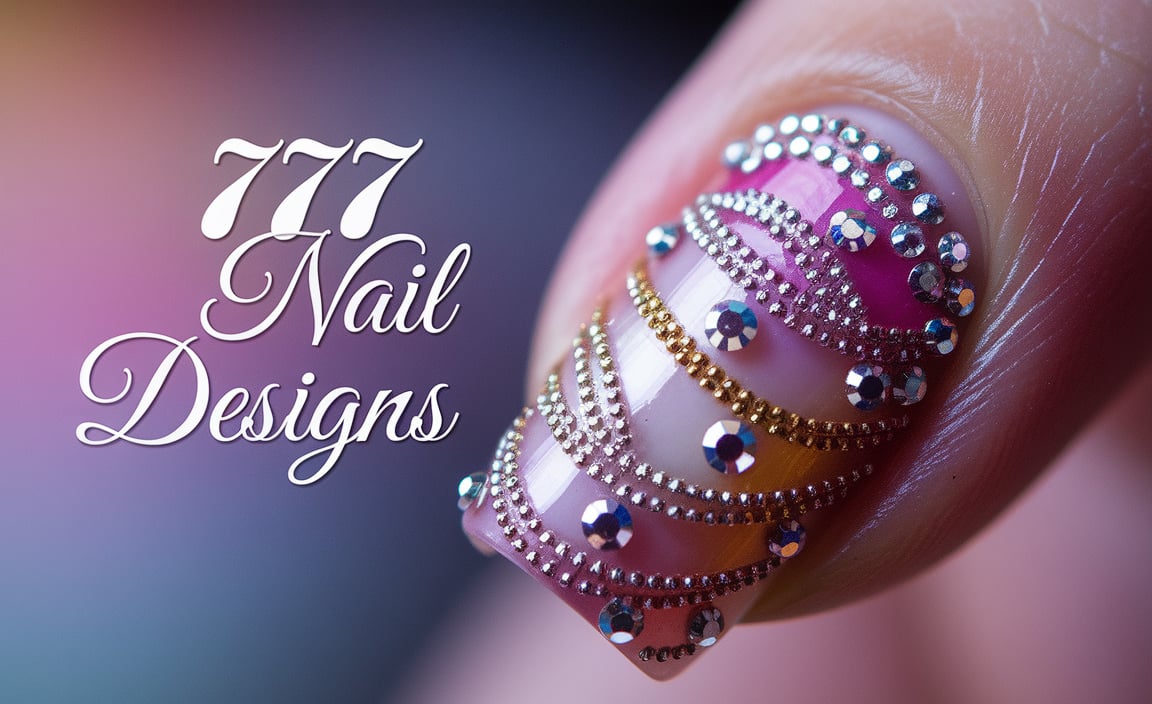
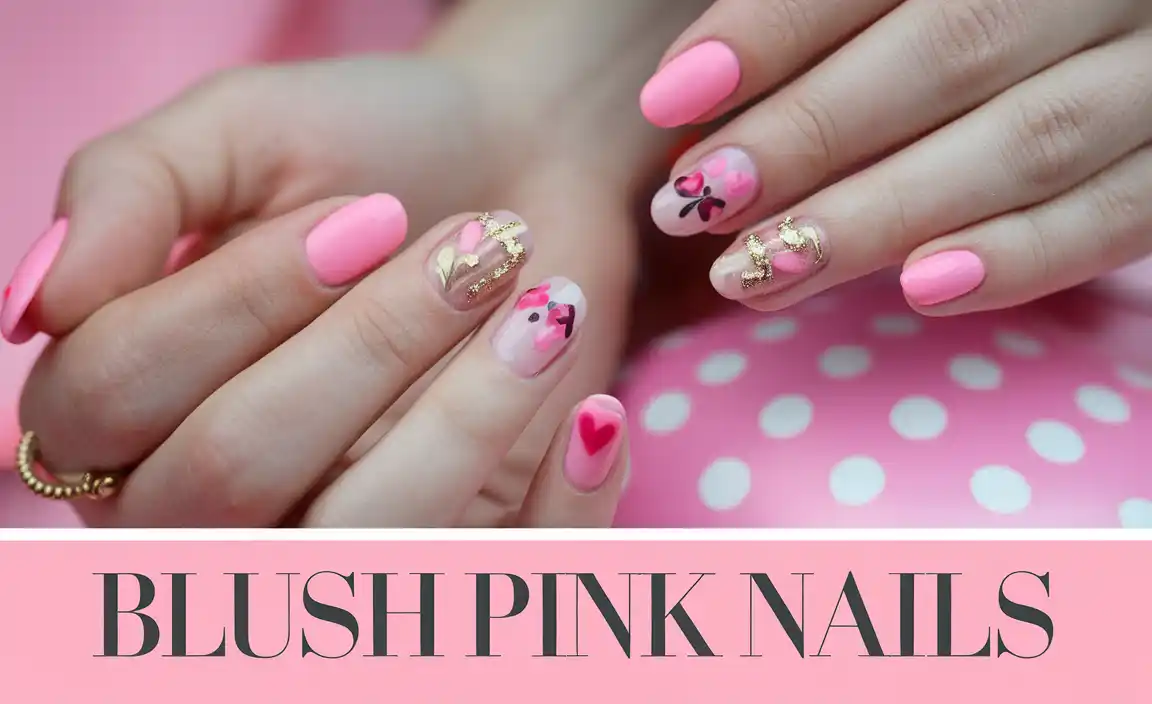
Get ready to bloom! 3D acrylic floral nail designs are a stunning way to add dimension and artistry to your manicure. These vibrant, sculpted flowers bring your nails to life, offering a unique and beautiful expression of style. This guide makes learning this gorgeous technique accessible for beginners, breaking down the essentials for creating your own floral masterpiece.
Are you mesmerized by those beautiful, raised floral designs on nails and think they’re too hard to recreate? Many of us feel intimidated by 3D nail art, believing it requires professional training and a complex setup. But what if I told you that stunning 3D acrylic flowers are totally achievable for beginners with the right guidance and a little practice? You absolutely can create these gorgeous, eye-catching designs yourself! We’re going to break down everything you need to know, step-by-step, so you can start making your own beautiful floral nail art with confidence. Get ready to discover a fun new way to express your style!
The Magic of 3D Acrylic Floral Nail Designs
Imagine delicate roses, cheerful daisies, or elegant orchids seemingly growing right from your fingertips – that’s the captivating charm of 3D acrylic floral nail designs. These aren’t just flat paintings; they are sculpted masterpieces built layer by layer. They add incredible dimension, texture, and a unique, artistic flair that’s hard to ignore. Unlike stickers or simple nail art pens, acrylic allows for a truly sculpted, dimensional effect, giving your nails a luxurious, high-fashion look. It’s a fantastic way to elevate your manicure from everyday to extraordinary, perfect for special occasions or just when you want to feel extra special.
Why Choose 3D Acrylic Flowers?
There are so many reasons why 3D acrylic floral nail designs are a popular choice for nail art enthusiasts:
- Unmatched Dimension: The “3D” aspect is the biggest draw. Flowers literally pop off the nail, creating a visually stunning effect.
- Artistic Expression: Acrylics offer incredible control, allowing for detailed sculpting and a vast range of artistic styles, from ultra-realistic to stylized and whimsical.
- Durability: When applied correctly, 3D acrylic designs are very durable, often lasting as long as your nail enhancement.
- Versatility: You can create any flower imaginable in any color, matching your outfit, mood, or the season.
- Wow Factor: These designs are guaranteed to turn heads and spark conversations. They are a true statement of personal style and creativity.
Essential Tools and Materials for 3D Acrylic Florals
Don’t worry if this list looks a bit daunting at first. You’ll gradually build your collection, and many items can be used for other nail art too! The key is to start with the basics and expand as your skills grow.
The Must-Have Acrylic System
To create 3D acrylic designs, you’ll need a basic acrylic nail system. This typically includes:
- Acrylic Powder: This comes in various colors – clear, pink, white, and nude are essential for basic sculpting. Colored powders are great for petals and leaves.
- Liquid Monomer (Acrylic Liquid): This is the solution that activates the acrylic powder, allowing you to sculpt it.
Specialized Brushes
Your brush is your most important tool for sculpting. For 3D floral work, you’ll want:
- Kolinsky Sable Acrylic Brush: These are the gold standard, offering excellent control and absorption. A size 8 or 10 is a great starting point for most floral elements.
- Smaller Detail Brushes (Optional but helpful): For very fine details or smaller components.
Other Crucial Supplies
- Dappen Dishes: Small dishes to hold your liquid monomer and acrylic bead.
- Nail Cleanser/Dehydrator: To ensure a clean nail surface for optimal adhesion.
- Primer: Helps to bond the acrylic to the natural nail.
- Cuticle Pusher and Nippers: For prepping the nail bed.
- Nail File and Buffer: For shaping and smoothing.
- Tip or Form (if doing extensions): To build an extension if needed.
- Non-Sticky Surface: A glass or marble slab, or even a piece of acetate, for practicing or mixing colors.
- Paper Towels: To wipe excess liquid and product from your brush.
- Top Coat: To seal and protect the finished design.
- Lint-Free Wipes: For cleaning brushes and surfaces without leaving fibers behind.
Optional but Recommended Items
- Color Acrylic Powders: For vibrant petals and leaves.
- Acrylic Paint: For adding fine details or shading to your acrylic sculptures.
- 3D Art Gel (Alternative): Some artists prefer 3D gels, which are a different medium than acrylics but achieve a similar effect.
- Dotting Tools: For small accents or applying tiny beads of acrylic.
Understanding the Basics of Acrylic Application
Before diving into flowers, let’s get comfortable with how acrylics work. The magic happens when you combine the liquid monomer and the acrylic powder. You’ll dip your moistened brush into the powder, creating a perfect “bead” of acrylic. This bead is malleable for a short time, allowing you to sculpt it onto the nail.
The consistency of your bead is key. Too wet, and it will be runny and hard to control. Too dry, and it will harden before you can shape it. It takes practice to find that “sweet spot” where the bead is pliable but holds its shape.
A fantastic resource for understanding nail product safety is the FDA’s information on cosmetics and nail products. While this is for general awareness, always ensure you are working in a well-ventilated area when using acrylics.
Step-by-Step: Creating Your First 3D Acrylic Flower
Let’s start with a simple, yet impactful, 3D flower – a basic rose. This is a fantastic petal to master! You can create this directly on a finished nail or on a practice surface first.
Preparing Your Workspace
1. Cleanliness is Key: Ensure your hands and tools are clean.
2. Set Up: Have your dappen dishes with monomer and powder, your brush, paper towels, and your primer/cleanser ready. If working on a nail, ensure it’s prepped and primed.
3. Ventilation: Make sure your space is well-ventilated.
Sculpting the Rose Petals
We’ll sculpt this flower using a technique called the “pinch and pull” or “petal placement” method. You’ll create small beads of acrylic and shape them into petals.
- Get Your Bead: Dip your damp brush into the acrylic powder to pick up a small, liquidy bead. Gently roll it on the side of the dappen dish to achieve a perfect consistency – not too wet, not too dry. It should be shiny but hold its shape.
- Place the First Bead: Place the bead onto the nail where you want your flower’s center to be.
- Shape the Center: With the tip of your monomer-moistened brush, gently press and pull the bead to form a small, slightly pointed shape – this is your first, tightly wound petal. Think of a tiny swirl or a teardrop.
- Create More Petals: Pick up another bead of acrylic. Place it next to and slightly overlapping your first petal. Again, use your brush to gently press and pull, shaping it into a teardrop.
- Stagger and Layer: Continue picking up beads and placing them around the central petal. Stagger their placement so they overlap and form a natural-looking rose. For a fuller rose, you’ll need about 5-7 petals arranged in a spiral.
- Adjust and Refine: As you place each petal, use your brush to gently blend the edges where they meet. You can use the side of your brush to create slight creases or curves, adding realism.
- Build Upwards (Optional): If you want a taller, more dimensional rose, you can go back and add another layer of smaller petals on top of your first layer.
Adding Leaves and Accents
Once your rose is sculpted, let’s add some greenery to make it pop!
- Choose Your Green: Get a bead of green acrylic powder.
- Shape the Leaf: Place the bead on the nail, usually to the side or underneath the rose. Use your brush to gently press and pull the acrylic into a leaf shape. You can create a pointed tip and taper the base.
- Add Veining: With the tip of your brush, gently create a line down the center of the leaf to mimic a vein. You can use a fine-tip detail brush or even the corner of your main brush.
- Repeat: Add as many leaves as you feel the design needs.
Finishing Touches
- Cure: Allow the acrylic to fully harden. This happens naturally as the monomer evaporates.
- Shape and Smooth: Once hard, you can gently file any rough edges or refine the shape of your petals and leaves. Be careful not to file too aggressively, or you might damage the sculpture.
- Top Coat: Apply a thin layer of top coat over the entire nail (including the 3D elements) to seal and add shine. Be sure to cap the edges.
A Quick Look at Basic Floral Designs
Here’s a comparison of a few beginner-friendly floral designs you can explore:
| Design Type | Description | Key Technique | Beginner Friendliness |
|---|---|---|---|
| Simple Rose | A classic, multi-petal flower. | Creating teardrop shapes and layering them in a spiral. | High |
| Daisy | A flat, open-faced flower with distinct petals. | Creating small, rounded beads and flattening them into petal shapes around a central bead. | Medium |
| Tulip | A more elongated, elegant bloom. | Sculpting elongated teardrop shapes and joining them to form a cup. | Medium-High |
| Forget-Me-Not | Tiny, delicate flowers, often clustered. | Creating very small, round beads and flattening them into tiny circles. | Medium |
Tips for Mastering 3D Acrylic Floral Nail Art
Practice is truly your best friend when it comes to 3D acrylic nail art. Don’t get discouraged if your first few attempts aren’t perfect. Every bead you place and shape is learning!
- Start Simple: Master basic shapes like leaves and simple petals before attempting complex multi-layered flowers.
- Control Your Brush: Experiment with different amounts of pressure and angles on your brush to see how it affects the acrylic.
- Bead Consistency: This is crucial. Spend time practicing picking up beads of different sizes and consistencies.
- Work in a Well-Ventilated Area: Acrylic monomer has a strong odor and requires good airflow. The Occupational Safety and Health Administration (OSHA) provides guidelines for handling chemicals safely in the workplace, which are good principles to follow at home too.
- Use a Practice Board: Before applying to a nail, practice on a plastic sheet or a glass slab. This allows you to get the shape and placement right without messing up a manicure.
- Don’t Overwork It: Acrylic has a limited working time. Place your bead, shape it quickly and efficiently, and then move on.
- Clean Your Brush Regularly: Between picking up beads and shaping, rinse your brush in monomer and wipe it clean on a paper towel. A clean brush is essential for smooth application.
- Observe Real Flowers: Look at how petals overlap, how leaves are shaped, and the natural curves. This can inspire your sculpting.
Troubleshooting Common Issues
Even with the best intentions, you might run into a few hiccups. Here’s how to handle them:
- Acrylic is too runny: You’re using too much liquid on your brush, or the bead is too wet. Try picking up less liquid and more powder.
- Acrylic is too dry/hardens too fast: You’re not using enough liquid, or your bead is too powdery. Try increasing the liquid slightly.
- Petals are lumpy or uneven: This usually comes down to brush control and bead consistency. Practice shaping smooth teardrops and placing them evenly.
- Designs falling off: This could be an adhesion issue. Ensure the natural nail is clean, dehydrated, and properly primed before applying acrylic.
- Brush is becoming a mess: Rinse your brush thoroughly in monomer and wipe it clean on a lint-free towel. Keep your beads tidy. Avoid letting acrylic harden on your brush – clean it immediately!
Taking Your 3D Acrylic Skills to the Next Level
Once you’re comfortable with basic roses and leaves, you can explore more advanced techniques:
- Color Blending: Mix different colored acrylic powders to create ombre effects within petals or add subtle shading.
- Textured Petals: Use tools or the side of your brush to create subtle textures, like the veins on a rose petal.
- Multi-Flower Designs: Combine different types of flowers and foliage for intricate arrangements.
- Incorporate Other Elements: Add glitter, rhinestones, or even small charms to your 3D designs for extra sparkle.
- 3D Encapsulation: Place your 3D floral elements within a clear acrylic overlay for a protected, embedded look. This is also a great way to add durability and shine.
Frequently Asked Questions (FAQ)
What is the difference between 3D acrylic and 2D nail art?
2D nail art is flat, painted directly onto the nail surface. 3D nail art, like acrylic flowers, is sculpted and built up, creating dimension and a raised effect that “pops” off the nail.
Can I do 3D acrylic flowers on natural nails without extensions?
Yes, absolutely! You can sculpt 3D acrylic flowers directly onto a prepared natural nail or over a gel polish base. You can also create them on nail tips and then adhere them to your nails, which is a great way to practice or create complex designs.
How long does 3D acrylic floral nail art last?
When applied correctly over well-prepared nails, 3D acrylic floral designs are very durable and can last for the entire duration of your manicure, typically 2-3 weeks, just like a regular acrylic set. Encapsulating them in clear acrylic can further enhance their longevity and protect them.
Is learning 3D acrylic difficult for beginners?
It can be challenging at first because it requires hand-eye coordination and understanding acrylic consistency. However, with patience, practice, and by starting with simple designs like basic roses or leaves, beginners can absolutely learn and master it.
What is the best brush for 3D acrylic flowers?
A Kolinsky sable acrylic brush is highly recommended. A size 8 or 10 brush is a great starting point for sculpting petals and leaves, offering a good balance of size and control for beginners.
How much acrylic powder should I use for one bead?
The size of the bead depends on the size of the element you want to create. For small petals, you’ll use a small amount of powder. For a larger flower, you might use a slightly bigger bead. The key is to get the right liquid-to-powder ratio for a workable consistency.
Do I need special acrylic powders for 3D designs?
You can use standard acrylic powders (clear, pink, white, nude) for sculpting. You can also find colored acrylic powders specifically for creating vibrant petals and leaves. Some artists also use acrylic paints for finer details on top of the sculpted acrylic.
Conclusion
You’ve taken your first steps into the beautiful world of 3D acrylic floral nail designs! It’s a journey filled with creativity, learning, and the immense satisfaction of crafting something truly beautiful with your own hands. From understanding the essential tools to practicing those delicate petals, you now have a solid foundation to build upon. Remember, every nail artist starts somewhere, and your dedication to practice will unlock even more intricate and breathtaking designs. So, grab your brush, embrace the process, and let your creativity blossom. Your nails are a canvas, and with 3D acrylics, you can paint a whole garden of art!


